Creating a Back Neck Facing for a Garment
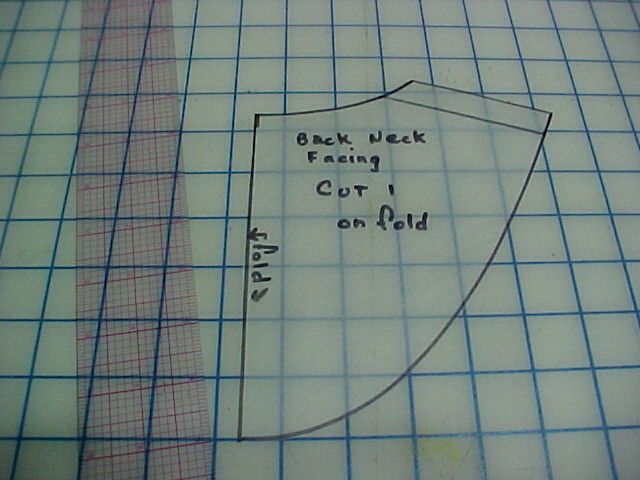
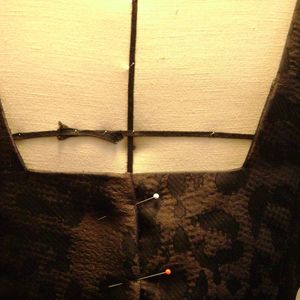
Create a ‘clean finish’ with the collar turned under from shoulder seam to shoulder seam across the neckline of the back of the garment.
There are several reasons why you want to create a back neck facing. The fabric is too heavy to turn under at the neckline and collar without bulk; your skills might still be working up to ‘careful’ or ‘accurate’ sewing; time…it is quicker to make a back neck facing than to turn under the collar; and a deep back neck facing is used in better ready-to-wear.
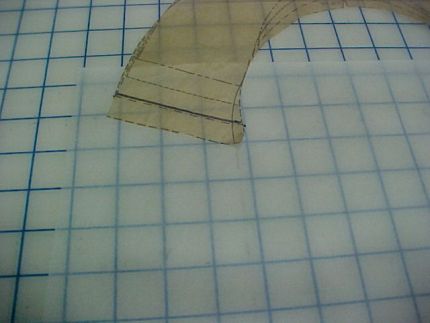
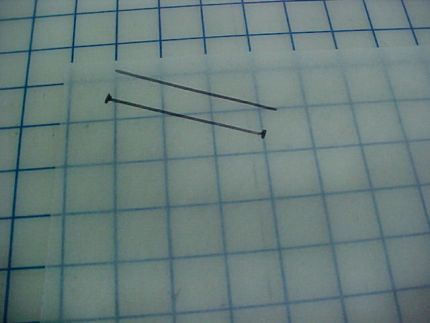
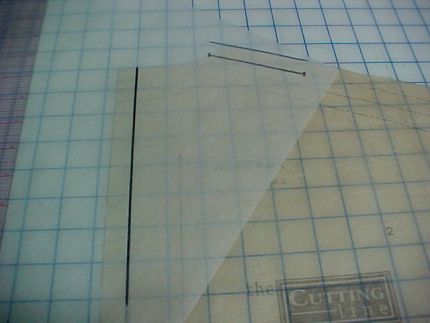
1. To start drawing a back neck facing, place tissue extending away from the front of the garment pattern. Draw the stitching line 5/8″ away from the cutting line on the front of the garment the length of the facing at the shoulder line.
2. Mark a dot at both ends of the line you just drew. Draw another line 5/8″ above the first. (This will be the cutting line for the back neck facing.
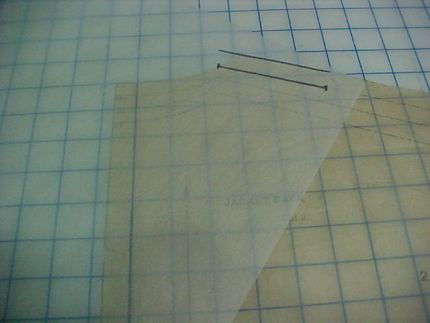
3. Place the tissue over the back pattern piece matching the cutting line along the shoulder seam with the cutting line of the back pattern piece. Slide the tissue back and forth until the dot at the end of the stitching line matches the neckline of the back pattern neckline.
4. Note that the back pattern piece has a center back seam. The back facing is cut on the fold so don’t include the seam allowance in your draft. Draw a vertical line parallel to the center back 5/8″ (this would be the stitching line) for the back of the garment. This vertical line is approximately 6″-7″ long. Ready-to-wear is making very deep back facings for several reasons. The back neck facing does not ride up and out the way a short back facing has a tendency to do; and when the garment is on a hanger in a shop, there is a lovely spot for a larger label and greater hanger appeal.
5.…
Start your 14-day FREE trial to access this story.
Start your FREE trial today and get instant access to this article plus access to all Threads Insider content.
Start Your Free TrialAlready an Insider? Log in



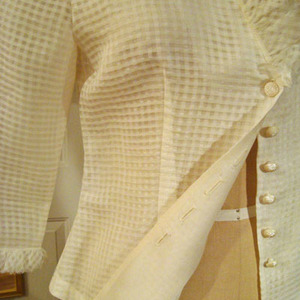


I like doing this too, even with patterns that have a back facing, I'll make it deeper.
Just wanted to make a correction to step 6, it should read:
Make sure the line at the bottom of the facing is *perpendicular to* the center back fold line.
Thank you for the catch. This has been corrected.
This is a good method but how this facing intersects with the front neck treatment and shoulder is also very important . I use this method when I bind the front neck and then I add the facing tothe separate back bodice piece. I then turn the facing over the shoulder seam and front neck binding so that when all is turned out the right way there is NO shoulder seam visible at the binding facing intersection. This is how it is done in better ready to wear T shirts.It is useful with both woven and knit fabrics.
Just a tip - a facing on a curved surface is usually 3/8" smaller than the part it faces e.g cuffs and necklines as these will be concave - therefore their circumference is smaller being on the inside.
snikwas writes that the facing curve needs to be 3/8" smaller than the neckline curve, I think this will make it too much smaller, 1/8" is usually plenty.
Louise, thanks again for explaining in such a clear manner a relatively simple step so that newcomers to the sewing world can make a better job of what they are making. I love your tips and tricks, and it is so generous of you to share so freely what has taken you many years to learn.
When I do this with a back facing, I also like to extend the fold-back part of the the front, cut on facing to the end of the shoulder seam. It just gives the whole front extra stability, and a neater finish with no facings flipping out. It is not always necessary to interface with a bigger facing either.
It would be nice to see how you actually sew the facing with or without the collar.
Nice clear tutorial. I love seeing on-the-fly sewing techniques. It's one thing to create a garment from a pattern and another thing to make the pattern pieces. It gives you a better understanding of how things go together and the more you do it, the more cleanly things do go together. Thanks!
- Rogues of Thread
bythebodkin.wordpress.com