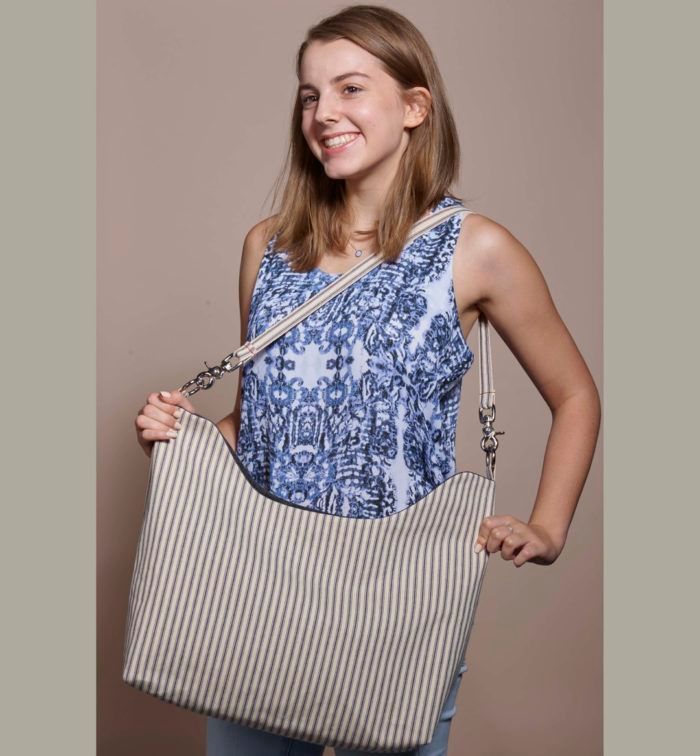
I’ve been buying and making handbags for a long time, and I’ve discovered one of the most important, but not always mentioned features, is the “strap drop.” This is the distance, or drop, between the strap’s apex and the tote’s top edge.
When you grab a tote with one hand, you want to be able to swing it onto your shoulder, without catching your elbow. The strap drop correlates to the distance from the base of your thumb to the tip of your elbow. The ideal strap drop is individual, but the goal is to have a strap drop longer than your forearm.
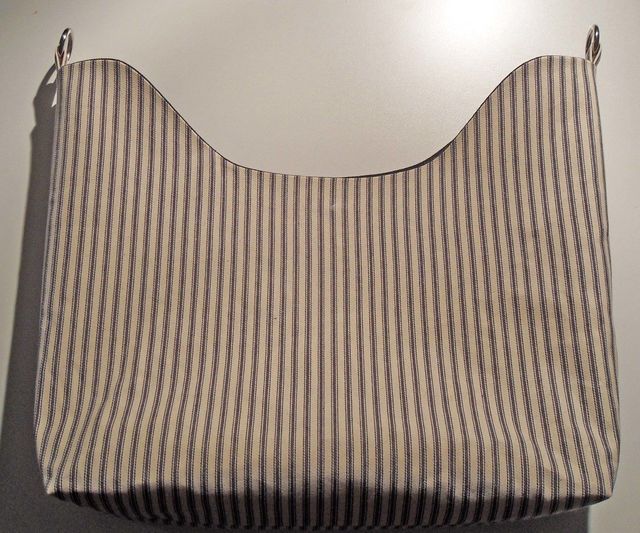
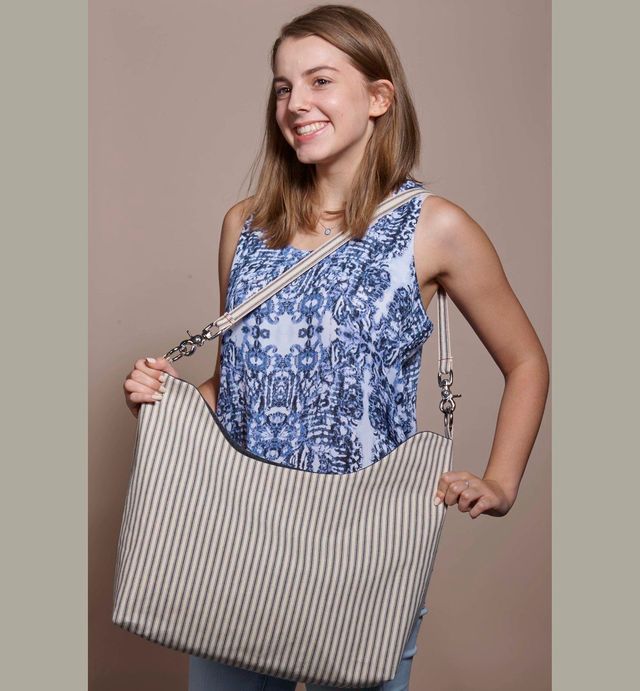
This very simple tote cheats on strap drop with a curved top edge. I like this style because I can cut a shorter strap and have the tote sit on or above my hip when I wear it, while having enough room to swing it onto my shoulder easily with one hand.
This version features heavy-duty hardware, from materials found at almost any hardware store. The body of the bag is ticking fabric underlined with fleece for a bit of structure without sacrificing softness. Make it in a home décor fabric with body, or faux suede, faux leather, or denim. You can incorporate fringe into the side and/or bottom seams easily for an on-trend look.
Bags take a lot of wear. Look for a fabric treated for water and stain resistance. Many home décor fabrics tout a Scotchgard treatment that keeps them looking great longer. If you make a denim bag, it’s unlikely you’ll find pretreated denim, but you should treat the finished bag yourself with a Scotchgard spray. Not only does the denim need protection from the elements, your lighter-colored garments will be protected from denim dye transfer.
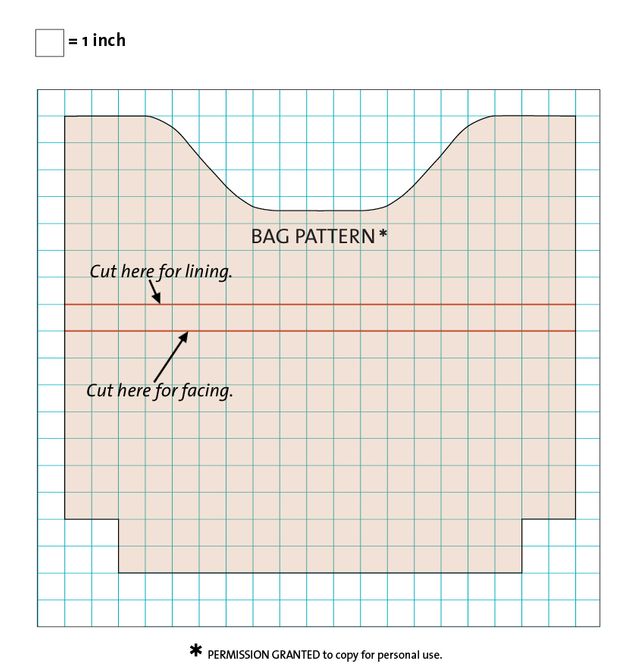
Cut the pattern and fabric
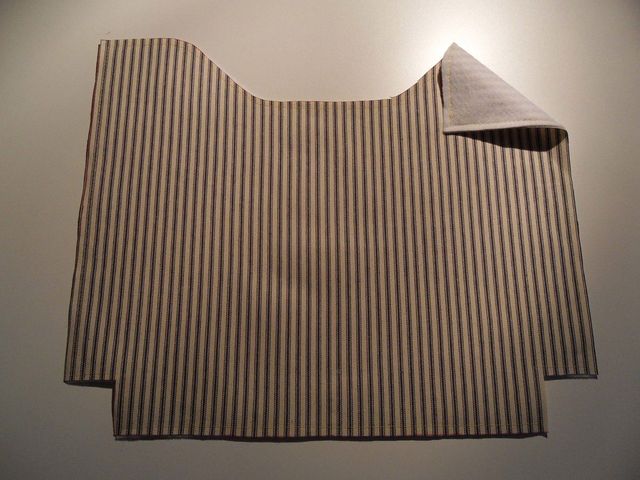
Cut a bag front and a bag back from fashion fabric.
Cut two bag facings from matching or contrasting fashion fabric.
Cut one 3-inch by 30-inch tab and strap piece from fashion fabric.
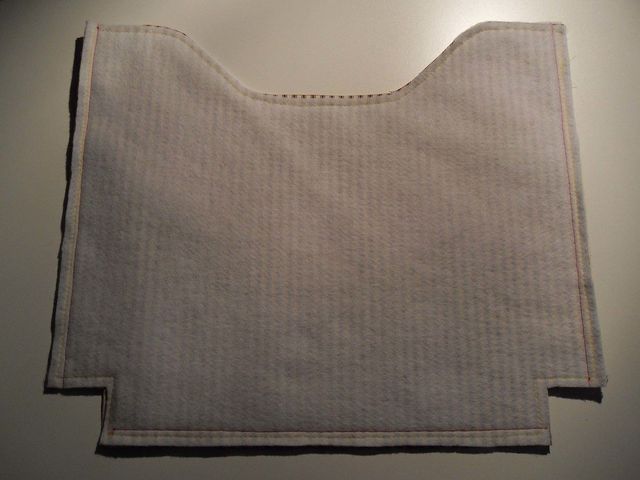
Cut a bag front and a bag back from fleece.
Cut two bag lining pieces from lining fabric.
Sew the exterior
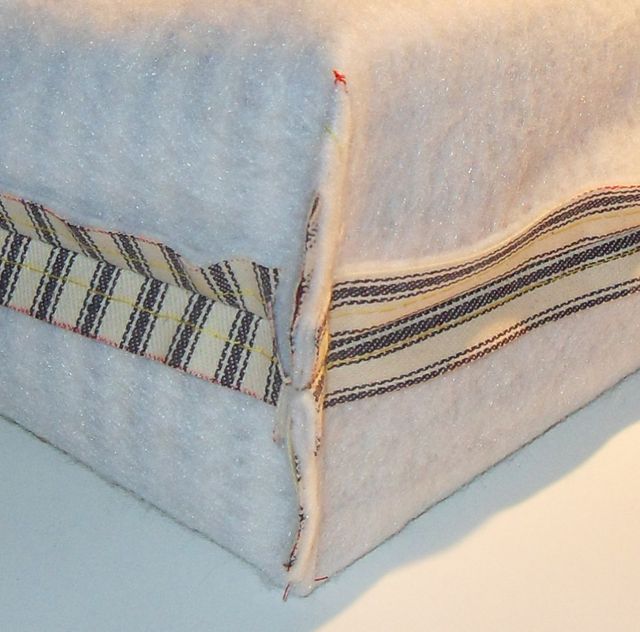
The bag’s sides are underlined with soft fleece for structure. Baste the underlining in place, then sew the side seams. Sew and shape the bag bottom. Before going on to construct the bag’s interior and details, it’s important to clip and trim the seam allowances. Paying attention to this detail will ensure the bag has smooth, flexible seams like a designer version.

1. With wrong sides together, layer the bag front over the corresponding fleece piece. Align all edges, then baste the bag front and fleece together with a 1⁄4-inch-wide seam allowance. Repeat with the bag back and corresponding fleece piece.

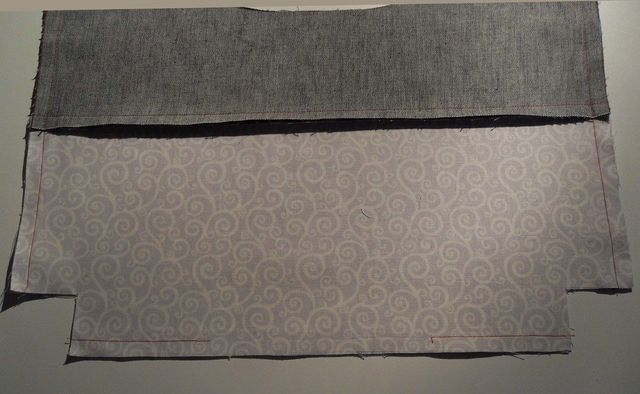
2. Sew the side seams. With right sides together, align the side edges of the bag front and the bag back. Stitch each side seam with a 1/2-inch-wide seam allowance.
3. Sew the bottom seam. Stitch the bag front to the bag back along the lower edge only with a 1/2-inch-wide seam allowance.
4. Press the seams as sewn, then press the allowances open. If the material cannot be pressed, finger-press the seams open and hold with a little bit of glue.
5. Shape the bag bottom. Bring a side seam to meet the bottom seam, aligning the raw edges. Stitch across the corner with a 1/2-inch wide seam allowance. Repeat with the side seam to shape the opposite corner.

6. Trim the seam allowances. Trim the corner seam allowances to 1/8 inch wide.
Make the strap and tabs
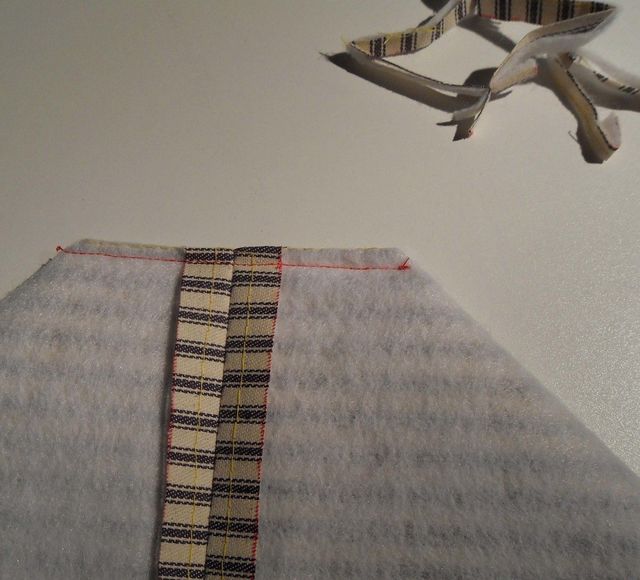
Fabric tabs connect the bag hardware and the strap to the bag. You’ll fold and sew a single fabric piece, then cut it to make two tabs and the strap. Make the tabs and add the ring hardware now. Set them aside until it’s time to sew them into the bag’s facing and lining seam.
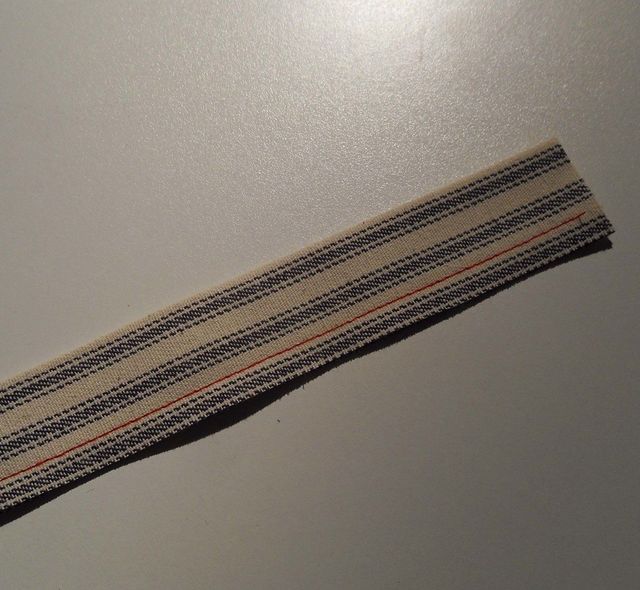
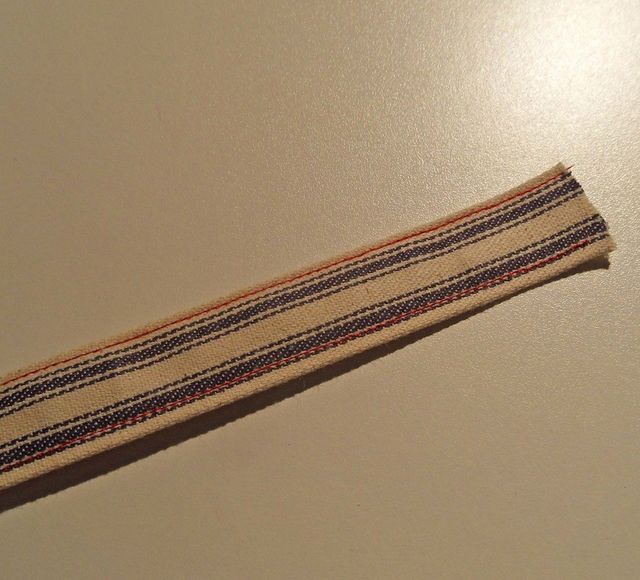
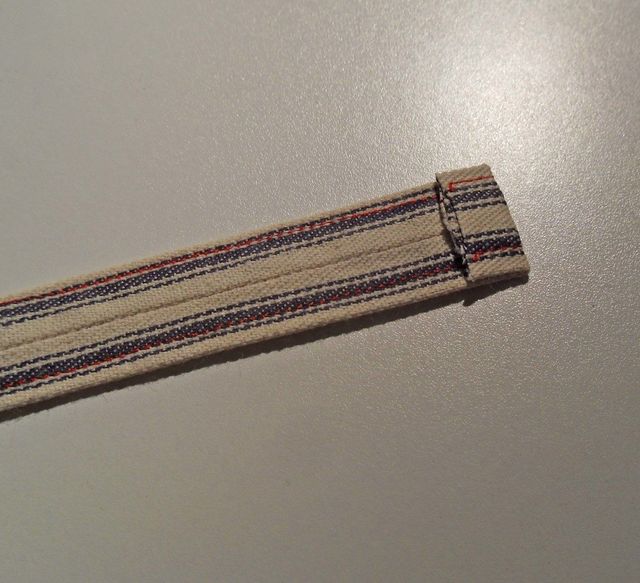
1. Fold the 3-inch by 30-inch fabric strip in half lenthwise, right sides together. Stitch 1/4 inch from the aligned long raw edges.

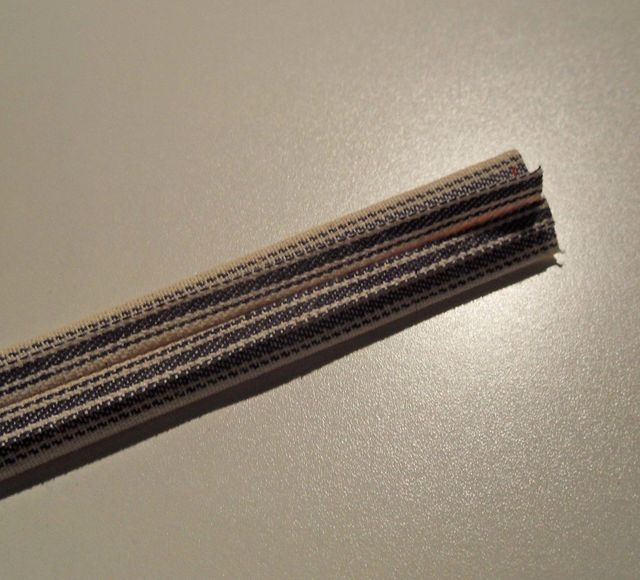
2. Press as sewn, then press open the seam allowances. Turn the fabric tube right side out. 
3. Center the seam and press the fabric tube flat. Topstitch 1/8 inch from each long edge. 
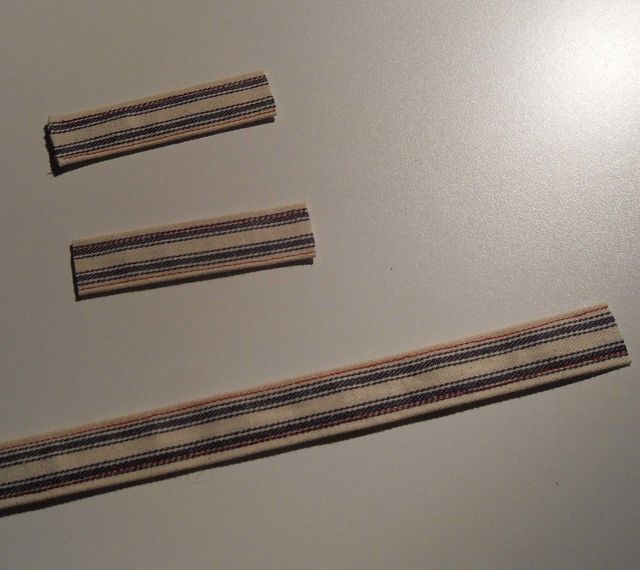
4. Cut two 3-inch-long tab pieces from the fabric tube. The remainder is the 24-inch-long strap piece.

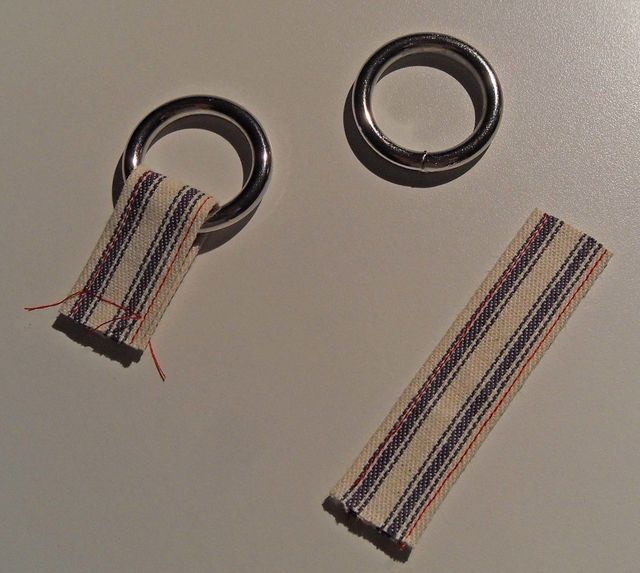
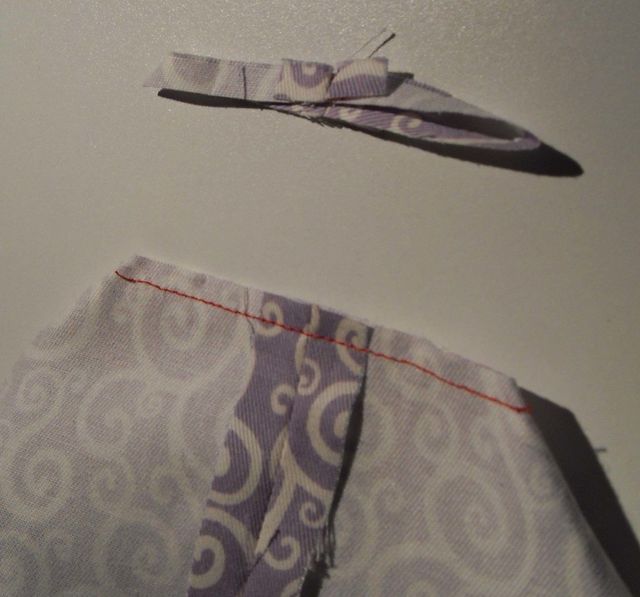
5. Fold a tab wrong sides together through a ring. Baste or tack to secure the fold. Repeat with the other tab. 
Sew the interior
The bag interior is the same size and shape as the exterior but formed from facing and lining pieces. Once the interior is constructed, it’s ready to be sewn to the bag exterior along the top edge seam.
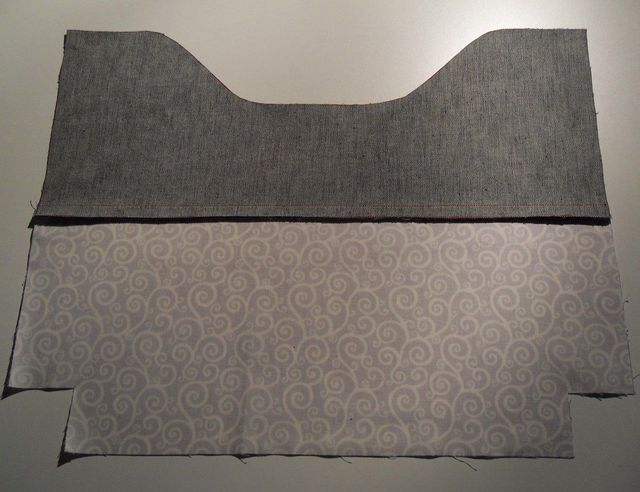
1. Connect the facing pieces to the lining pieces. With right sides together, align the bag front facing’s lower edge to the bag front facing’s upper edge. Sew with a 1/2-inch-wide seam allowance. Repeat with the bag back facing and lining.
2. Press the seam allowances. Press the facing and lining seam allowances toward the lining.

3. Sew the side seams. With right sides together, align the side edges of the bag front facing/lining and the bag back facing/lining. Stitch each side seam with a 1/2-inch-wide seam allowance.

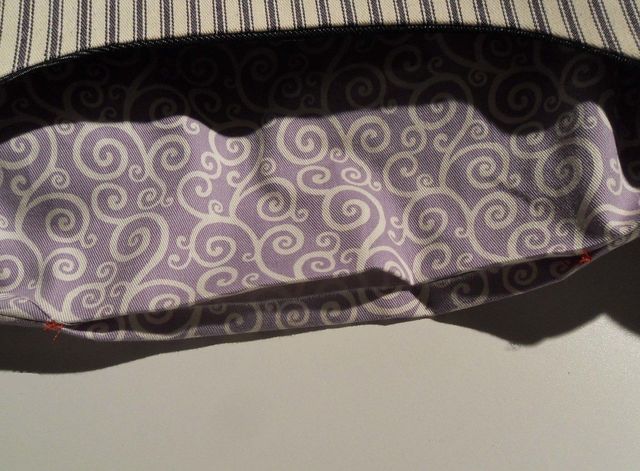
4. Sew the lining bottom seam, leaving a turning opening. Sew about 3 inches at each end of the lining bottom seam, with a 1/2-inch-wide seam allowance. Leave the center 8 inches of the lining bottom seam unsewn, to turn the bag right side out later.
5. Shape the bag lining bottom. Bring a side seam to meet the bottom seam, aligning the raw edges. Stitch across the corner with a 1/2-inch-wide seam allowance. Repeat with the side seam to shape the opposite corner.
6. Trim the corner seam allowances to 1/4 inch wide.

Connect the interior and exterior
The bag’s interior of lining and facing mirror the bag exterior. Align the magnetic closure halves carefully, so that the bag closes evenly and smoothly. Once the interior and exterior are connected by the top edge seam, with the ring tabs caught in the seam, turn the whole project right side out through the turn opening in the lining.
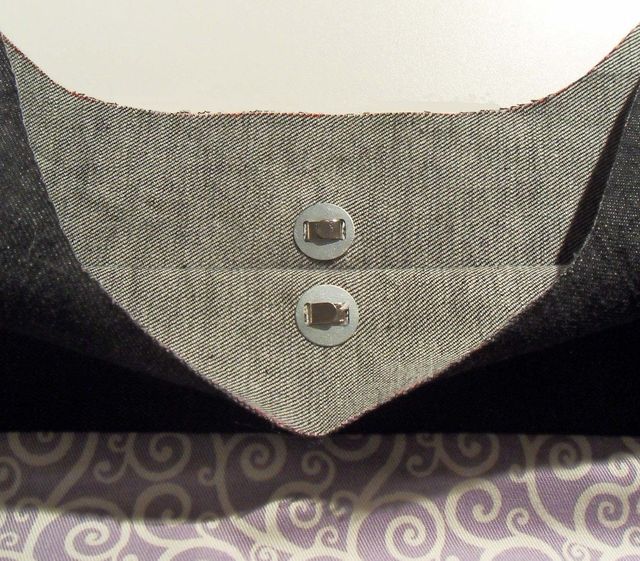
1. Add the magnetic snap closure to the bag. Follow the manufacturer’s instructions to install the magnetic closure at the bag front facing and the bag back facing’s centers.

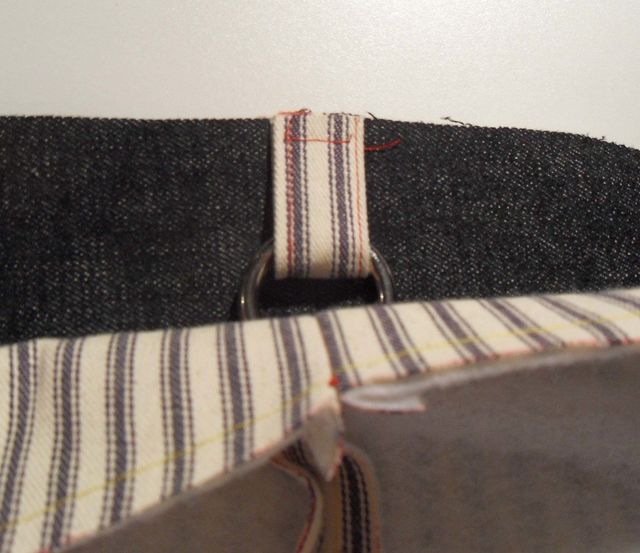
2. With right sides together, fit the bag facing/lining inside the bag exterior. Be sure to match the bag-front facing/lining to the bag-front exterior. Place the tabs between the bag facing and the bag exterior, centered over the side seams. Align the tabs’ raw ends to the bag edges.

3. Stitch around the bag top with a 1⁄2-inch-wide seam allowance. If the material can be pressed, press the seam as sewn.
4. Trim the bag facing and bag seam allowance to 1/8 inch wide. Clip 1/8 inch into the curves if necessary.
5. Turn the bag right side out. Use your fingertips to roll the facing and bag seam to the edge, then just within the bag. Press. If desired, hand-understitch or machine-edgestitch the bag’s edge, keeping the seam just within the bag.

Finish with the strap
The final touch to make the tote functional is the strap. Compare the strap length, and the strap drop, to other handbags you like to carry, and adjust it to your preference before completing the strap attachment.
1. Fold a strap end 1/4 inch to the wrong (seamed) side. Baste if necessary to hold the fold. Repeat with the other strap end.

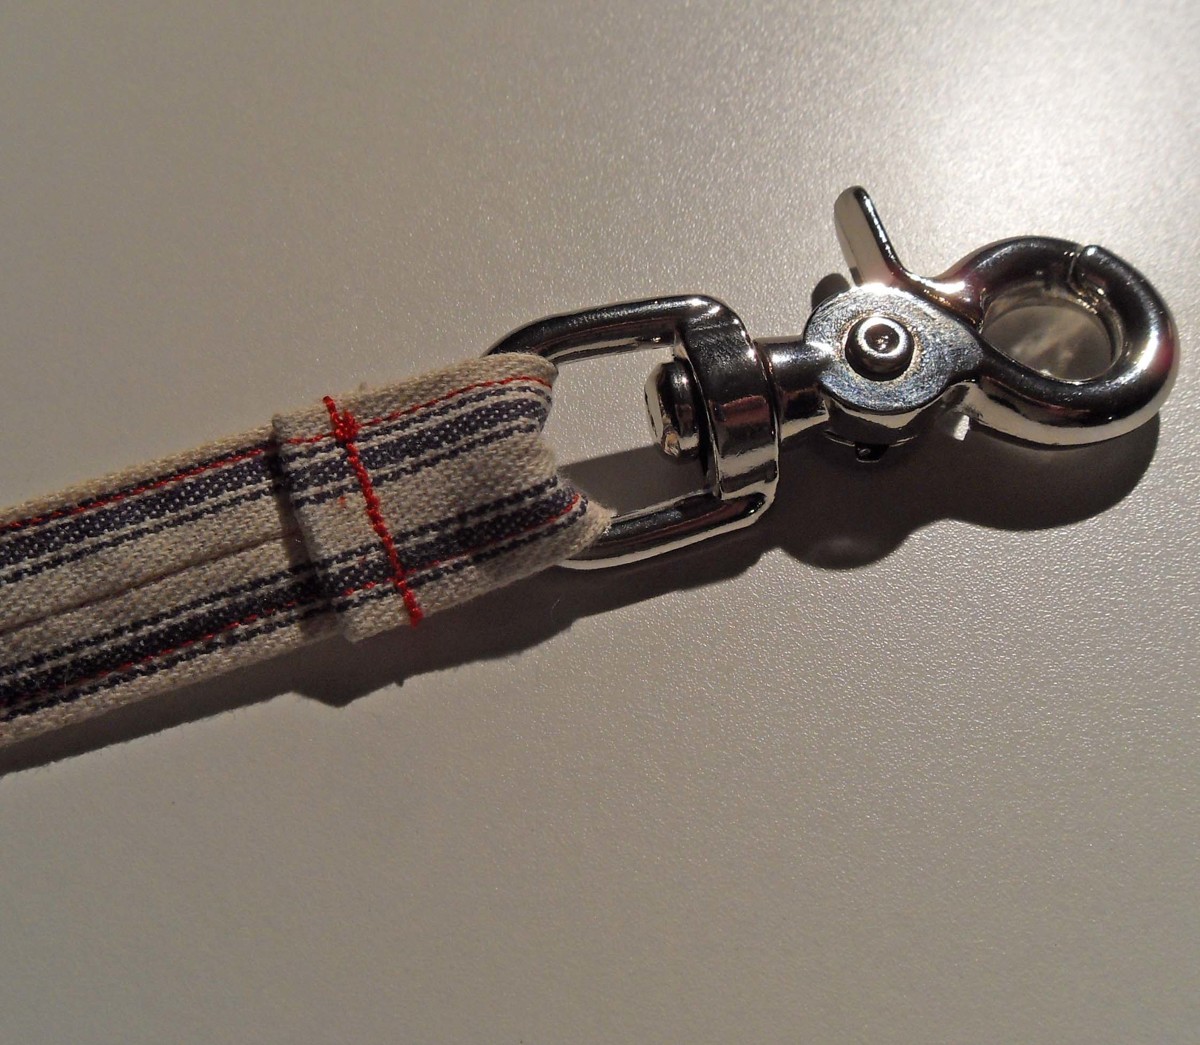
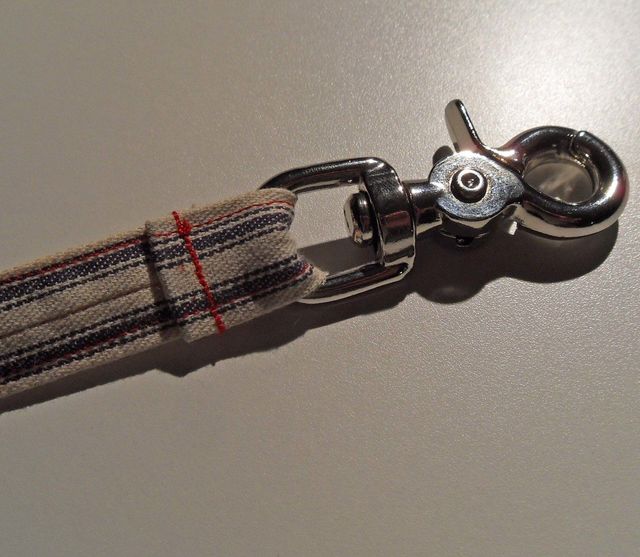
2. Fold a strap end to the strap’s wrong side again, this time through a toggle clasp attachment ring. Make the fold deep enough so that the ring won’t block the presser foot when you sew through the strap. Baste or tack to hold the fold in place. Repeat with the other strap end and toggle clasp.
3. Stitch through the folded strap ends securely to attach the toggle clasps. Place the stitching about 1/8 inch from the first fold in the strap and stitch through all layers. Clip the strap to both tabbed rings. You also can pull one toggle clasp through a ring, doubling and shortening the strap.
4. Slipstitch the turning opening closed. Pat the lining down into the bag and into the bag bottom corners.





Very nice. I'm thinking of making it 1/2 size; and that inside seam between facing and lining is a perfect place to insert a pocket, even with a zipper closure to stash things more safely with only a magnetic closure at the top.
Can't click to enlarge the pattern It goes to an error page.
Sorry to say that the enlargement was NOT to be found - goes to an error page. Definitely needs some inner pockets. Cute shape! Hopefully you'll fix the error.
Hi Craftretiree and Ustabahippie: I've tested the pattern link on all browsers and it appears to be working. Please copy and paste this link into your web browser: http://bit.ly/curved-top-tote-pattern
Sorry for the inconvenience and please let us know if that works.
Thank you,
Evamarie Gomez
Web Producer
Got it! Thanks.
This looks fancy and I bet it will be enough to hold all my stuff. And I really like the material. Do you think it will suit for a kitchen apron? I think it will protect really well from hot oil splashes, but I'm no specialist.
I really loved the curved edge, but I am also thinking about 1/2 sized version of it in order to be proportional to my own body size :)
Hi ustabahippie and ZoeHowell, I think the idea of resizing the bag and adding interior pockets is brilliant. I deliberately kept the how-to information simple for the post, but the design is easy to customize. (I plan on doing a smaller, fringed version myself!)
I don't think I will start sewing with this pattern but I really like it. When i will get better hands :)
I feel like I'm going to become a very skilled sewer after following your posts, guys. I've always the imagination but lacked the skill to implement my greatest ideas... Thank you so much.