

If you pack a lunch or snack for work, here’s a project that adds some style to your midday meal bag: a mini lunch tote.
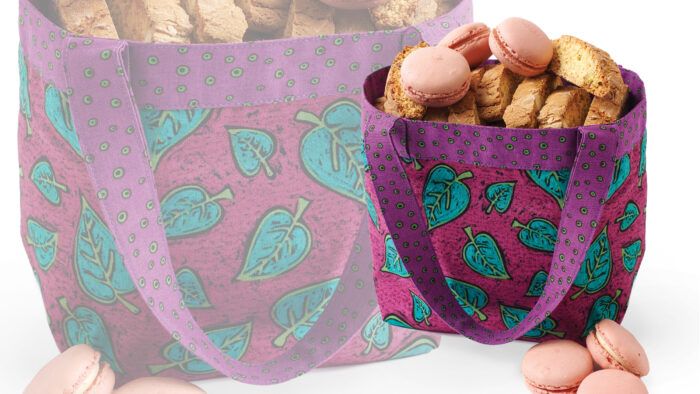
My favorite lunch bag pattern was inspired by a gift I received from a neighbor. We had hosted her son while she and her husband took an anniversary trip to Hawaii. She brought a lovely fabric tote filled with macadamia nuts and dried pineapple as a thank you. The tote was the perfect size for my microwave lunch containers, and I used it until it fell apart. It also makes a great hostess gift for the holidays when filled with cookies.
This mini lunch tote project is quick to make and a great stash buster. Use stable, washable fabrics: Quilting cottons are ideal, but lightweight denim and twill would also work. Coated or laminated cotton yields a leakproof bag.
Prepare the pieces
You’ll need a lining, exterior, and two straps, cut to these measurements:
Lining: 11 inches by 20 inches
Exterior: 11 inches by 20 inches
Straps: Cut two, 3 1/2 inches by 17 inches. Fold the straps lengthwise and press. Fold the raw edges into the center and press.


Create the lining and exterior layers
1. Fold the lining piece in half, with right sides together, and align the 11-inch-long edges. Sew the sides, using a 1/4-inch-wide seam allowance. Repeat for the exterior piece. Press the seam allowances open.
2. On each layer, bring the side seams together, creating two points at the bottom. Stitch across each corner, perpendicular to the side seam and 2 inches from the point.


3. Join the lining and exterior bags. Place them with their flat bottom sections together and points aligned. Stitch along the corner seams to join the layers.


4. Turn the exterior layer out, over the lining.

Add the straps and finish the upper edge
1. Edgestitch the long edges of each strap. Press under 1/2 inch at each short end.
2. Fold the bag’s upper edge to the outside by 1/2 inch and press. Fold again by 1 inch to enclose the exterior and lining’s raw edges. The lining now shows at the upper edge.
3. Measure and make a mark 2 1/2 inches from each side seam on the bag’s front and back. These are the strap placement marks.
4. Tuck the straps’ folded ends under the upper edge’s lower fold, at the placement marks. Place one strap on the front and one on the back. Pin.


5. Edgestitch along the bag’s lower fold and upper edge to secure the edges and straps.

Fill the completed mini tote with treats and give it to someone sweet. Consider accompanying the tote with a custom earring envelope.

Photos: Mike Yamin.


Log in or create an account to post a comment.
Sign up Log in