
How to Transform a Standard Curved Armhole into a Square-Cut Armhole
A simple vintage jacket reveals an attractive and unusual feature. Here's how to sew it.

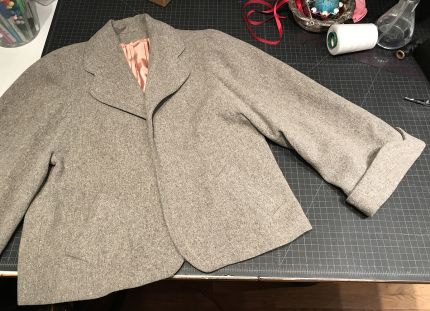
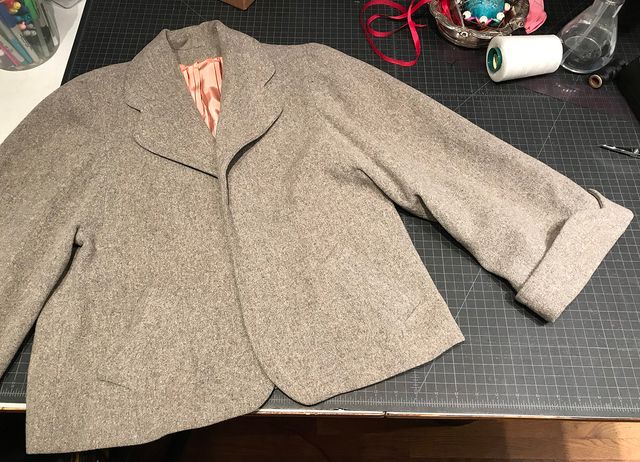
In my travels to thrift stores looking for vintage garments, I sometimes almost overlook deceptively simple garments like this minimalist little jacket.

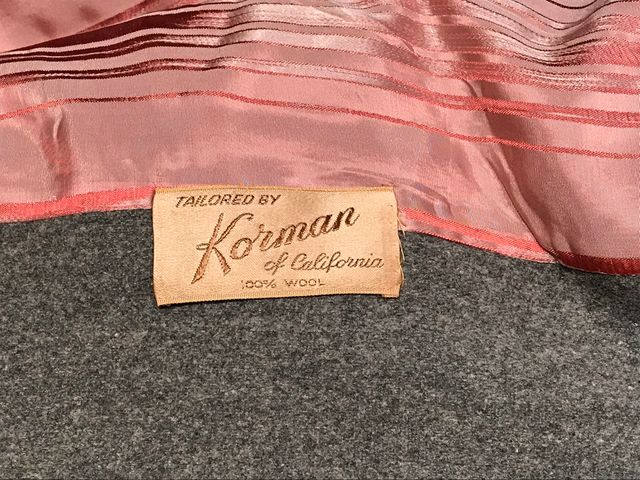
I love vintage tailored clothing from the 1950s. This is the label from a company long gone.
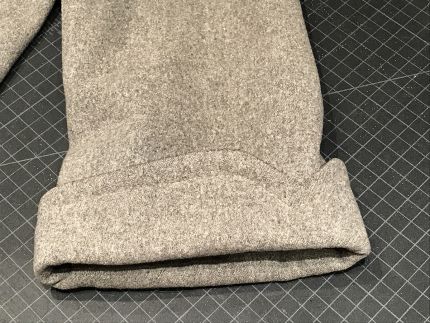
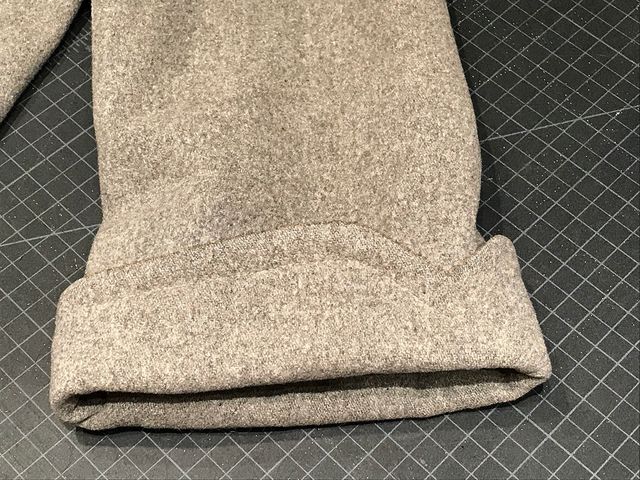
The jacket happened to catch my eye because of the shaped cuff detail.
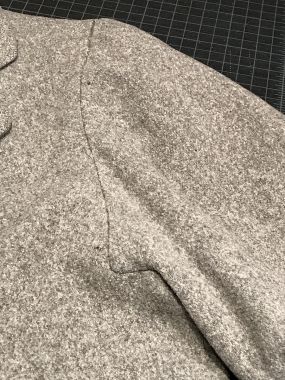
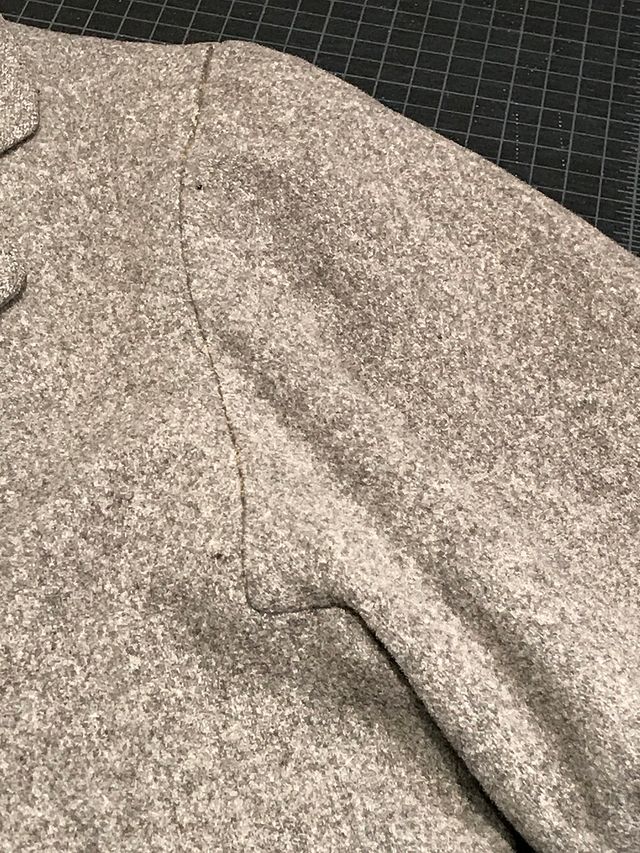
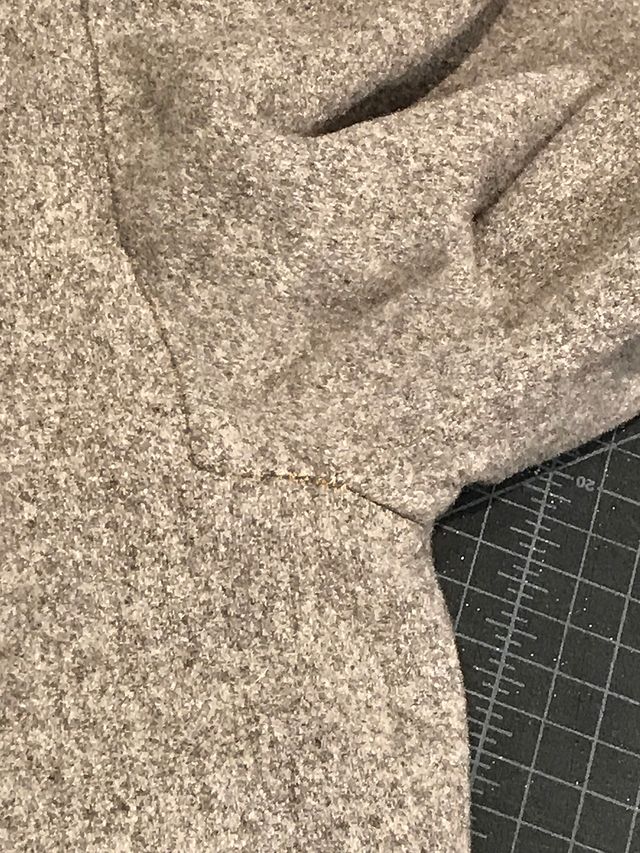
When examining the cuff, I noticed another interesting detail about this jacket: the square-cut armhole. Here’s the view with the sleeve lowered. Notice the right angle on the lower portion of the armhole.
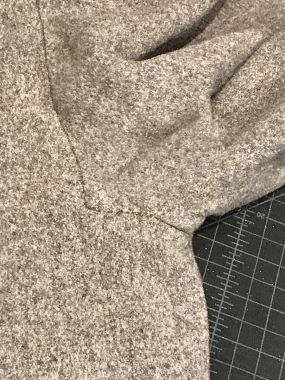
This is the view with the sleeve raised. You can see that there’s a slight curve in the underarm area, but the armhole then turns at a right angle as it travels up toward the shoulder seam.
I’ll show you how to transform a standard curved armhole into this distinctive shape. It’s a subtle and sophisticated addition to a simple design and is especially nice on a smooth, solid-colored fabric where the seam shape will show up.
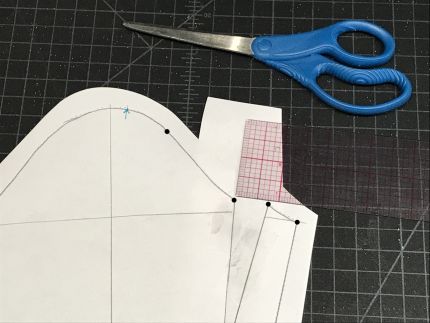
This is relatively easy to draft. It requires a bodice and sleeve with a lowered armhole, such as in a casual jacket. I will demonstrate the process on the bodice front, but the same steps are used to get the bodice back armhole.
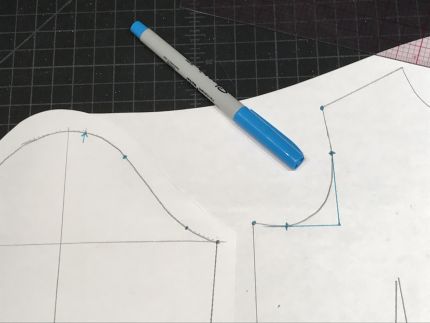
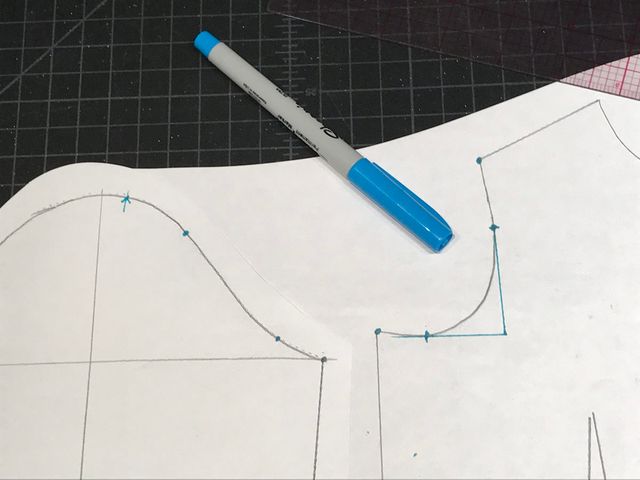
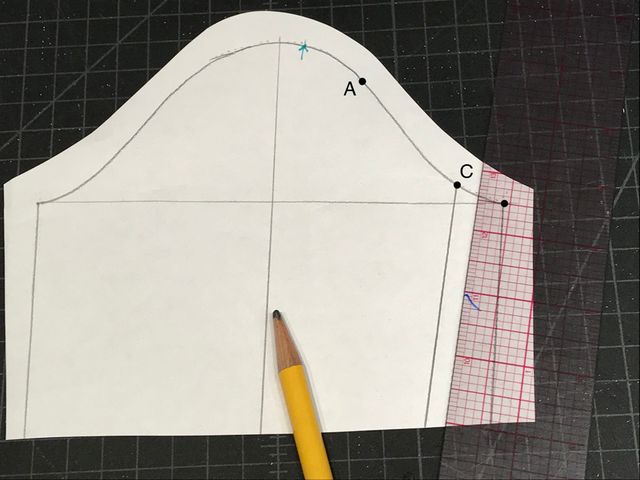
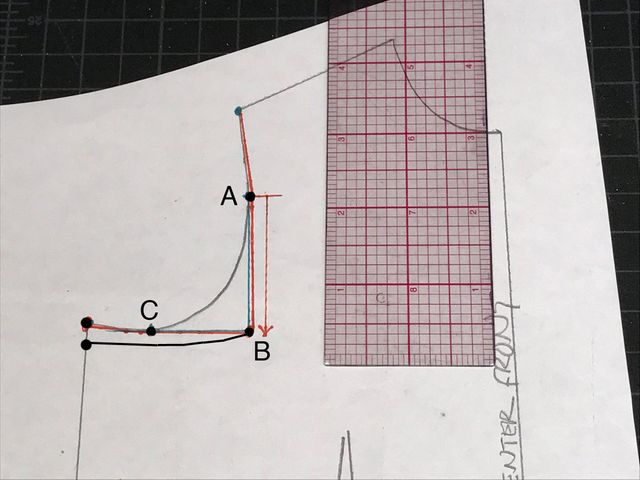
Drop a line down from the armhole, parallel to the center line. Extend a line horizontally from the underarm that is perpendicular to the center line. These lines are drawn in blue.
Also mark points where these lines intersect the original armhole. You will transfer these points to the sleeve armhole.
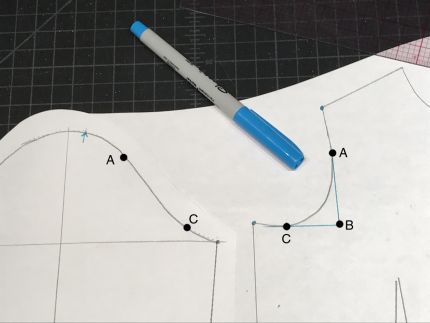
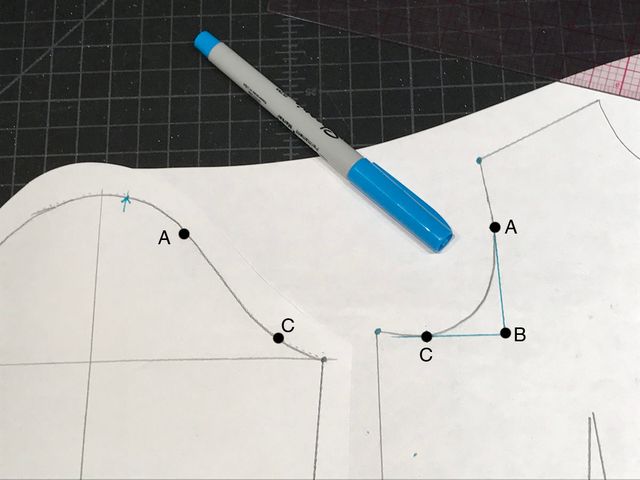
Label these points A, B, and C, as shown.
Measure back from the underarm on the bodice to C and A.
On the sleeve front, measure back from the underarm, to mark points C and A on the armhole seam.
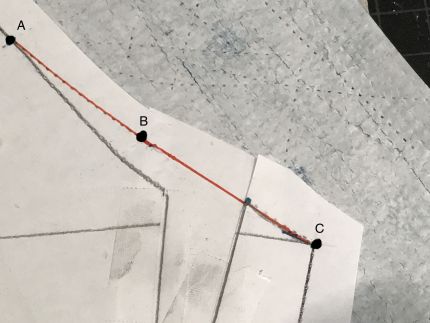
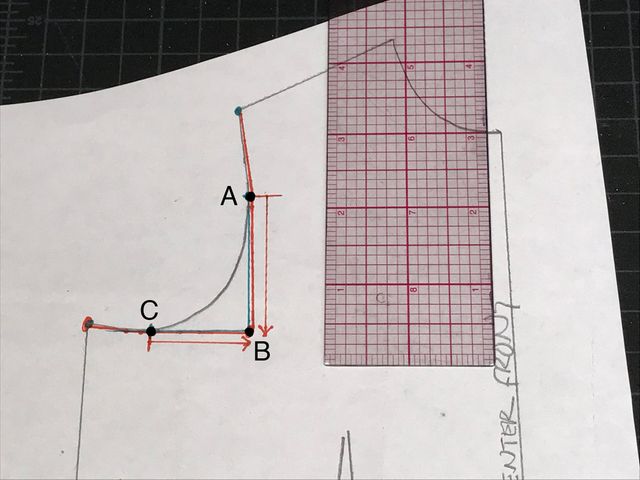
To determine the sleeve insertion, measure first the curve from A to C.
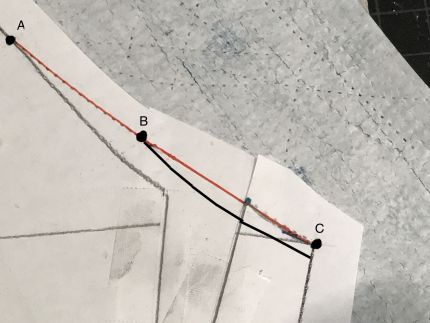
Next, measure the combined lengths of lines AB plus BC. This measurement will be longer.
Subtract the length of curve AC from the lines ABC, to get the amount of additional sleeve-cap seam length you need to match the new square armhole.
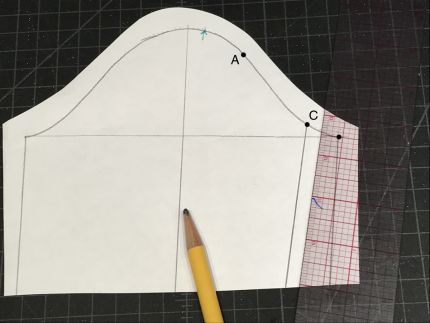
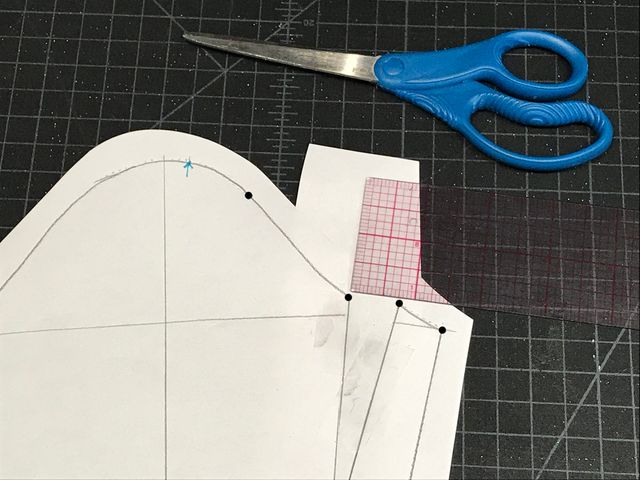
Draw a slash line from C to the sleeve hemline.
Slash the sleeve pattern from C to but not through the hemline, along the drawn line. Spread the sleeve-cap seamline by the amount you determined. Insert paper to fill the opening.

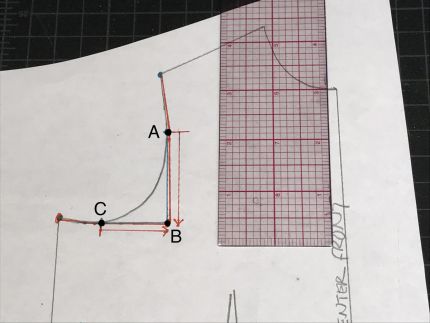
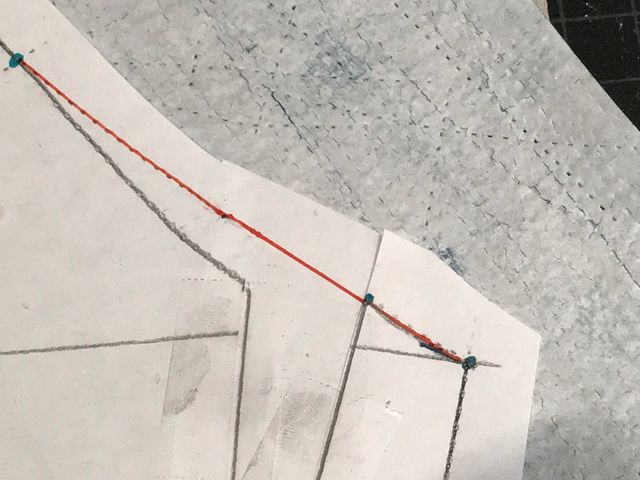
Draw a straight line from A to the underarm.
Mark A, B, and C along this new line.
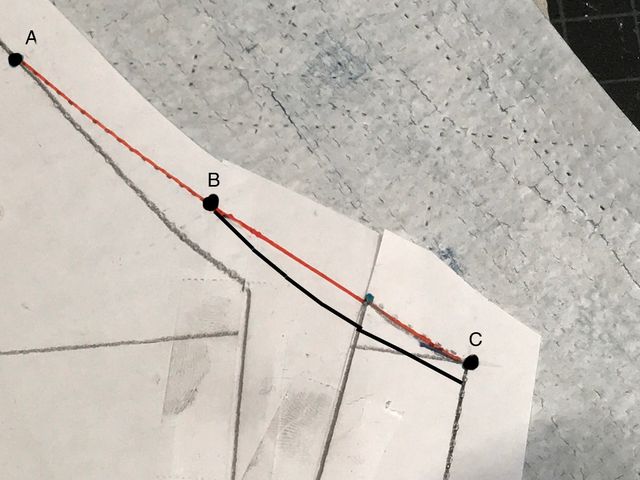
From the underarm, lower the armhole 1/4 inch, and curve back up to B.
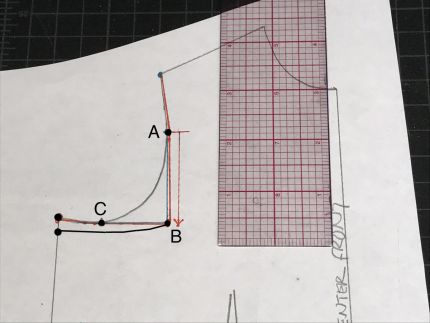
On the bodice, make the same amount of curve, dropping the underarm by 1/4 inch and curving back to B.
Construction:
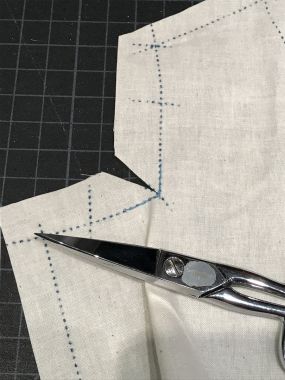
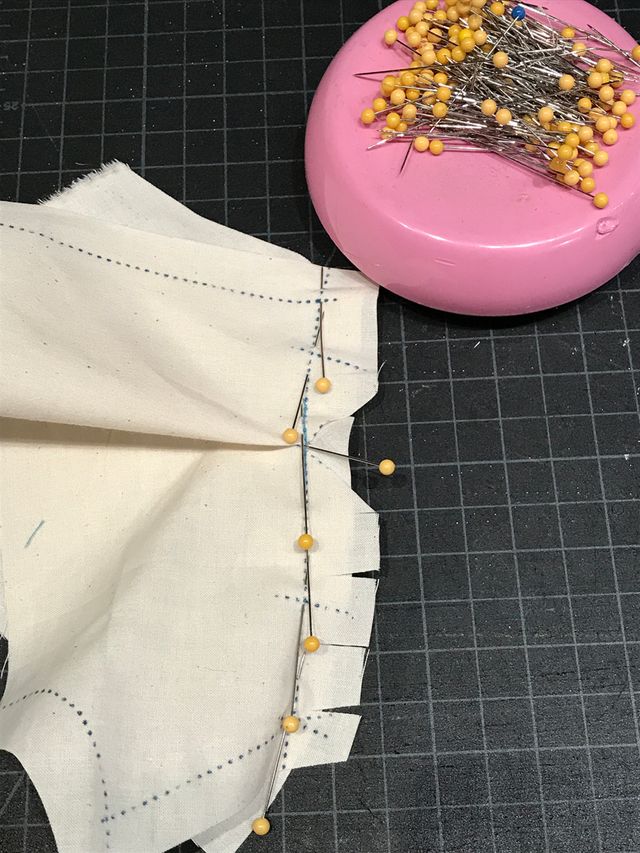
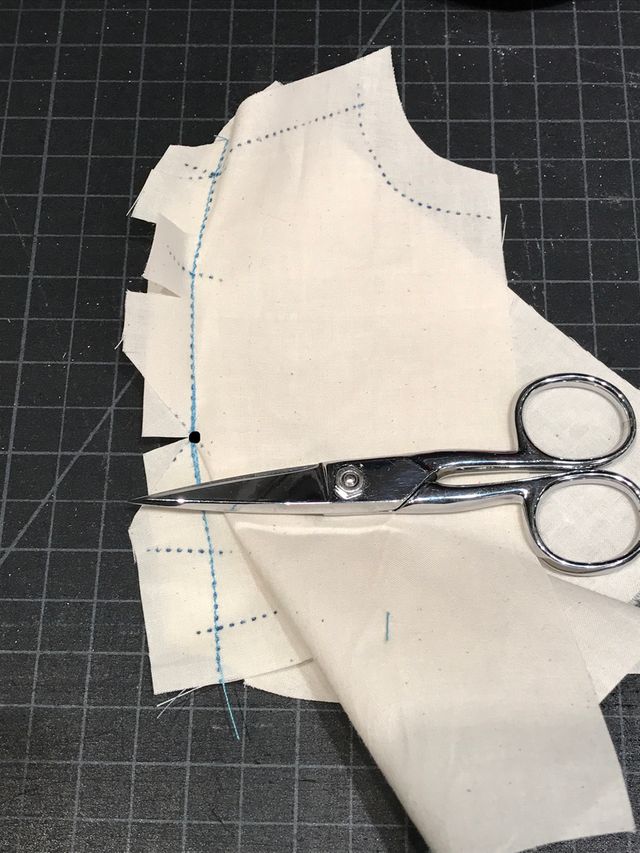
This sleeve is relatively easy to construct. When marking the fabric, make sure you mark the stitching line, and points A, B, and C on both pieces.
Sew 0.5 mm-long staystitching along the corner, at B. Clip into this angle.

Pin the sleeve to the bodice, matching A, B, and C.

Sew the seam, and clip the sleeve seam allowances at B.
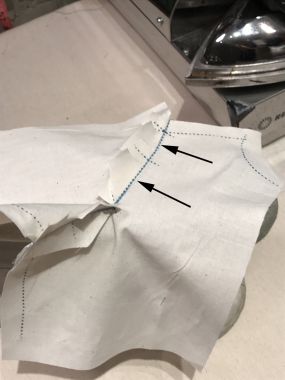
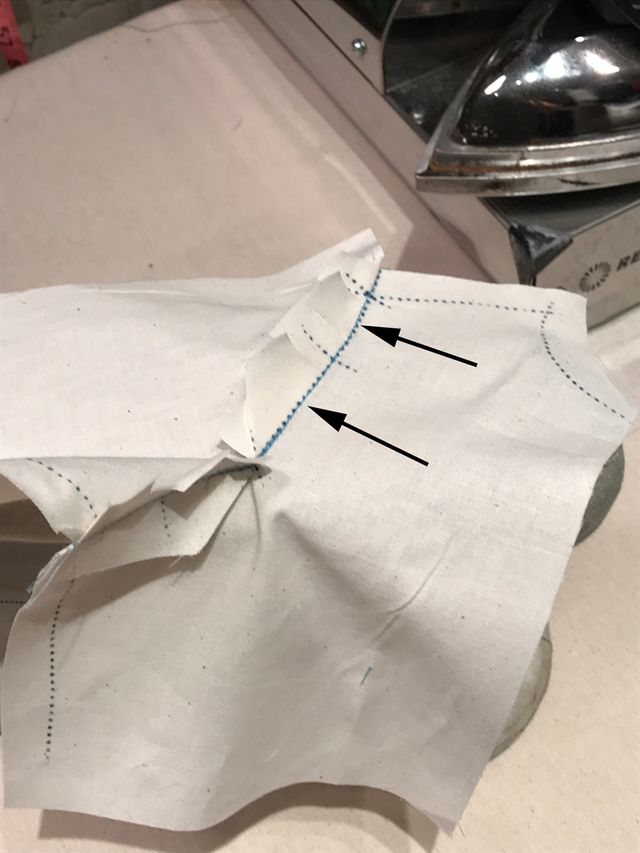
When pressing, press both seam allowances toward the sleeve above B. Press the seam open below B.
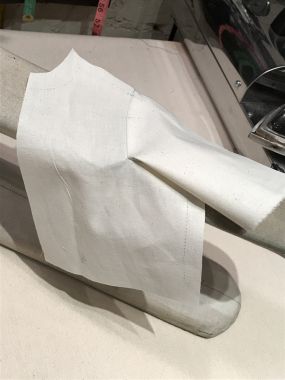
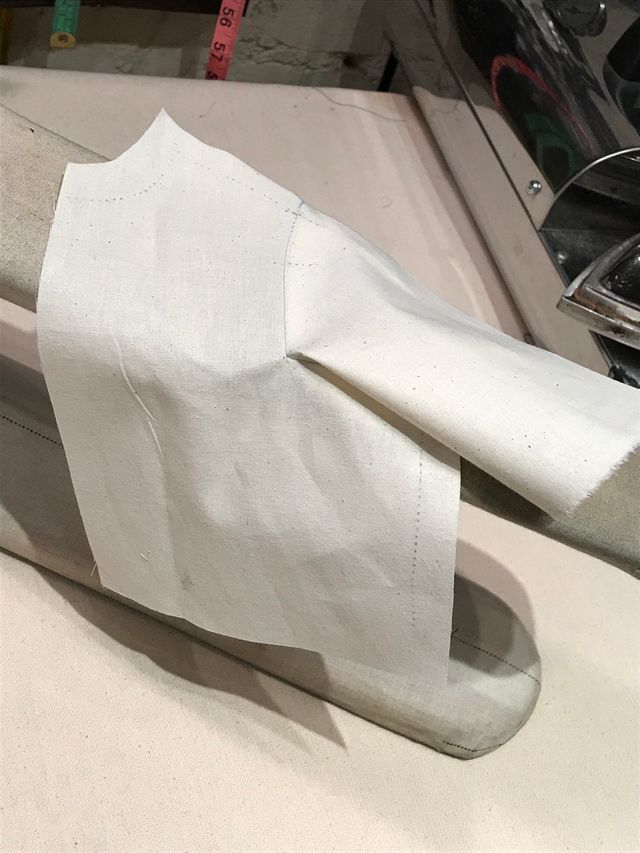
In this sample with the sleeve lowered, you can see that the sleeve forms a gentle fold at B.
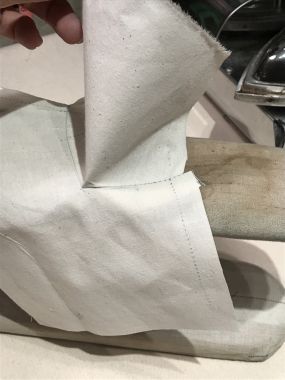
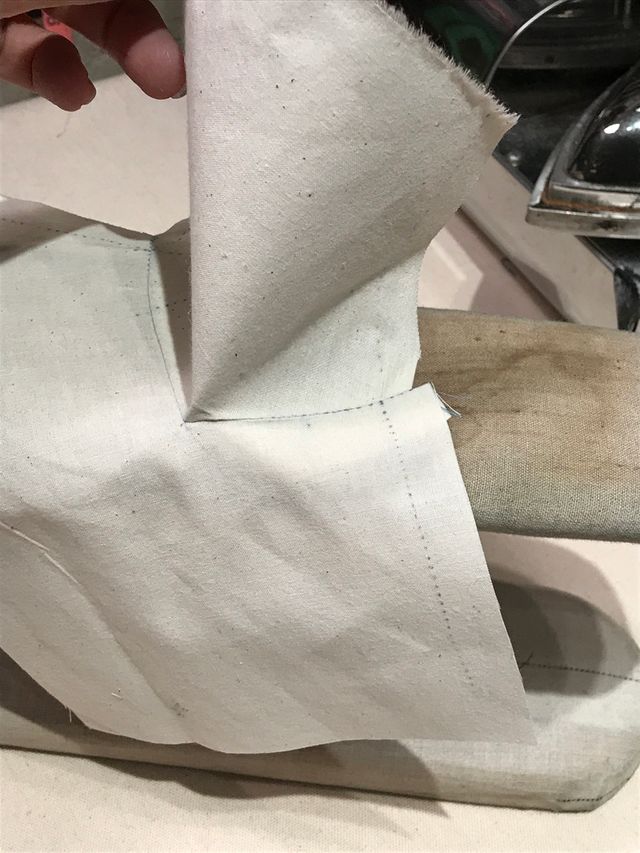
With the sleeve raised, you can see the gentle curve under the arm, which makes the sleeve fit better.


nice post
nice post
I have a sleeveless pattern with a squared-off armskye. Always wanted to add a sleeve to it. Now I can! It's way easier than I imagined. Thank you!
nice post
Now I can! It's way easier than I imagined. Thank you!
Thanks for the great tips for creating this comfortable and interesting armhole. Reminds me of a coat that my mom sewed for me in 1978, a Vogue Paris Original, Vogue 1538 by Emanuel Ungaro, which offered patterns for the coat, pants, skirt and pullover which still look fashionable today, well at least to my eyes, anyway. Am a longtime subscriber who has enjoyed and learned from your many astute articles.
Do you need to do the same thing for the back arms eye and the back of the sleeve? If not, will it hang properly?
I've been wanting a square armhole how-to for ages. Thank you, Kenneth. As usual, you've simplified and clarified the process.
Great post, and a beautiful jacket. I would love to find a pattern for it, or something close to it. Any suggestions?
What a great idea. Thank you for the clear instruction for altering a pattern.
psfws1963 writes: I love the vintage jacket, it has a very unique style of cuffs. I like how you showed the drafting of the jacket as well, Are you going to make a duplicate from the original vintage jacket.
If you make a duplicate of the jacket you should show us!
To psfws1963: No, I bought the jacket to illustrate this armhole for my patternmaking classes at FIT. Since it's such a lady-like jacket, I couldn't wear it successfully, so no duplication.
This was really great. I am in my seventies and always love learning something new! Thanks!,