
How to Machine-Embroider Lace Napkin Rings
Choose embroidery thread that coordinates or contrasts with your napkins to stitch these fancy rings.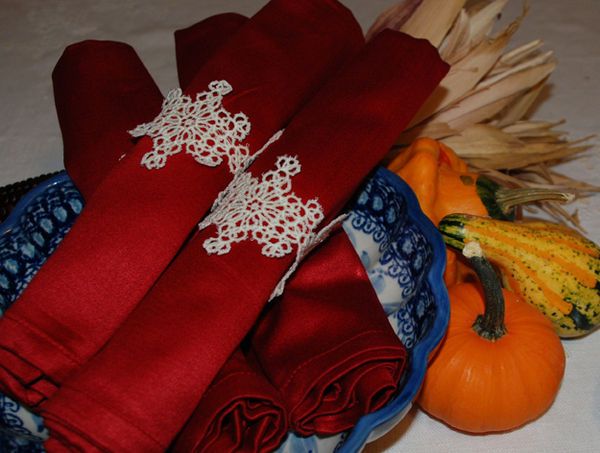
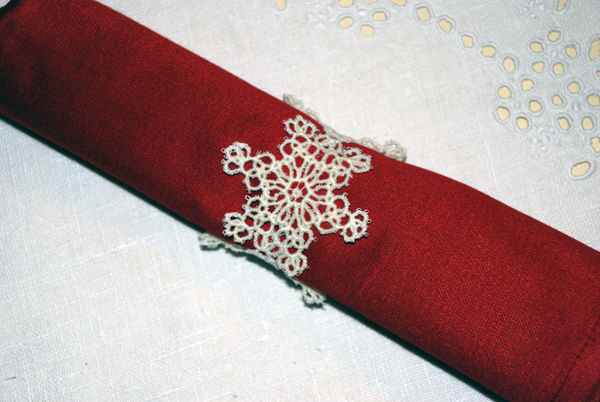
Lace napkin rings are quick to sew and are an easy way to add elegance to your table setting without a major overhaul. Simply import the design into your embroidery machine and push a button. You don’t have to baby-sit the machine because these snowflakes stitch out in one color on a double layer of wash-away stabilizer.
Supplies
- Freestanding lace embroidery design (Consider the snowflake design from Criswell Embroidery & Design)
- Wash-away stabilizer such as Aqua Mesh from OESD
- Embroidery thread of your choice
- Metallica needle size 12
- Hand-sewing needle
- Embroidery machine and the smallest hoop in which the design will fit
- Embroidery software if you own it. Designs can be customized easily on the computer and then transferred to the machine
Choose and Prepare a Design
There is one challenge when you are embroidering freestanding lace—that’s finding a design that’s truly freestanding. If you get your designs from a company that has a reputation for digitizing good-quality, freestanding lace designs, it’s easy. I think one of the best is Criswell Embroidery & Design. Their K-Lace designs always hold together after the stabilizer is washed away. The snowflake design I used for my napkin rings was a free download.
If you find a lace design elsewhere, be sure that it’s labelled as a freestanding lace design. Even if it looks substantial, it may fall apart when you rinse away the stabilizer. Freestanding lace designs are specially digitized to include stitches that support the design, even without backing fabric.
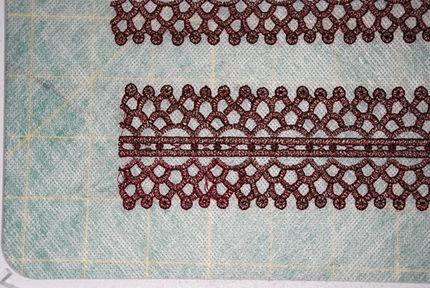
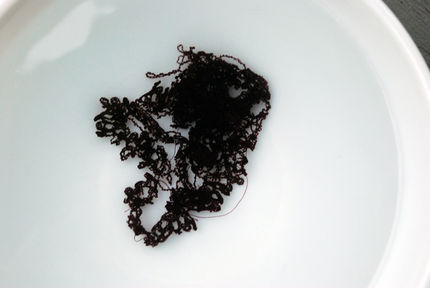
I purchased a beautiful mesh lace edging design that looked like a great option for freestanding lace, but it was intended to be embroidered on fabric. Unfortunately, it fell apart when I soaked out the stabilizer.
If you fall in love with a lace design that is not intended for freestanding lace, you can embroider on netting or organza. These fabrics can be trimmed away easily to give the appearance of freestanding lace.
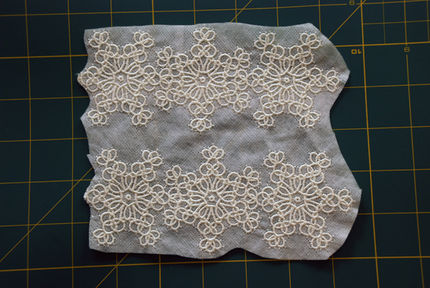
To make these napkin rings, I put together a few snowflakes to make a row that I could form into a ring. I imported the snowflake design into my embroidery software—you can also arrange individual motifs into a row on the screen of your embroidery machine.

Then I used the copy/paste features to link together the individual snowflakes to create a long enough rectangle to form a napkin ring. I ended up linking three snowflakes together. If you are using a different design or would like to find a rectangle ready to go, it should be 7 inches to 7 1/2 inches long.

Embroider the design
1. Thread the machine and wind a bobbin with the same embroidery thread.
Use a size 12 metallica needle.
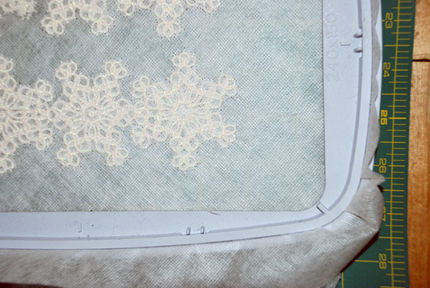
2. Hoop two layers of wash-away stabilizer such as Aqua Mesh.
Position the hoop on your machine. I was able to fit two napkin rings side by side in the hoop. Embroider the designs.
3. Neatly trim away the stabilizer.
Cut away as much stabilizer as possible around the edges of the embroidery without snipping the stitches.

4. Fill a large bowl with room temperature water.
Soak the trimmed embroideries in the bowl. (Note: Avoid using hot water to quickly dissolve the stabilizer, as it can shrink the thread and distort the design.)
5. Remove the embroideries from the water.
Allow them to dry on a clean, dry towel.

6. When the thread is almost dry, press the embroideries with a hot iron.
Be sure to use a press cloth.
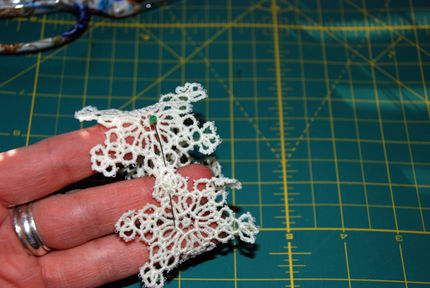
7. Pin the ends of the snowflakes together to form a ring.
Hand-stitch the ends together using a short piece of embroidery thread to form a ring.
Go to “How to Make Cocktail and Dinner Napkins” for a step-by-step guide to sewing cloth napkins with mitered corners.
This post by Jennifer Stern was originally published in November 2008 on Craftstylish.com.


Log in or create an account to post a comment.
Sign up Log in