
Double-Fold Bias Binder Tips | Web Extra
Learn how to deal with bulky seams.

Serger expert and pattern designer Gail Patrice Yellen explores a specialty coverstitch-capable machine accessory in “The Double-Fold Bias Binder,” from Threads #201, Feb./March 2019. This handy attachment folds, aligns, and stitches a double-folded binding in one pass. It is particularly useful for binding necklines or armholes on knits or wovens.
These tips are helpful for applying binding with the double-fold bias binder, but also for sewing cover-stitched hems or serging intersecting seams with multiple layers of thick fabric. The photos show a cover-stitched hem, to provide a better view of the techniques.
Bulky seams
When you bind a neckline using the double-fold bias binder, the stitching passes over one shoulder seam. The added bulk of the seam allowances may make it difficult to keep the stitching even and neat. At an intersecting seam, you’re stitching through seven layers of fabric: four binding layers, two seam allowance layers, plus a single garment layer.
Keep stitches smooth and consistent
Here’s how to maintain a smooth stitching line and consistent stitch length as you go over the added bulk of a shoulder or side-seam allowance:
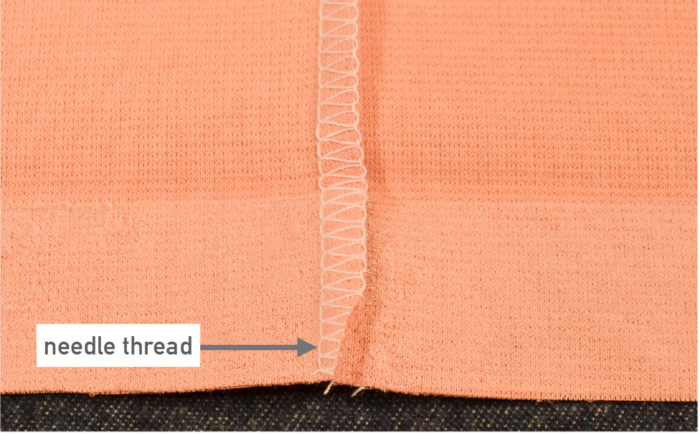
1. Remove bulk. Trim a wedge off the shoulder seam allowance that will be hidden under the binding. Take care not to cut through the needle thread that secures the shoulder seam.
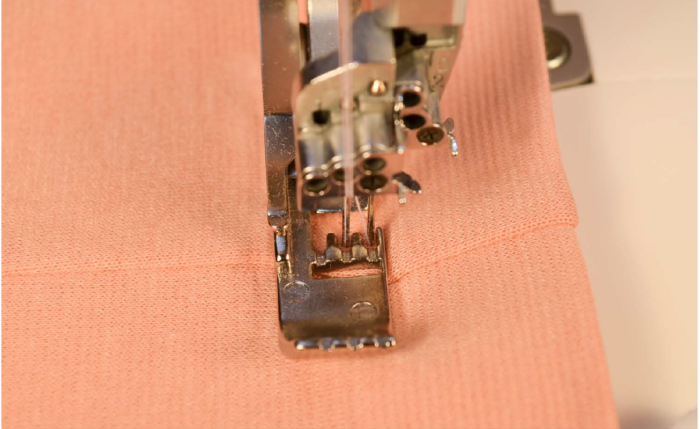
2. Relax the seam. As the presser foot’s toe approaches the seam allowance, the extra layers will cause the seam to deflect away from it. Stop stitching. Lift the presser foot, allowing the seam to relax and straighten out.

3. Adjust the stitch length. Lengthen the stitch slightly to compensate for the additional bulk. To prevent wobbly stitching, hand-walk the stitching over the seam allowance.
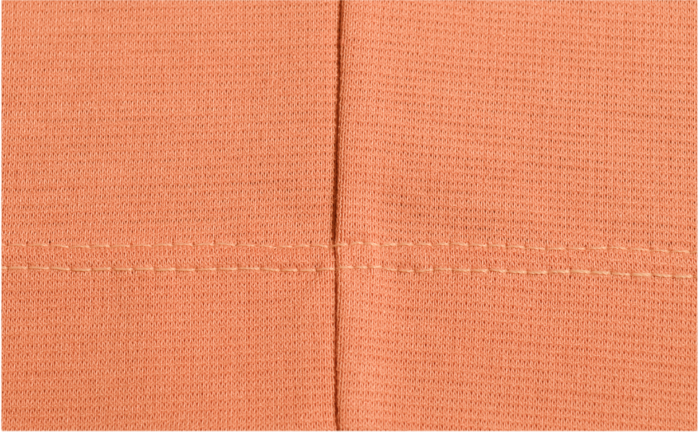
4. Continue stitching. Once the needle is past the bump, stop and readjust the stitch length to its original setting. Finish binding the edge as before.
Step-by-step photos: Gail Patrice Yellen.


There is a presser foot that has a release button that allows the foot to flex when necessary - such as stitching over a bulking intersection.
FYI...The photos above do not show binding. They show hemming.
To Pattiann42, What presser foot are you referring to?
Sounds interesting.