

Are you in the market for a quick-to-sew summer dress? This is the project for you. Instead of using a pattern, this dress is made using just three fabric rectangles based on your measurements. The first rectangle is for the bodice, the second is for the bodice flounce, and the third creates the skirt. Depending on the fabric you choose, you could easily wear this strapless sundress out with friends or as a lightweight beach cover-up. You might even want to add self-fabric straps, if that’s more your style. “Four Strap Variations to Transform Your Wardrobe” offers additional options.
Tools and materials
- 2 yards light- to medium-weight fabric
- 1/4-inch-wide elastic (to fit around the upper bust and waist)
- Scissors or rotary cutter and mat
- Sewing machine
- Tape measure
- Thread to match the fabric
Take the measurements
1. Determine the rectangle widths. Begin by taking your bust and waist measurements. Add at least 5 inches to each of these dimensions to allow for gathering plus 1 1/4 inches for the seam allowances. This final bust measurement is used for the bodice and flounce rectangle widths; the final waist measurement is used for the skirt’s rectangle width.
Note: The amount of ease you add can vary for the bust and skirt sections, depending on how much extra fabric you want in each area. I added 5 inches to both sections, since I don’t like a lot of volume. However, it’s better to start with more fabric that can be taken in later.
2. Find the lengths. Determine how long you want each section. Measure from your upper bust to your desired waist level. Add 1 1/4 inches to this measurement for the seam allowances. Then measure from the upper bust to the desired flounce length. Again, this can be shortened easily later, so it’s better to overestimate now. Add an extra 5/8 inch for the seam allowance and 1/2 inch for the hem allowance to this measurement. Finally, measure from the waist level to your desired hem length. Add 5/8 inch for the seam allowance and 1/2 inch for the hem allowance to this measurement. These dimensions become the rectangle lengths.
Prepare the fabric
1. Cut the rectangles. Use the measurements from steps 1 and 2 above to cut the three fabric rectangles: one flounce, one bodice, and one skirt.
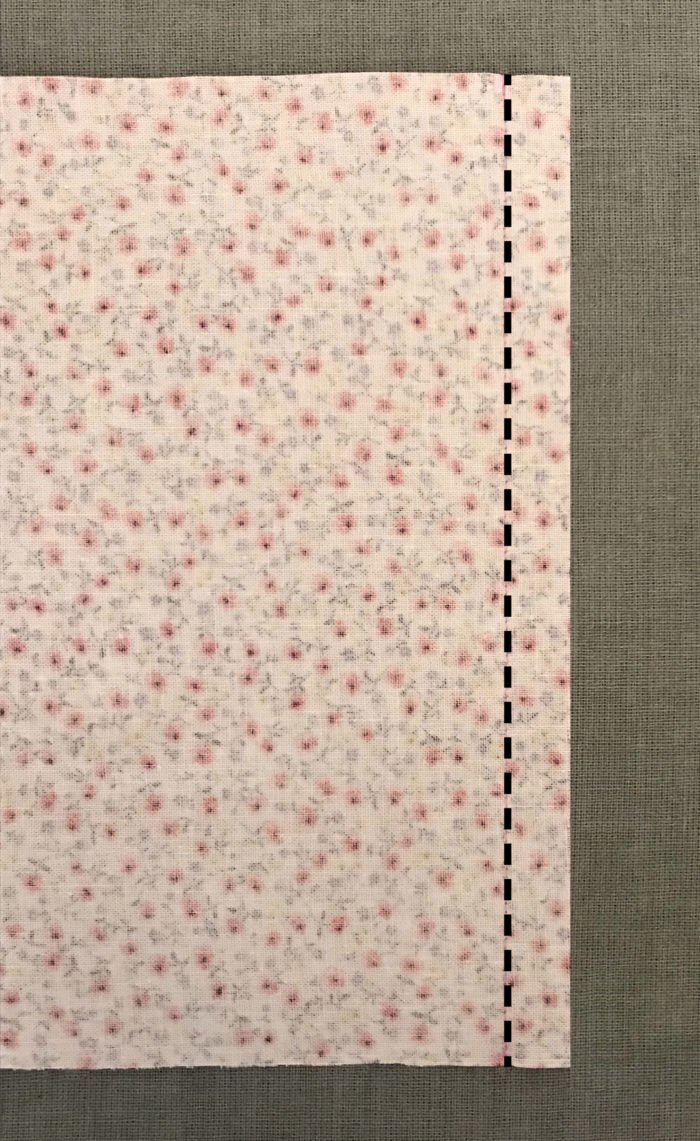
Note: The fabric rectangles are folded in half lengthwise below and in the step 2 image.

2. Mark the fabric. For matching purposes, especially when gathering is involved, it helps to divide each rectangle into quarters. With the fabric wrong side up, mark each quadrant along the fabric edges that will be attached to other pieces.

Sew the dress
Note: All seams are sewn using a 5/8-inch-wide seam allowance, unless otherwise stated.
1. Fold and stitch. With wrong sides together, fold each fabric rectangle in half widthwise and stitch along the edge opposite the fold. Finish the seam allowances as desired. Then press the seams allowances open. These seams will be placed at the dress’s center back.
2. Hem the flounce. Before attaching the flounce to the bodice, turn one long flounce edge under 1/4 inch to the garment’s wrong side and press. Repeat a second time. Then, with the garment right side up, stitch a scant 1/4 inch from the fold.

3. Attach the bodice and flounce. With right sides up, pin the raw flounce edge to one raw bodice edge. Make sure to align markings and center-back seams. Stitch the sections together.

4. Create the casing. Turn the entire top edge under 1/4 inch to the wrong side and press. Turn under a second time, favoring the stitching line from step 3 to the wrong side by about 1/8 inch, and press again. With the garment right side up, stitch a scant 3/8 inch from the fold. Make sure to leave about 2 inches unsewn near the center-back seam for inserting the elastic.

5. Insert the elastic. Wrap a piece of elastic around your upper bust. Add at least 2 inches to this measurement before cutting the elastic. Next, attach a safety pin to one elastic end and insert it through the bodice casing opening. Feed the elastic through to the opposite side. Temporarily pin the elastic ends to a section of the casing so the ends remain outside the casing. Try on the bodice section to check the fit and adjust the elastic as necessary.
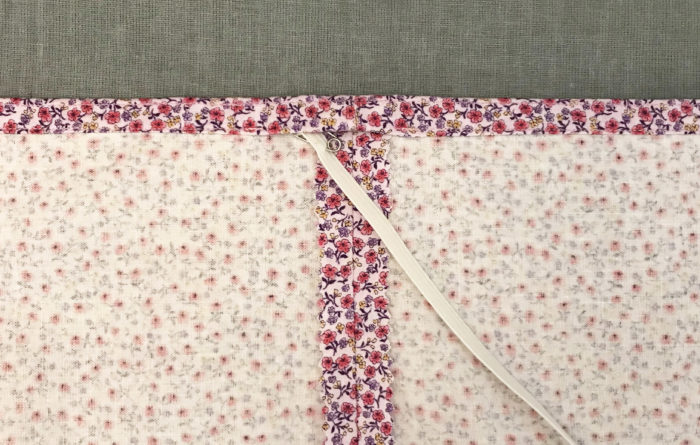
6. Finish the casing. Slightly overlap the elastic ends and securely stitch them together with a zigzag stitch. Another option is to trim the elastic’s seam allowance and use this no-bulk elastic join technique to secure the elastic ends. Next, stitch the casing’s bottom open edge by hand or machine, as shown below.

7. Gather one rectangle. Since the bodice and skirt rectangles are most likely different widths, you’ll need to gather one section to fit the other. In my case, the skirt section needed to be gathered to fit the smaller bodice. To do this, baste two rows of gathering stitches along the skirt section’s top edge, within the seam allowance. Note: If both sections have the same width, stitch the two pieces together with right sides together, then skip to step 9.

8. Attach the sections. With right sides together and raw edges aligned, pin the bodice to the skirt section. Make sure the center-back seams align. Pull the stitches to gather the fabric until the skirt and bodice widths match. Make sure to align all markings. Then stitch the sections together.

9. Form the waistline casing. With the garment wrong side up, press the seam allowances under 1/4 inch toward the skirt section. Turn under a second time along the stitching line and press. Pin in place. Then, with the garment right side up, stitch a scant 3/8 inch from the waist seamline. Make sure to leave about 2 inches unsewn near the center-back seam for inserting the elastic. Repeat steps 5 and 6 above for the waist.

10. Finish and press. Hem the skirt as you did the flounce in step 2. Give the entire dress a final pressing. Then, turn the dress right side out and evenly spread out the gathers before wearing your new design.

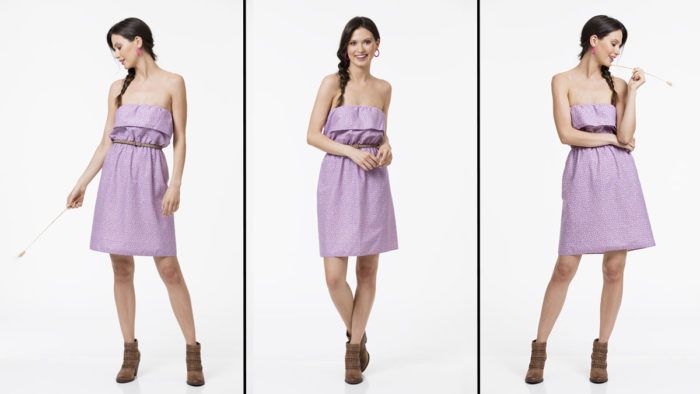
And here is the finished product!

Where would you wear this dress? Please share your comments below.
Photos by Dana Finkle unless otherwise noted.


its very cute but a lot of your readers do not wear dresses like that, and we have more "stuff" to cover and arrange in an attractive dress. --a lot of us are older,heavier,and this type of dress would fit a granddaughter not us.