How to Alter the Back Waist in Pants
Learn how to take in or let out the waist at the center-back seam.
Learn a method for taking in or letting out the waist above the seat area in pants. This adjustment is done at the center-back seam.
Altering the clothes we make or purchase is a job that many of us leave to others who specialize in this type of sewing. There is an expense involved, and the results vary depending on the skill of the person doing the work. I believe there are some adjustments to garments that are best left to a professional. However, taking in or letting out the waist is one you can do yourself with great results.
Ladies’ pants do not always have a center-back seam in the waistband or waist facing. To take in the waist on pants or a skirt without a center-back seam, you will need to create a seam by cutting through the back waistband or facing. (To create a waistband with a center-back seam for pants you sew, see “The Two-Piece Waistband” by Connie Long, Threads #102, Aug./Sept. 2002.)
To let out the waist at a center-back seam, you will need ample fabric in the seam allowances. Each allowance must include half the needed circumference adjustment, plus at least 3/8 inch for a final seam allowance. Therefore, if you need to add 1 inch total to the waistline, each seam allowance must be 7/8 inches wide. Men’s dress pants often have center-back seam allowances that are more than an inch wide, as they are intended for easy alteration.
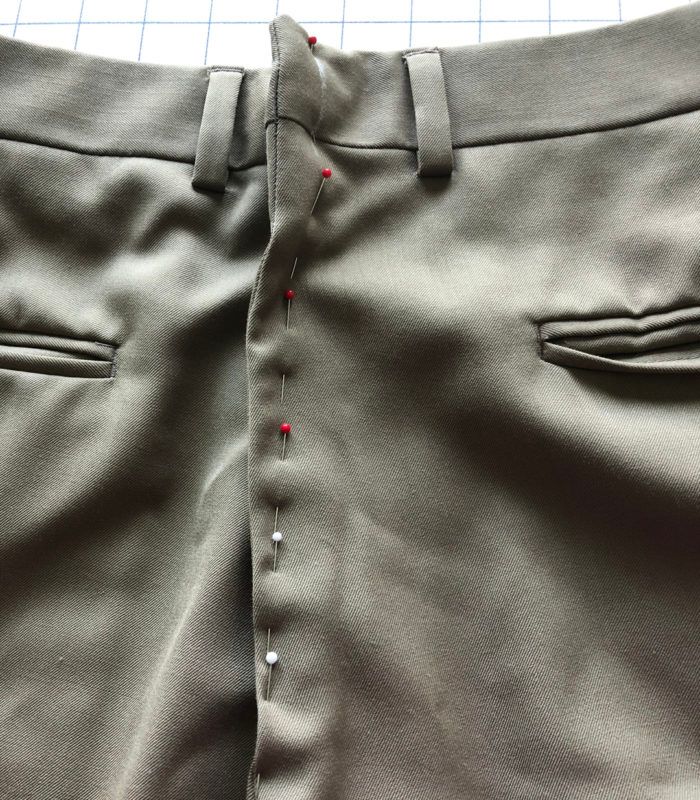
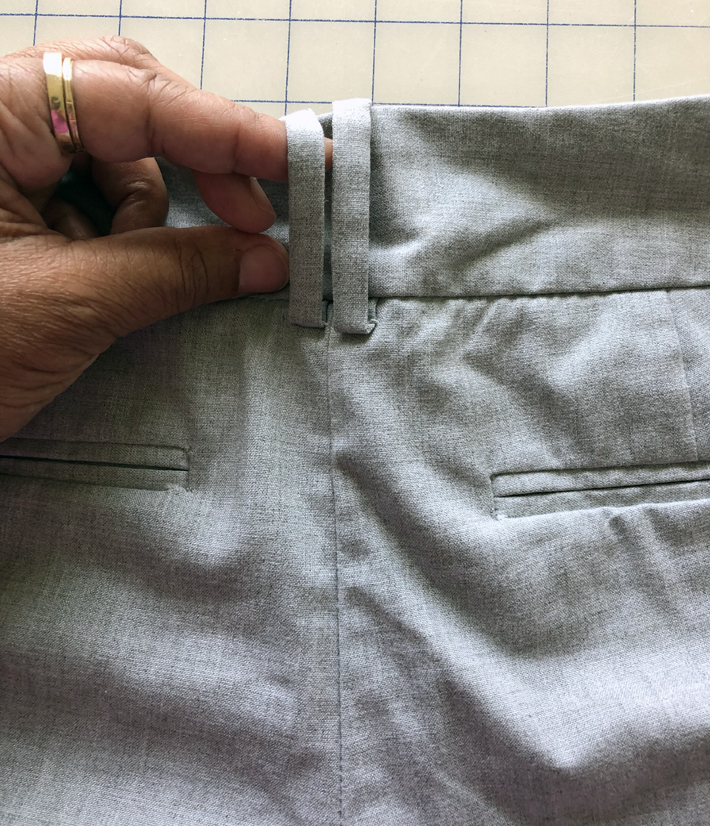
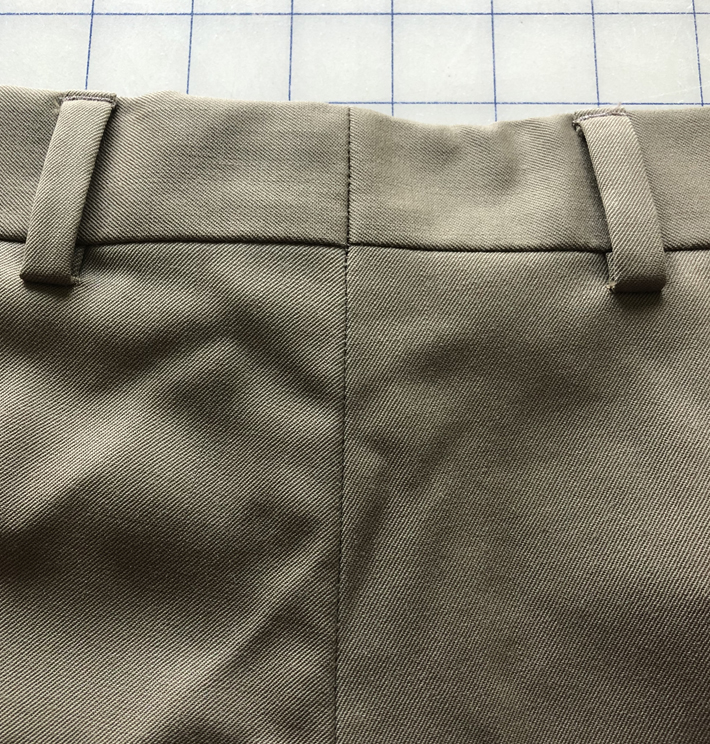
Note: The sample below shows the alteration on a pair of men’s slacks, for you to see the technique clearly (except for the first photo, which shows ladies’ pants).
Pants alteration preparation
1. Remove the pant or skirt belt loops, if applicable, to access the center-back area.


2.…
Start your 14-day FREE trial to access this story.
Start your FREE trial today and get instant access to this article plus access to all Threads Insider content.
Start Your Free TrialAlready an Insider? Log in


Log in or become a member to post a comment.
Sign up Log in