

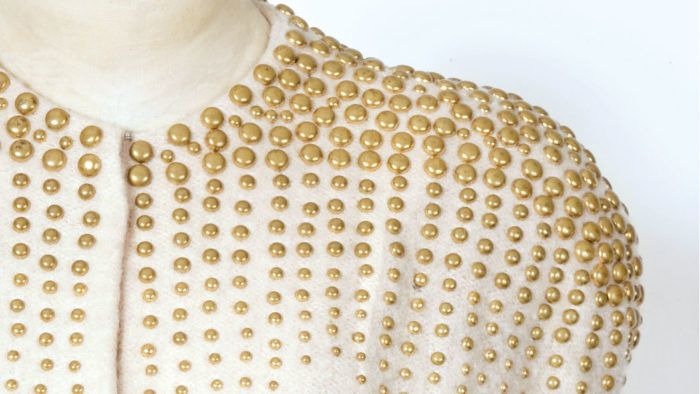
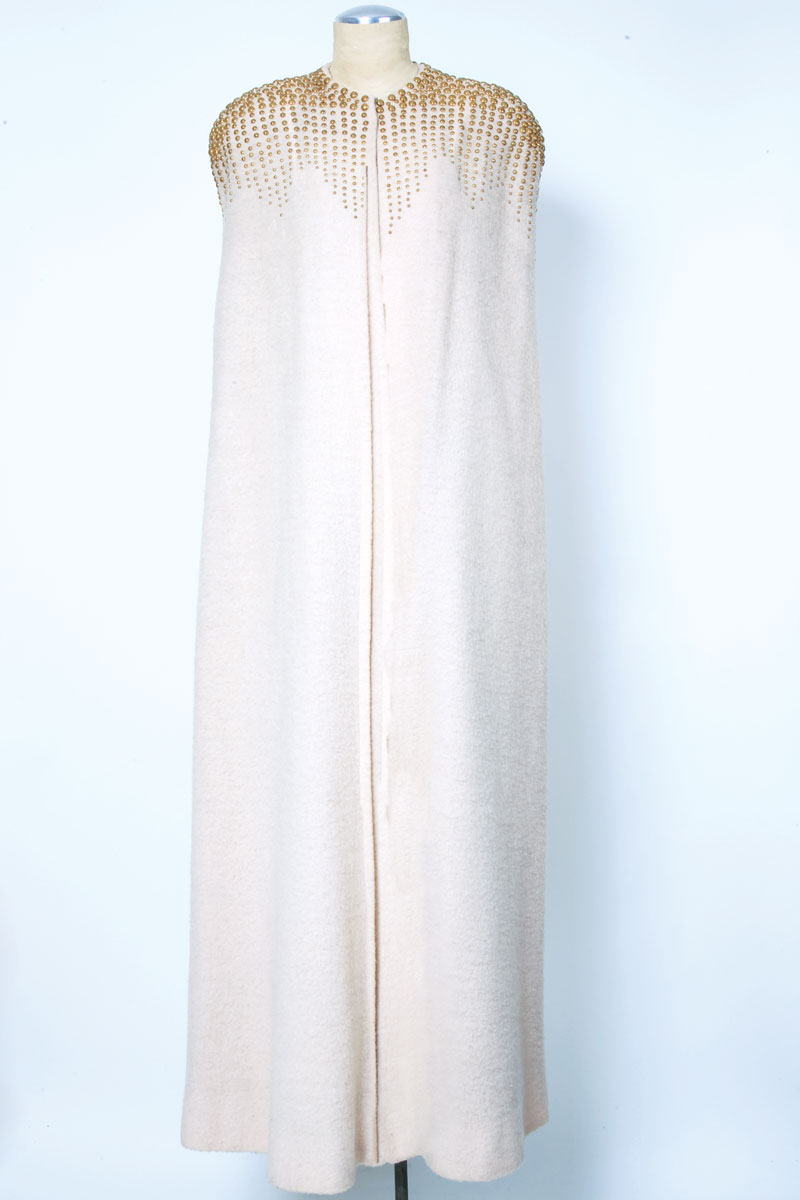
The wearer of this collarless, sleeveless outer layer appeared with not a thread of her dress revealed to her admirer. Her white shield covered her from throat to toe and kept her arms and movement in check. But the dozens of studs standing at attention across this cape’s shoulders imparted a sense of strength and beauty. Read on to see how you can achieve a similar studded effect from Threads #154.
 |
 |
Studs command attention
Studs add fashion flair to garments for a style that’s strong, eye-catching, and perennially on the cutting edge. On the back cover, studs or nailheads, as they are also called, define the shoulder of the classic cape they adorn. Hot-fix nailheads avoid the prongs of other varieties and their potential to snag. Construct the garment before adding the nailheads.
Experiment, then plan a layout
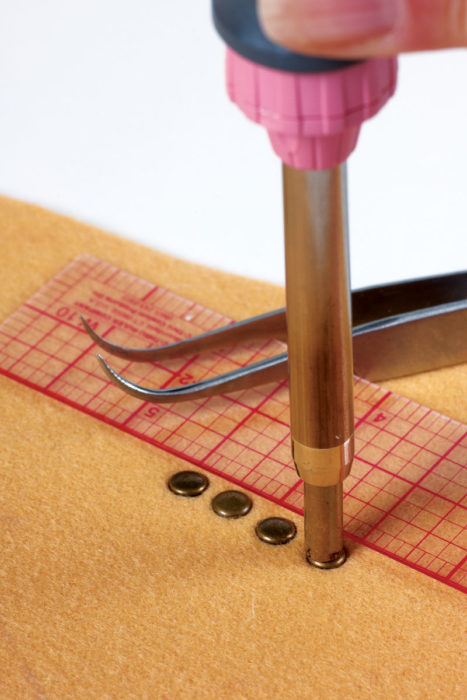
1. Experiment with applying the nailheads. We used hot-fix nailheads from KandiCorp.com and applied them with their Professional Touch Applicator. Set up the applicator with a flat head. Position the nailhead adhesive-side down, and apply heat with the applicator tip for several seconds. Larger heads require a slightly longer time to affix. Use tweezers to position the heads exactly where you want them, and use a small, clear, gridded ruler to make sure they are in straight rows.
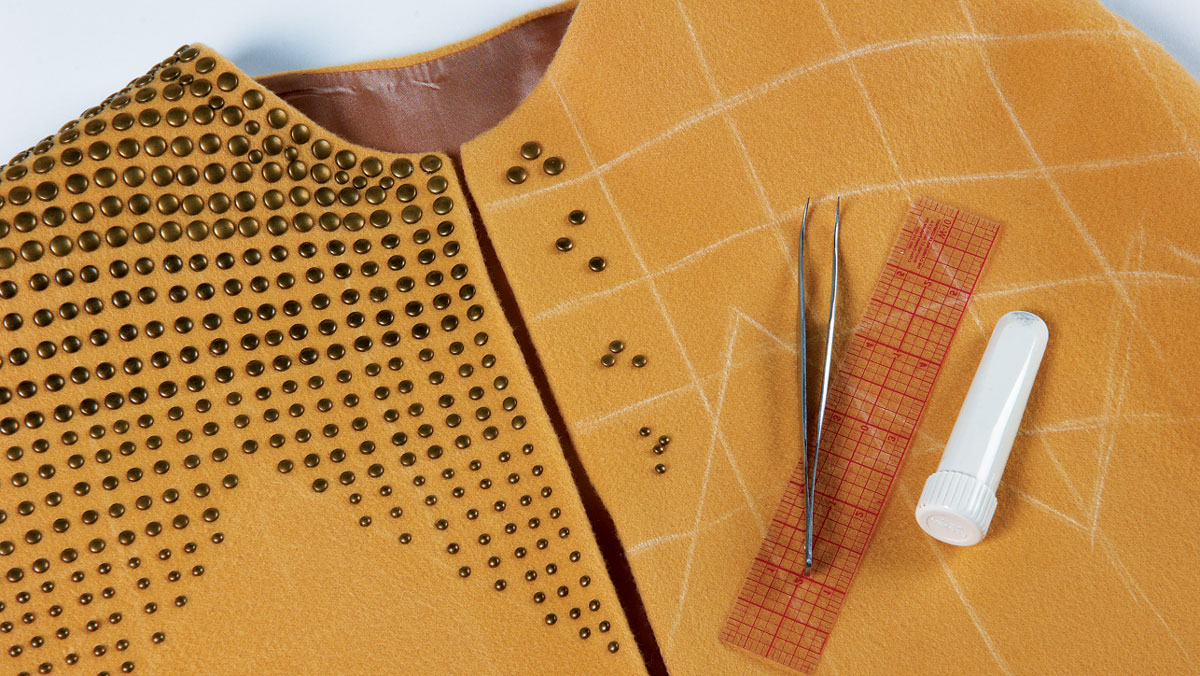
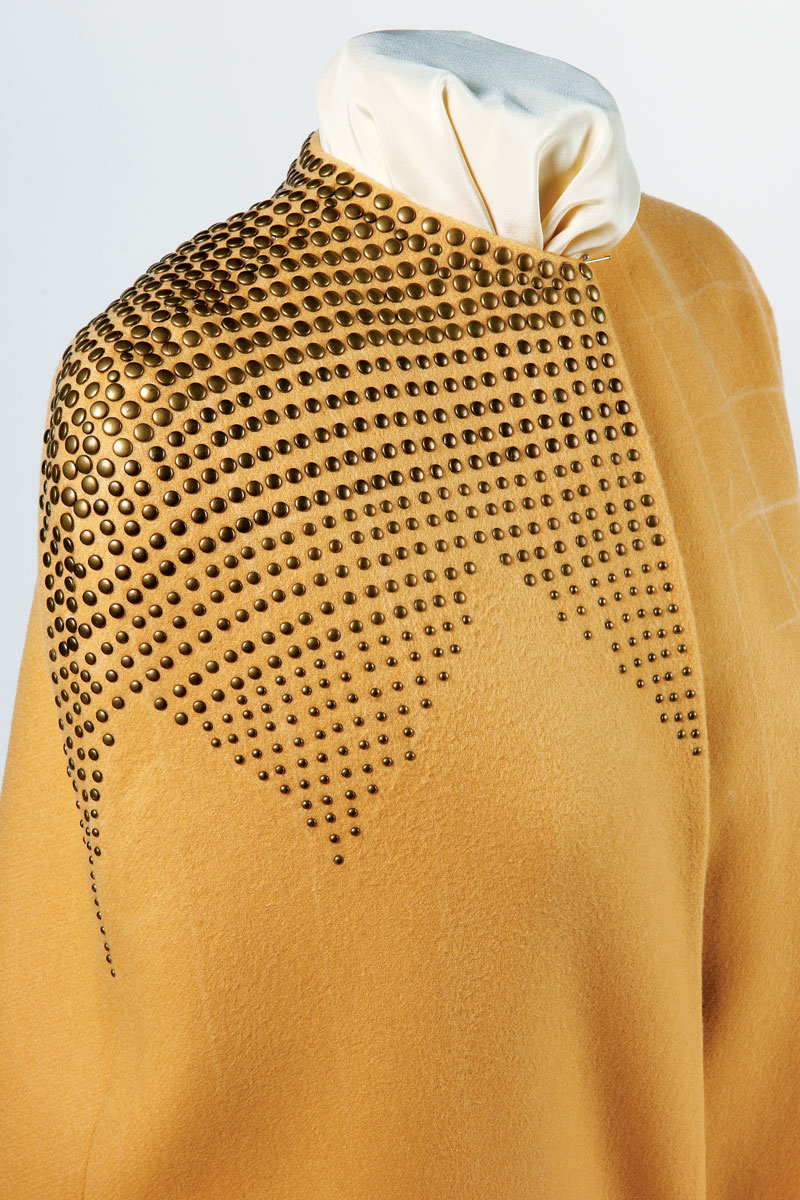
2. Plan your grid. To achieve this look, use four graduated nail-head sizes with the largest heads along the shoulder seam. With removable chalk, draw vertical lines parallel to the center front, across the front and back of the shoulder section of the cape. Draw horizontal lines to separate the sections that each head size will occupy. Draw an uneven lower edge. Set the largest nailheads around the neckline. Apply a row of matching nailheads across the shoulder seam to the arm. Use the large heads’ placement to position the vertical rows parallel to the center front. Use the gridded ruler to keep all the rows parallel.


Log in or create an account to post a comment.
Sign up Log in