

I have been a raving fan of Threads magazine since the first issue in 1985. My mom gifted me a subscription, and I have been a subscriber ever since. For 34-plus years, I have been scouring each issue when it arrives in my mailbox. Threads has introduced me to many of my sewing mentors and has been there from biased chenille to pin-woven vests to boro-stitched coats and whatever the latest and greatest sewing technique is that I just have to try.
ThreadsMagazine.com info you can use
Having the opportunity to write articles and blog posts has introduced me to the amazing staff who love sewing as much as I do and are continually on the cutting edge (pun intended) of the sewing world. Naturally, when I embark on a new project I wander through the Threads website. It is such an automatic part of my sewing process that I don’t even think about it anymore, I just log in and start browsing.
There is such a wealth of information and inspiration at ThreadsMagazine.com that it is easy to get overwhelmed. Let me share a few ways I use the site each time I sew.
Pattern reviews
The pattern reviews are a great first stop. I don’t always sew with commercial patterns, but when I do, hearing from people who have spent time going over the instructions with a critical eye is so helpful. I may fall into my own black holes, but I do avoid the ones that the reviewers have already worked out.
Fabric intelligence
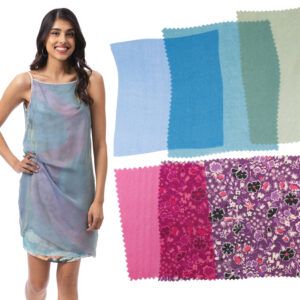
Understanding what fabrics will be right for a project can be confusing. I like to check out the articles that talk about specific fiber and fabric characteristics, particularly with new fabrics like scuba, or fabrics I haven’t worked with before. I really appreciate the care information as well.
Ingenious techniques
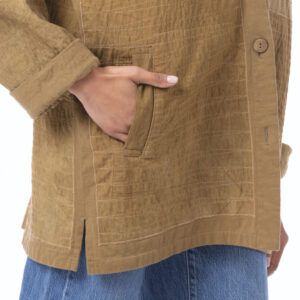
Even if I think I have my project figured out, I find new ideas of how to apply a waistband or a great pocket shortcut, or a hemming technique that is perfect for the garment I have planned. There are articles to augment even the best written pattern instructions from industry professionals who have done it a million times.
My favorite articles are the ones that introduce me to a new technique. For several years Threads sponsored a competition called Inspired By Threads. I loved it. The idea was to take an article from the previous year’s issues and use it as inspiration to create a garment or ensemble. I entered every year. My goal was to get selected to participate in the fashion show so that I could see all the chosen garments up close and personal. It was a total sewing geek-out. I could never choose just one article. There were always several throughout the year that inspired me, so I would mix them all together. And that idea is still my favorite way to use Threads magazine in my sewing.

ThreadsMagazine.com content that inspired
Here is a simple project that I did recently that is an example of how my reliance on Threads articles works.
It started with a piece of Liberty silk crepe de Chine.

I had purchased it with the idea of making my favorite square summer top (as I explain in “Sew Minimalist Tops for Summer”). For help with this swishy fabric, I took a look on the Threads site and found it in the article, “Fabric Lab: Crepe de Chine.” My plan was to finish all the edges while the piece was flat, put in a neck opening, and finally sew up some side seams. Pamela Leggett’s article “Sew a Narrow Hem by Machine” offered lots of guidance. Then, while I was wandering around the site looking for edge finishes, I bumped into a post and video about using a double-bound edge for a seam detail. Bingo. It was the perfect idea to bump my summer tee up to the next level. (Editor’s note: This technique was devised by Nancy Nix-Rice as a finish for ponte knits, and was presented in the video by Threads Senior Technical Editor Carol J. Fresia.)
Real-world application
Here’s how my tee took shape.
I knew I wanted a wash-and-wear garment, so I tossed my lovely silk into the washer and dryer. It came out beautifully, with a bit of a sueded finish.
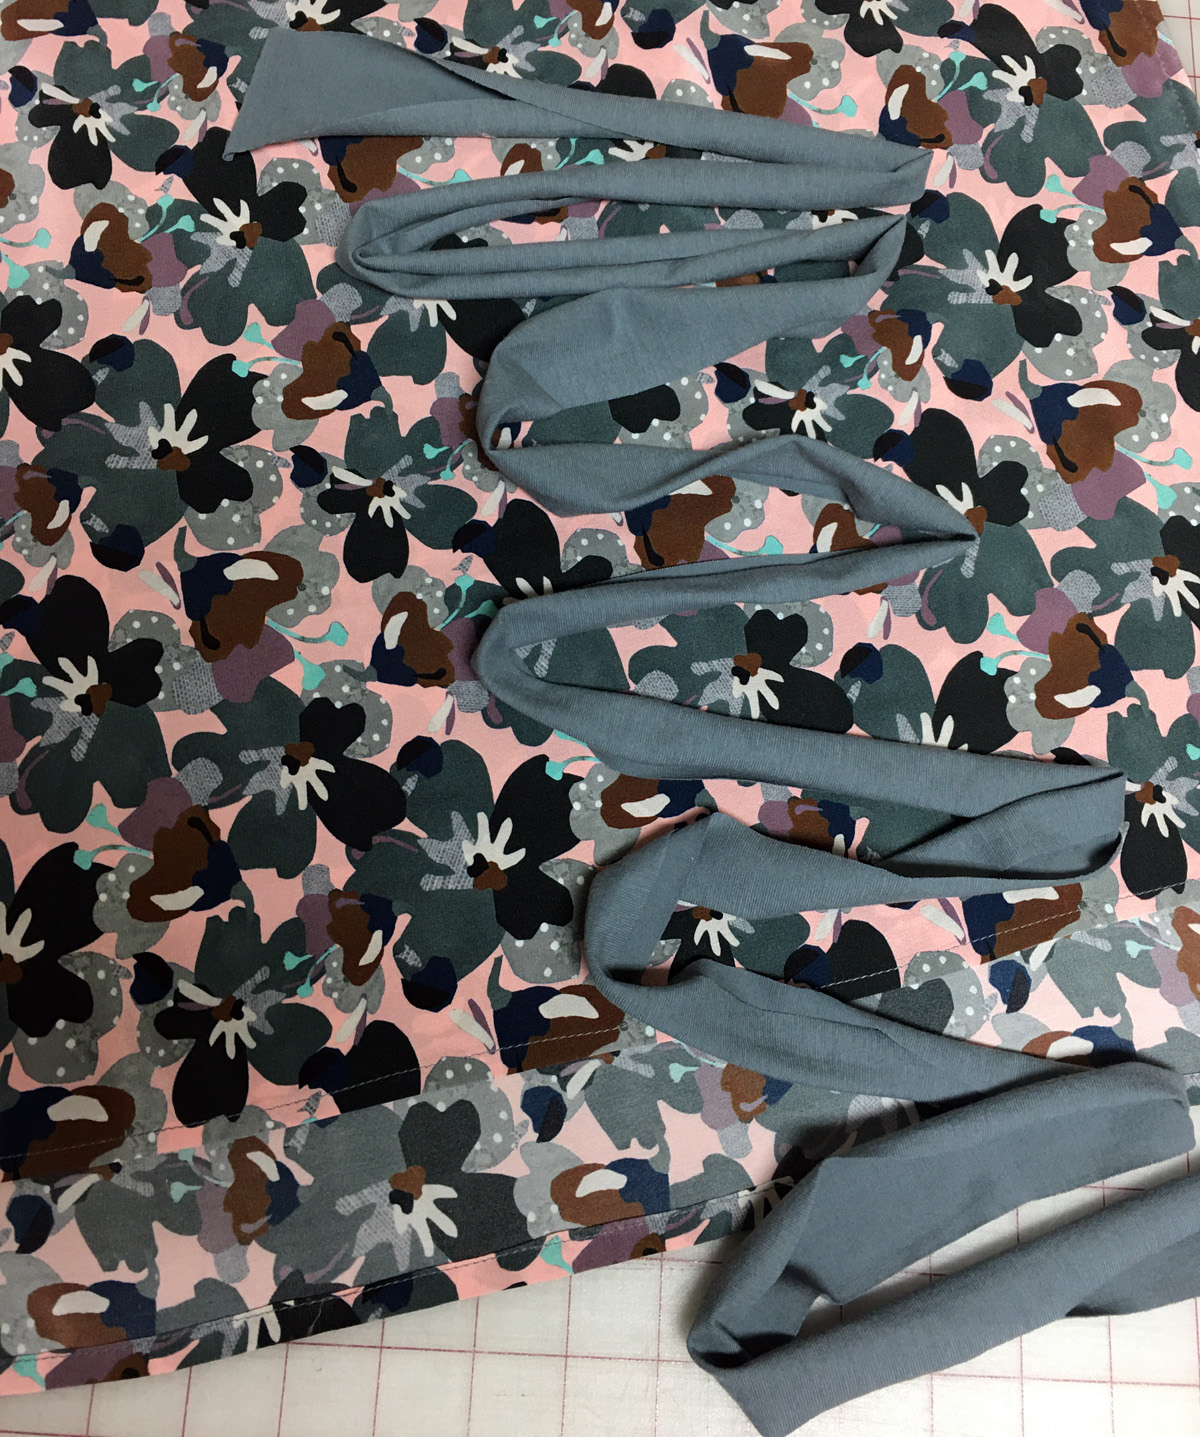
Choosing appropriate binding
Carol had used ponte knits for the body of the garment and the bindings in her video. My silk was lightweight, and I knew my binding was going to have to negotiate tight curves, so I chose a lightweight cotton jersey to match the weight of my silk and give me extra stretch to smoothly bind the neckline edge.
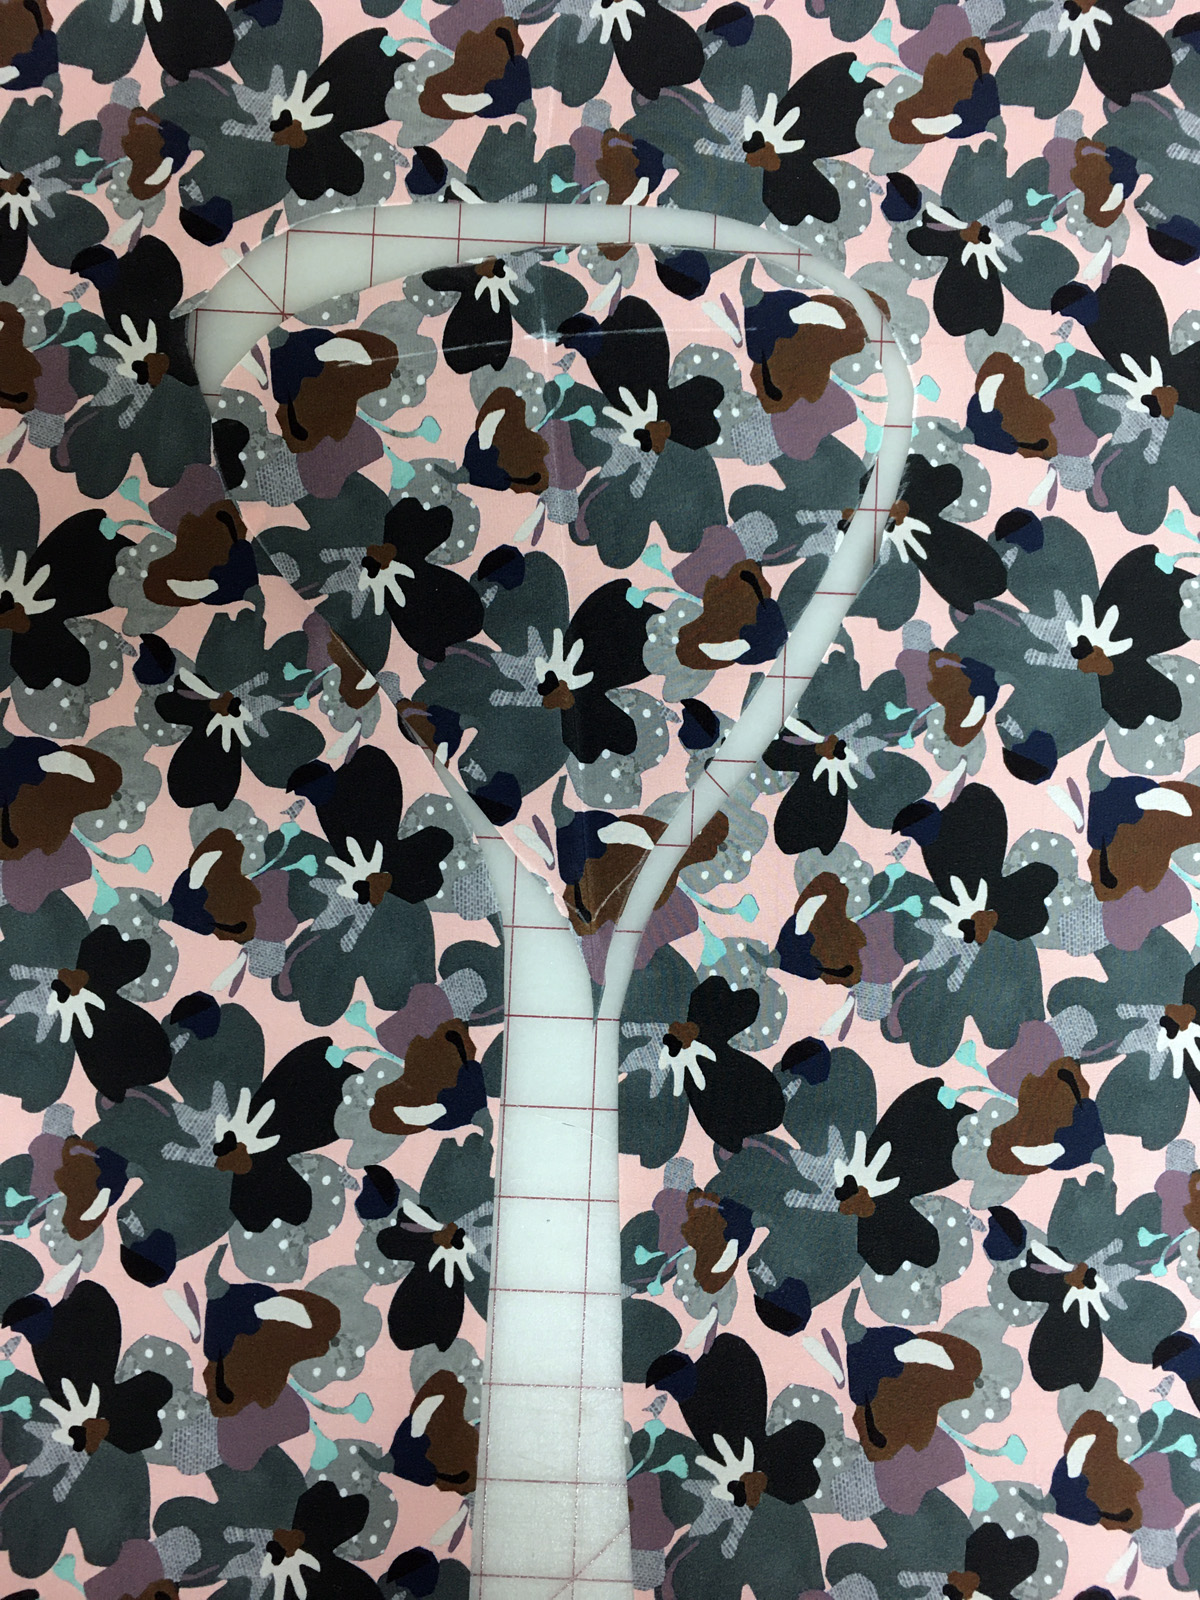
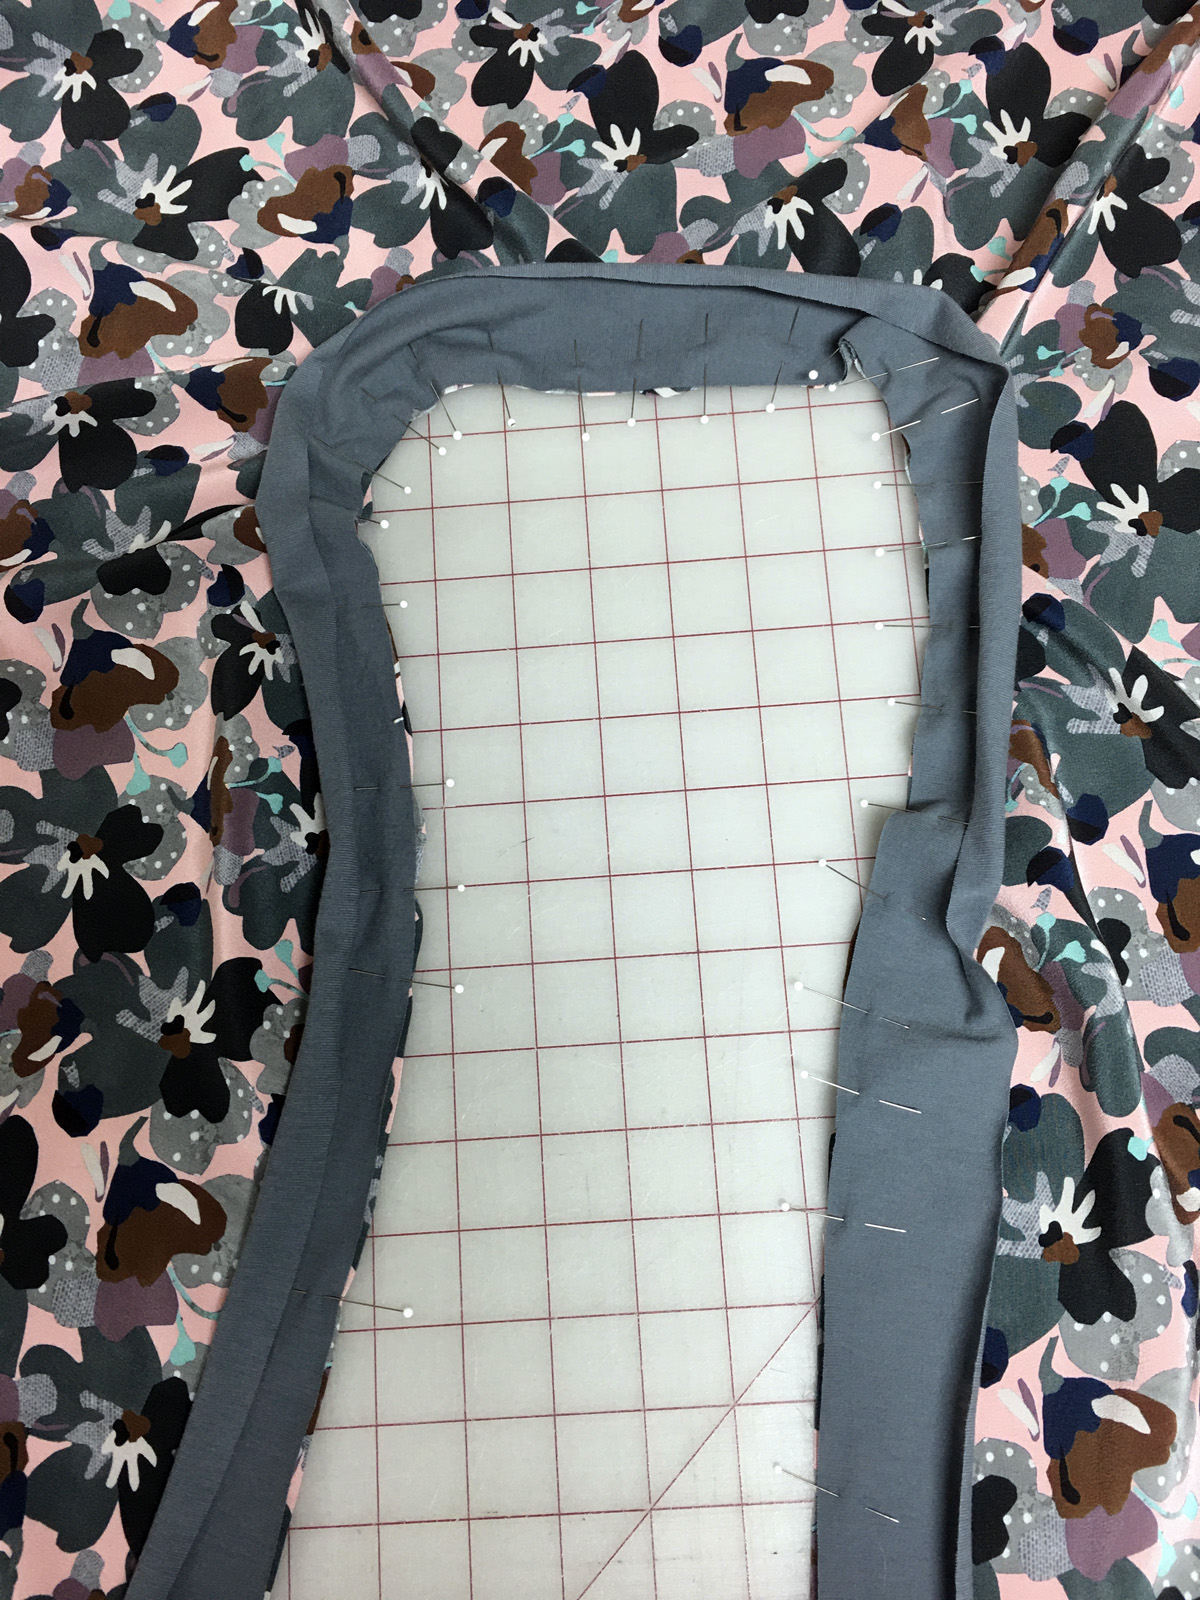
Cutting the neckline and center front
Once I had all the edges finished, I traced my neck opening onto the center of my silk.

In my minimalist tops article, I describe making a single hole and adding a neckband. For this top, I would also be adding a seam detail to the center front.
To create the seam, I cut the center front from the hem to the neck opening. Because the double binding technique requires no seam allowances, I could simply cut up the center front from the hem edge to the V-neck point. There was no need to worry about where to get a seam allowance, since it is done as part of the binding.
Applying the binding
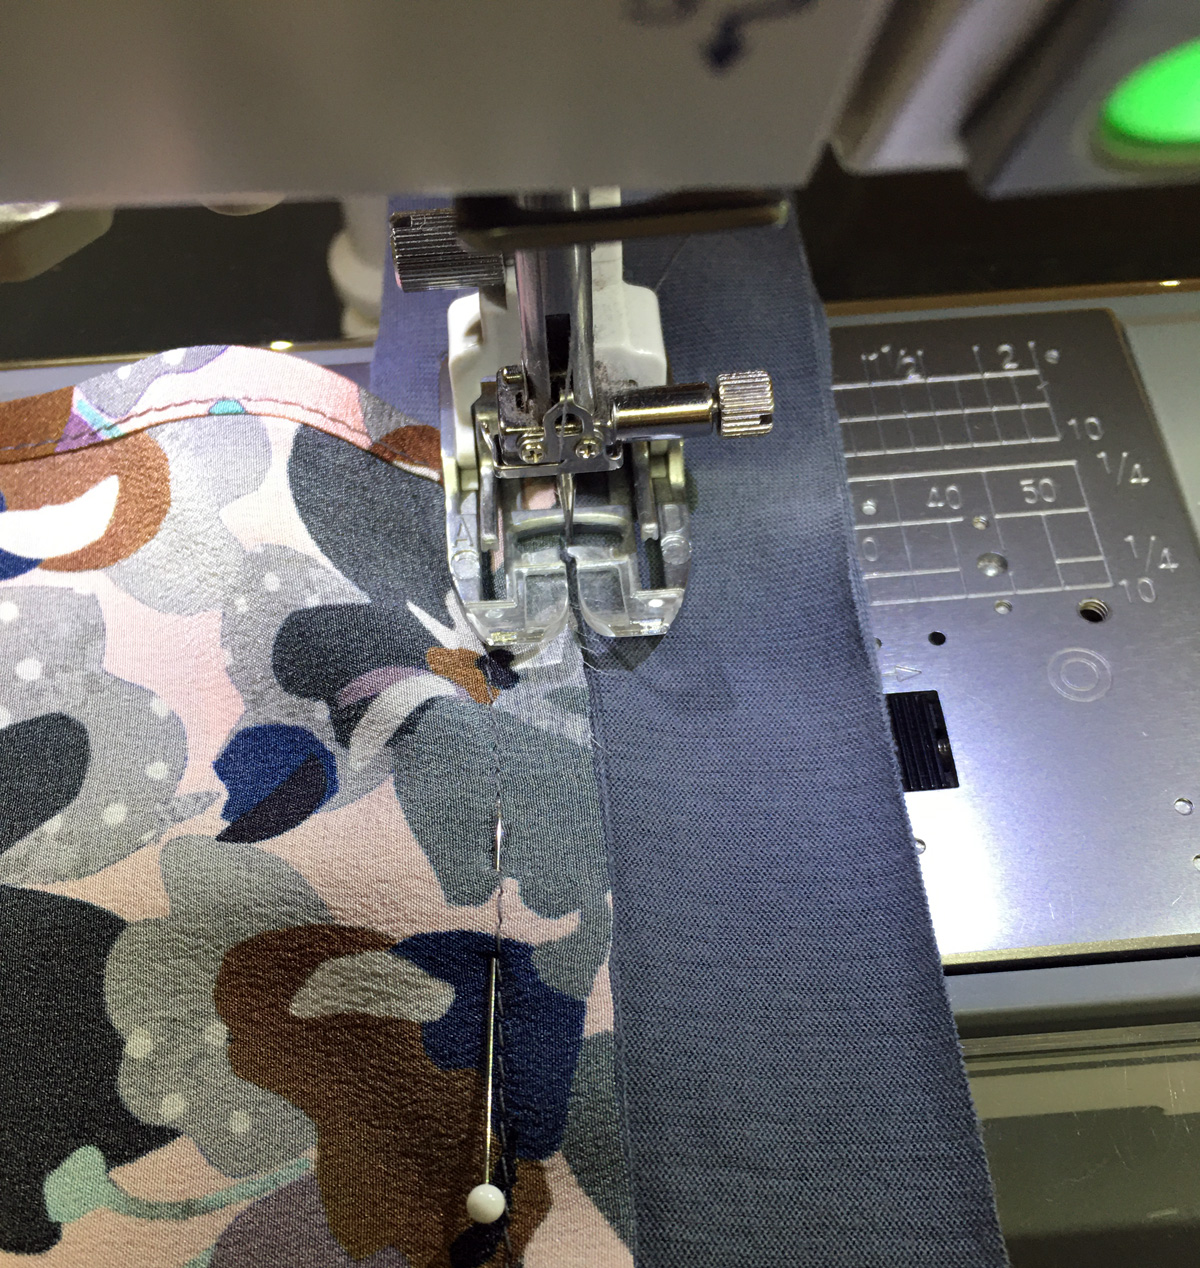
I was glad that I had chosen a lightweight jersey because I was applying the binding to the neck edge. The stretch really made a big difference in how the binding went around the curves and ended up lying flat once it was sewn.
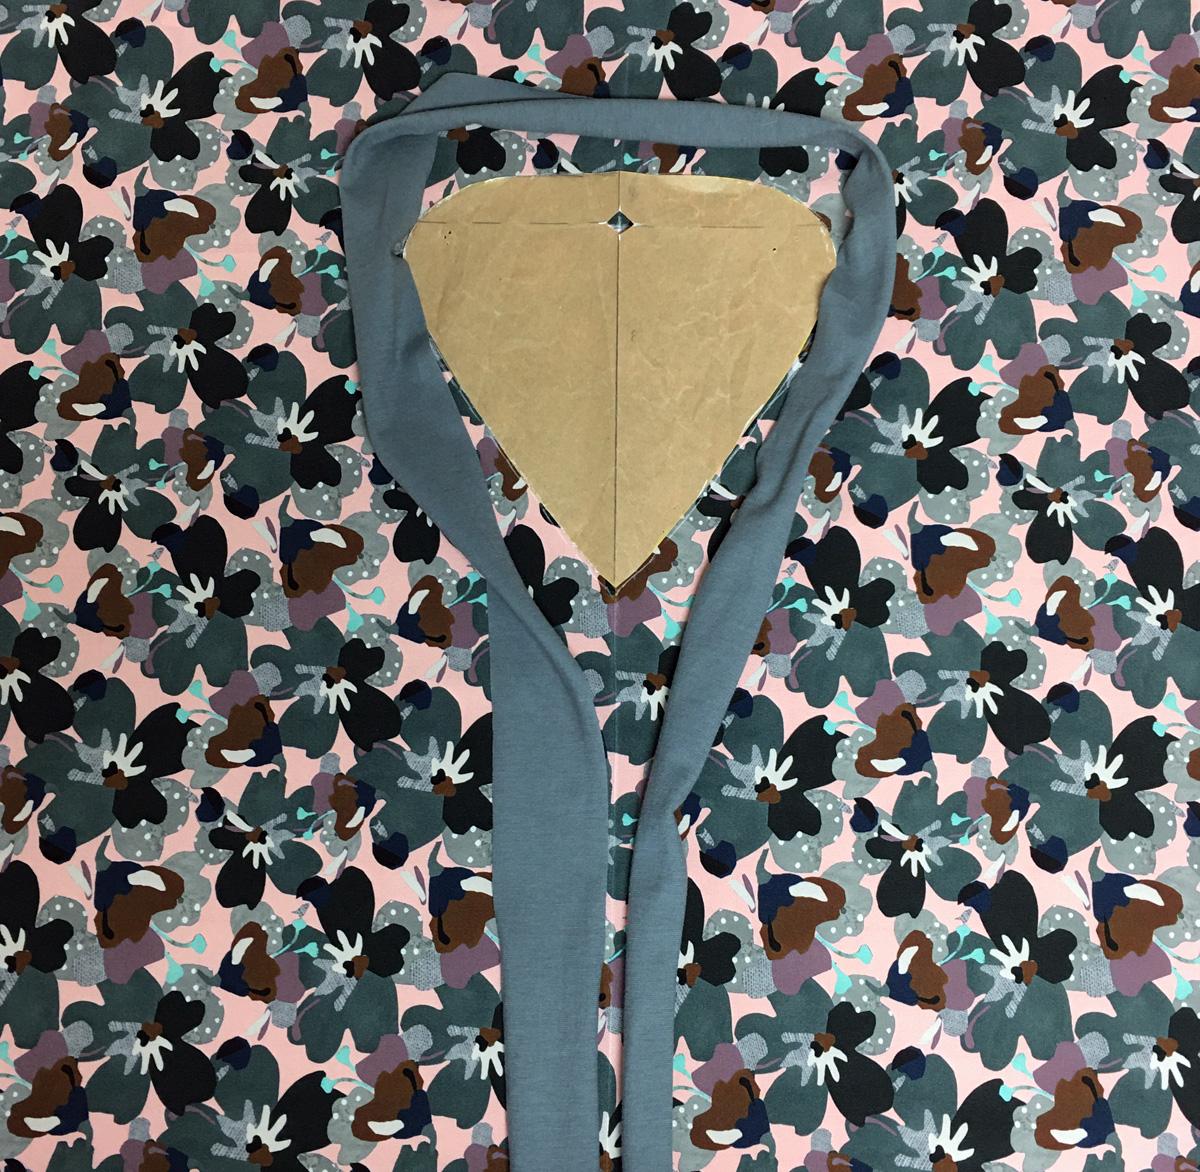
Following Carol’s lead, I stitched the center-front seam, catching just the bindings. I chose a 3/8-inch-wide seam allowance for the delicate fabric. The narrower binding would be a better scale.
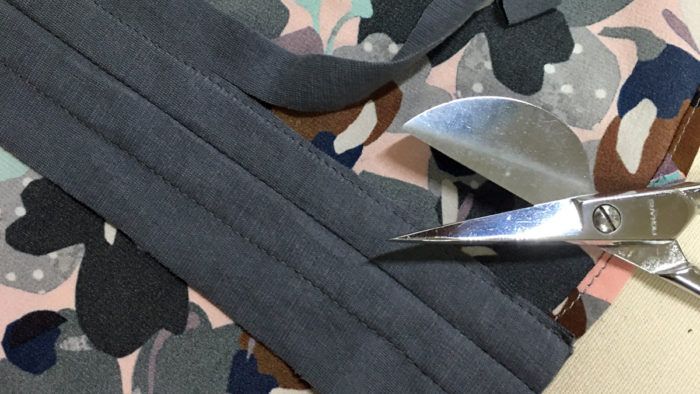
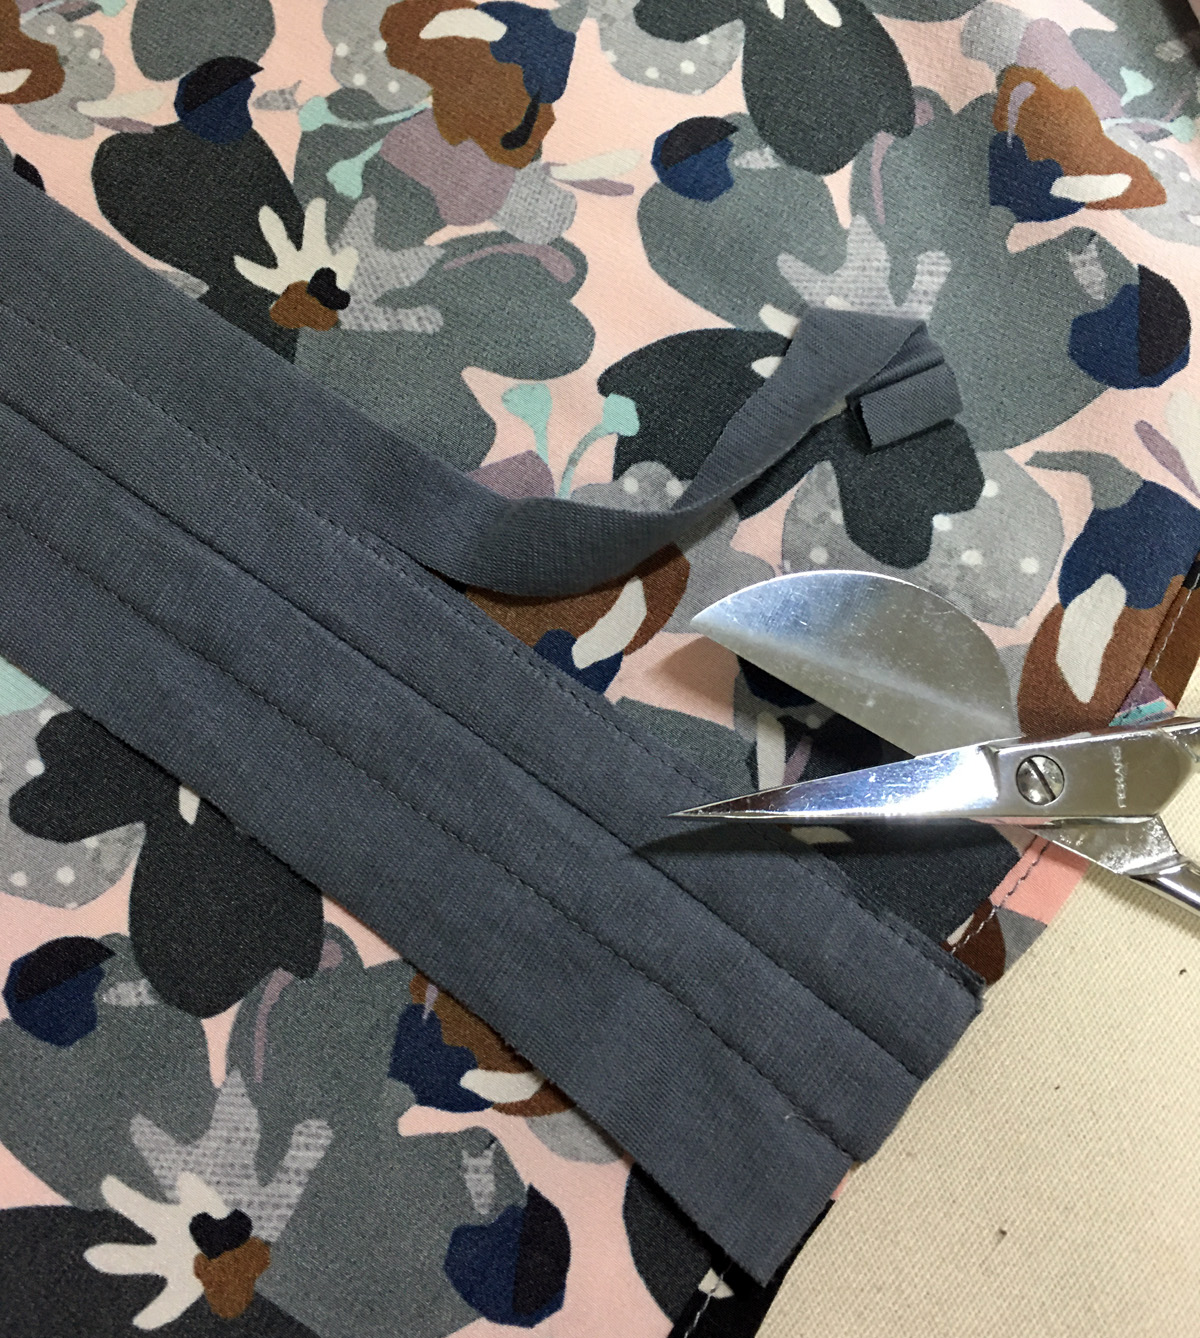
Finally, I secured the binding by stitching in the ditch from the front side and trimming the excess binding with my duckbill scissors on the inside.
A neat press and some side seams and my square silk tee was ready to wear.

I have a few of these tops and absolutely love them on the sweatiest days of the summer. They are cool and more sophisticated than a cotton T-shirt. Plus, I am excited about the pizazz that the double binding adds to the front. Thank you, Threads, for all the help and inspiration on this project. I’m still an adoring fan—and continue to use ThreadsMagazine.com.
See more of Becky’s articles and online-only posts here. Becky also shares her sewing adventures on her Trial Balloons blog.


Log in or create an account to post a comment.
Sign up Log in