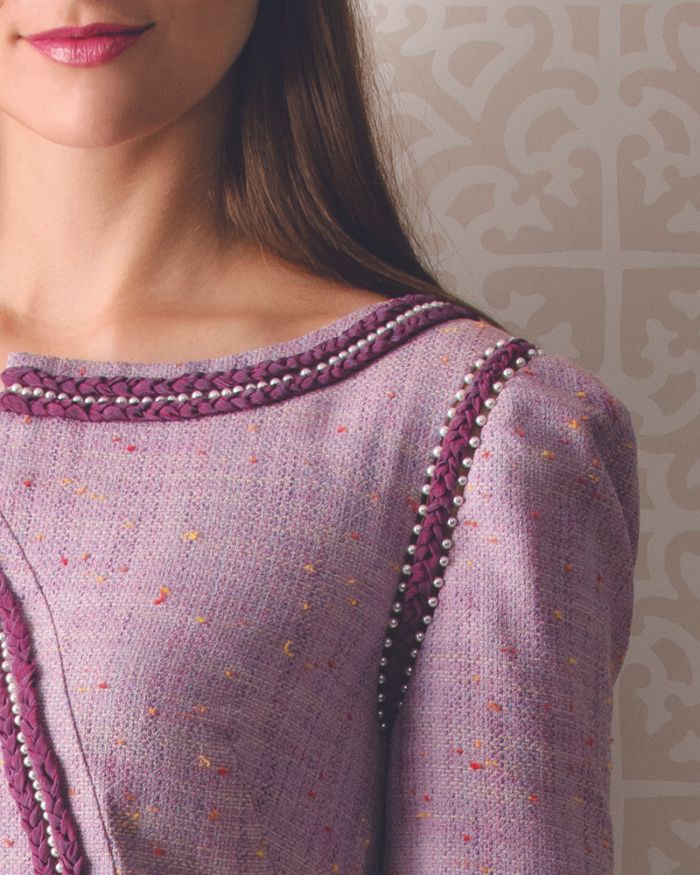
Learn how to finish an armscye with a pearl-and-chiffon insertion. The pearl and chiffon braid embellishment is featured in Threads no. 192, Aug./Sept. 2017.
In Threads #192 (Aug./Sept. 2017) “Embellishments: Chiffon and pearls,” author Anna Mazur describes how to create and apply trim made from braided chiffon strips and pearl beads.
The author based the sample design on Vogue 9079, and instead of a traditional sleeve seam, she attached the sleeves with hand-worked fagoting stitches. A 5/8-inch-wide insertion featuring pearls and a chiffon braid were suspended by these stitches in the armscye seam. It’s an intricate detail that makes the sleeves look as if they float next to the garment. Here’s how the author prepared the pieces and attached the sleeves.

1. Mark the original seamline on the sleeve cap. Use staystitching to denote the seamline.

2. Stabilize the sleeve cap with a 1-inch-wide bias strip of fusible interfacing. On the sleeve’s wrong side, align the strip’s edge with the seamline and fuse.
3. Adjust the sleeve-cap seamline to accommodate the embellishment’s width. Draw a line 5/8 inch (equal to the planned embellishment width) within the original seamline. The sleeve-cap seamline will be a bit shorter than the armscye seamline, but the ease is simple to distribute as you hand-sew the embellishment/attachment stitches.

4. Staystitch the new seamline. The stitching will go through the interfacing strip.

5. Sew the shoulder dart. Then fold and press the armscye seam allowance along the new seamline to the wrong side. Clip and pin where necessary to keep the curved seam allowances flat.

6. Shape and cover the seam allowances with petersham ribbon. Sew the underarm seam, and hem the sleeves. Preshape a length of petersham ribbon following the sleeve-cap curve, then baste it to the inside of the sleeve, trimming away overhanging seam allowances. Hand-sew the ribbon in place.

7. Repeat the process of staystitching, stabilizing, folding in, and covering the seam allowances on the bodice armscye seams. Now both edges are ready to be connected.
8. Stabilize the chiffon braid with a 3/8-inch-wide organza ribbon. The chiffon braid is soft, flexible, and fragile. To prevent it from stretching, and not take away from the dainty braid, use a sheer ribbon barely wider than the braid. Having this stable edge to stitch into will absorb any stress that the braid might encounter after it is sewn to the garment edges. Baste the two layers together through every other braid joint. To control the layers and keep them from bunching up, hold the ends in a clamp or vise.

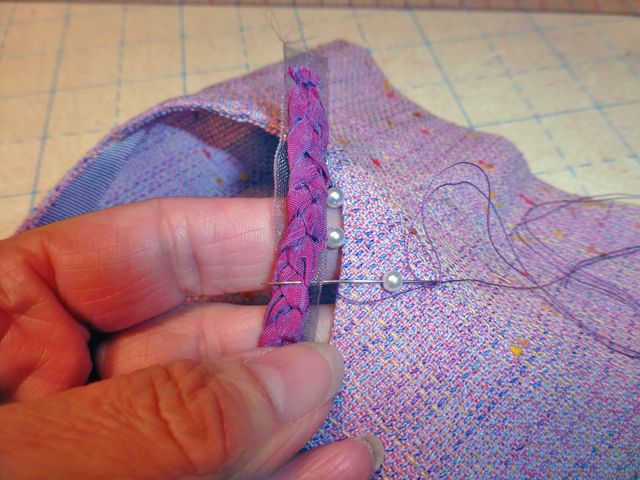
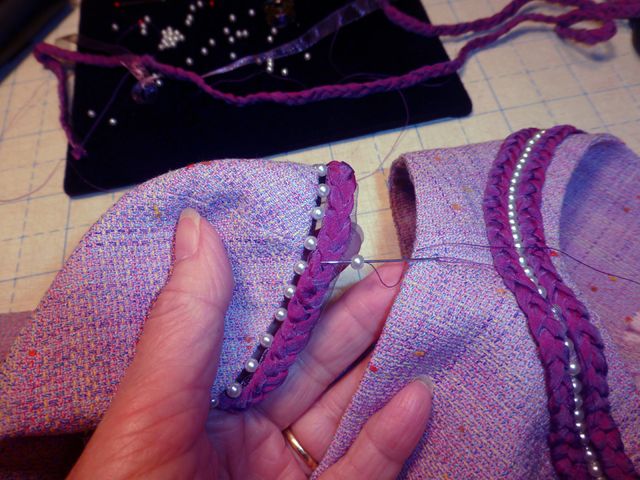
9. Add the braid to the sleeve. Begin at the underarm seam, an inconspicuous place to join the braid. Anchor the thread to the sleeve. Pick up a pearl and take a stitch through the organza ribbon, barely catching the braid. Stitch back through the pearl, and insert the needle into the same hole as the previous thread. Slide the needle within the fold on the sleeve, exiting 1/4 inch away. Pick up another pearl and repeat the process. When you are about 2 inches from the end, stop adding the pearls, join the braid ends, then go back and add pearls. Pay attention to the pearl spacing as you approach the underarm seam and adjust as needed, so that you end up with evenly spaced pearls.

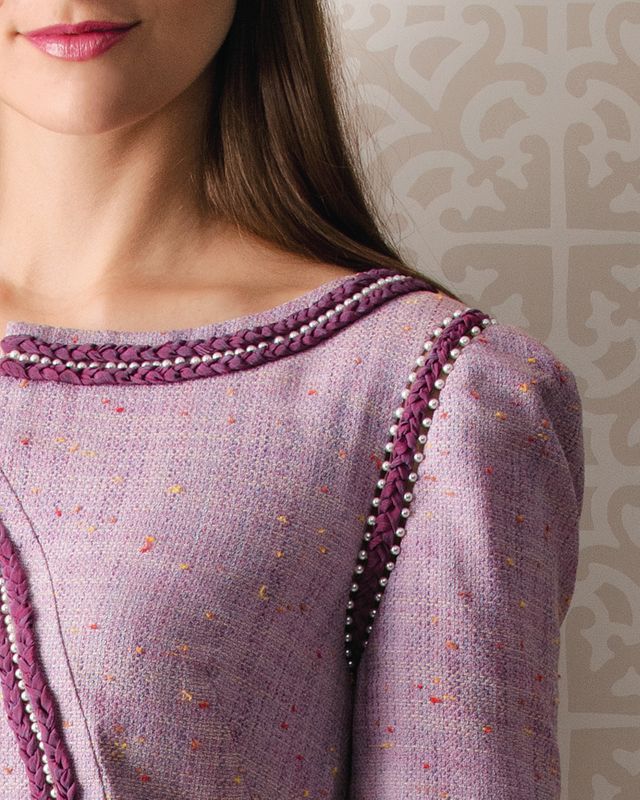
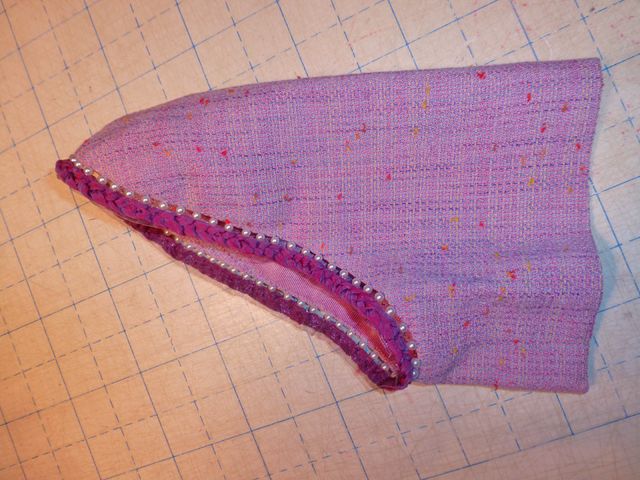
10. The finished sleeve will look like this. Now you are ready to attach the embellished sleeve to the garment.

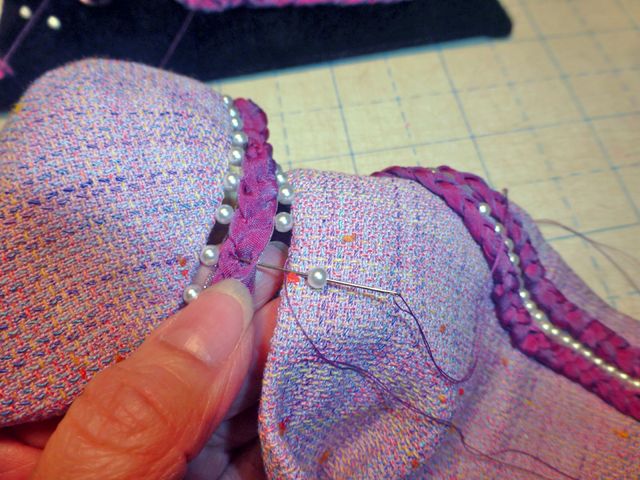
11. Start attaching the sleeve at the shoulder seam. Anchor the thread in the armscye edge. Pick up a pearl and take a stitch through the ribbon edge, placing the pearl directly across from the placement on the sleeve-cap edge. Stitch back through the pearl and insert the needle into the same hole as the previous thread. Slide the needle under the edge, exiting 1/4 inch away. Pick up another pearl on the needle and repeat the process.

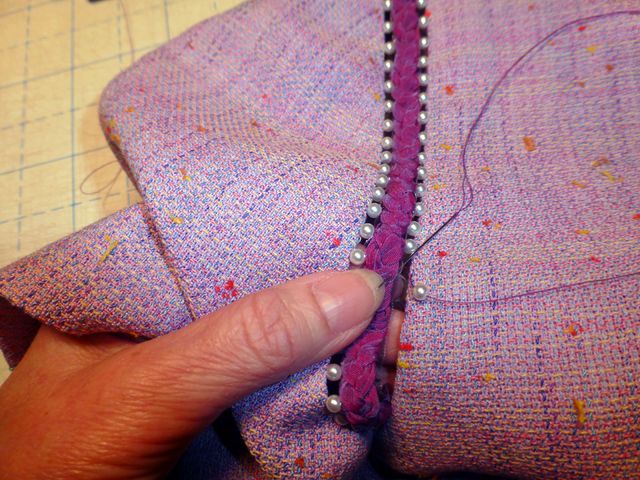
12. Be sure to sew the armscye pearls directly across from the pearls on the sleeve cap. As you stitch, use your fingers to control the sleeve ease and the reverse curves on the underarm.

13. Space the pearls carefully. You will use the same number of pearls on each seamline, but the two edges are of different lengths. The key to achieving a smooth braid when the lengths differ lies in the pearl spacing. In the convex areas, space them a little closer, and on the concave areas, spread them out a hair. Once all the pearls are sewn, go back and stich through them again to reinforce the stitching.





Wow, incredibile
Fantastic Work...Keep it up
this looks interesting
look very nice to me this option like the most
mind design and very good
Bardzo fajna i prosta sukienka, bardzo przyjemny w wykonaniu projekt
I really enjoyed this walk back in time sewing technique. thank you!
Nie podoba mi się to
wow, amazing! i really like your articles
Amazing... I love it but I am terrible at hand sewing. I will try to approximate this look using my loyal sewing machine. Thank you for inspiring me.