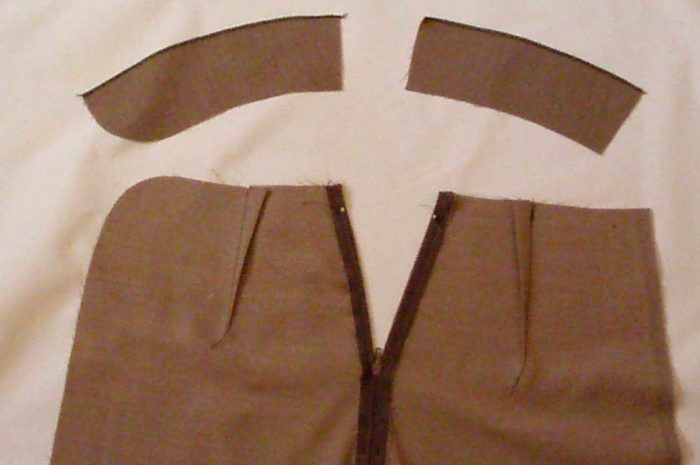
Prepare your garment facings.
One of my goals as a teacher is to help my students achieve professional results in their garments. Here is a way to ensure that necklines and waistbands that have a faced, zippered openings turn out great. Usually, commercial pattern instructions tell you to insert the zipper, attach the facing, and understitch. Then the instructions read, “Turn the facing to inside, turning under and slipstitching side edges. Press.”
In the ready-to-wear (RTW) world, facings are never finished by hand. Rather, they are sewn by machine to the zipper, which is usually an invisible zipper. This is actually a faster and very professional-looking finish, and it’s easy for anyone to achieve on a home sewing machine. Let’s take a look.
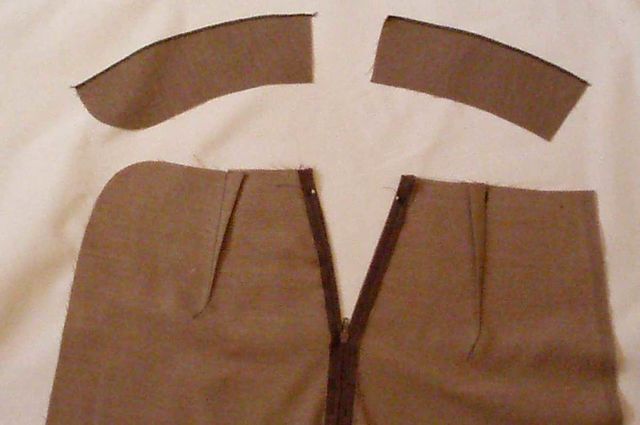
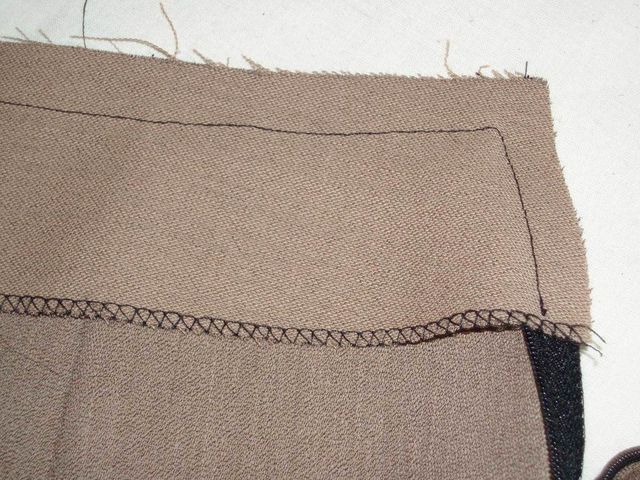
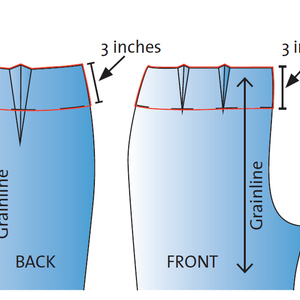
First, prepare your garment facings (shown at the top of the photo below), and insert your invisible zipper according to the manufacturer’s instructions.
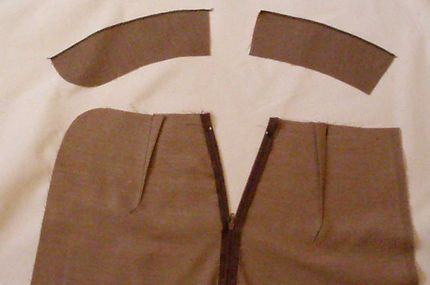
Prepare your garment facings.
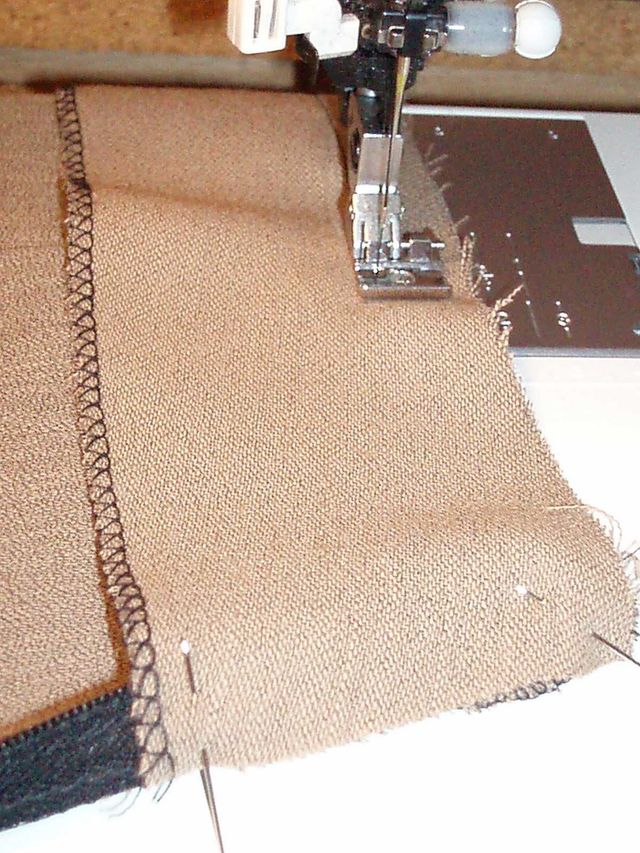
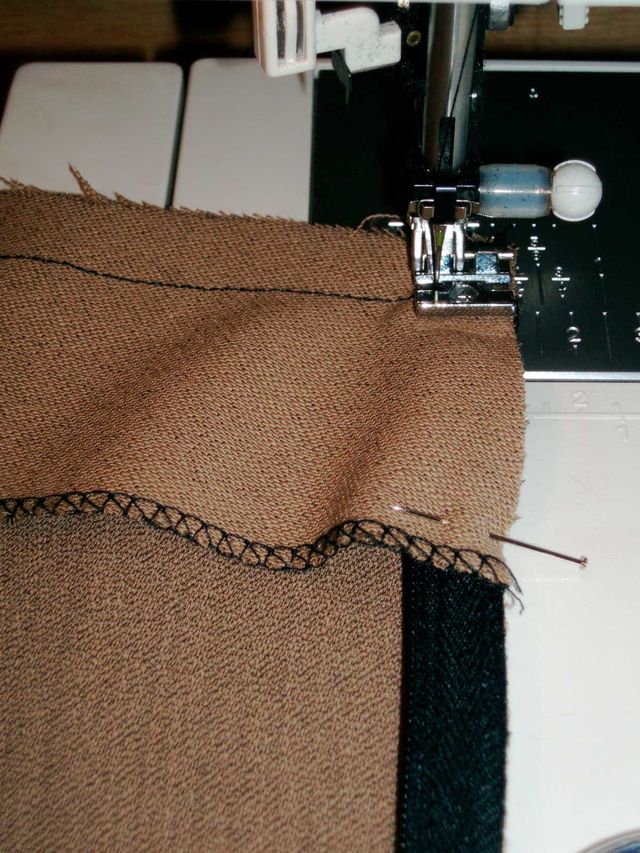
Next, using a zipper foot, attach your facing to your garment.
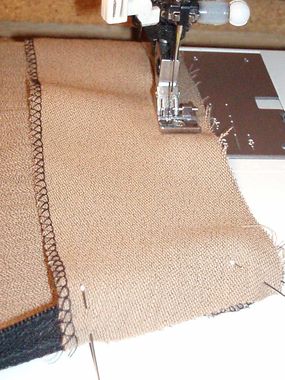
Attach your facing using a zipper foot.
Here’s where the zipper foot comes in. When you stitch up to the zipper, drop your needle into the fabric just after the teeth, pivot your garment, and sew down the facing/zipper edge with your zipper foot riding against the teeth of the zipper inside the seam allowance.
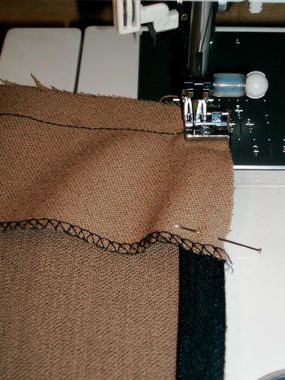
Drop your needle into the fabric right after the teeth. 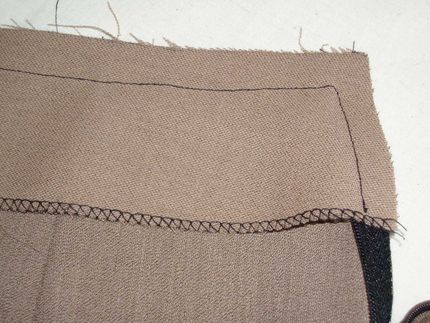
Sew down the facing/zipper edge with your zipper foot riding against the teeth of your zipper.
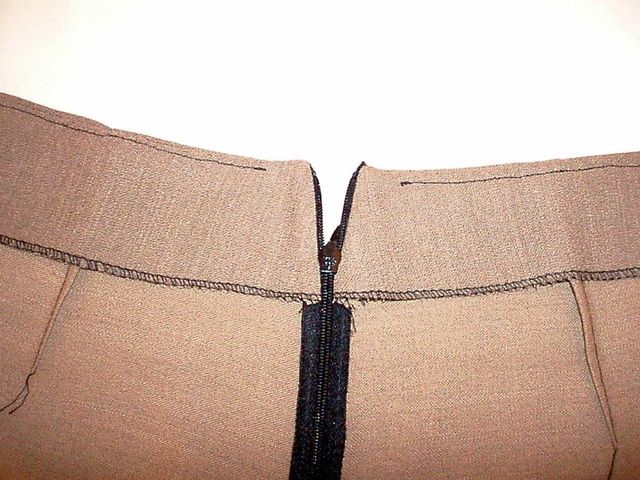
Once you have attached your facing, trim the corner of your seam, and turn the facing and garment to the right sides. At this point, understitch the facings as far as you can, and press. Voilà! A professionally finished faced waistband!
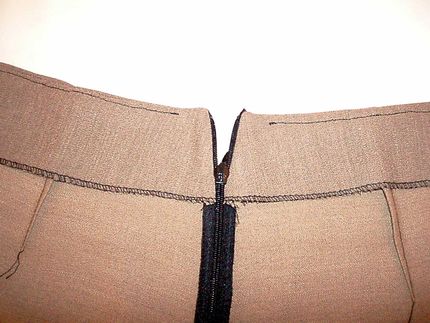
Voilà! A professionally finished faced waistband!






Hi
I sewed a hidden zipper skirt, but after sewing I could not zip up, what did I do wrong?