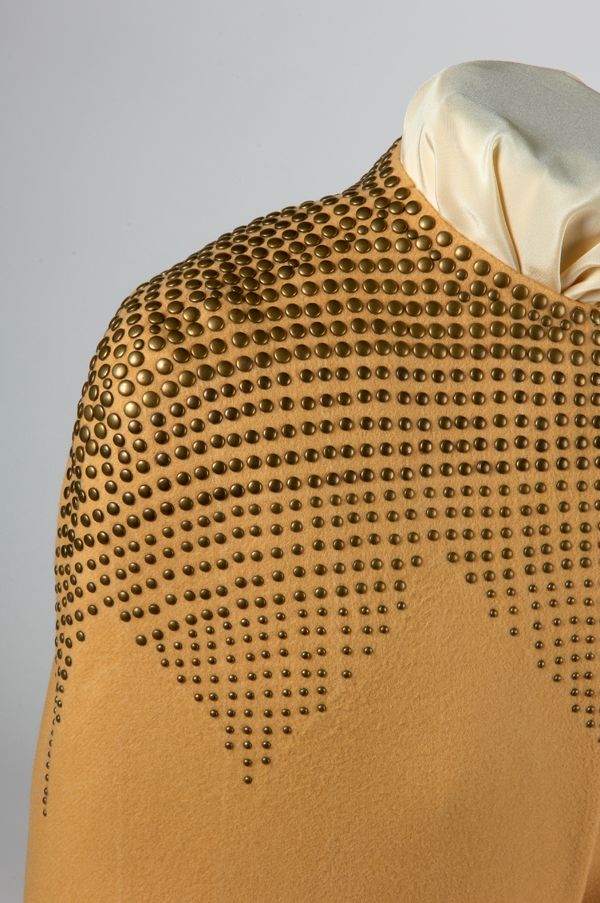
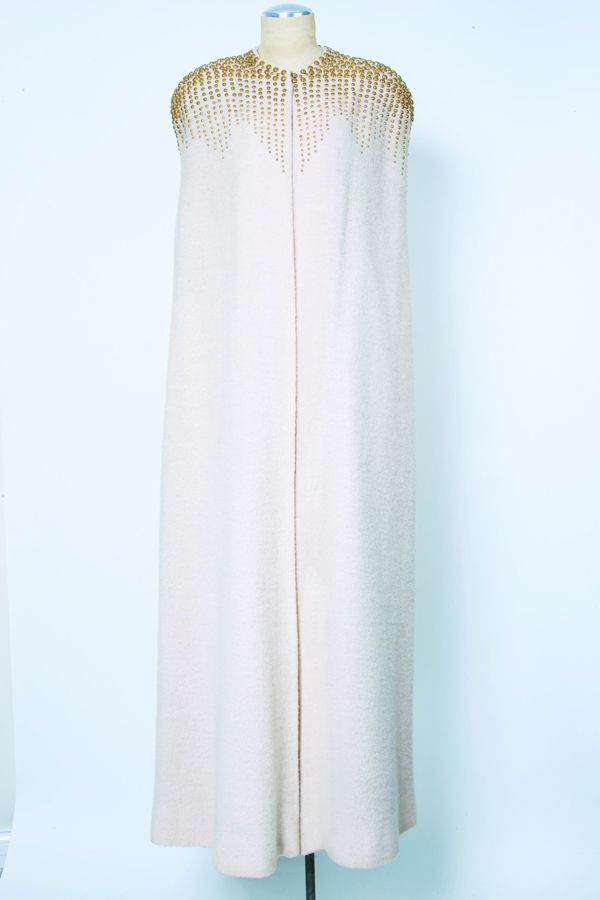
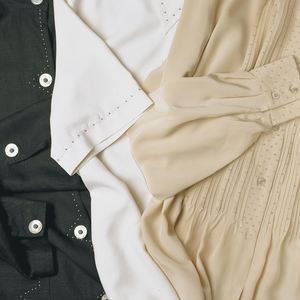
Studs add fashion flair to garments for a style that’s strong, eye-catching, and perennially on the cutting edge. On the back cover of Threads issue #154, studs or nail heads, as they are also called, define the shoulder of the classic cape they adorn. Hot-fix nail heads avoid the prongs of other varieties and their potential to snag. Construct the garment before adding the nail heads.
1) Experiment with applying the nail heads.
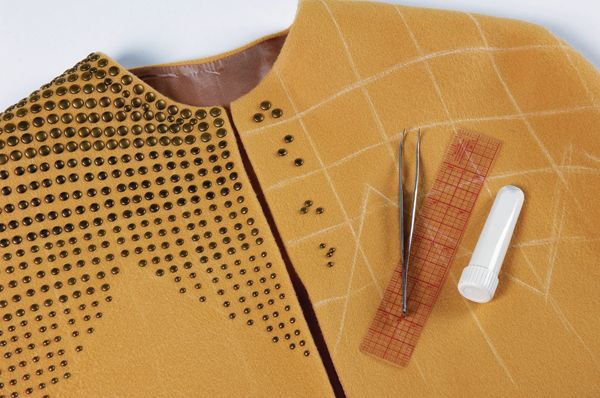
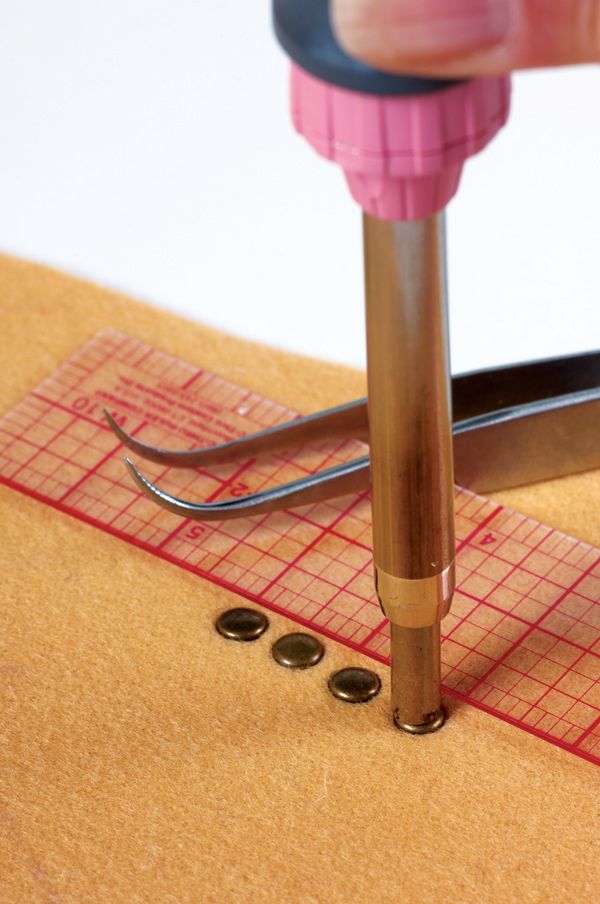
We used hot-fix nail heads from KandiCorp.com and applied them with their Professional Touch Applicator. Set up the applicator with a flat head. Position the nail head adhesive-side down, and apply heat with the applicator tip for several seconds. Larger heads require a slightly longer time to affix. Use tweezers to position the heads exactly where you want them, and use a small, clear, gridded ruler to make sure they are in straight rows.
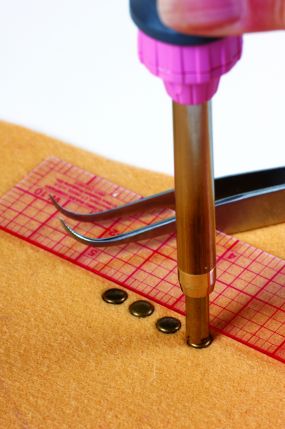
Apply heat to affix the nail heads.
2) Plan your grid.
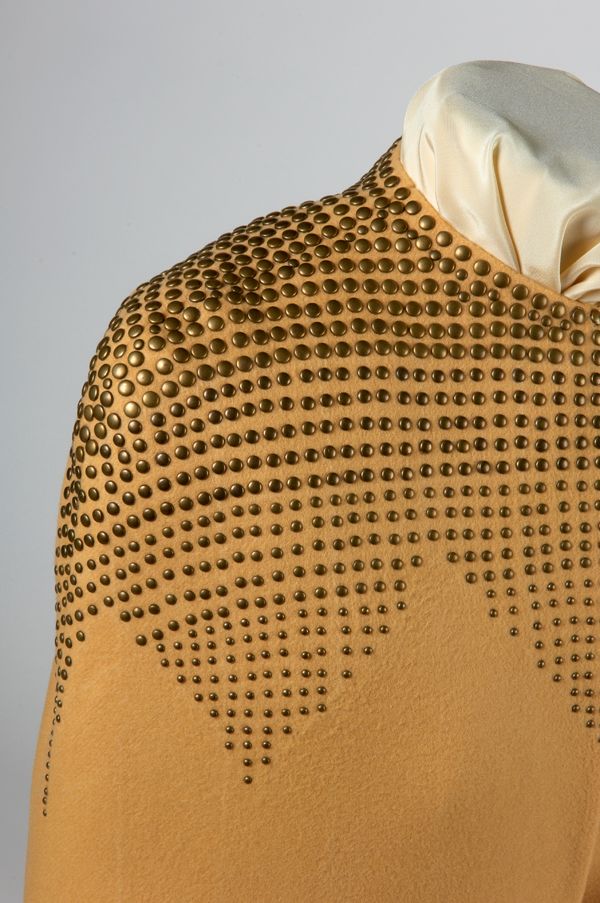
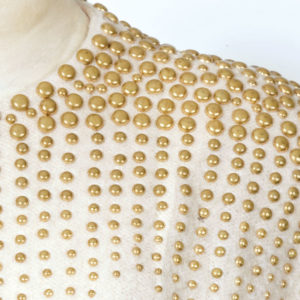
To achieve this look, use four graduated nail-head sizes with the largest heads along the shoulder seam. With removable chalk, draw vertical lines parallel to the center front, across the front and back of the shoulder section of the cape. Draw horizontal lines to separate the sections that each head size will occupy. Draw an uneven lower edge. Set the largest nail heads around the neckline. Apply a row of matching nail heads across the shoulder seam to the arm. Use the large heads’ placement to position the vertical rows parallel to the center front. Use the gridded ruler to keep all the rows parallel.
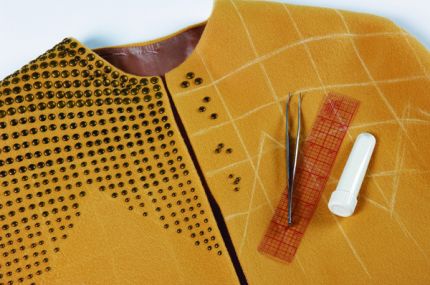
Map a grid for the graduated size nail heads.
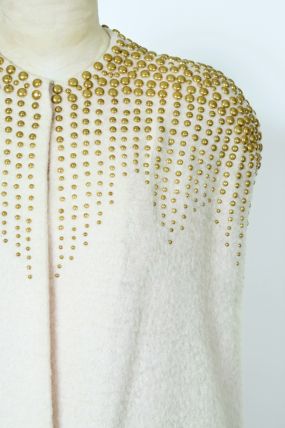
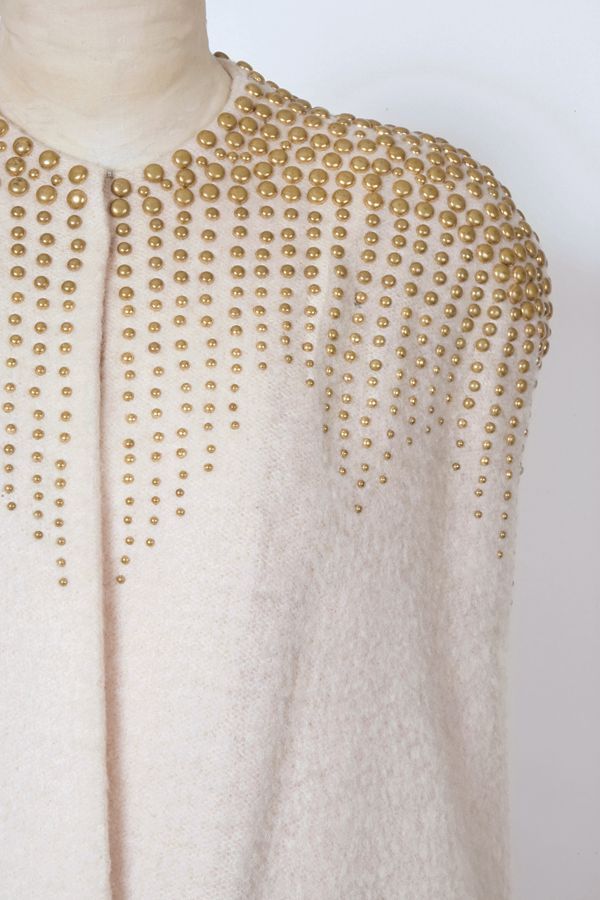
This studded look was inspired by the cape on the back cover of Issue 154. This garment was photographed at The Western Costume Company.
excerpted from Threads #154, p.22




Really cute. I will try this out definitely:-)
woooow this is sooo pretty and inspiring and sooo cool tough looking as well. awesome, thank you for your tute and the sharing;-D