
The Tailored Jacket: How to Make a Surgeon’s Cuff, Part 2

In Part 1 of this tailoring series, I showed you how to sew a surgeon’s cuff. Unlike traditonal cuffs often found on tailored jackets, a surgeon’s cuff features working buttons and buttonholes. I’ll demonstrate how to add a lining to a sleeve with a surgeon’s cuff. If this process looks familiar, it closely tracks a tutorial I previously shared where I illustrated how to reline a jacket sleeve.
I chose to cover the lining pieces in this tutorial to eliminate confusion.
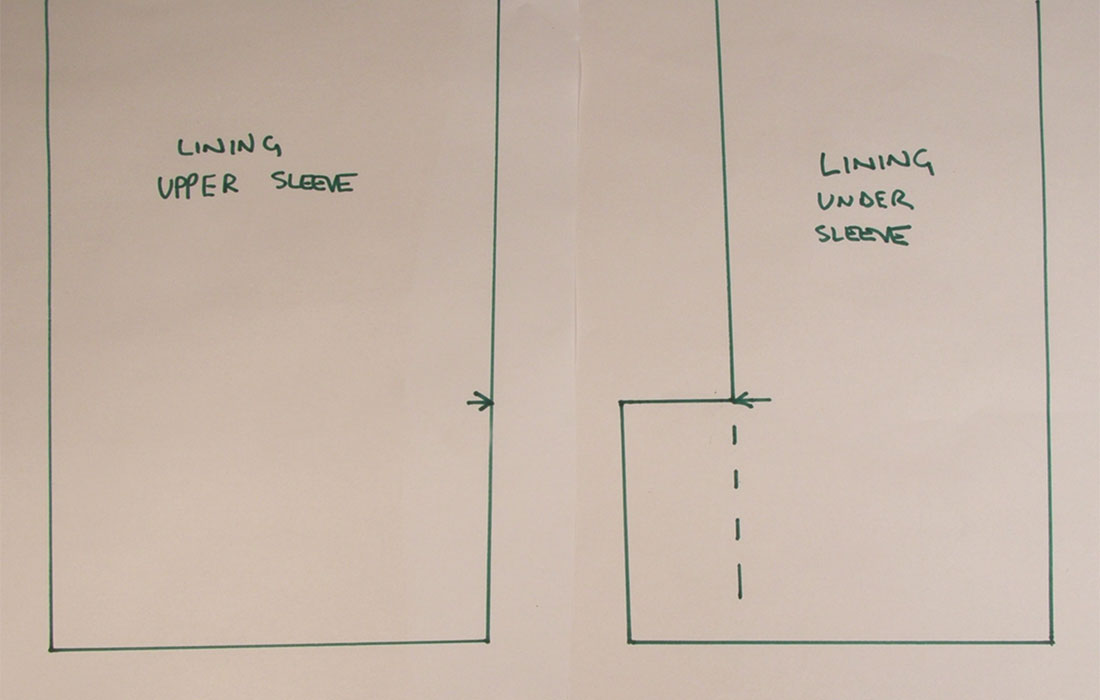
To make the upper sleeve lining pattern, measure up from the jacket sleeve pattern hem allowance by 3/4 inch, and draw a line straight across. On the jacket undersleeve, do the same thing. Trace out the lining pieces.
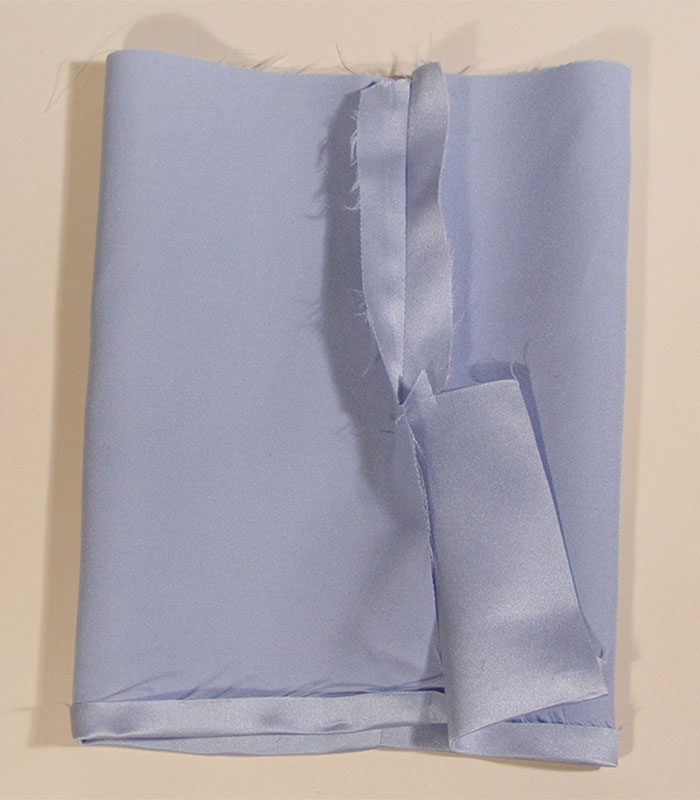
Here are the ready-to-construct lining pieces. Cut out the sleeve and lining pieces.
Sew both seams on the sleeve lining, stopping the stitching at the vent opening on the back sleeve seam.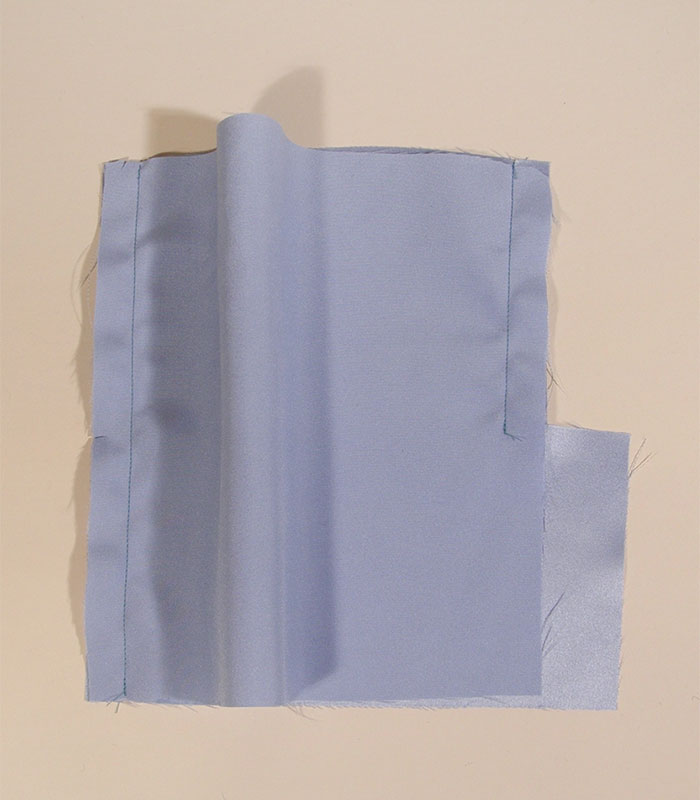
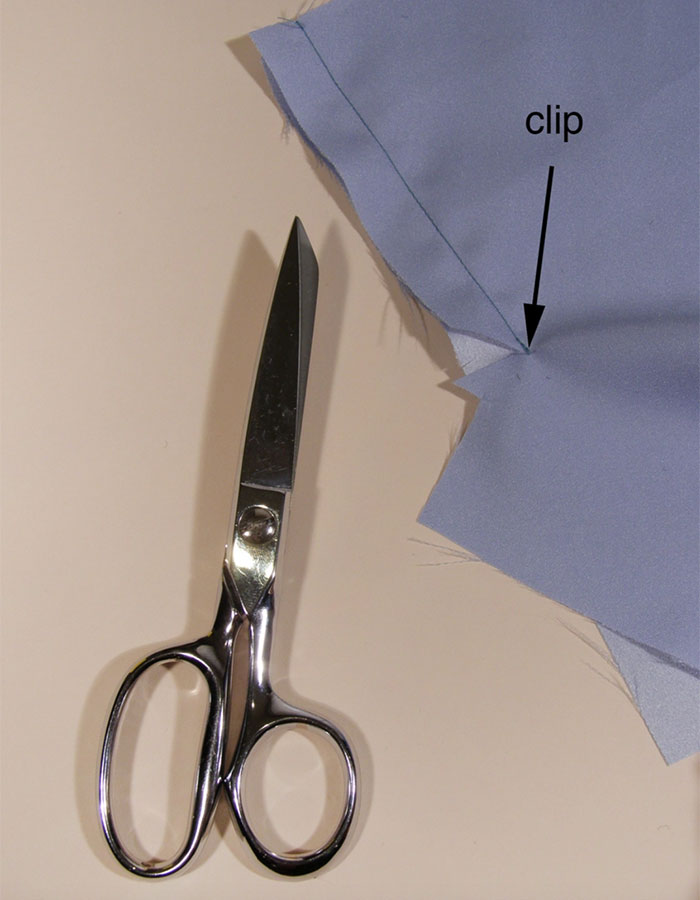
Clip to the stitching on the vent’s underlap side.
Press the seam open above the vent.
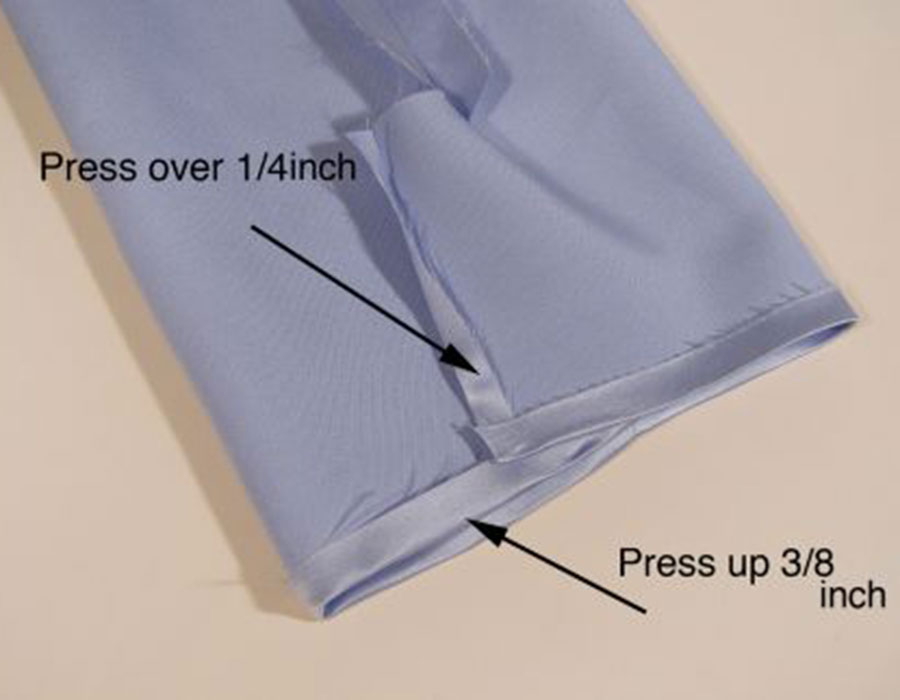
Press the hem up 3/8 inch. Press the underlap edge under 1/4 inch.
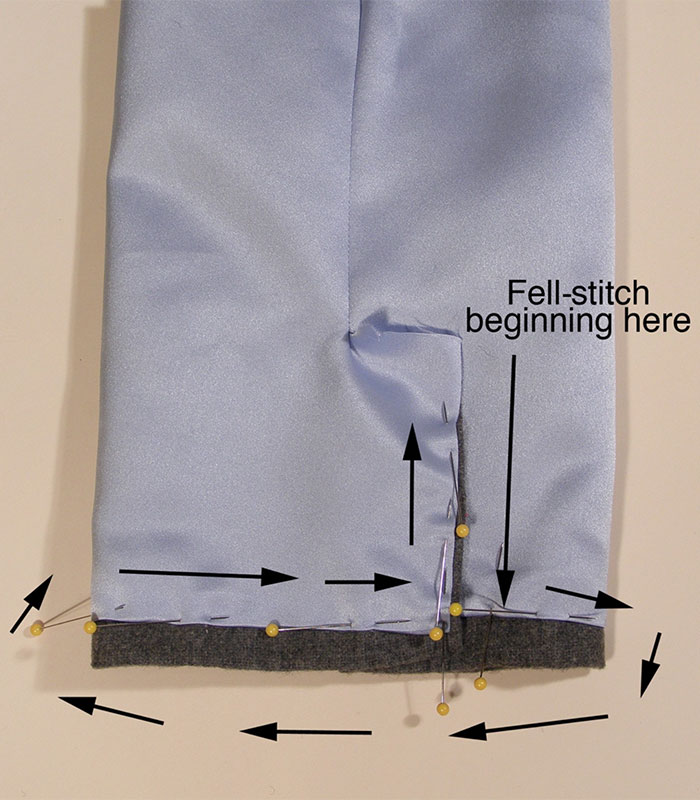
Pin the lining to the sleeve hem allowance starting with the underlap side. Work down along the underlap and around the cuff, until you reach the edge of the underlap. Fell-stitch this in place.
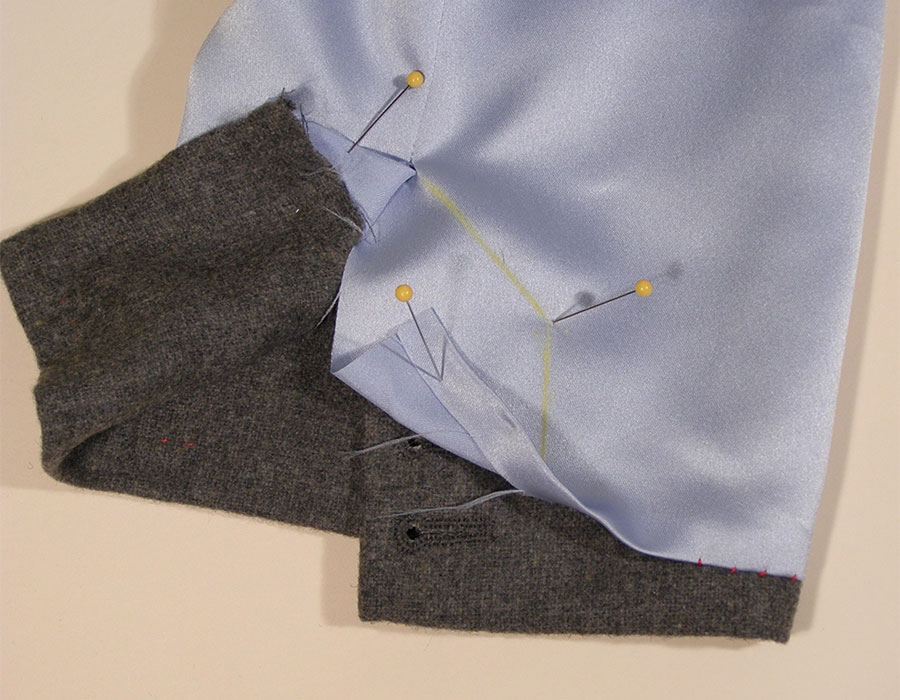
Draw foldlines with chalk on the lining for the overlap. The finished folds should clear the ends of the buttonholes.
Trim the excess, leaving 1/2 inch to turn under for the finish.

Clip the corner.

Fold the edges of the lining over, making sure to conceal the underlap at the upper end of the vent. Pin.

Fell-stitch the remainder of the hem, and work your way up the underlap, finishing at the top end of the vent.
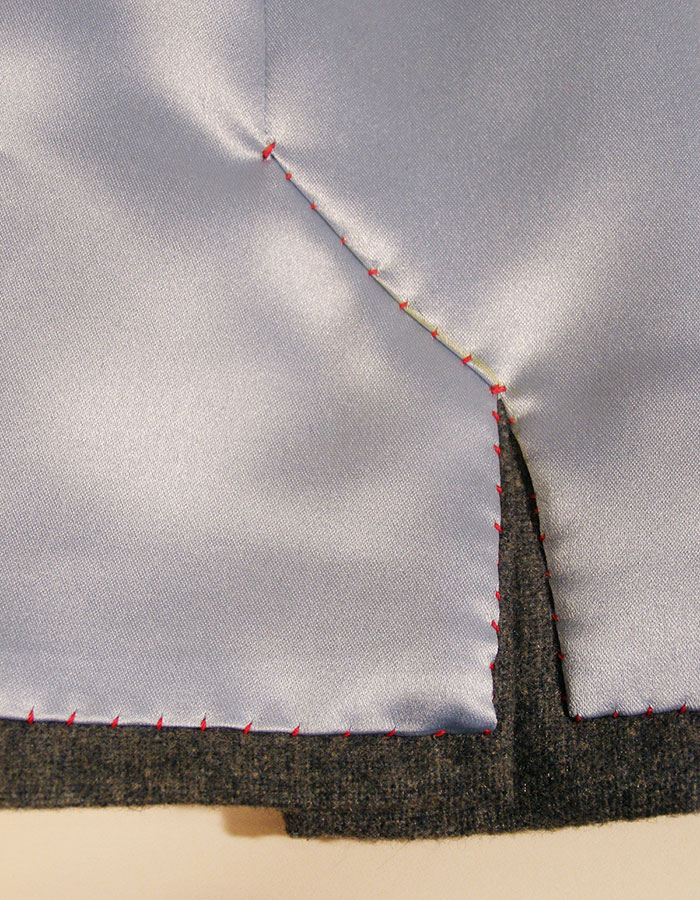
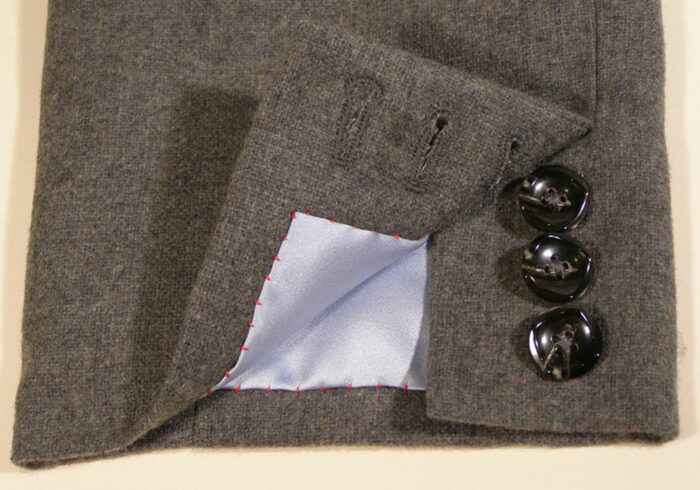
The finished vent from the inside, shown, is ready…
Start your 14-day FREE trial to access this story.
Start your FREE trial today and get instant access to this article plus access to all Threads Insider content.
Start Your Free TrialAlready an Insider? Log in


Log in or become a member to post a comment.
Sign up Log in