Tailoring with Felted Wool, Part 4: The Felted “Bark” Coat is Finished
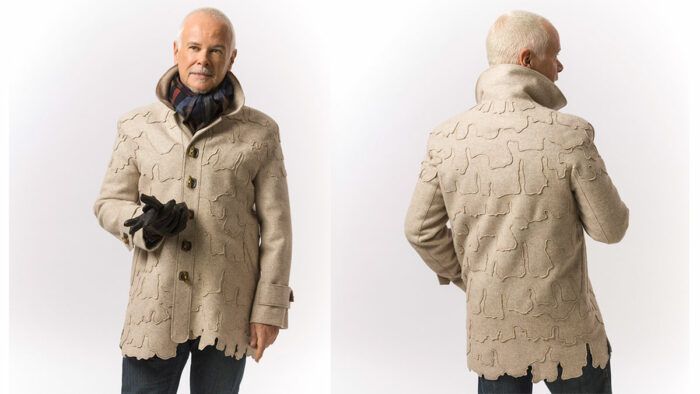
In Part 3 of my felted wool “bark” coat how-to tailoring series, I showed how I attached the collar and facings. In the final installment, I’ll demonstrate the techniques I used to install the sleeves, lining, and closures. You can follow these steps to achieve a similar result.
Install the Sleeves
Once the bodice is constructed, the sleeves can be made.
Mark the fabric with the pounce pattern and pad. Machine-baste the stitching lines along the armhole, just as on the body of the jacket.
The sleeve is shown with the “bark” appliqué on the cap already finished.
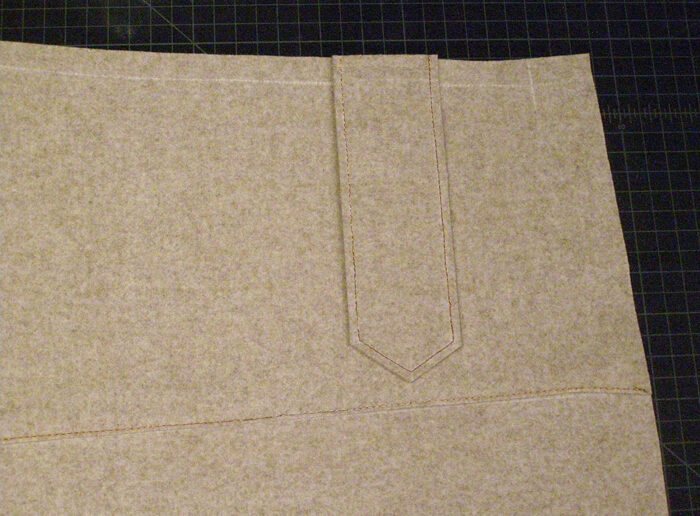
Sew the back sleeve seam as a lapped seam, and install the cuff latch.
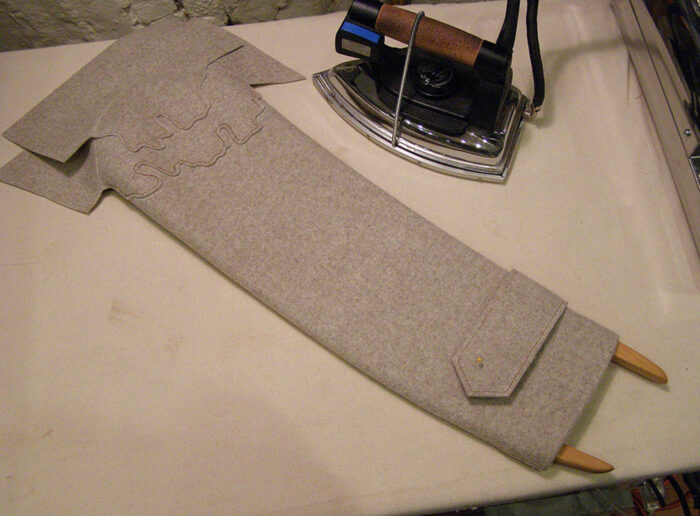
Sew the front sleeve seam, and steam the sleeves on the sleeve stretchers.
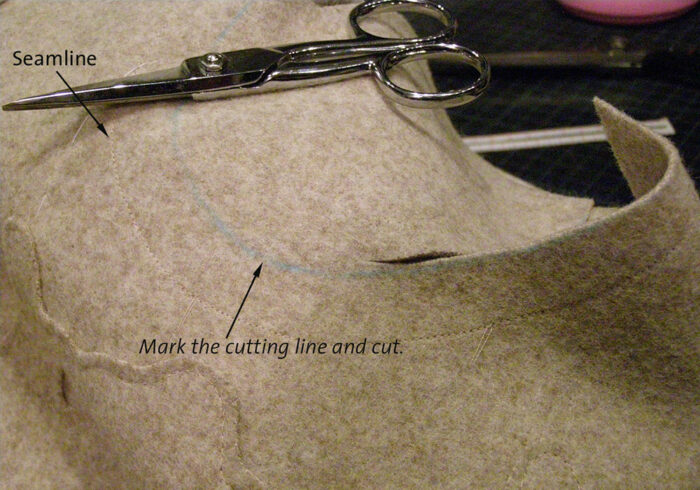
On the body underarm, measure 5/8 inch from the stitching line, and mark the cutting line. Trim the excess on the cutting line.
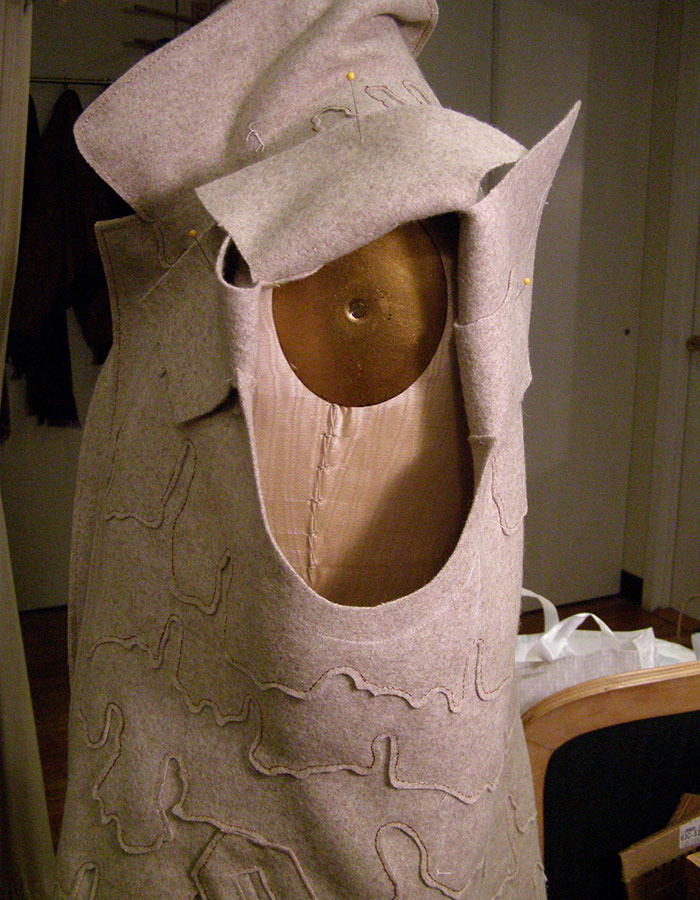
Here is the body with the underarm prepared to receive the sleeve.
Sew the sleeve underarm to the bodice.
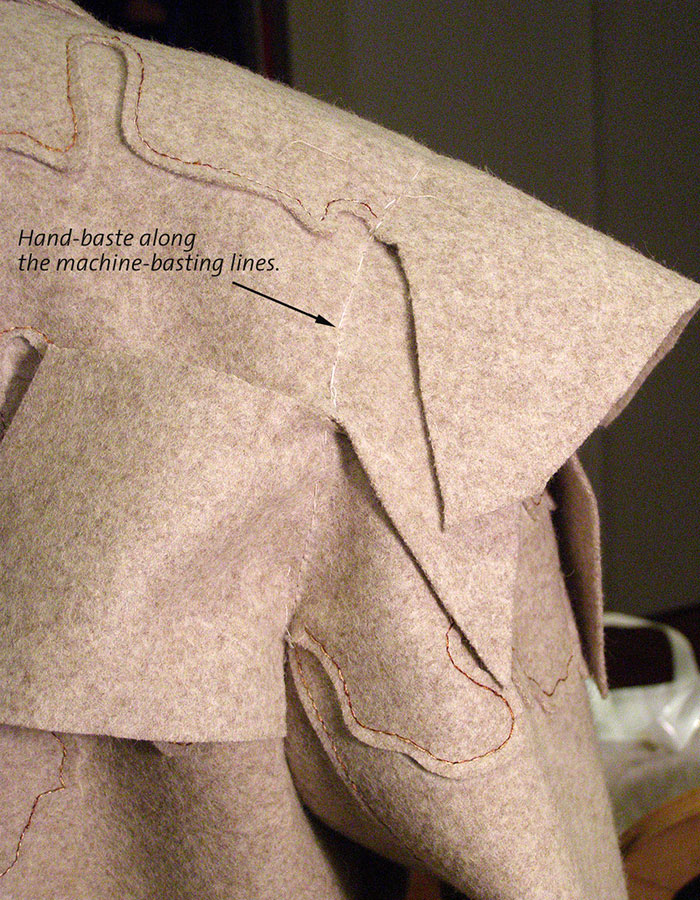
Once each sleeve underarm is sewn to the body, overlap the sleeve with the bodice, and pin the sleeve cap’s armhole stitching lines to the armhole stitching lines on the bodice.
Hand-baste the stitching lines together.
Cut the long, overlapping pieces of fabric on the bodice to shape, and overlap them onto the sleeve. Hand-baste, and then machine-sew, the appliqués in place.
This is essentially an appliqué seam, similar to what’s used to sew lace pieces together.
Remove the hand basting, and trim the excess fabric on the wrong side of the jacket.
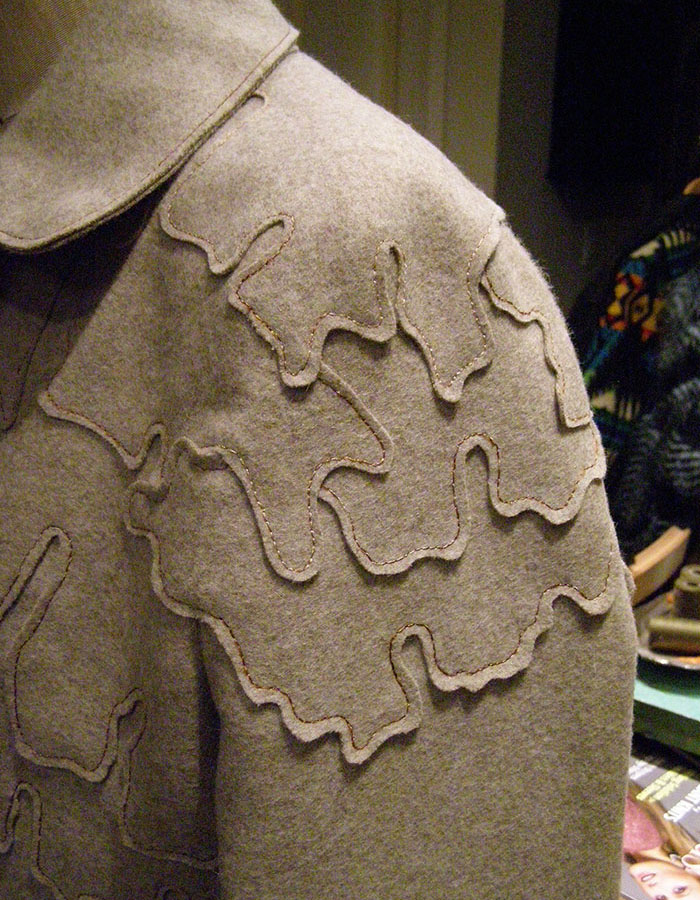
This is what the completed sleeve cap looks like.
A wider view shows the finished sleeve from the front.
This view shows the finished sleeve from the back.
Install the shoulder pad, and the jacket is ready for…
Start your 14-day FREE trial to access this story.
Start your FREE trial today and get instant access to this article plus access to all Threads Insider content.
Start Your Free TrialAlready an Insider? Log in










Dear Kenneth, the coat looks amazing, and you are the best model for it!
Thanks for the kind words!
Thank you for sharing this amazing coat!
Great thinking outside the box.
Another phenomenal creation by Kenneth D. King! Your creative talents just keep getting better and better. Thanks for sharing them!
Kenneth, your work is impeccable! I love your ideas and the inspirations they give me. Also it is great to see how you tackle the challenges step by step to create your fabulous garments. Keep it up!
Thanks again, everyone--this was a really fun challenge, and it's fun to wear.
This is definitely one of my favorite garments of yours, Kenneth because it combines classic tailoring with a unique contemporary fabric.