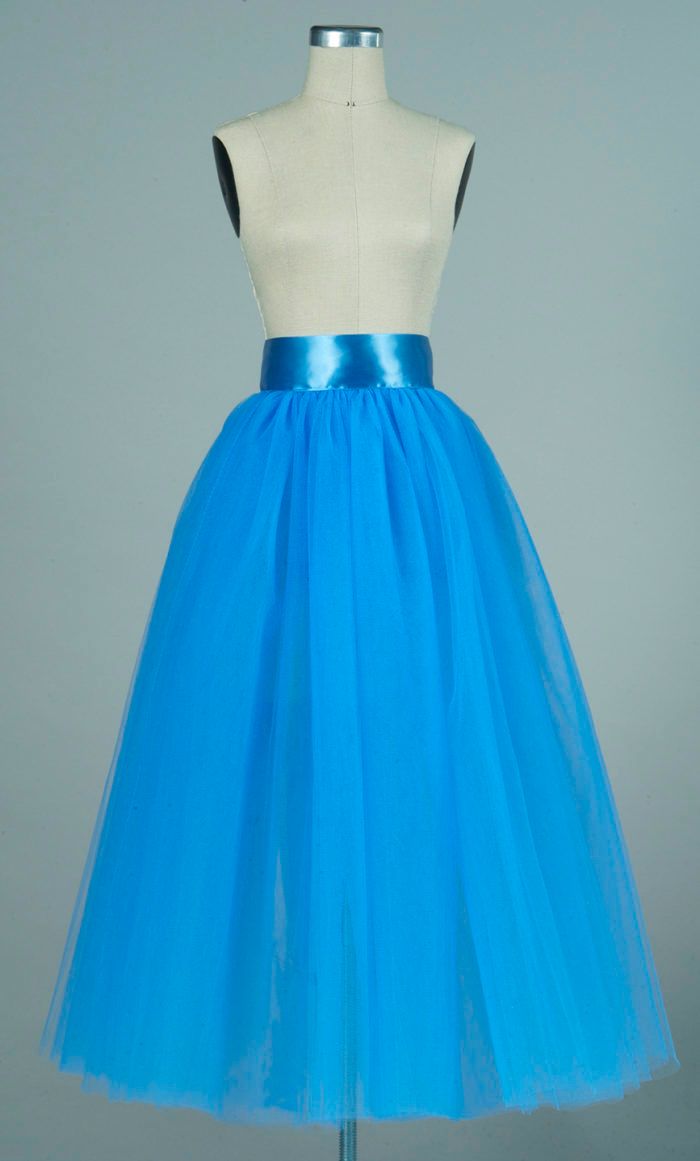
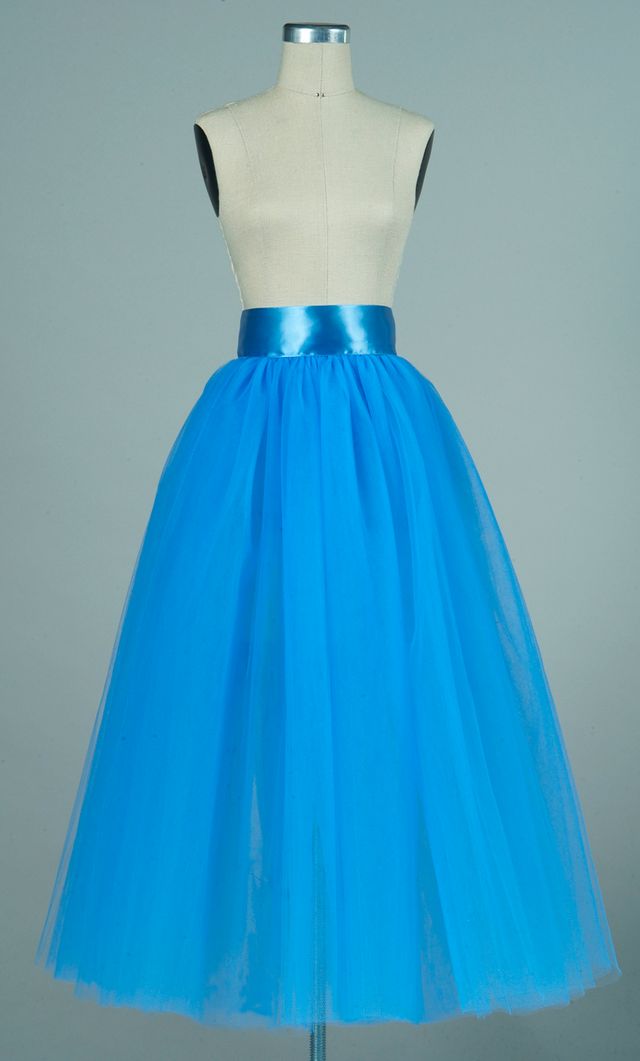
Tulle skirts are having their fashion moment. Tutu-like garments are shown styled for both casual and dressy occasions and, in every case, are fun to wear. Making your own isn’t difficult. However, a tulle skirt typically has several layers of gathered fabric, and this can pose a problem when it comes to cutting an even, neat hem. I’ve made and hemmed lots of tulle skirts and want to share a few tips for sewing, pressing, and hemming them.
Fabric and design
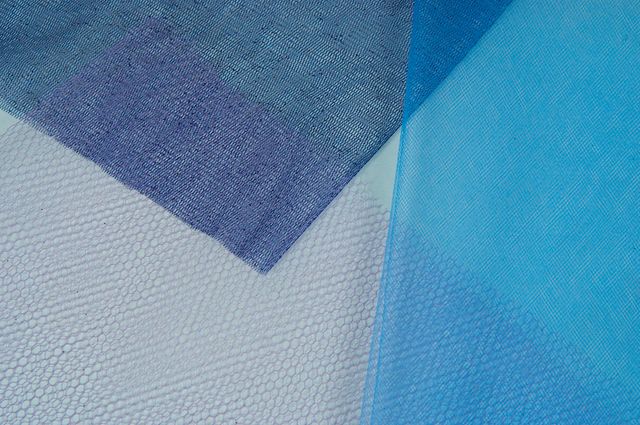
Tulle is a thin, net fabric, typically synthetic but also available in silk. It can be a solid color or have a sparkly finish applied to it. Net or netting is a stiffer fabric with more body and is usually used to make petticoats. When purchasing tulle or net, be sure there are no big wrinkles (usually near the end of the bolt) as these can be difficult to remove. Tulle looks darker with several layers; keep this in mind when selecting tulle fabric.
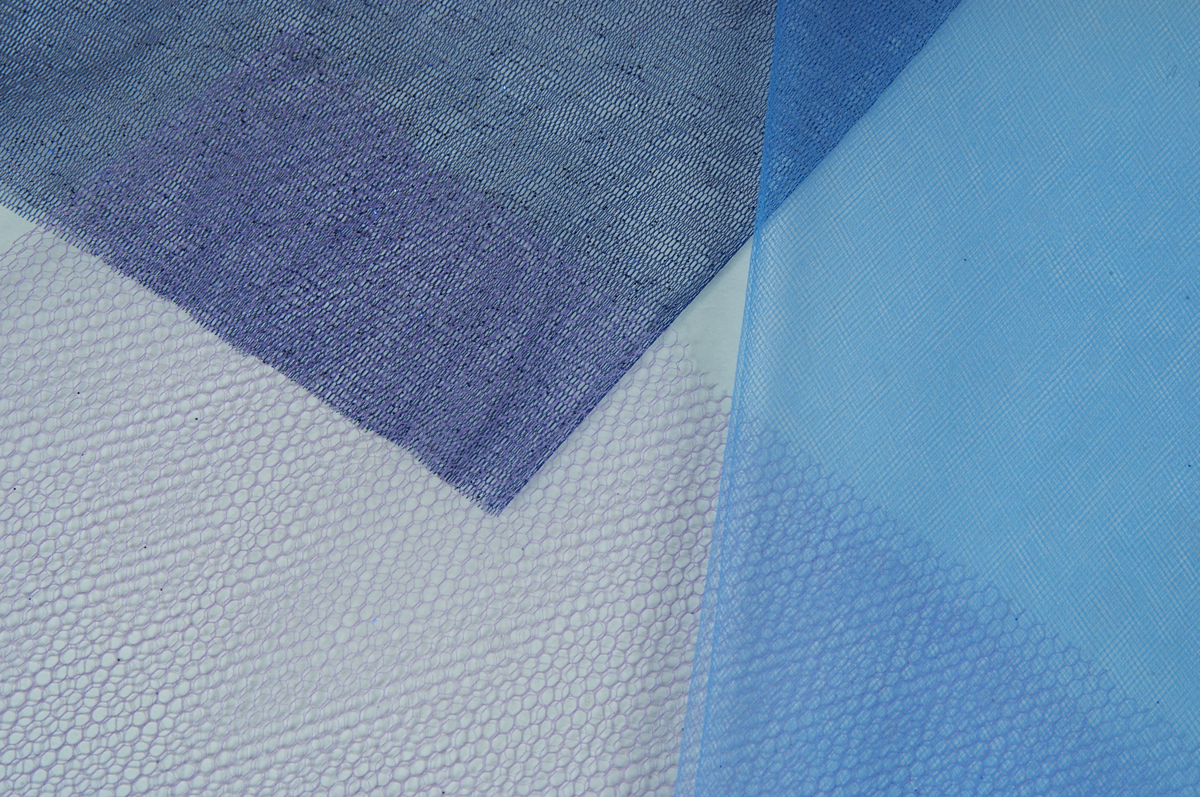
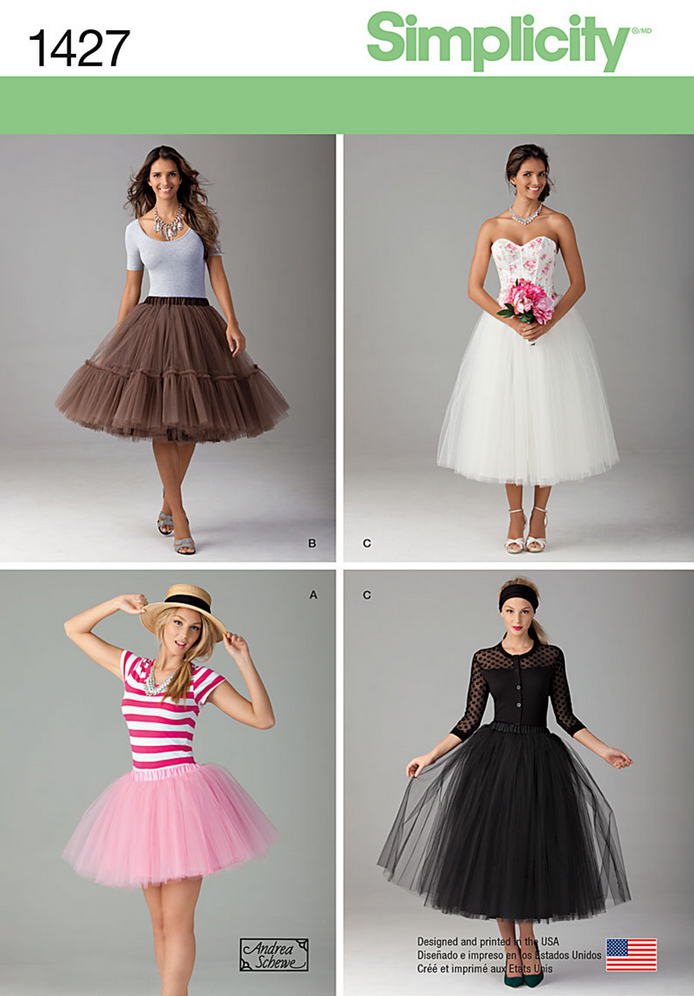
A tulle skirt can be designed from several rectangular layers of tulle cut to the same dimensions. This is a “princess” shaped skirt with a lot of fullness at the waist. Alternatively, the skirt can be cut in an “A” shape, with some of the fullness removed from waist to hip. Sometimes the tulle layers are different in volume, with a fuller top layer over slightly less full underlayers.
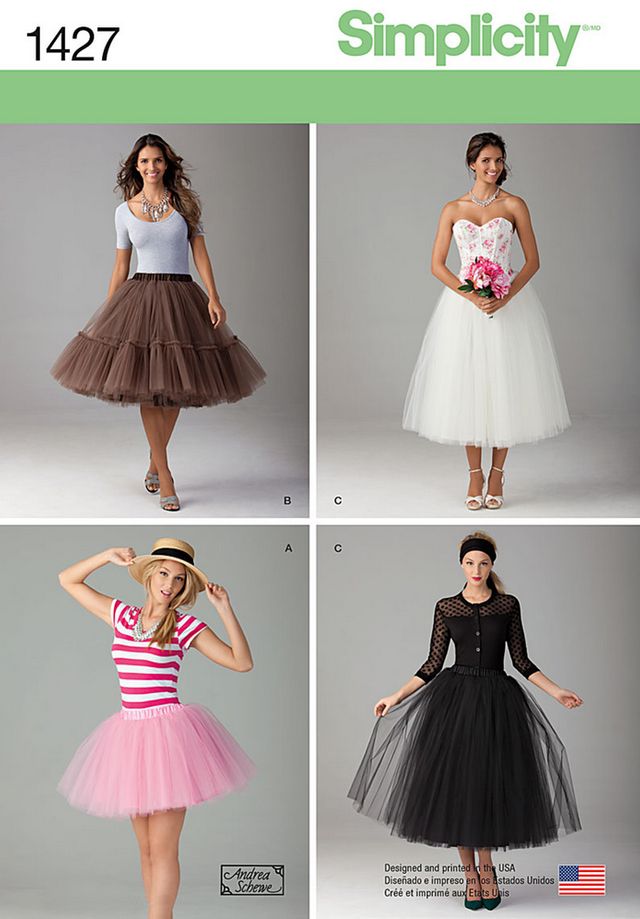
You can easily design your own skirt, but if you prefer to use a pattern, try Simplicity 1427 by Andrea Schewe (don’t miss Andrea’s video tutorial on arm mobility.)
Sewing tulle
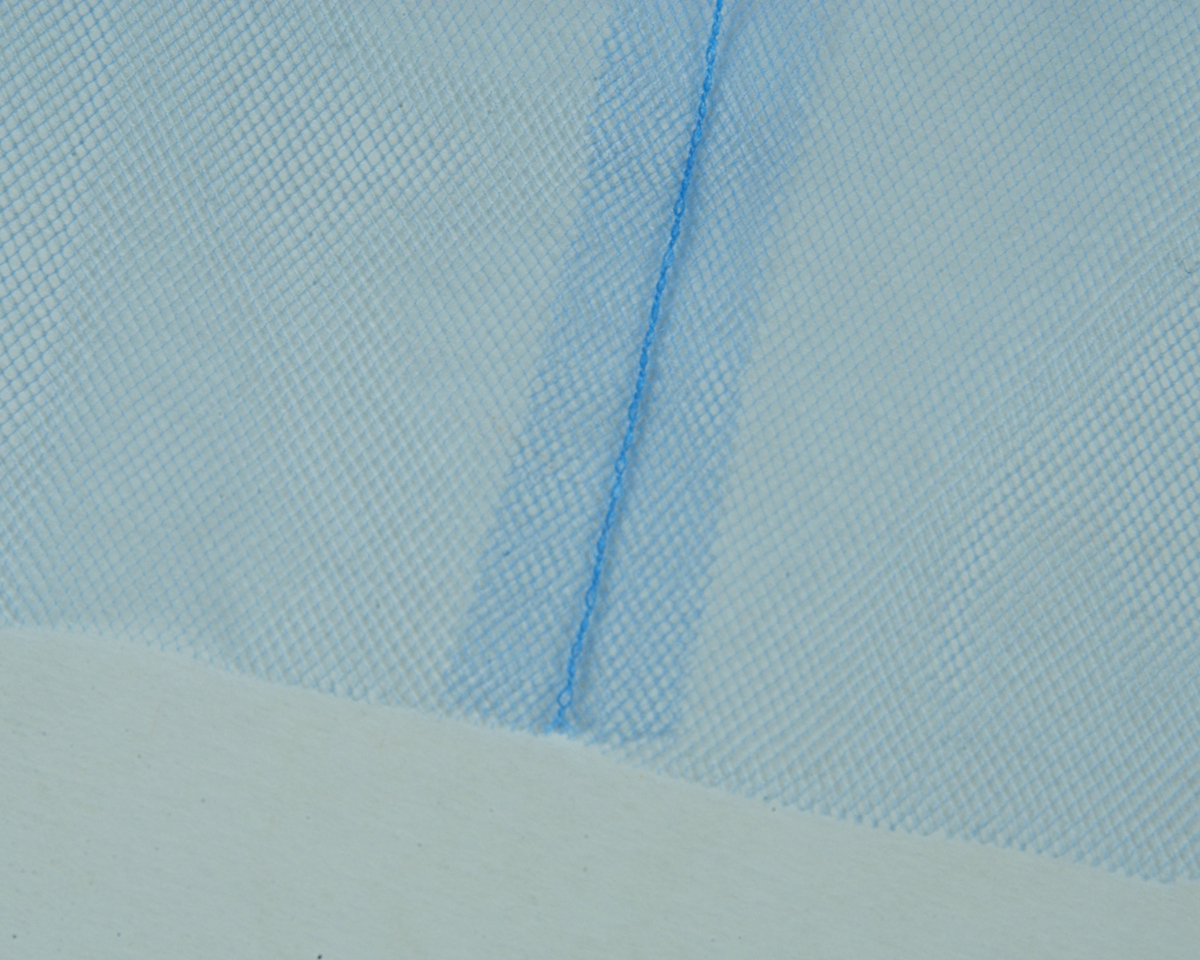
Tulle is a semitransparent fabric. I prefer to sew it with thread that’s a bit lighter in color. Because the top and bobbin threads interlock, the finished seam can look like a dark line. You can use clear thread for an invisible seamline, but clear thread can be challenging to work with. I recommend against serging, as a serged seam is very conspicuous. It is best to make a few seam samples before sewing your skirt, to see what you find pleasing. Remember that your skirt is made of several layers. A sewn seam may look conspicuous in one layer, yet blend into the skirt when all the layers are together. Backstitch to secure the seam at both ends.
Pressing tulle
I recommend pressing seam allowances open. A press cloth is a must. You run the risk of melting the tulle if the iron is too hot. I often use a piece of tissue paper as a press cloth. A square of silk organza works well, too. It is a bit transparent and makes it easier to see what you’re pressing.
Hemming a tulle skirt
This final step in making a tulle skirt is where you might find yourself a little overwhelmed. Controlling several layers of springy, gathered, sheer fabric takes patience, but is doable. If all the layers have the same hem circumference, you’ll pin and cut them together, following these instructions. If the layers have different hem circumferences, you’ll need to mark and cut them individually.
1. Prepare the layers. Begin by steaming the skirt, or pressing with a press cloth, so all the layers are smooth and unwrinkled.
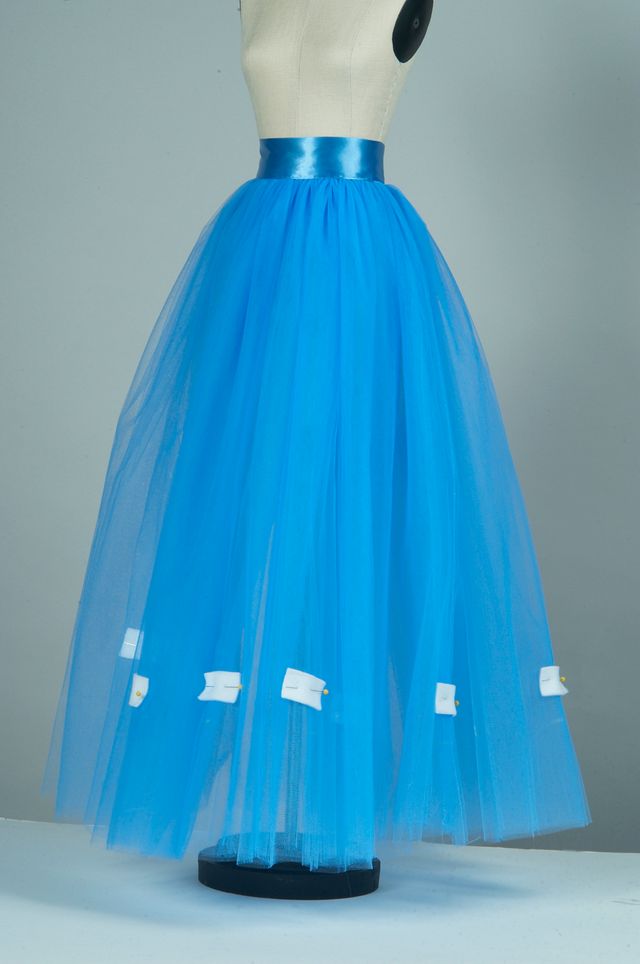
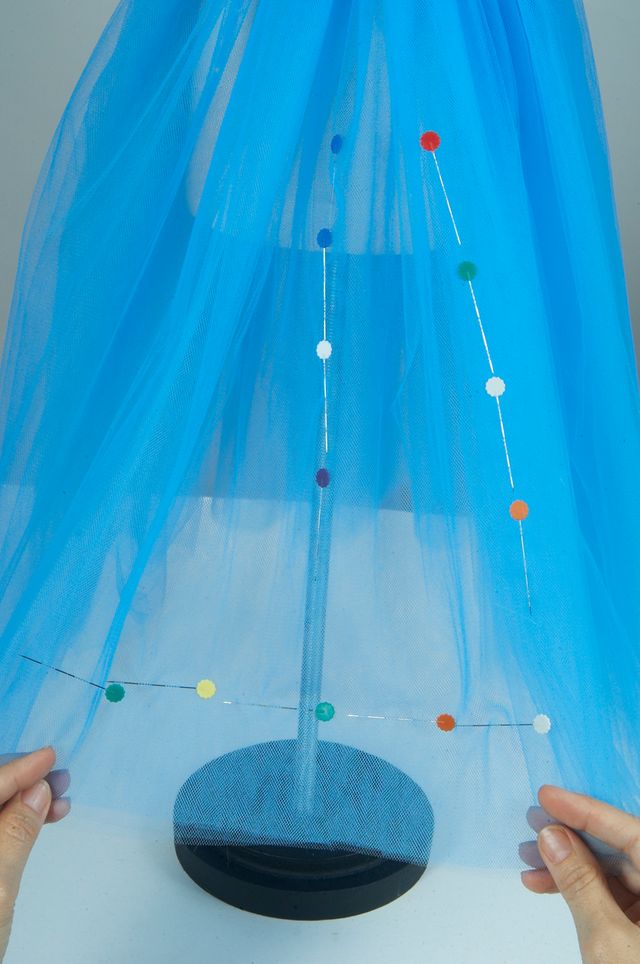
2. Secure the layers. Hand-baste or pin the layers together from the waist to the bottom edge, placing a line of pins or stitching about 12 inches apart. Hand-basting is the most time-consuming method, but also the most secure.
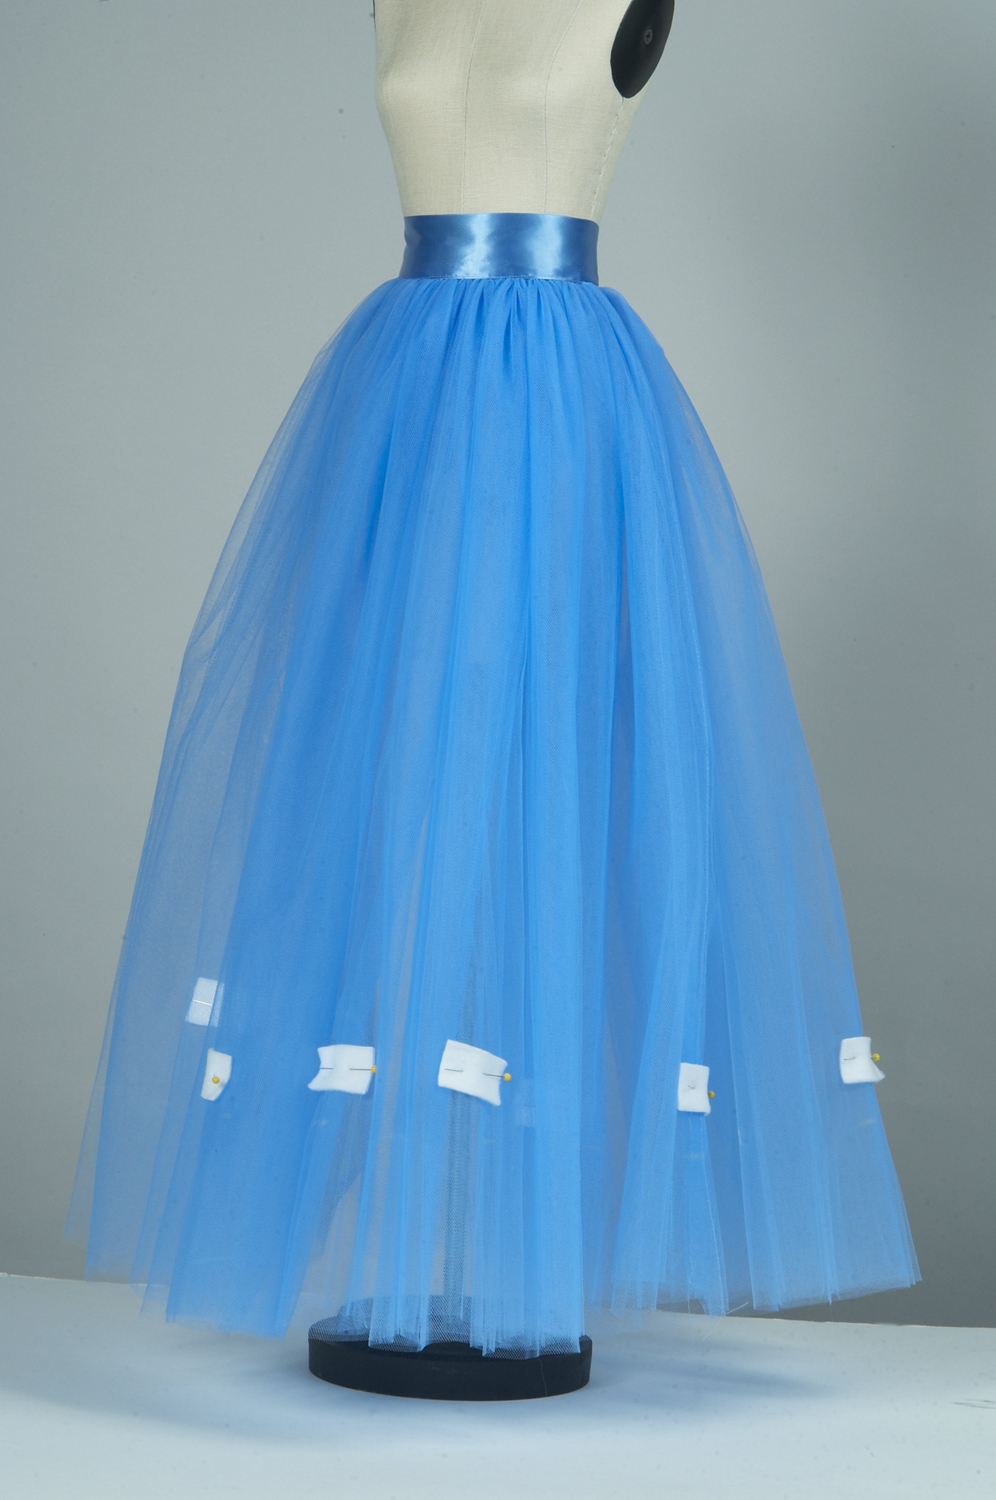
Pinning is faster, but requires some care in handling.

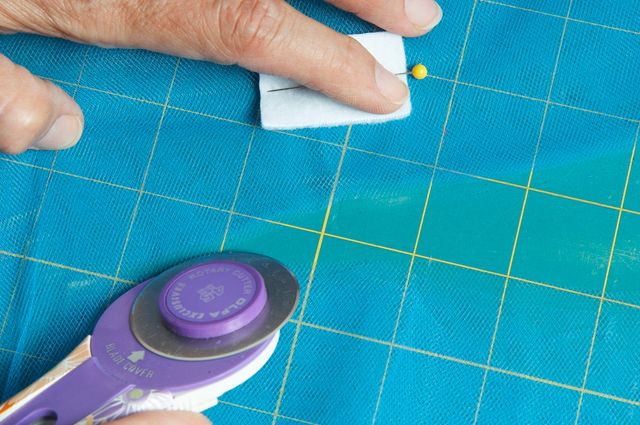
Straight sewing pins don’t stay very well in tulle, so I cut small rectangles of felt, and pin through them. They give the pins something to grab onto, and make the pins more visible.
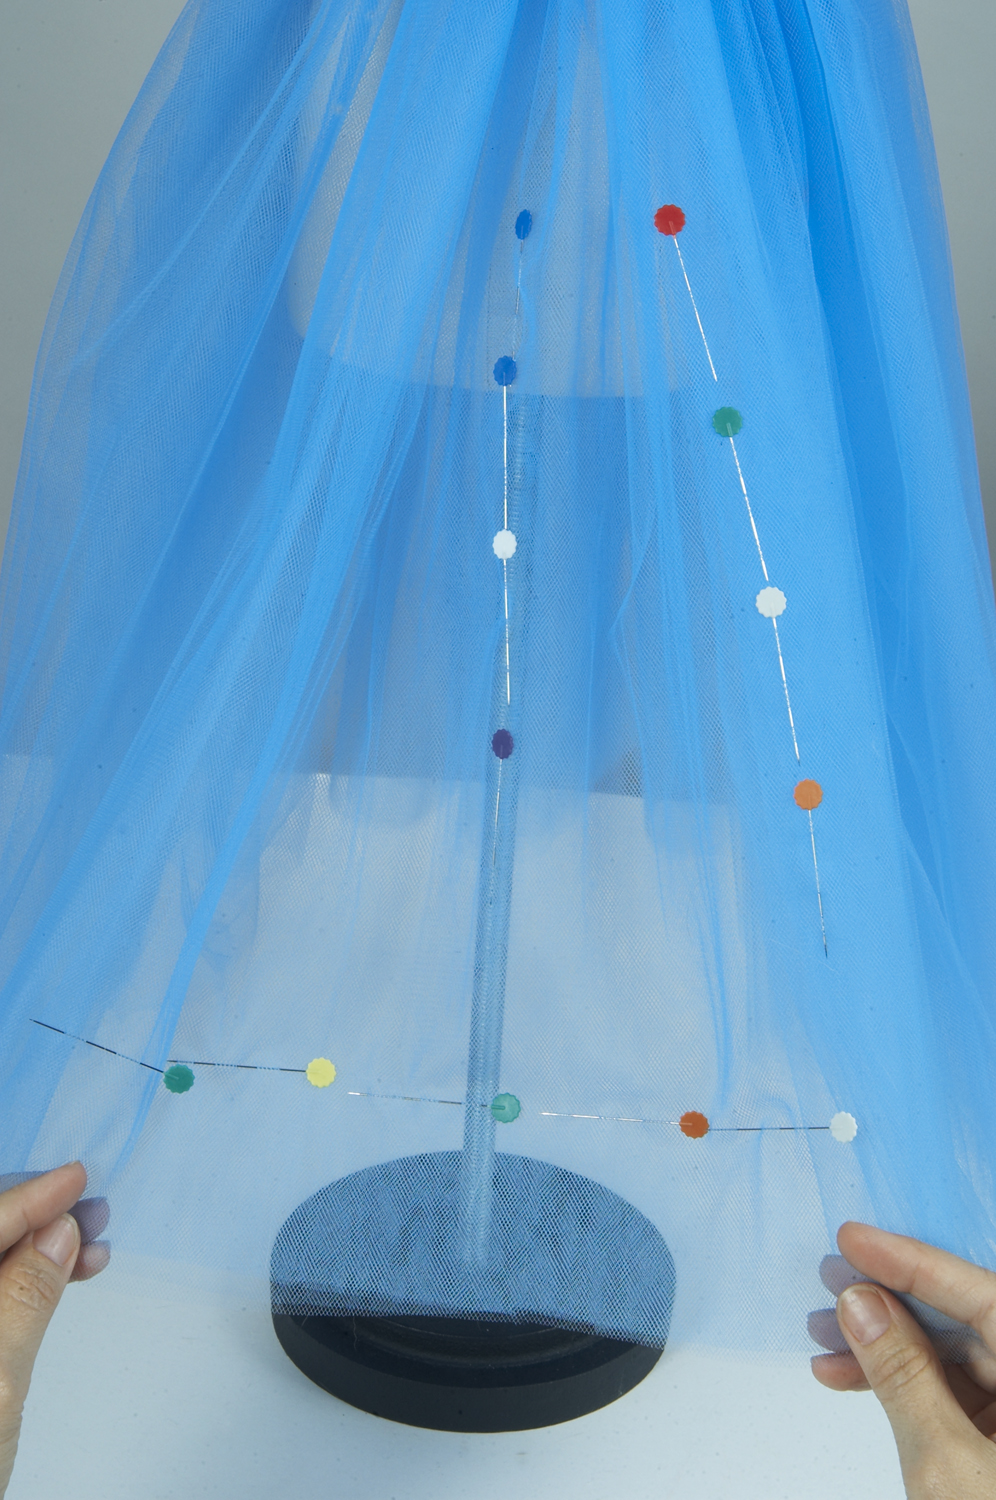
Another option is to use long pins with large, flat heads. They stay in the fabric better than standard dressmaker pins, but you must handle the pinned skirt carefully to avoid dislodging them or injuring yourself.
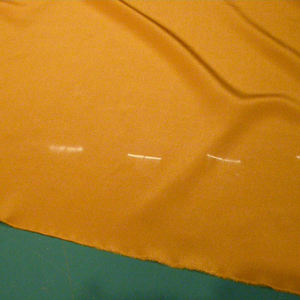
3. Mark the hem. Put the garment on the wearer, and be sure she stands with her hands at her sides and looking straight ahead. Mark the hem slightly longer than you think you want the final garment. Tulle tends to spring up and shorten, and tulle skirts look better if they are longer. You can always trim off a little bit later, but you can’t put it back on.Try school chalk or wax tailor’s chalk to mark the hem, as it leaves a distinct mark that is removed easily. You may be able to use a wax crayon; if so, mark 1/2 inch below the desired hemline, so you can cut away the crayon mark. Test any marking method on a scrap to be sure you can remove any marks that end up in the wrong place.Some fabrics simply won’t take a mark from chalk or crayon. If you’re having trouble making a clear mark, pin all the way around the skirt, 1/2 inch above the desired hemline. Then cut 1/2 inch below the pins.
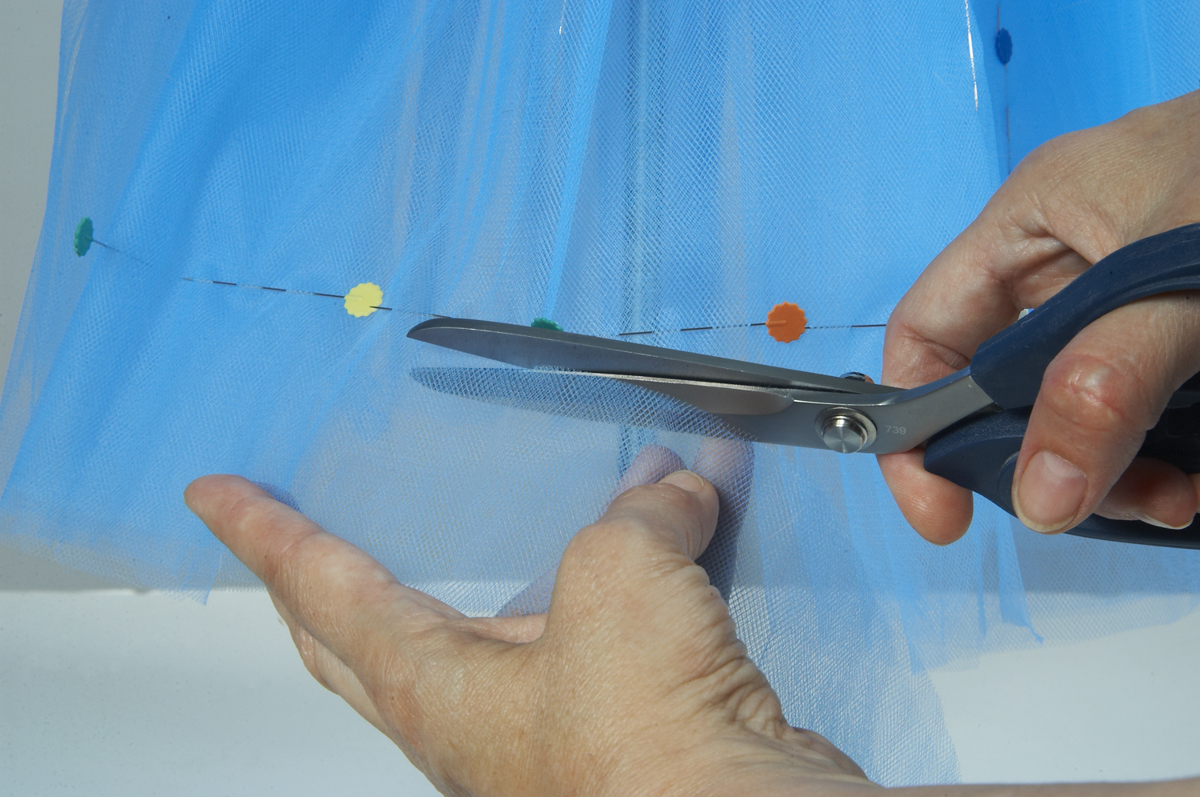
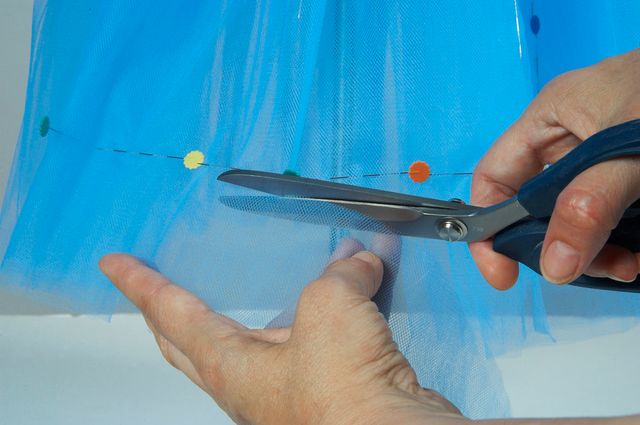
4. Cut the hem. The cleanest and most even edges are made with a rotary cutter or serger blade. Once you have basted or pinned all the layers together, you make just one cut. Install a fresh rotary blade, lay the skirt on a cutting mat, and cut along the marked hemline with a smooth motion.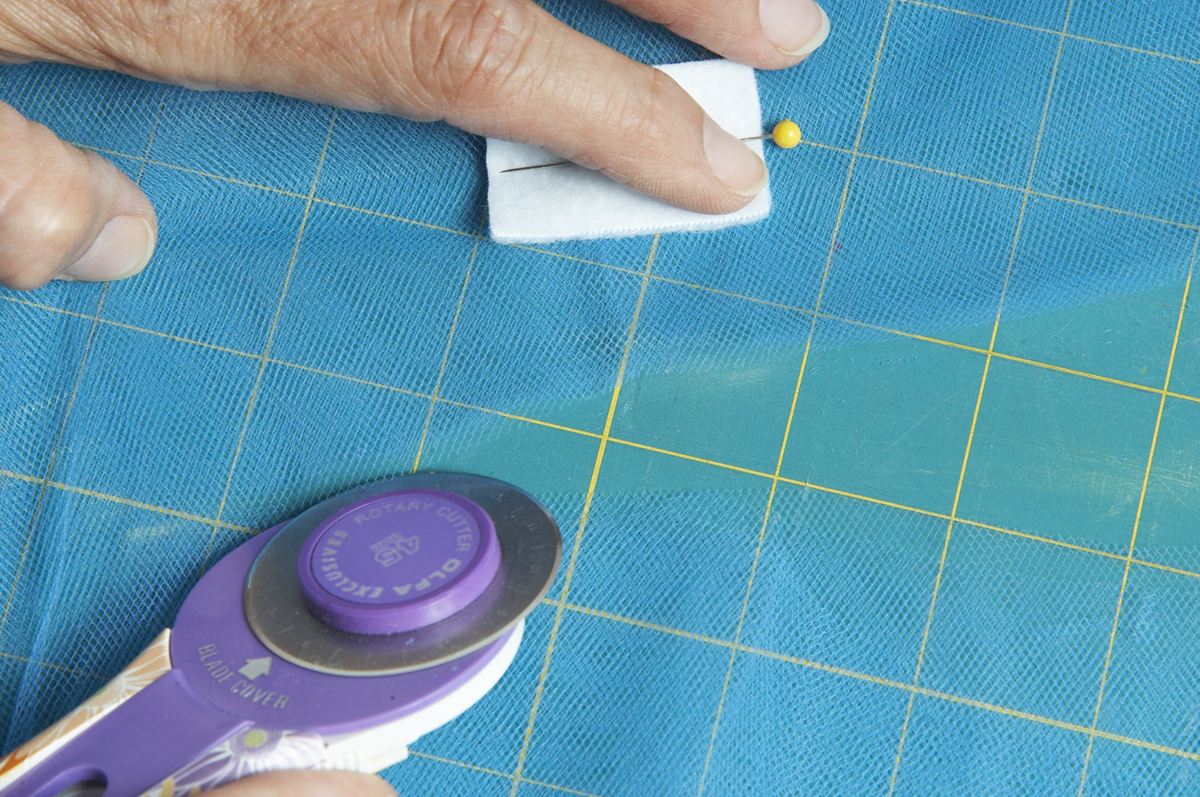 How do you use a serger to cut? Simply unthread the serger and then run the skirt through, letting the serger’s knife cut just above the chalk or crayon marks.If you must use scissors, do so with the skirt on the wearer or on a dress form. First, cut with a pair of shears, in smooth, even strokes. There will be some small, jagged bits of tulle where you stopped and started. Simply even up the jagged bits with a small pair of scissors.
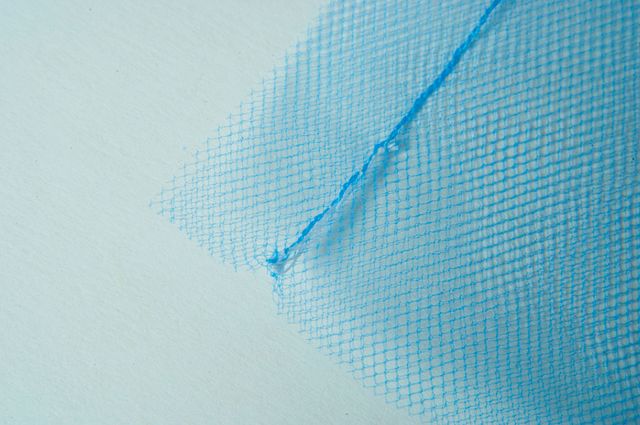
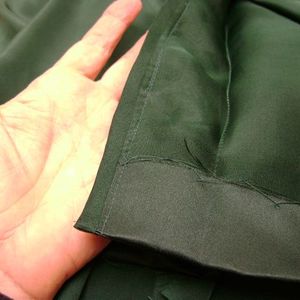
5. Resew the seam ends. In cutting the hem, you will have trimmed off the backstitching that secured the bottom of the seams. By hand or machine, restitch the bottom few inches of the seams, backstitching when you reach the hem edge. If you don’t backstitch or reinforce the seams at the hemline they will come undone quickly.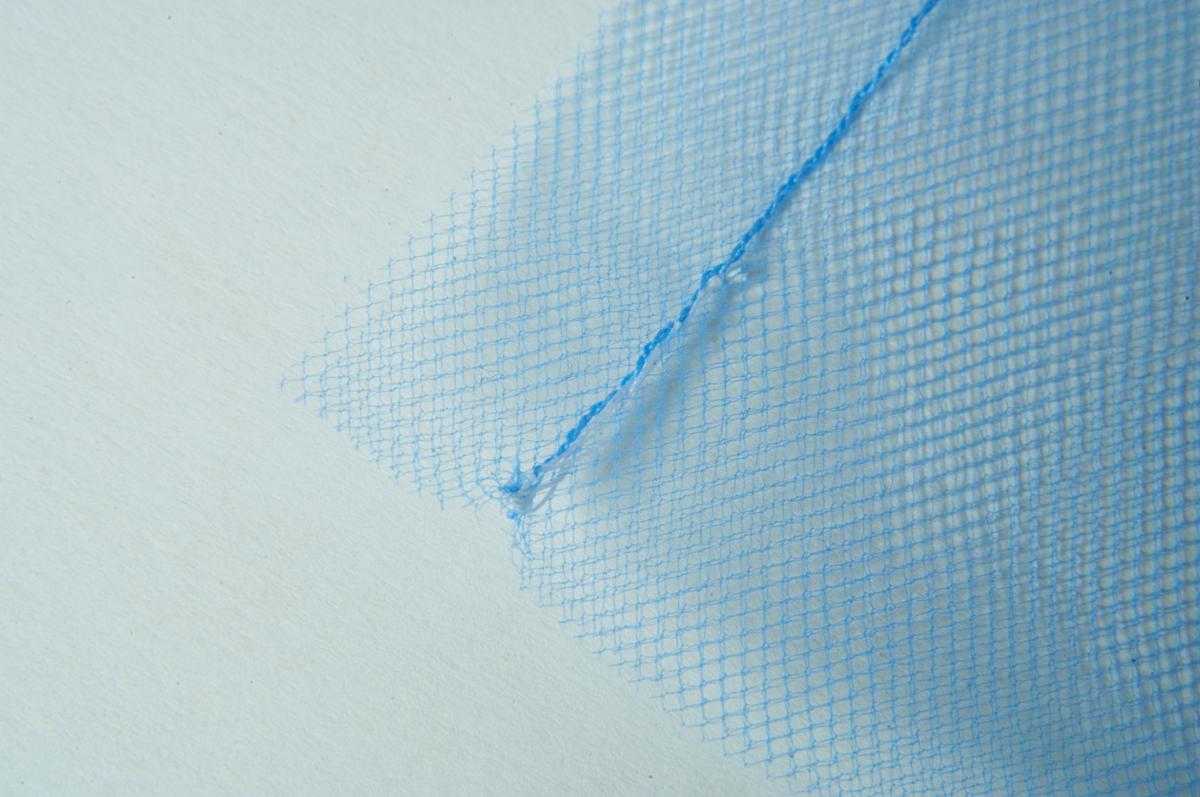
Photos: James Keller
Are you planning to follow the tulle skirt trend? If so, how will you style your skirt? If not, why not?







Wow thats amazing , I will try to sew one at home, gonna take some time tho but the result is just splendid..
Julia.
I have had to hem tulle wedding dresses before, and it it a bit tricky! I think of it more like cutting hair than fabric - you want to kind of sculpt it with the scissors instead of just cutting. One method I will occasionally use is to hang the dress, then use a ruler and make vertical cuts to the desired length (this is only a good idea if you're sure your garment is even along the bottom!), and then cut the hem by following the top of your vertical cuts.
The title of this article is kind of misleading. When I saw it I thought--why would you want to hem tulle? Though this has some good tips, they are about cutting the tulle (which is really all that's needed) not actually hemming it.
I have sewn since a small child. I have years and years worth of wonderful scraps that I make things from. Your quilt idea book is just what I need for inspiration. Love your magazine and have many years' copies.
Here is a tip when hemming tulle, use your serger. Mark your line or use the guide on the machine,take the threads out and leave the needles in, and cut away...The cut is clean and straight and you can stop and go and make sure you keep the material in place. It's great!
Amazing technic !
Thanks for sharing your knowledge, everyone. I really like the idea of trimming the hemline with the serger. Not sure that I will make one but I can just bet one of my 4-H students will! :)
Looks like Cinderella's gown :3
Thats so easy to make, and it looks so perfect :)
Awesome thing when paired up with a corset :)