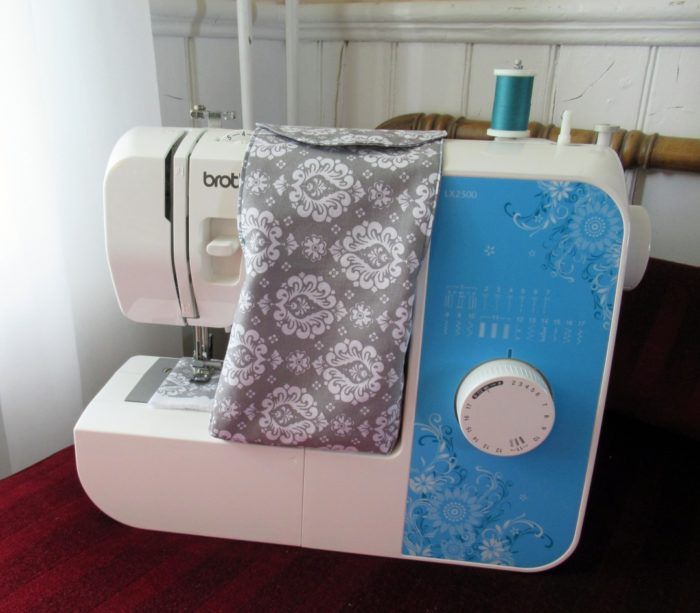
Secure your sewing machine's foot pedal and cord in a simple fabric caddy. It's a pattern-free project.
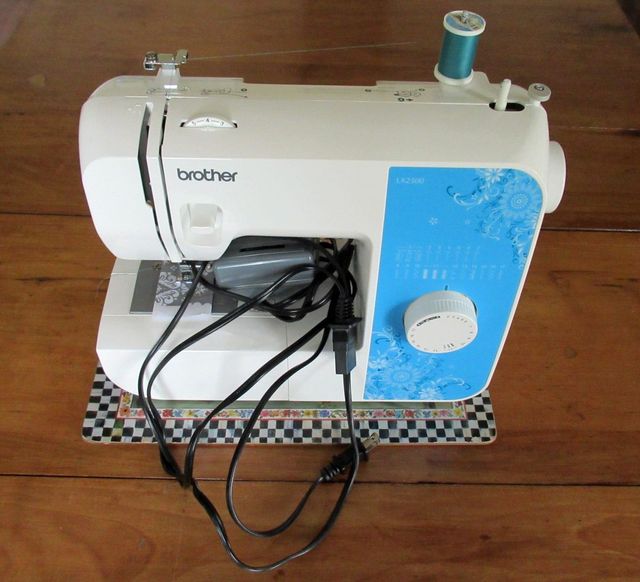
Every time I carefully placed my traveling sewing machine in its carrying case, I had to cram the cord and foot pedal into the machine’s bed space. No matter how neatly I arranged the cord, it tangled and fell out. Half the time, I could not shut the carrying case until I poked the cord inside.
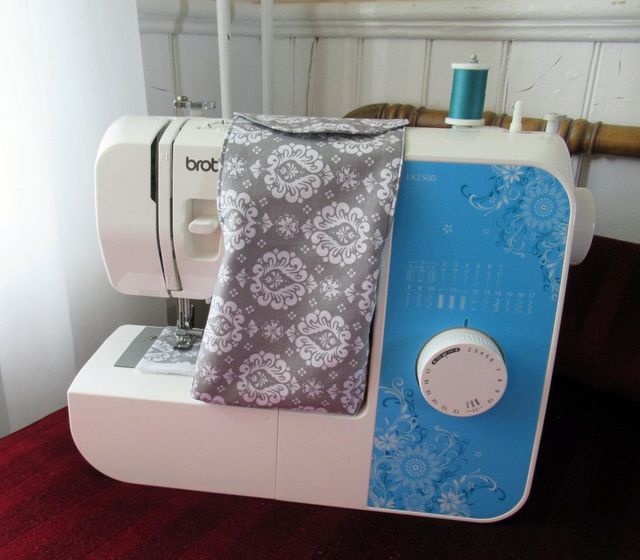
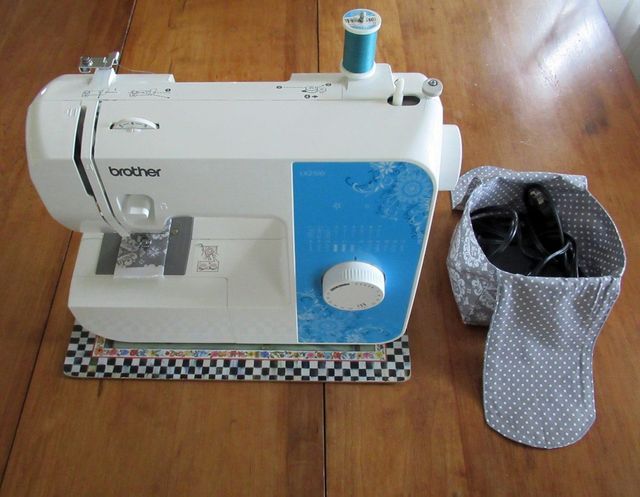
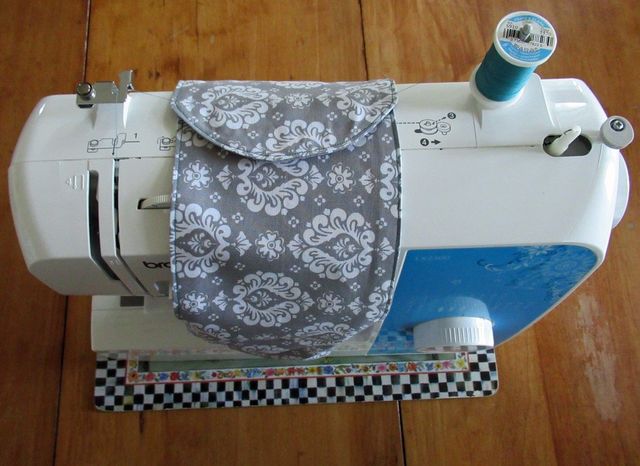
So I made a very simple caddy to hold the cord and foot pedal. It’s a shallow fabric basket, with “arms” that wrap over the machine’s top and are held in place by hook-and-loop tape.
You’ll need two fat quarters (18 inches by 22 inches) of quilting cotton or another woven fabric, and 3 inches of sew-in hook-and-loop tape.
This caddy will work for sewing machines with a bed space of up to about 6 inches square. You can adjust the dimensions to fit your machine precisely, and I have some ideas for fun variations at the end.
Make the caddy exterior
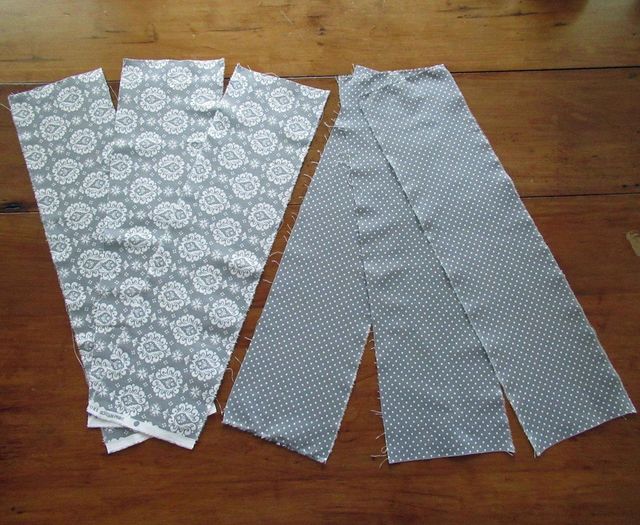
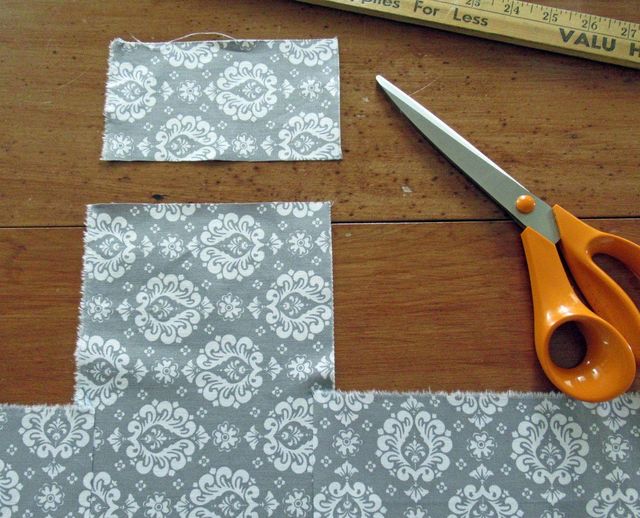
1. Rip or cut each fat quarter into three 6-inch by 22-inch pieces. Select three pieces to make the caddy exterior. Set aside three pieces for the caddy interior.

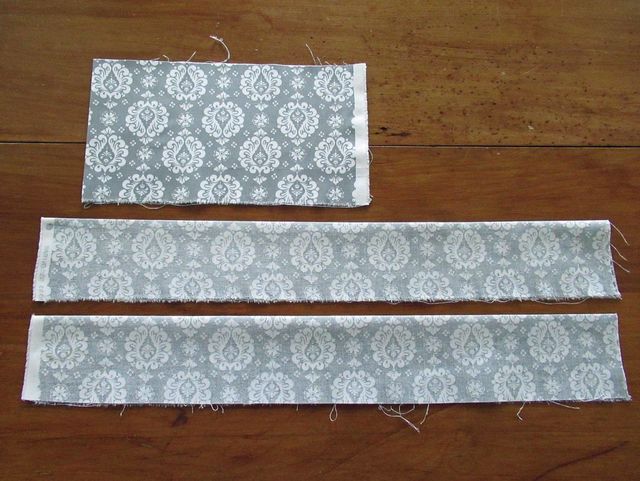
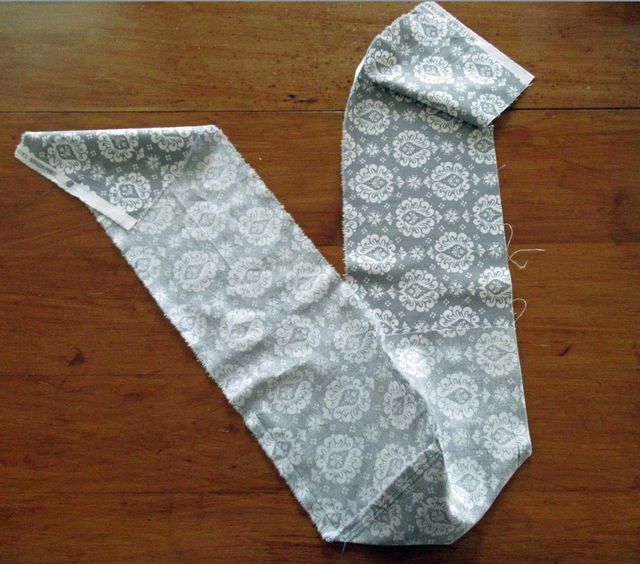
2. Fold one piece wrong sides together widthwise and crease. Fold two pieces right sides together lengthwise and crease. Unfold the pieces.

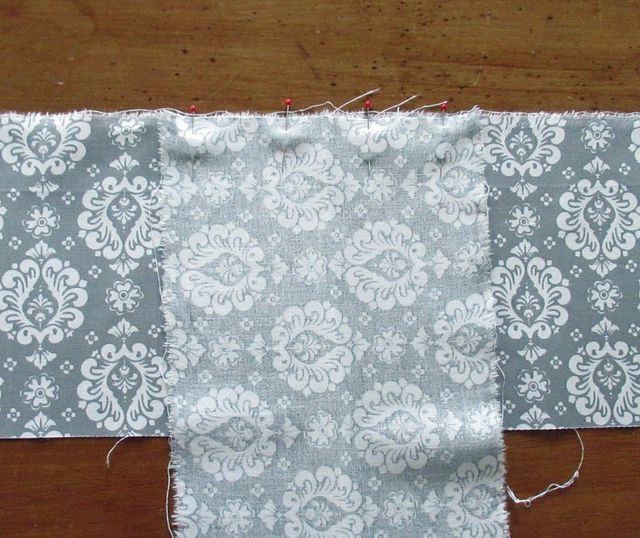
3. With right sides together and creases aligned, place the short end of one lengthwise folded piece along the long edge of the widthwise folded piece.

4. Sew with a 1/2-inch-wide seam allowance. Repeat with the remaining lengthwise folded piece and the opposite edge of the widthwise folded piece.

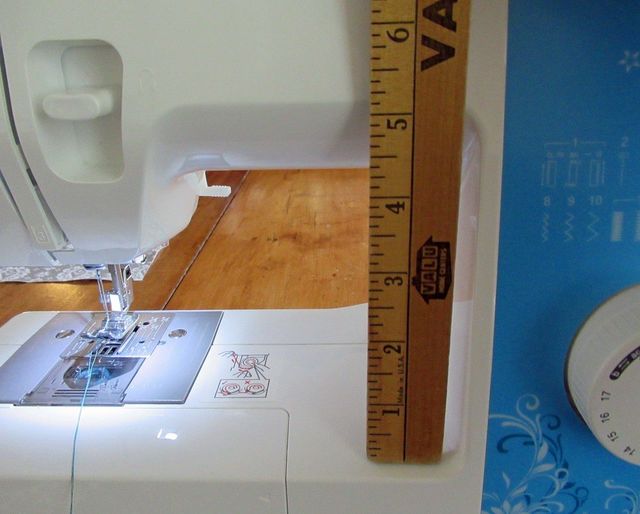
5. Trim the free ends of the center piece to the height of your sewing machine bed space, plus a 1/2-inch-wide seam allowance. I found my travel sewing machine had a 4-inch-high bed space, so I trimmed the center piece ends to 4 1/2 inches. Save at least one trimmed-off piece to use later as a guide to trim the caddy interior pieces.


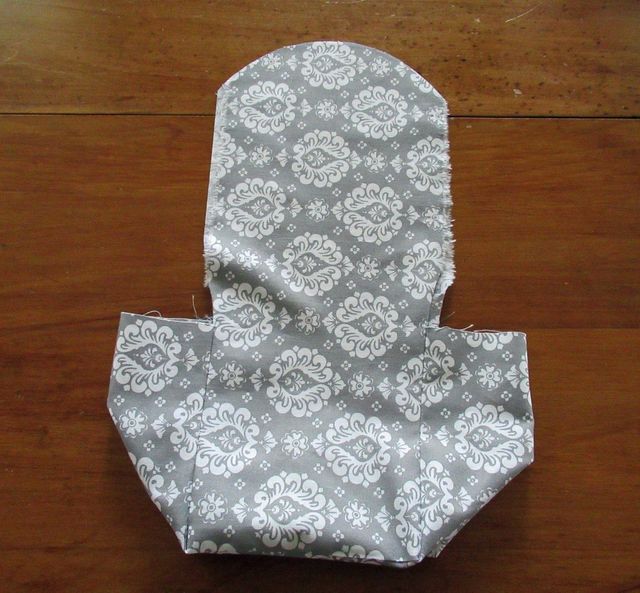
6. Sew the caddy corner seams. Fold the caddy right sides together to align one set of raw edges from the seam to the upper edge of the center piece. Sew with a 1/2-inch-wide seam allowance. Repeat to complete the four corner seams.

7. Trim the caddy arms. Slide the caddy into the sewing machine bed space and wrap the arm pieces over the machine top. The arms are held in place by hook and loop tape, and should overlap by at least 3 inches. Trim as desired to fit your sewing machine. Save at least one of the trimmed-off pieces to use later as a guide to trim the caddy interior arms to the same size.

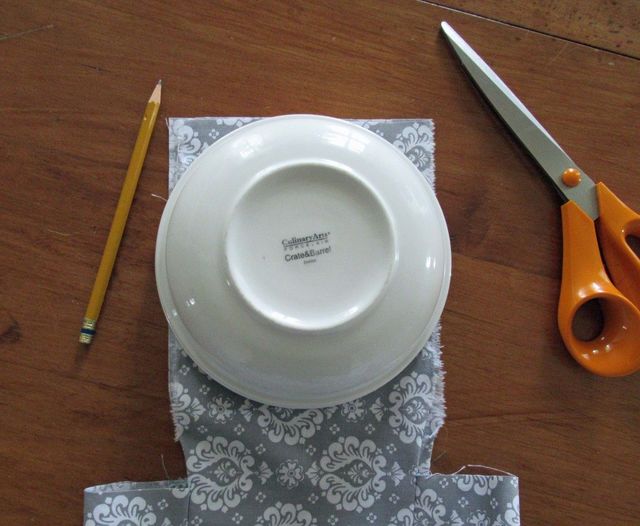
8. Shape the caddy arm ends. I prefer curves, so I used a bowl as a template. Set the sewn and trimmed caddy exterior aside.


Sew the caddy interior
1 Use the trimmed-off pieces you saved from the caddy exterior as guides to trim the caddy interior pieces.
2 Repeat the caddy exterior steps. You’ll end up with two identical caddy layers.
Add the closure
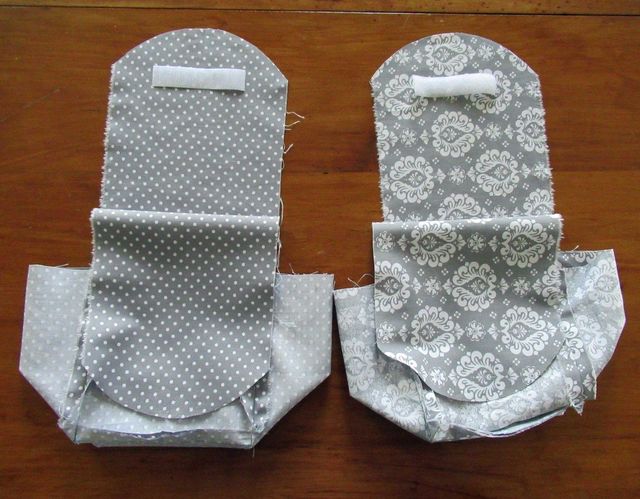
1 Sew a 3-inch-long hook piece of hook-and-loop tape to the end of an arm on the caddy interior layer.
2 Sew a 3-inch-long loop piece of hook-and-loop tape to the end of an arm on the caddy exterior layer.

Finish the caddy
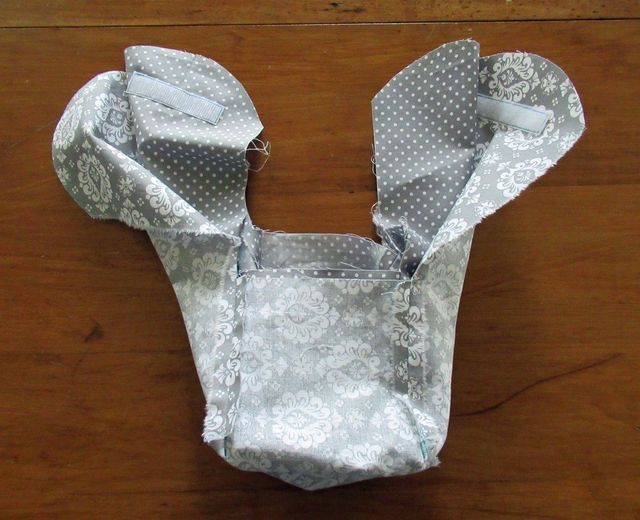
1 With right sides together and the hook-and-loop tape pieces within opposite arms, fit one caddy layer into the other. Carefully align all raw edges. Sew with a 1/2-inch-wide seam allowance around the edges, leaving a 2-inch turning opening on the edge of one caddy arm.

2 Clip into the corners and trim the curved ends. Turn the caddy right sides out through the turning opening. Press the caddy, then edgestitch around about 1/8 inch from the edge.

Try a variation ideas
Mix the fabrics. There’s no reason to use one fabric in the caddy exterior and another in the caddy interior. I had some fat quarters handy, but you could use just about any woven fabric scraps in any arrangement.
Make a quilted caddy. Sew it with bound edges instead of lining it. Be sure to subtract the edge seam allowances.
Add more functionality. Include a pocket, a mini pincushion, a scissor sleeve, or another feature.
ID your machine. Sew your monogram or your name and address on your caddy and use it as a tag for your sewing machine.
Have you created any sewn accessories to make your sewing life easier? Post pictures in our Reader’s Closet galleries at ThreadsMagazine.com.








good post
in my opinion it's a bad sewing machine
ładny materiał
I love such projects
good nice
very nice !!!
GREAT ARTICLE!
nice post
Bardzo fajny pomysł
Nice Caddy for Machine Cord
swietna robota
z maszyną mozna robić rozne fajne zreczy