

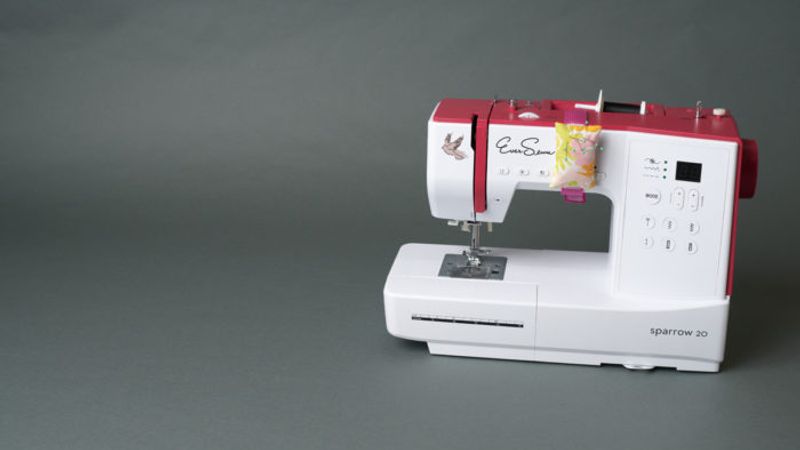
This clever pincushion sits where you need it most: on your sewing machine. Follow along as Threads Editorial Director Sarah McFarland tells you what’s required to make this small pincushion and demonstrates the steps to do so.
The pincushion is a convenient size to attach to the front of your machine and includes a strip of hook-and-loop tape on one side. You’ll attach the opposite side of the hook-and-loop tape to to a length of strapping, which is wrapped around the machine. You can affix the cushion to the strapping, so you can stick pins into it as you remove them while you’re stitching. You can also use the pincushion at your ironing board, attach it to a wristband, or take it with you when you’re traveling.
Pincushion materials
• Small remnant of tightly woven and interfaced material
• Two 3-inch lengths 3/4-inch-wide sew-on hook and loop tape
• 18 inches 1-inch-wide strapping, belting, or webbing, or however much you need to encircle your sewing machine’s arm and overlap by 4 inches
• Ground walnut shells, poly-fill, or other stuffing
Method
This project is simple enough for a beginning sewer, and it’s a lovely gift to make for a sewing friend. You’ll create the little cushion by cutting two fabric rectangles, sewing one side of a hook-and-loop tape strip to one fabric piece, and joining the rectangles around three sides. Turn the resulting pouch right side out, and fill it with the stuffing material. We used ground walnut shells for a firm cushion that is easy to stick pins into. This filling is all natural and adds some weight as well. When you take the cushion off the machine, it will stay in one place as you use it.
Next, wrap the strapping around the sewing machine’s head so the ends overlap by 4 inches. Add hook-and-loop tape to secure it in place. Finally, sew the remaining side of the cushion’s hook-and-loop tape strip to the strap. Secure the strap around the machine, press the pincushion into place, and you’re ready to sew.
Find out more about pins and their uses, in “A Pin for Every Purpose.”


My boyfriend and I restore vintage sewing machines. We find that machines that have had this style of pincushion used for decades have serious damage to the finish under the pincushion. The pins poke through and scratch the machine, destroying decals and pockmarking the finish. If these are concerns that bother you, you might want to put a rigid backing on the pincushion or opt for another style.
Those pincushions are looking pretty and simple to make. I'll try this one but tell me how to avoid any scratches on machine body as pins would directly contact with the body.
I haven't found any problem with this - the pincushions are deep enough that the pins do not go through, plus most of the pins would also have to also penetrate the webbing strap and two layers of velcro. If you are very concerned about this, you could slide a rigid backing into the pincushion before you close the seam.