Learn 5 Ways to Use Bias Tape
Discover the potential of these inexpensive fabric strips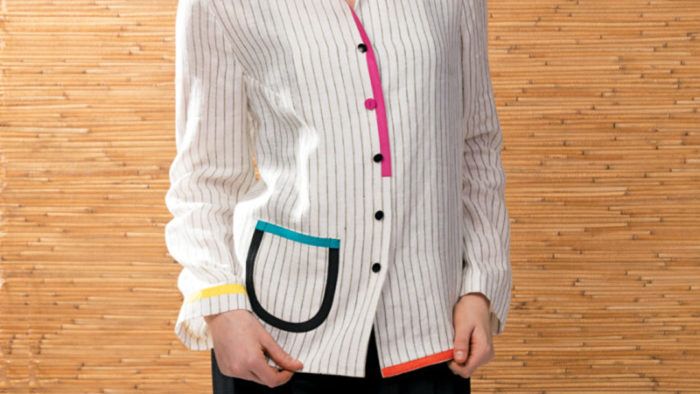
Bias tape has numerous uses, from button loops to high-contrast decorative elements and more.
Bias tape, made from strips of bias-cut fabric, is most commonly used to finish garment edges, especially along necklines and armholes.
One reason why is that bias tape’s inherent flexibility enables it to be sewn neatly around curves for a smooth, pucker-free look. There are even more benefits, however.
I’ll describe the different varieties and explain how to use this inexpensive notion to its full potential.
The basics
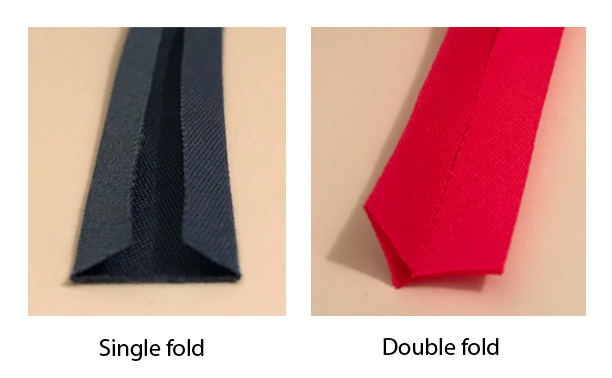
The type of bias tape you select depends on the project. There are two main types of tape are single-fold and double-fold.
Single-fold bias tape has two folds, while double-fold bias tape has three. Double-fold bias tape is generally used to bind an edge, and is visible from the outside of a garment, while single-fold bias tape is used as a narrow facing, which is turned to the garment’s wrong side.
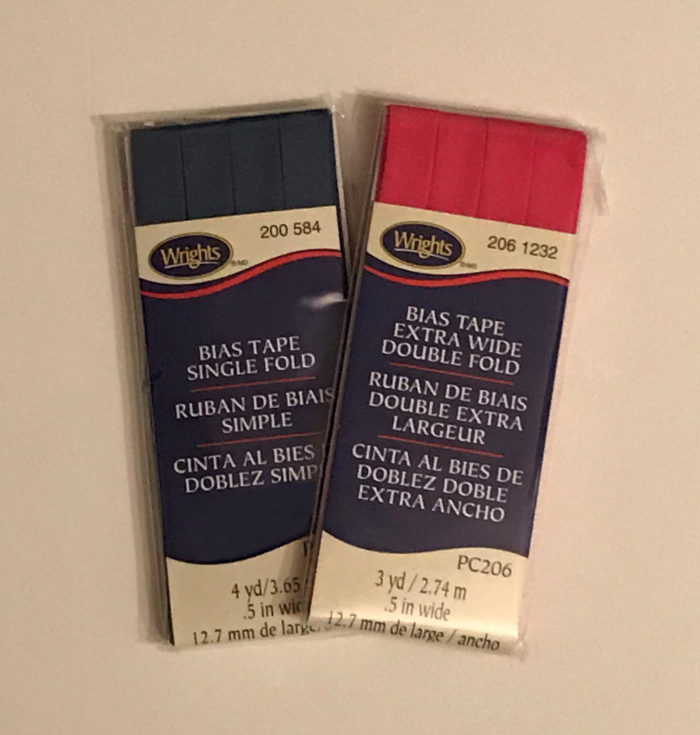
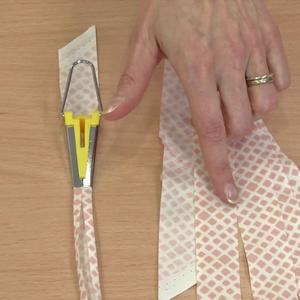
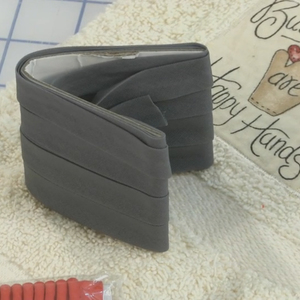
Bias tape, in its folded state, usually measures between 1/4 inch and 1 inch wide and is available online and in stores in a variety of colors. Alternatively, you can make your own using bias-cut fabric strips and an iron, as described below.
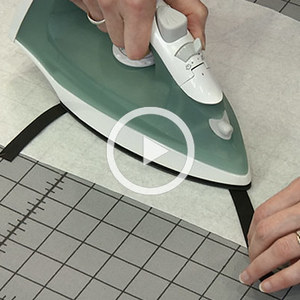
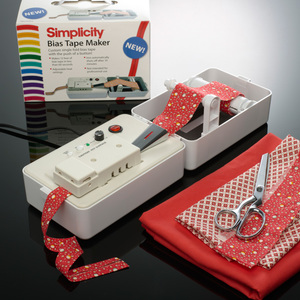
To expedite the process, consider using a bias tape maker, as shown in this video.
To make single-fold bias tape, multiply the desired binding width by four. Use this width measurement to cut an initial bias fabric strip. It helps to make a small test sample first. Note: If you are working with a lightweight fabric with a lot of give along the bias grain, increase the width measurement slightly.
If the strip is too short for the edge to which you are applying it, cut additional strips and sew them together to reach the desired length. Next, with wrong sides together, fold the strip in half lengthwise and press. Unfold the pressed strip and fold the outer edges in to meet the center foldline. Press once more. You now have single-fold bias tape.
Double-fold takes this process one step further. Simply fold the single-fold tape in half along the initial foldline and press.
A notion with many uses
1. Bindings
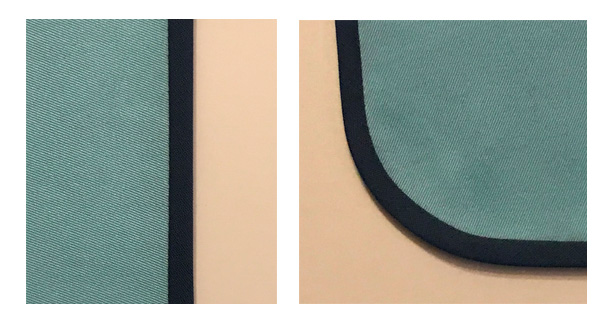
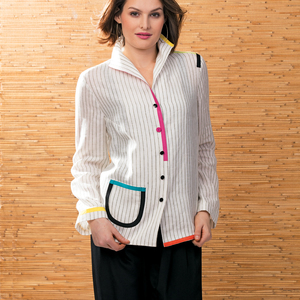
Finish raw edges by simply removing the garment’s seam allowance and encasing the edge with double-fold tape for a polished look. Edgestitch along the inner fold, taking care to catch the binding on the right and wrong side in this stitching pass. We used contrasting tape to accentuate a garment edge.
Many commercial pattern companies and garment manufacturers use bias bindings to eliminate the need for linings and facings. This is especially common along neckline and armhole edges, since bindings are easier to sew and are generally more cost effective.
2. Seam finishes
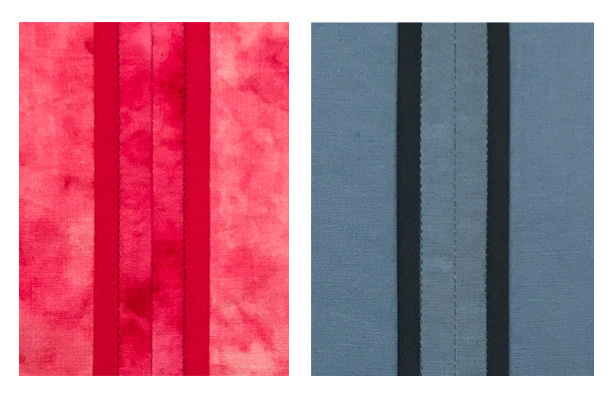
Similar to bindings, Hong Kong seam finishes use bias-tape to encase raw seam allowances (see “When Hong Kong Finishes Wave,” Threads #155, June/July 2011). This finish works best with single-fold tape and is most commonly found on unlined garments, such as jackets and skirts. Hong Kong finishes instantly elevate the quality of a garment and work best on medium- to heavyweight fabrics. While you can certainly choose a color that matches your fabric, consider using a contrasting color for a more eye-catching effect.
3. Button loops
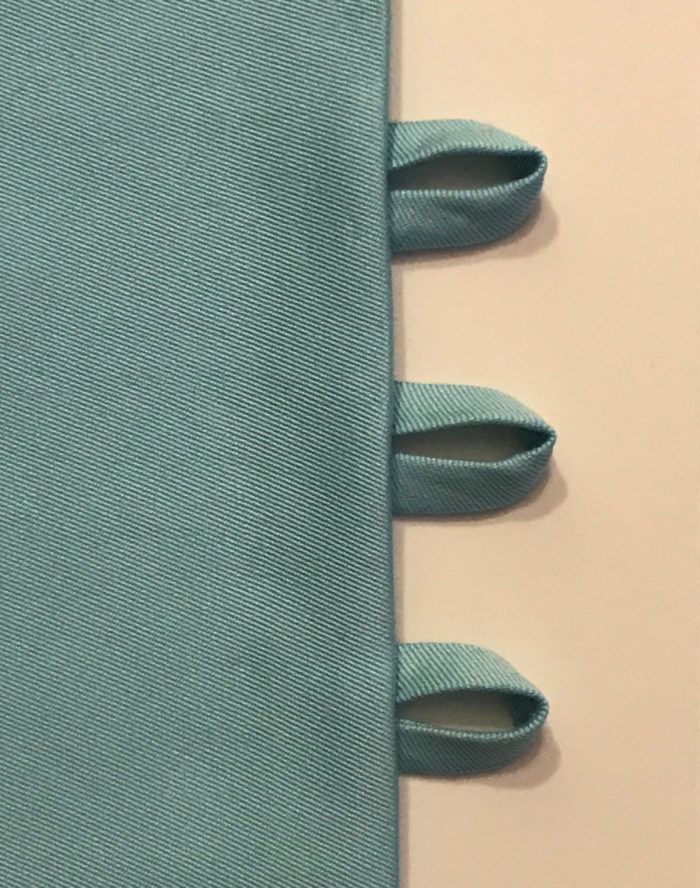
Before I had a sewing machine that could make buttonholes, button loops were my go-to option. In just two easy steps, you can make self-fabric bias tape button loops. Start with double-fold tape, edgestitch along the open side, and cut into strips based on the size of the buttons. The other option is to hide the edgestitching by folding a flat bias strip in half, with right sides together, stitching along the open edge and turning the strip right side out. The choice is yours.
4. Drawstrings
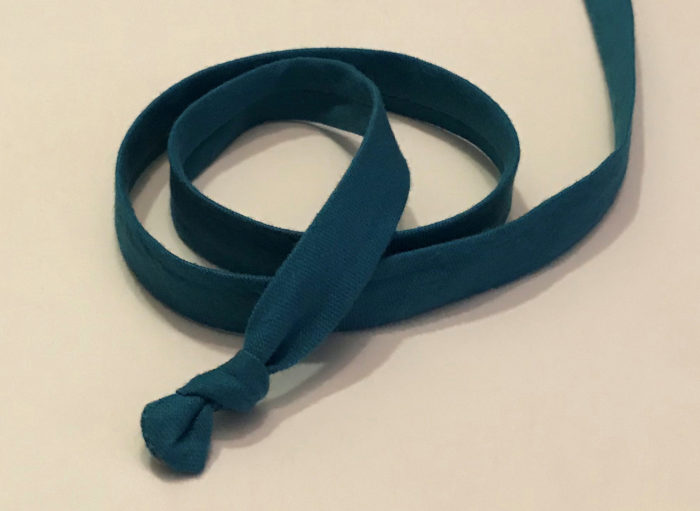
Whether you’re making a new pair of pajama pants or sewing some custom drawstring bags, bias tape is sure to make your life easier. There are two common ways to make drawstrings. The first option is to use double-fold tape and edgestitch along the open edge. Be sure to turn in the short ends before stitching across to avoid raw edges. Alternatively, fold a flat bias strip in half, with right sides together. Stitch along both short ends and along the majority of the long open edge, making sure to leave an opening for turning the strip right side out. Finally, turn the strip, and stitch the opening closed.
5. Decorations
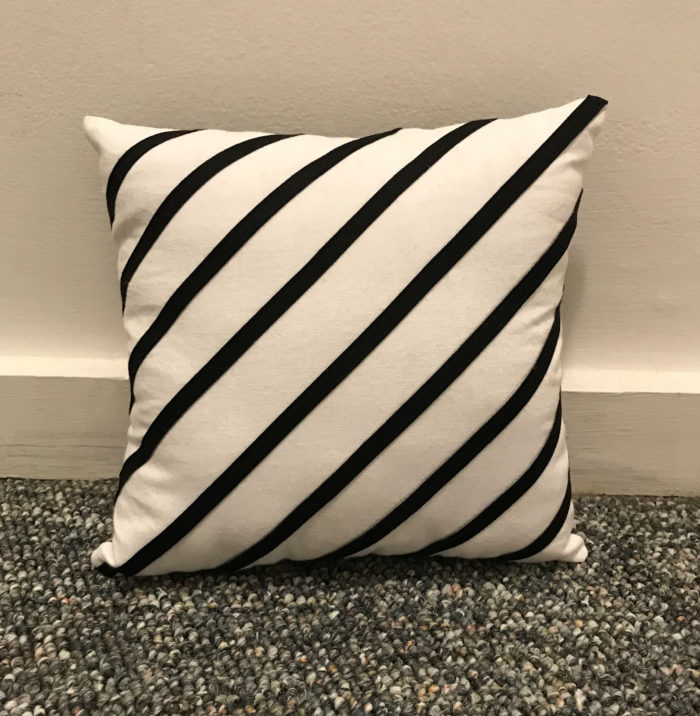
Bias tape is such a great choice for decorating fabric. Better yet, of all the uses, this is probably the easiest one to apply. To get the result shown on the pillow above, pin lengths of single- or double-fold to a piece of fabric in a design of your choice. Then edgestitch the tape along both sides before sewing the item together. Straight lines are simple to sew, but bias lends itself to curved motifs as well.
Bias tape also can be used to decorate garments with bold accents. Bias-tape lines can detail an edge, fall within the body of a garment, and follow a seam to highlight it.




It's too cute.
When I first used purchased binding I noticed that one side is slightly wider than the other. It took me a bit to figure out that it’s to accommodate the turn of the cloth. Only one of my many sewing books ever mentioned this.