
Adjust Patterns for a Smooth Hem on Tapered Pants and Sleeves

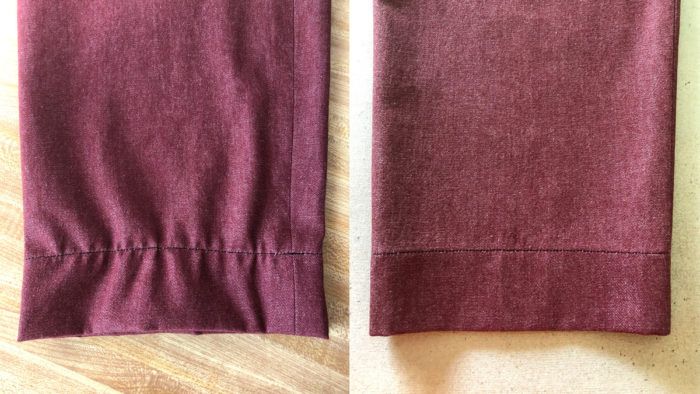
Like many of us, you probably have been there: You’ve reached the last stages of finishing a beautiful garment. You fold up the hem allowance to find there’s not enough fabric in the circumference to create a smooth hem. You pull and pull. Still, you don’t have enough. Bravely, you hem the garment anyway. You discover that even pressing with steam won’t make those dreaded wrinkles go away. Here’s a way to fix a pattern so that you won’t have this issue again.
Fix a Tapered Pants Pattern
I’ll show you what happens when you end up with a pattern that may be incorrectly drafted at the hem—and how to fix it.
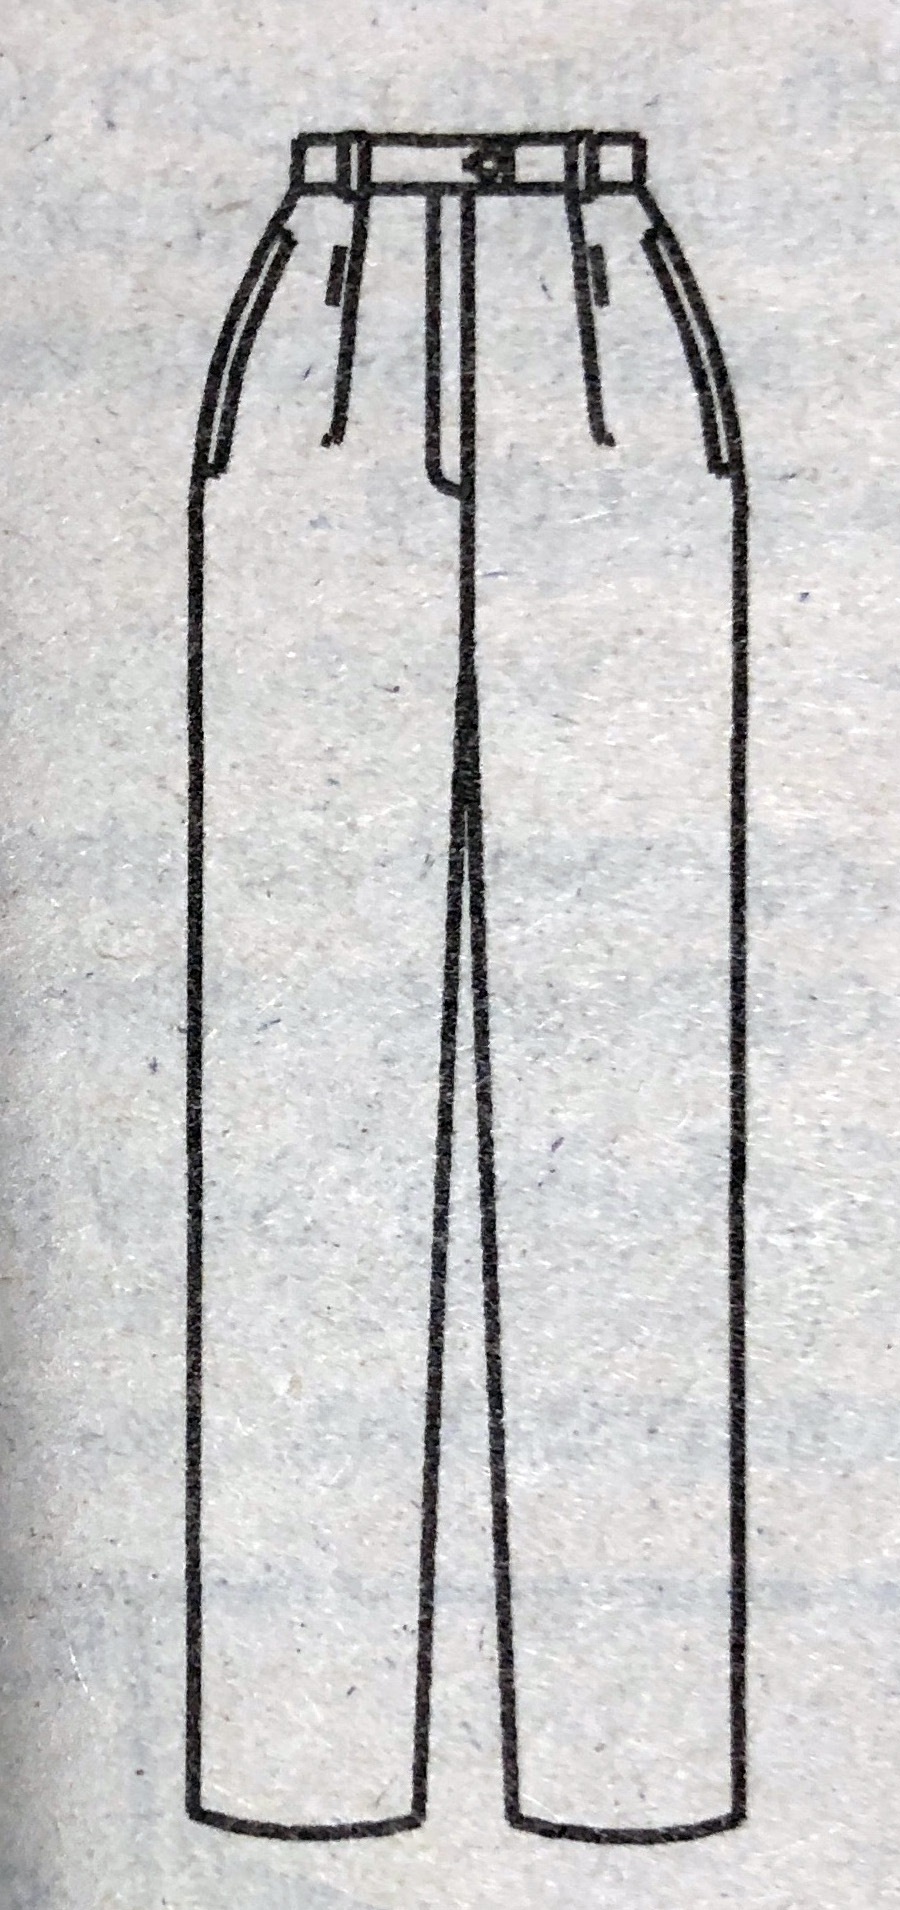
Note: The pants pattern used in the samples is Vogue 1841, a Calvin Klein design (out of print), and it was drafted correctly. The legs have a tapered style. They are full through the thigh area and tapered at the hem edge.
For the purposes of this discussion, however, I changed the pattern I’ve traced, so the hem allowance’s cut edge is smaller than the circumference of the pant leg where it needs to be stitched. This type of pattern draft will not give you great results. The method below walks you through how to correct a poorly drafted pattern before you cut your next pair of pants.
Redraw the hem area
1. Determine the desired hem allowance and mark it on the front and back pattern pieces.
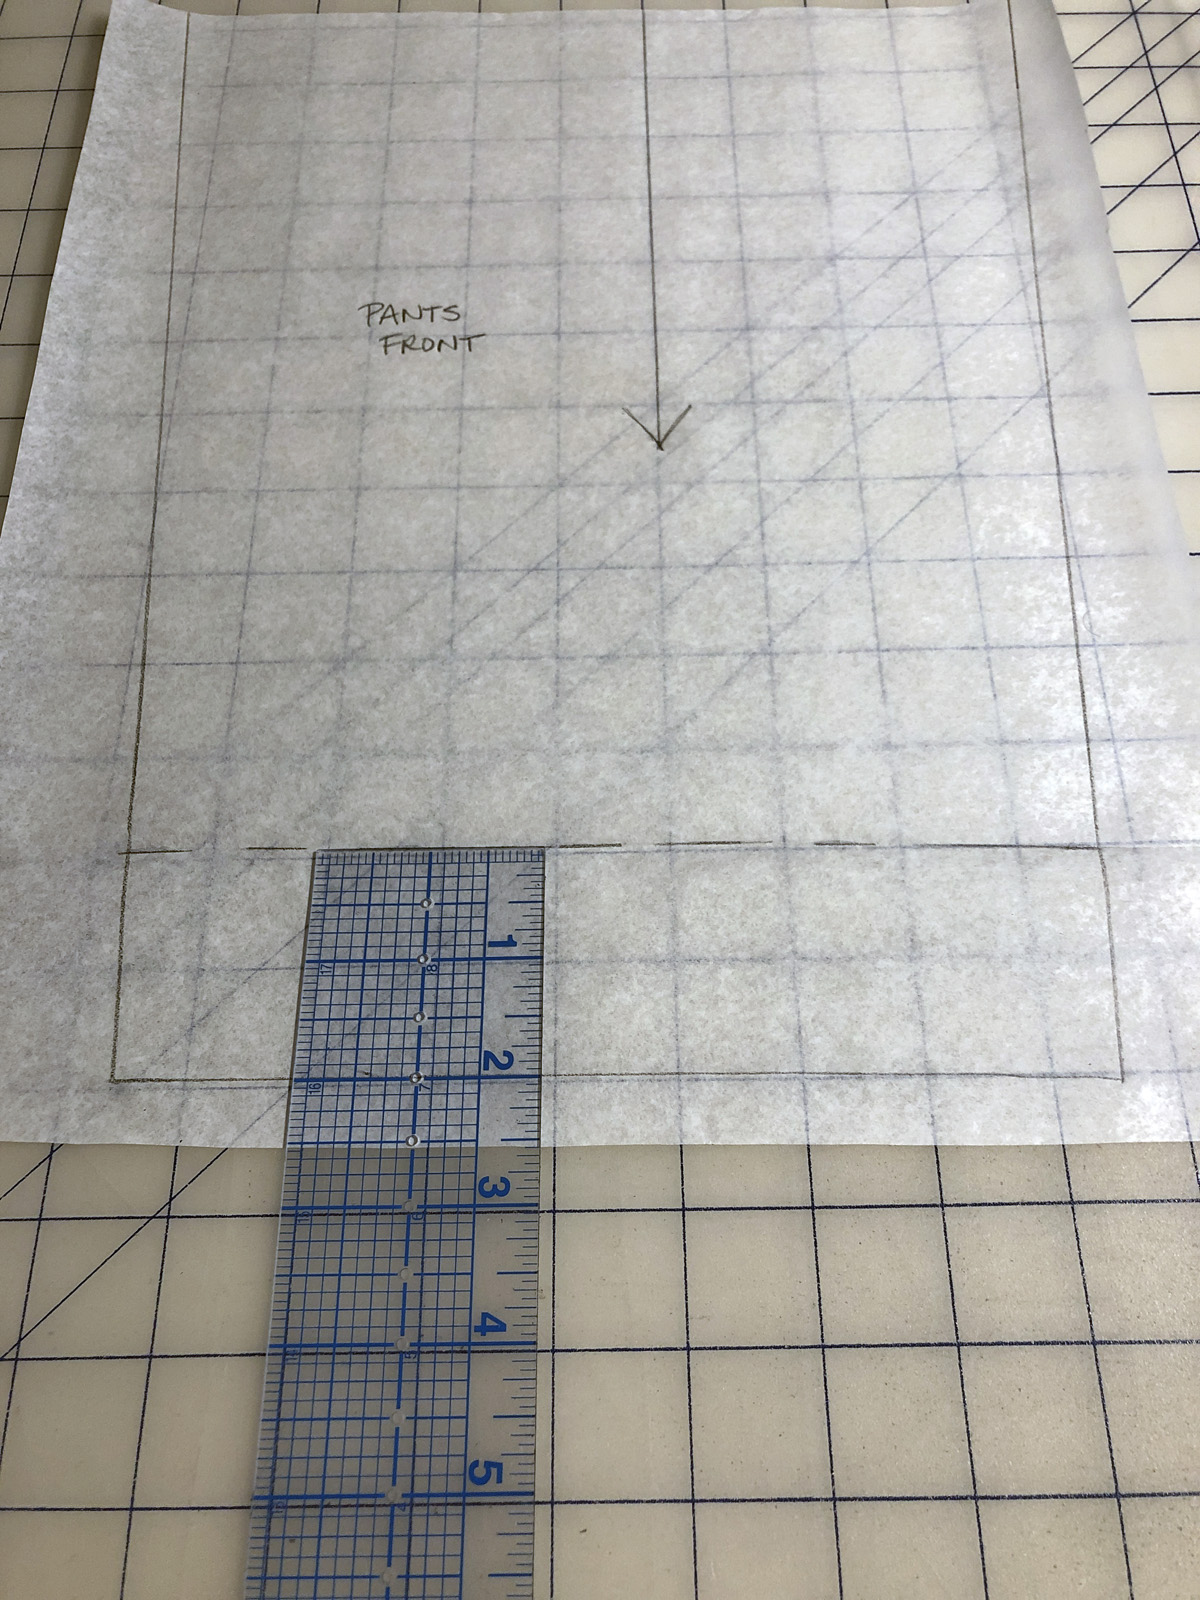
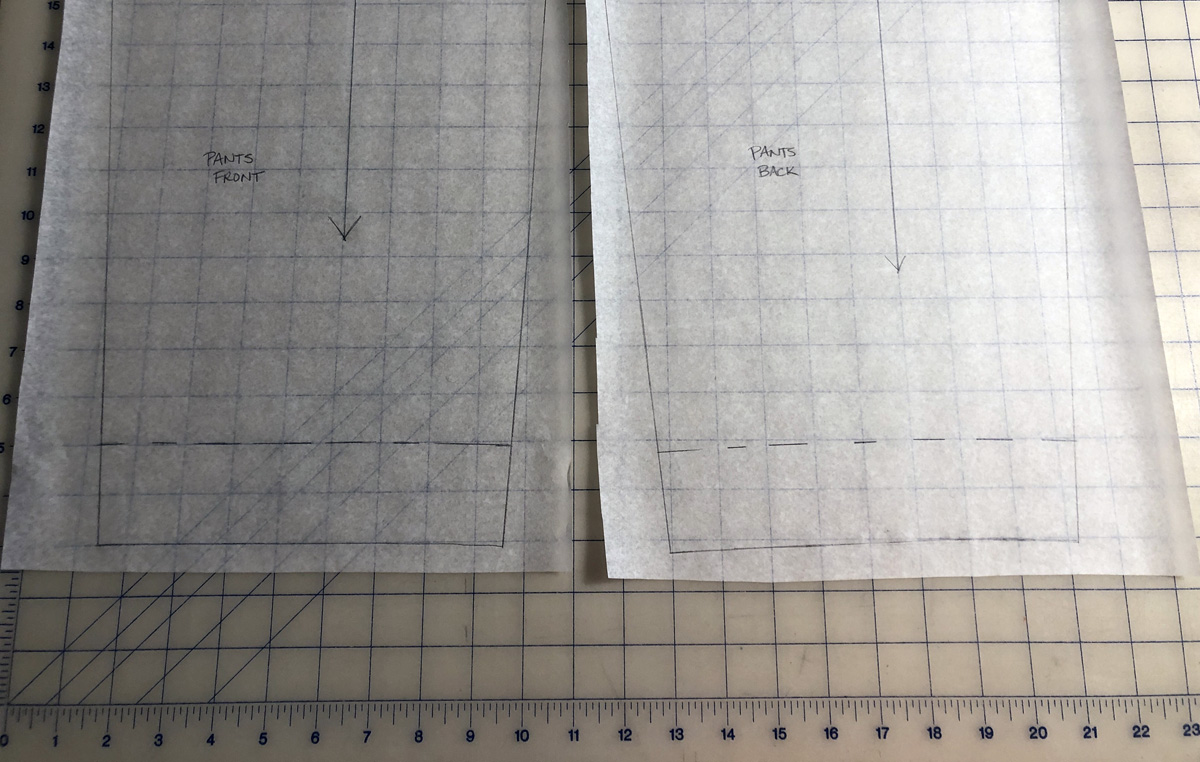
2. If you are working with the original pattern pieces and have already cut the pattern tissue, tape extra paper onto the area to make the corrections. I traced the original pattern onto paper first.
3. Fold up the hem allowance and…
Start your 14-day FREE trial to access this story.
Start your FREE trial today and get instant access to this article plus access to all Threads Insider content.
Start Your Free TrialAlready an Insider? Log in


Fireworks galore! Thank you so much for this article!