

Learn how to place and sew hooks and eyes correctly, for a closure that is unseen yet secure. Hooks and eyes are a classic closure on garments of all types. They come in a wide range of sizes, shapes, and colors.
Hook-and-eye variations
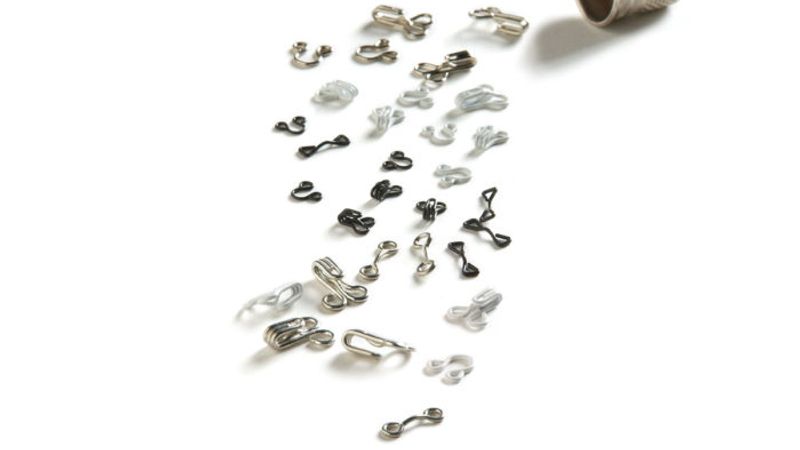
Although all hook-and-eye combinations work the same way, you’ll want to choose the size and style that’s best for your garment. There are tiny versions, ideal for lightweight fabrics and garments such as blouses, dresses, and children’s clothing. Wider, flat hooks are typically applied to skirt and pants waistbands, but they may also be used on waist stays within couture gowns.
Large hooks and eyes, sometimes available in decorative finishes and shapes, or covered with fiber, are the best options for fastening heavy garments such as coats and capes.
Lapped edge application
If the garment has a lapped opening, as at the top of a lapped zipper, place the hook on the overlap’s wrong side, with the hook recessed by at least 1/8 inch from the edge. Thread a hand needle and wax the thread for added strength. Sew a few stitches under the hook to anchor it, then sew the eyelets with a locking stitch. Make sure none of the stitches passes through the garment’s right side. Use a bar-style eye on the underlap side. The video shares a clever trick for getting the bar placement just right.
Abutting edge application
If the garment’s edges abut, as at the top of an invisible zipper, choose a round eye. Begin by sewing the hook, setting just barely 1/8 inch from the edge. Place the round eye on the opposite edge, so the eye extends past the edge by 1/16 inch or less. Sew the eyelets, then take a few stitches over each side of the eye to keep it anchored to the garment. In all cases, keep the stitches from going through to the garment’s right side.


Log in or create an account to post a comment.
Sign up Log in