

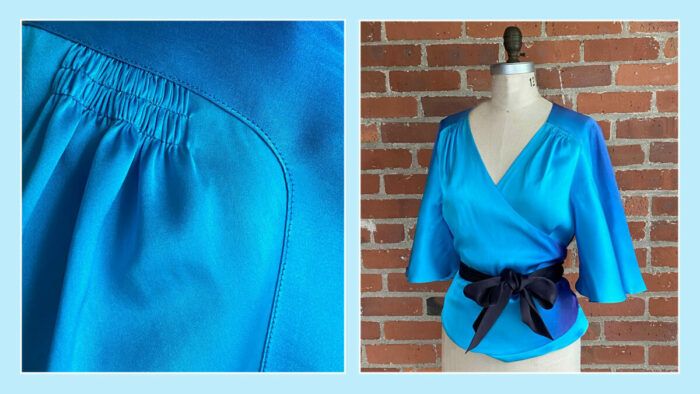
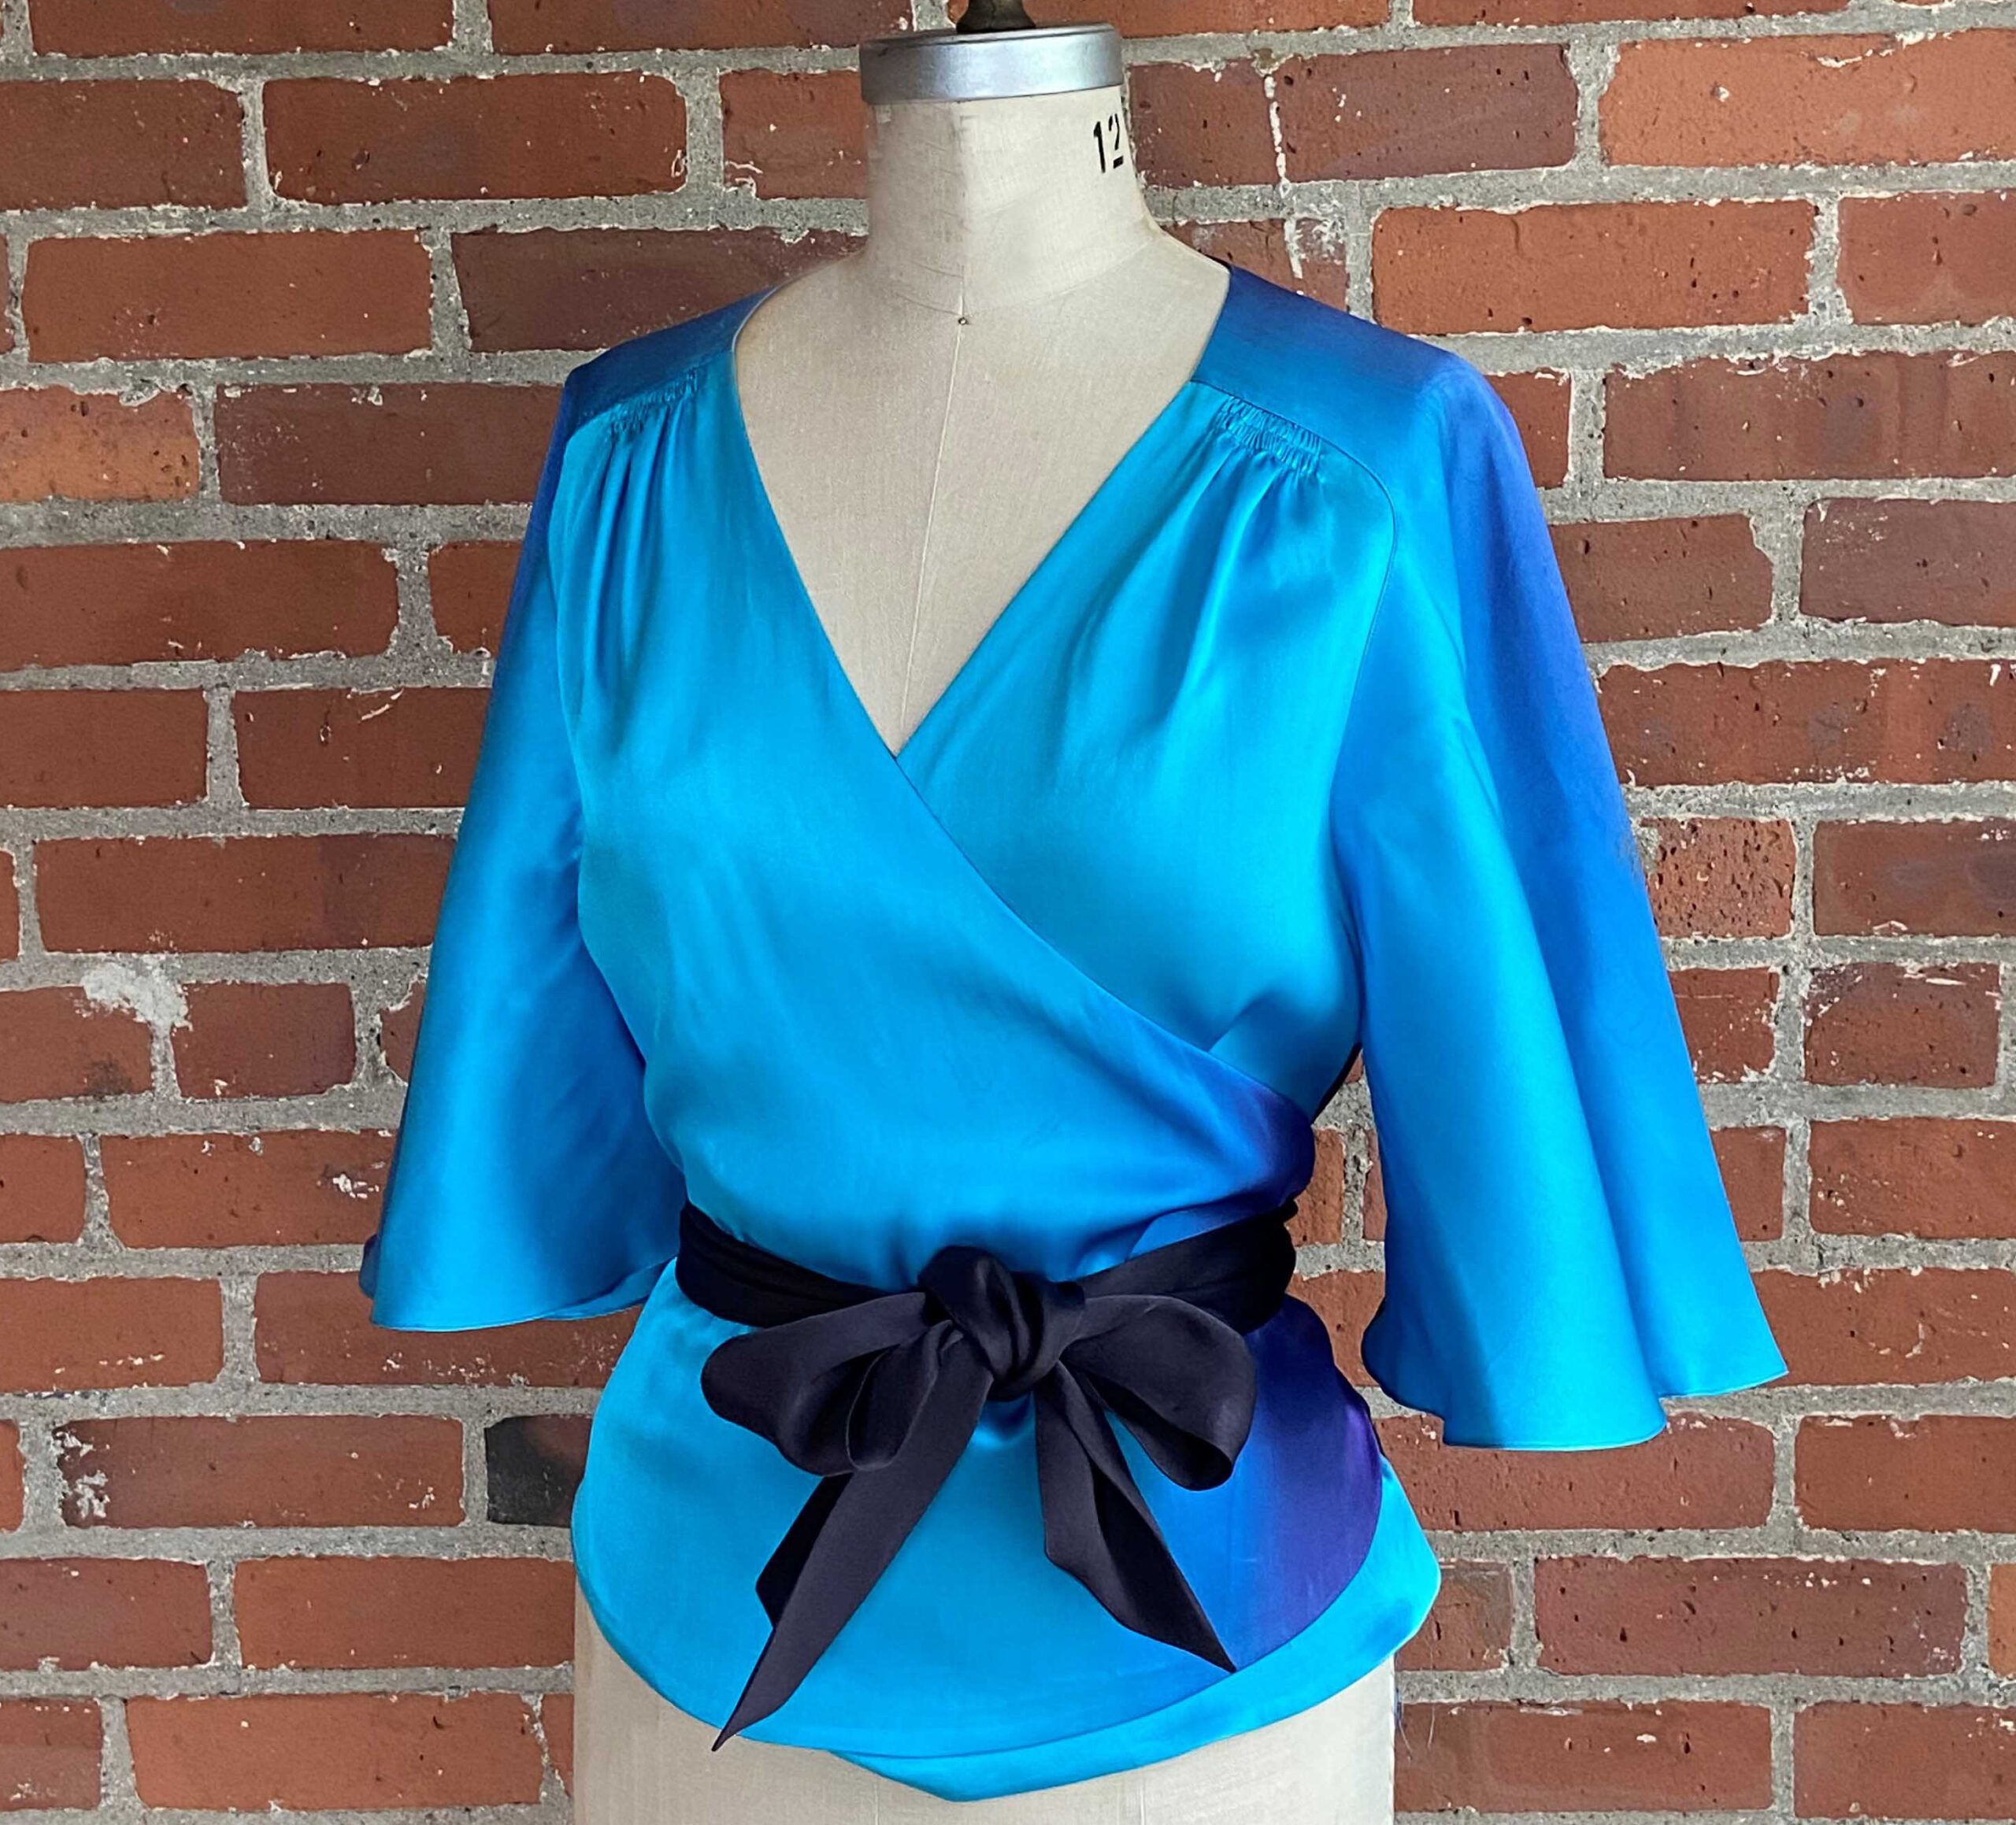
One reason vintage garments are so interesting to home sewers is that they often feature meticulous and ingenious techniques. A favorite method I discovered is the lapped and appliquéd seam.
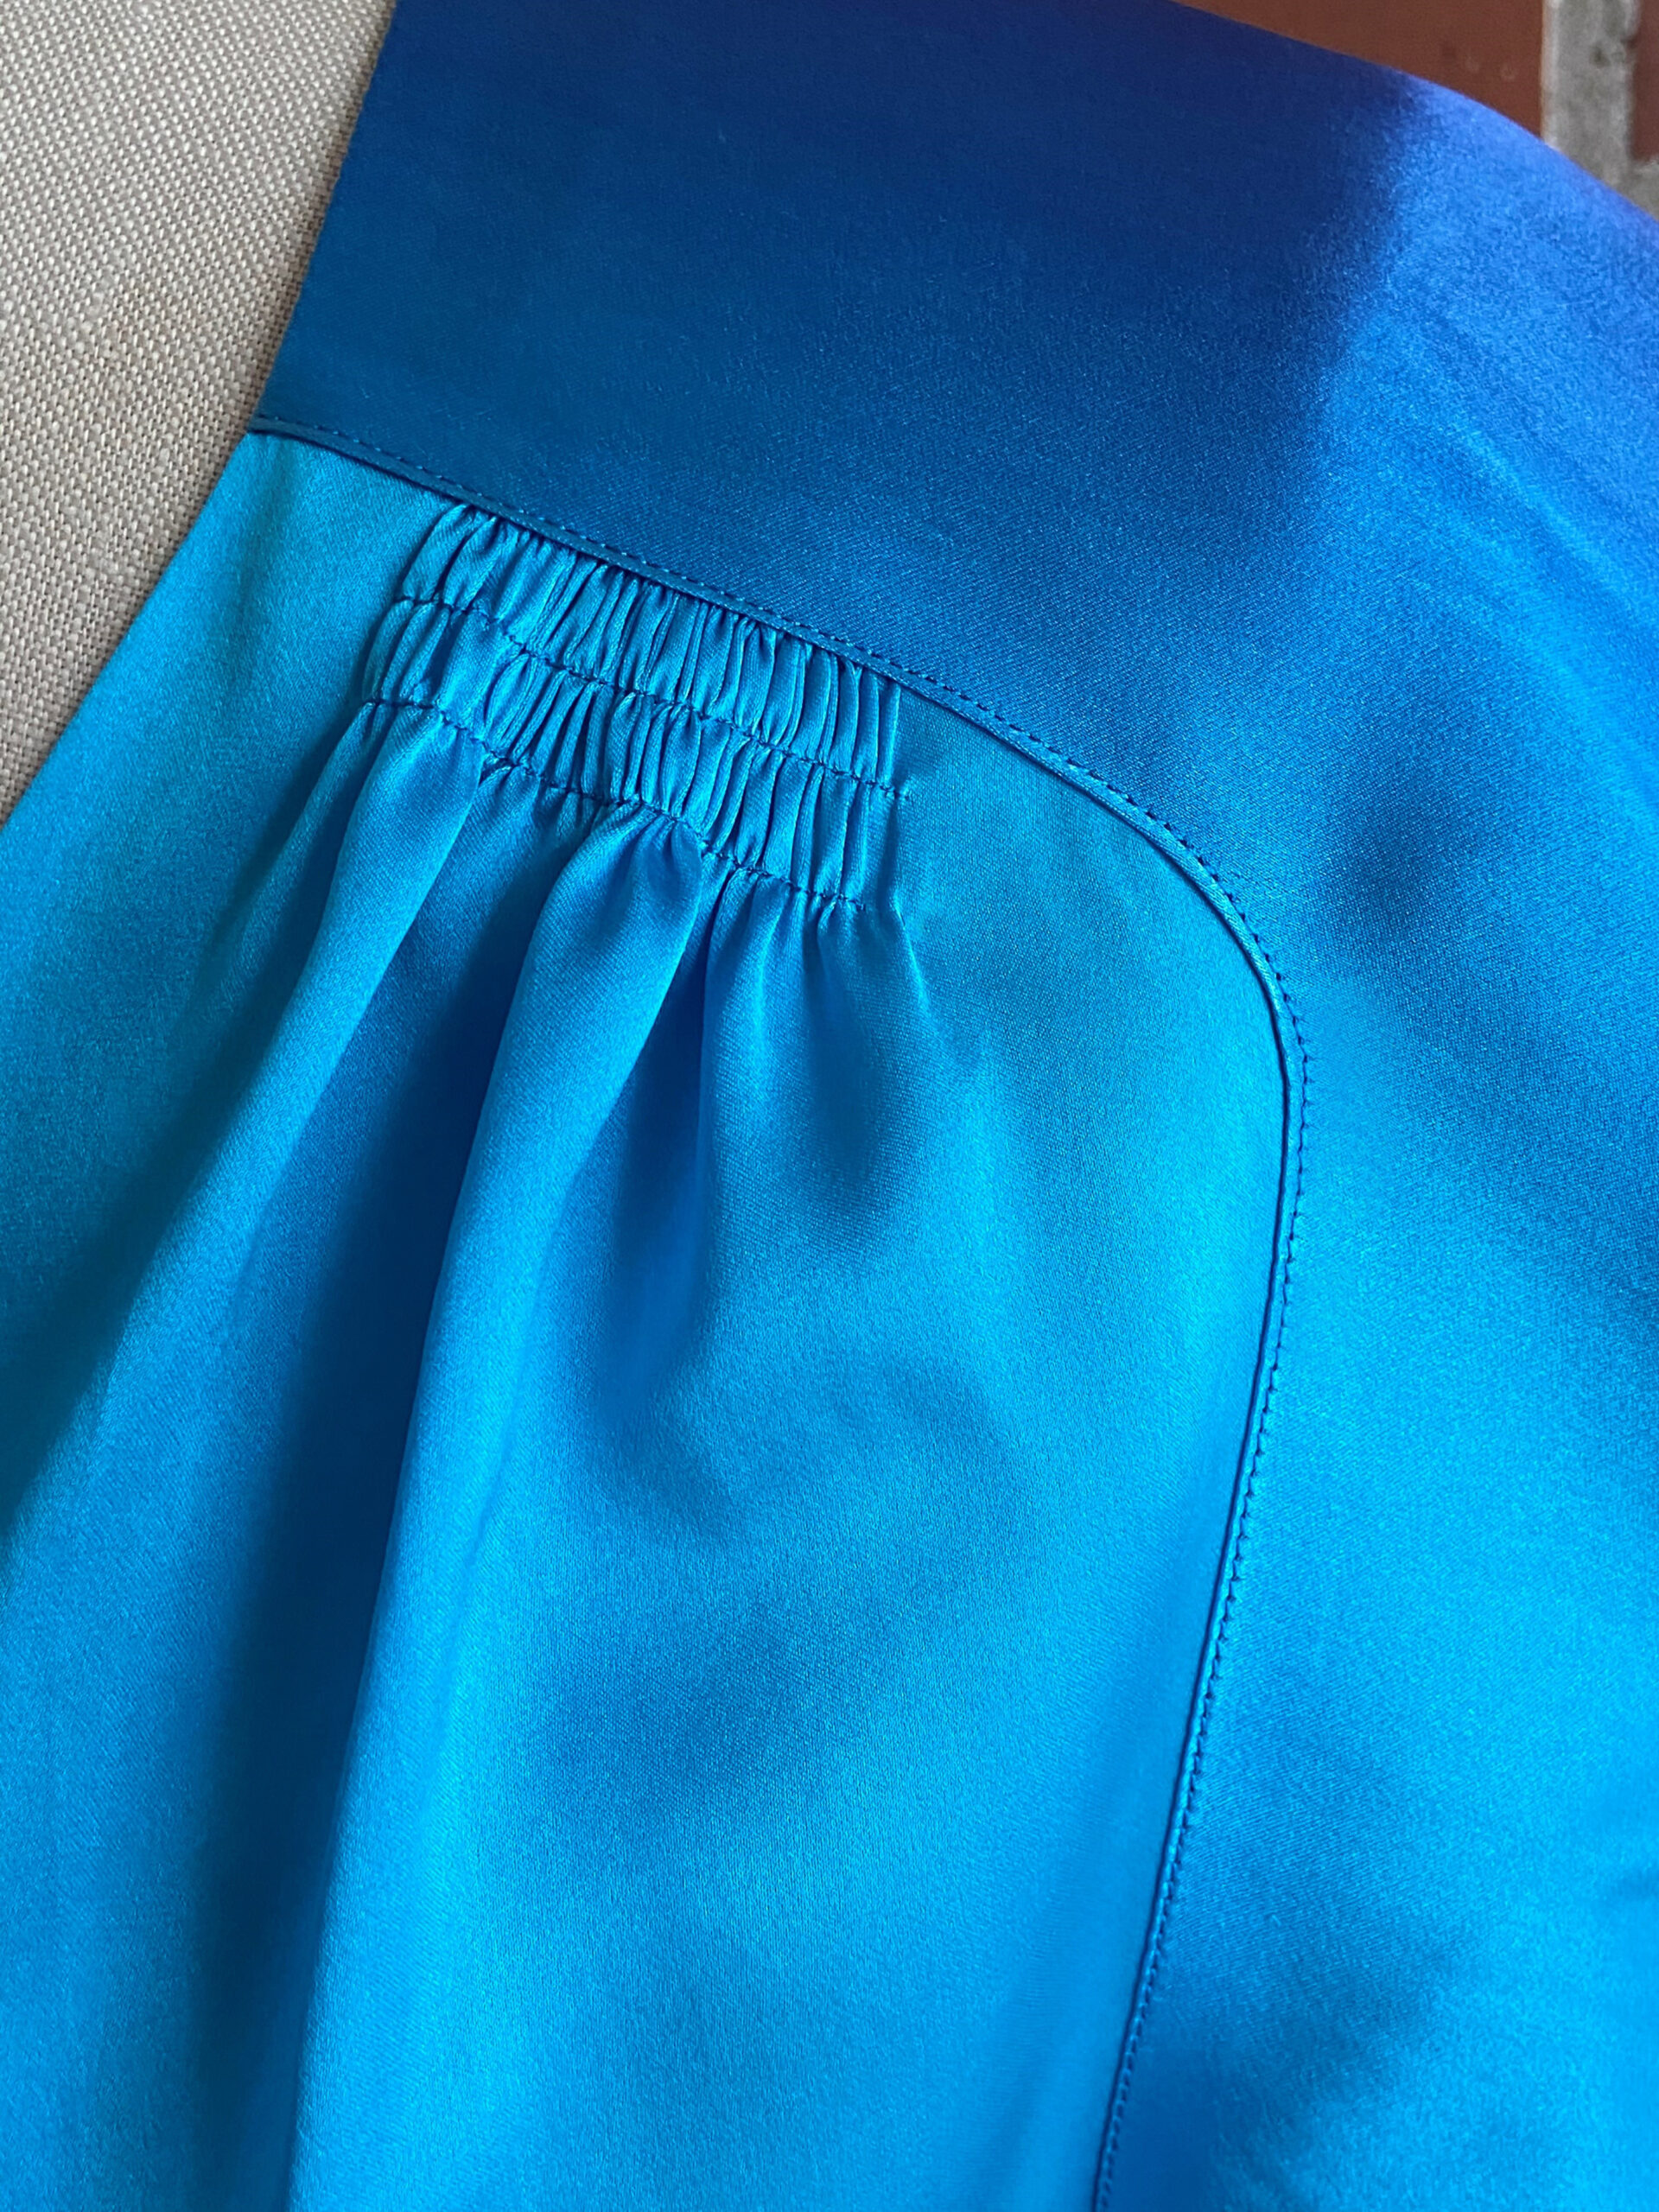
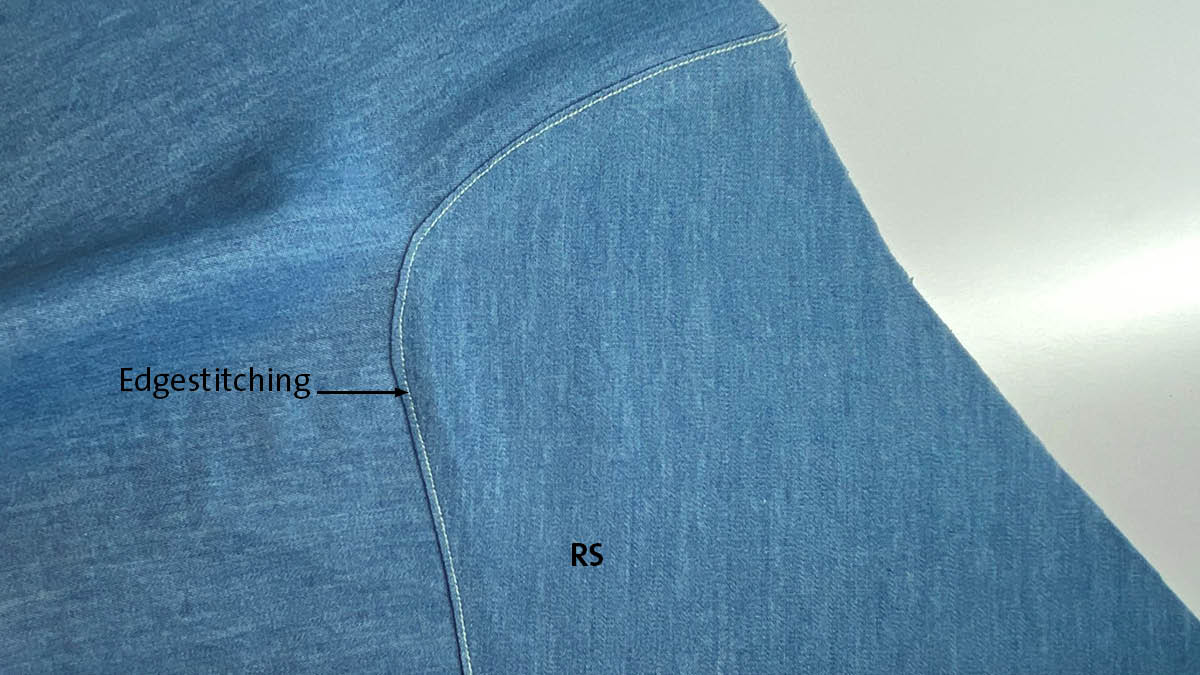
A lapped and appliquéd seam enables you to accurately join garment pieces with curved edges. The seamline curves may be pronounced and in opposition, but this seam treatment results in a smooth, neat finish with visible edgestitching.
To sew this type of seam, fold back the seam allowances along the edge of the cut garment piece that will be the uppermost on the finished garment. Place the folded edge on top of the garment piece it will join by aligning the fold along the seamline of that lower piece. Edgestitch through all layers close to the fold.
Where to find these seams
The lapped and appliquéd seam is rarely seen in contemporary and commercially available garment patterns. I have come across it in at least two designs from the Decades of Style pattern company, the #3005 1930s Butterfly Blouse (read our review of this design here) and the #4014 1940s Belle Curve Dress.
I’ll share a process and some tips to achieve accurate results with the lapped and appliquéd seam treatment. It requires some machine basting and a few more steps, but the finished look is worth it. Take your time for an exact finish.
Steps for lapped and appliquéd seams
1. Machine-baste along the seamline of the overlapping garment piece. Make your stitches 4.0 mm or 5.0 mm long.
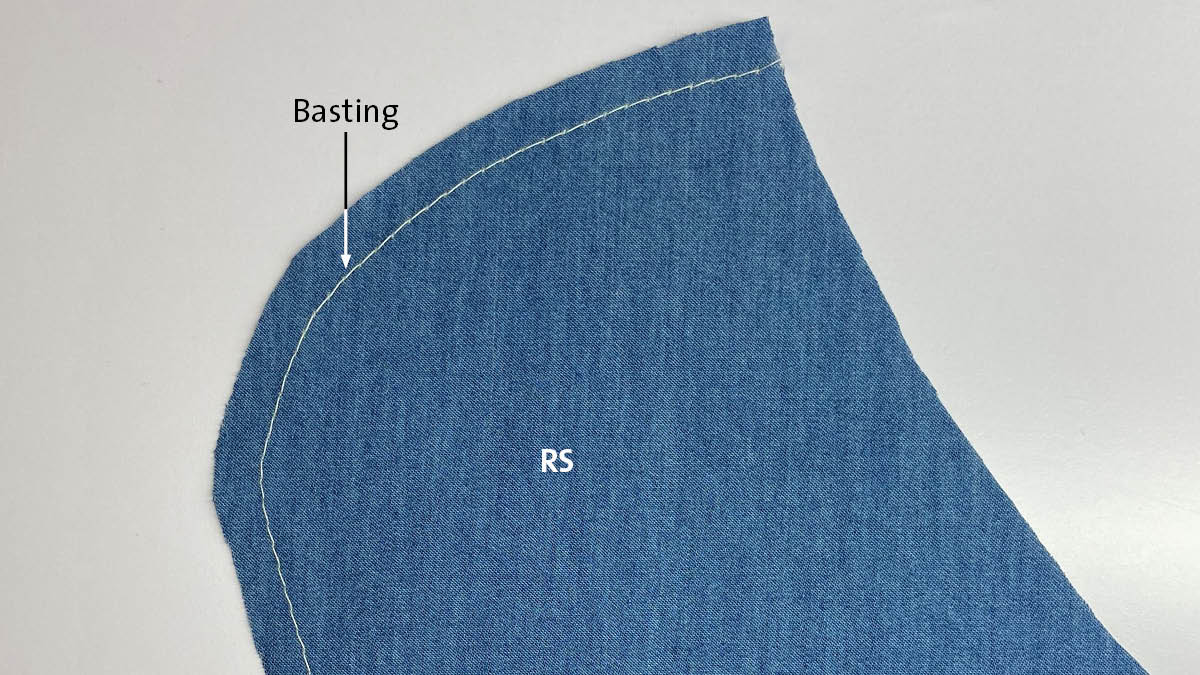
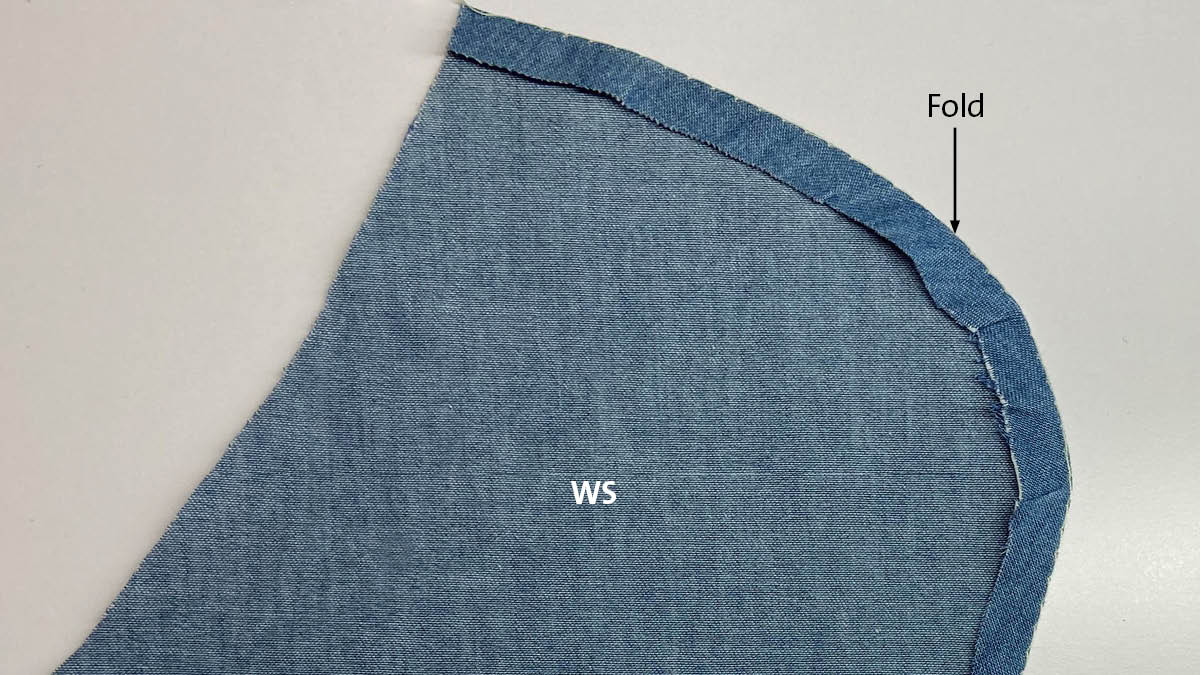
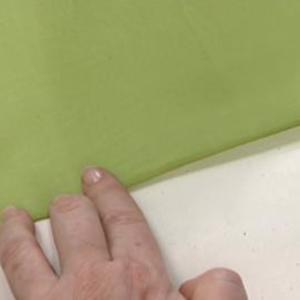
2. Using the basting as a pressing guide, fold under the seam allowance, clipping where necessary. Press the work thoroughly to get a sharp crease along the curve.
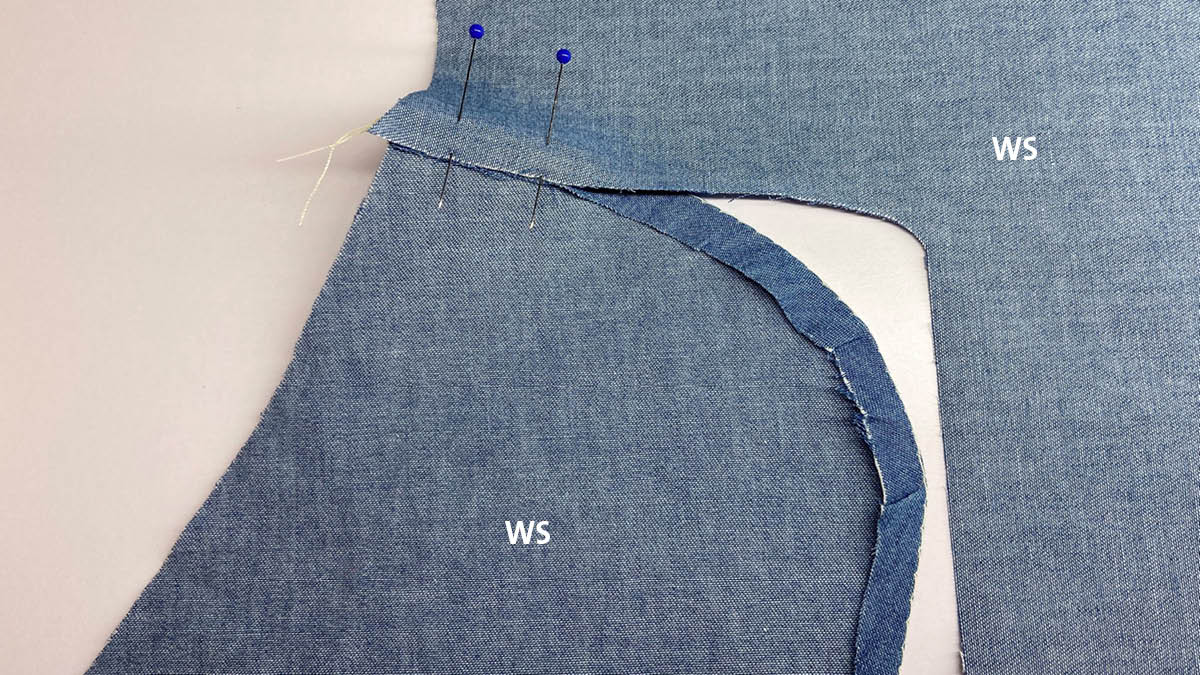
3. With both garment pieces wrong sides up, align the raw edges of the seam allowances. Pin through all layers, perpendicular to the seamline.
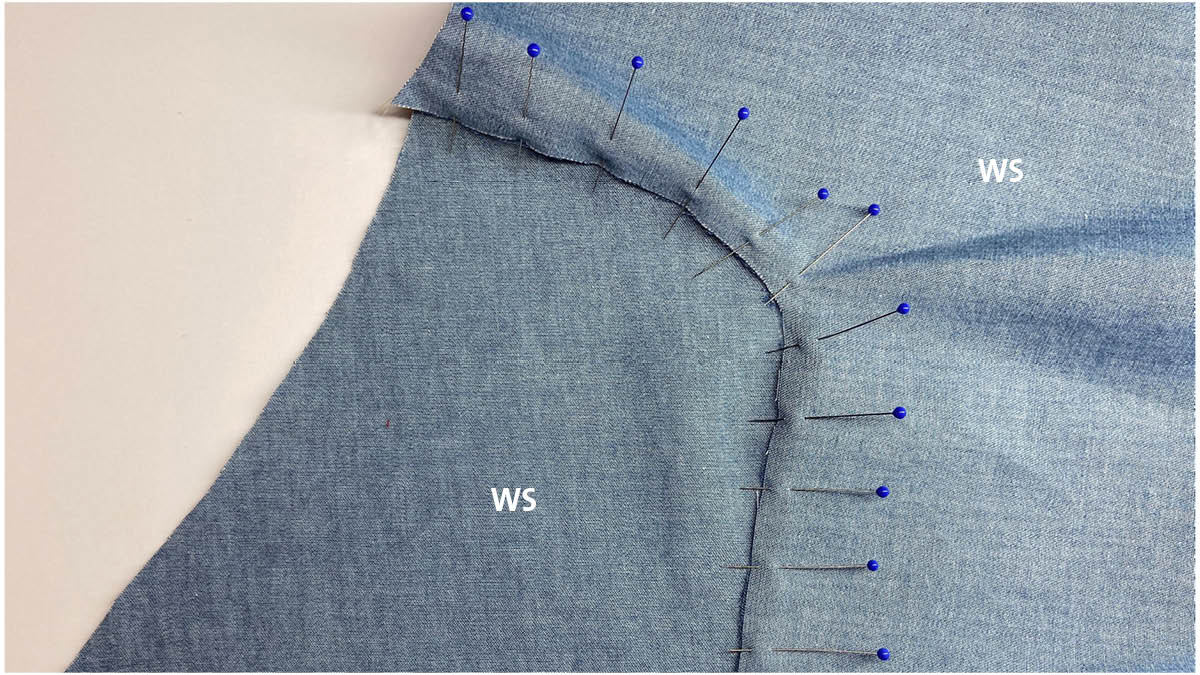
4. With wrong sides up, baste the pieces together. Baste in the center of the seam allowance, using the fabric’s raw edges as a guide. Remove the pins ahead of the presser foot as you go.
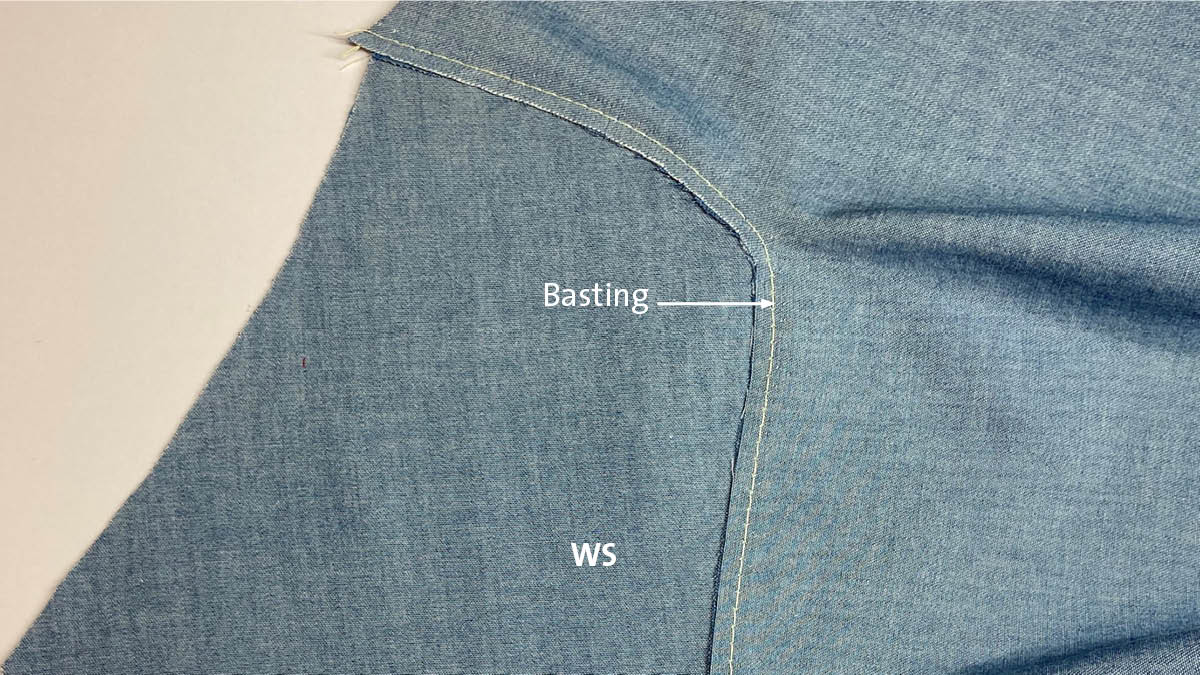
5. Turn the work to the right side, then edgestitch the pieces together. Stitch through and close to the lapped fold. If your fabric is lightweight, use a shorter-than-usual stitch length of 1.5 mm or 2.0 mm.

6. Remove the basting stitches. Carefully pull the threads from the lapped garment pieces. Then press the lapped and appliquéd seam.
For more fascinating and useful sewing techniques from vintage garments, check out “How Did They Sew That? Inset Fabric Bands” and “How Did They Sew That? Edged with Elegance.”


Log in or create an account to post a comment.
Sign up Log in