
Sew, Fold, and Go—Handy Bags in an Hour
Make all-purpose pouches with fabric squares and straight seams
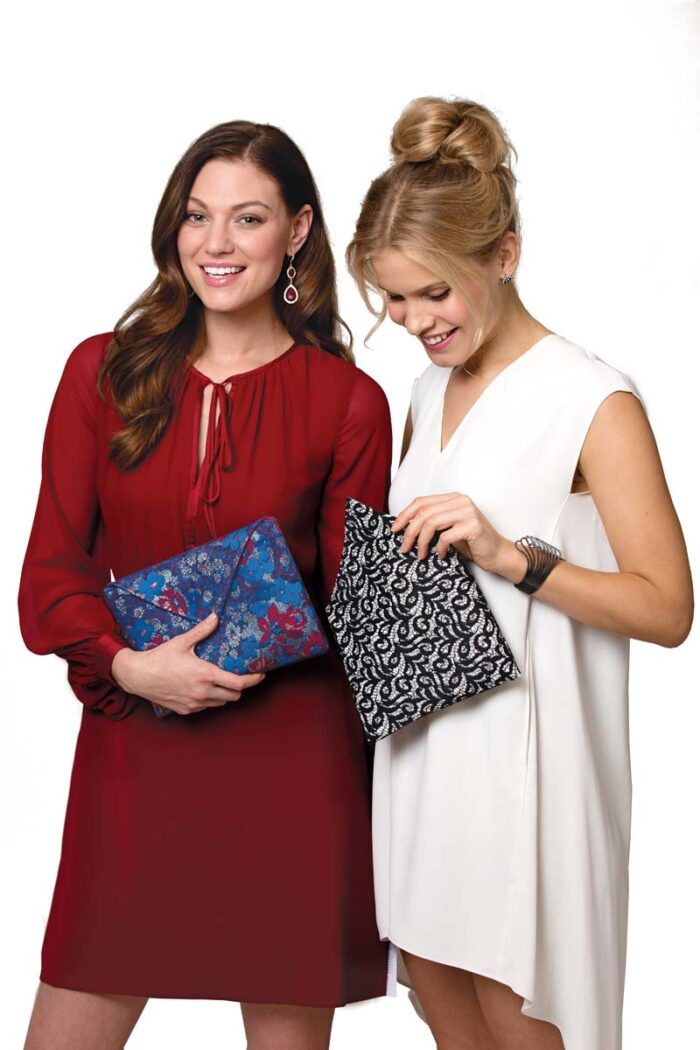
Sew this pretty purse or handy pouch in less than an hour with a little fabric, some fusible batting, and an optional closure. The dimensions of the fabric squares you start with determine the maximum bag height and width, but you can customize the size and shape. The samples shown are nearly square, but you can make pouches that are perfectly square or shaped like a letter envelope.
Use the tucked-in corners as interior compartments for keys, phone, lipstick, wallet, and more. Your essentials are stored safely without a zipper because the overlapping flaps conveniently hide your possessions.
1. Decide how large you want the bag. The featured 9-inch by 7-inch bags start with 18-inch fabric squares. All seams have 1⁄4-inch-wide seam allowances.
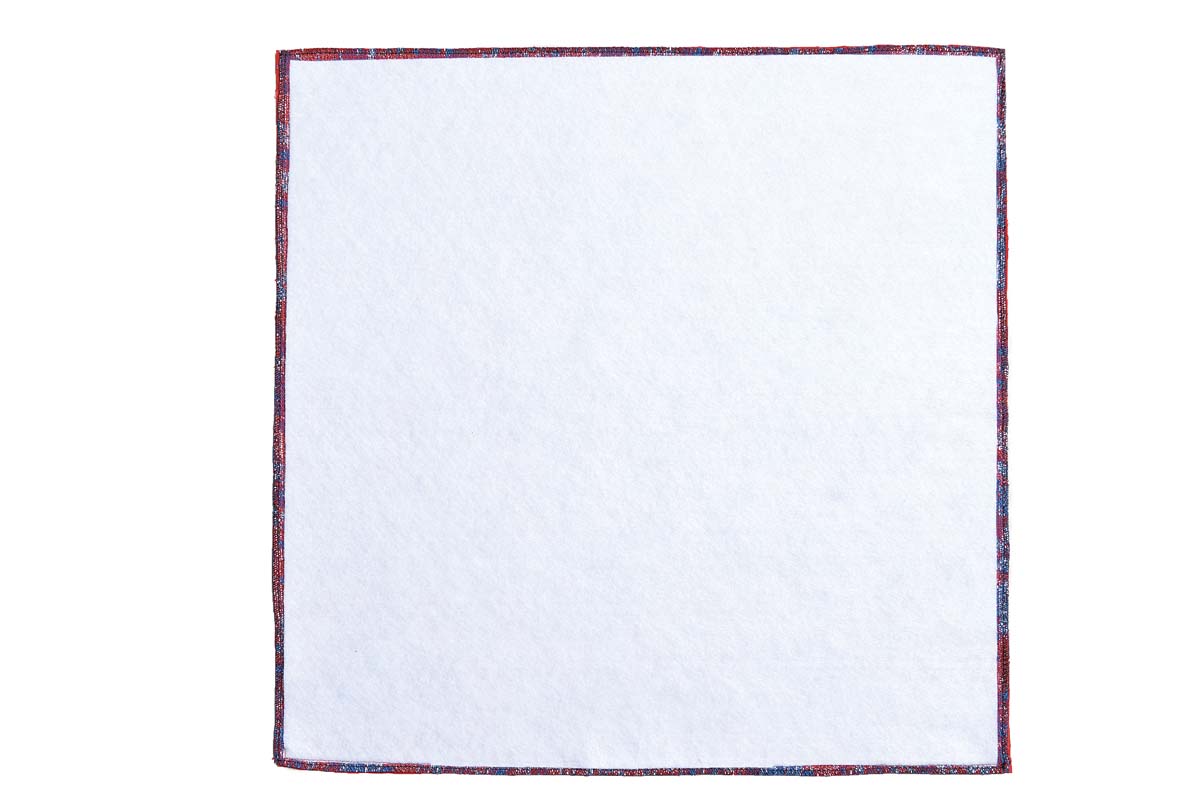
2. Cut the fabric. Mark the exterior fabric on grain based on your intended dimensions. Cut this square, and use it as a template to cut one lining and one fusible batting piece. Trim the batting 1⁄4 inch on all edges, then fuse it to the exterior fabric’s wrong side.
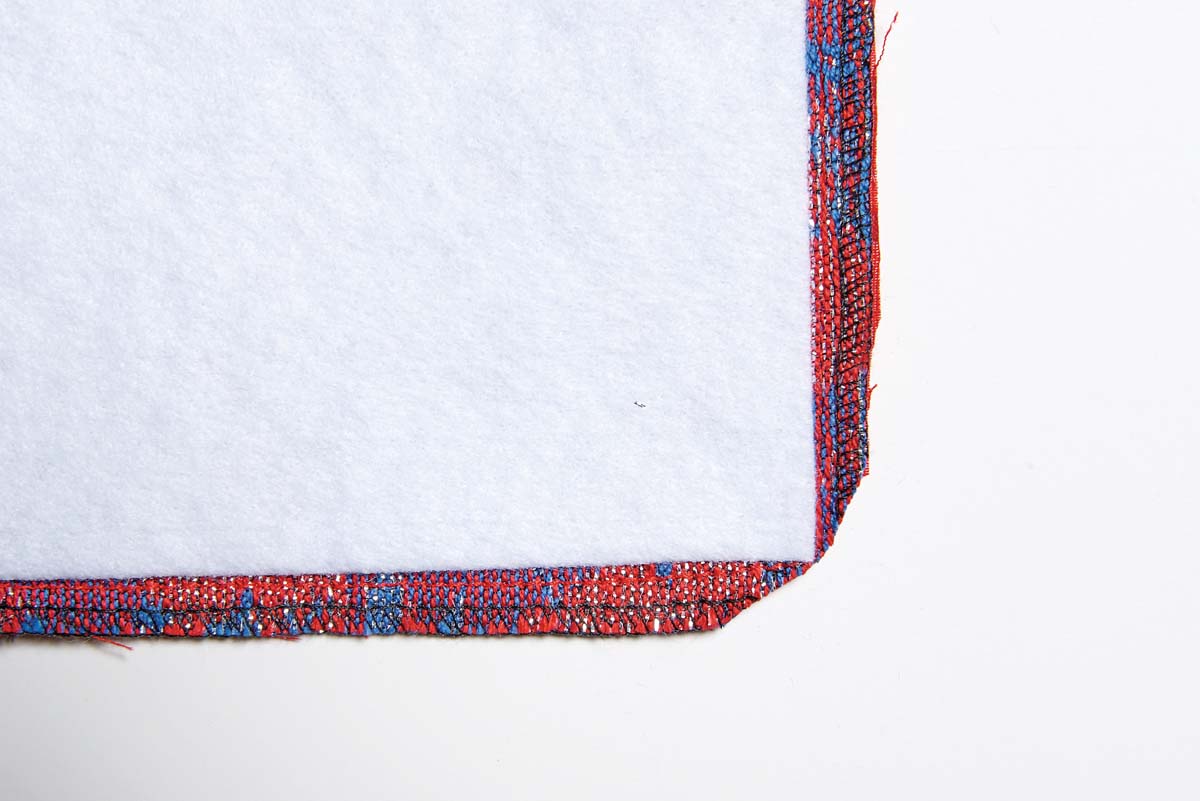
3. Construct the bag. Sew the exterior and lining pieces right sides together. Leave a 2-inch to 3-inch opening for turning the bag right side out.
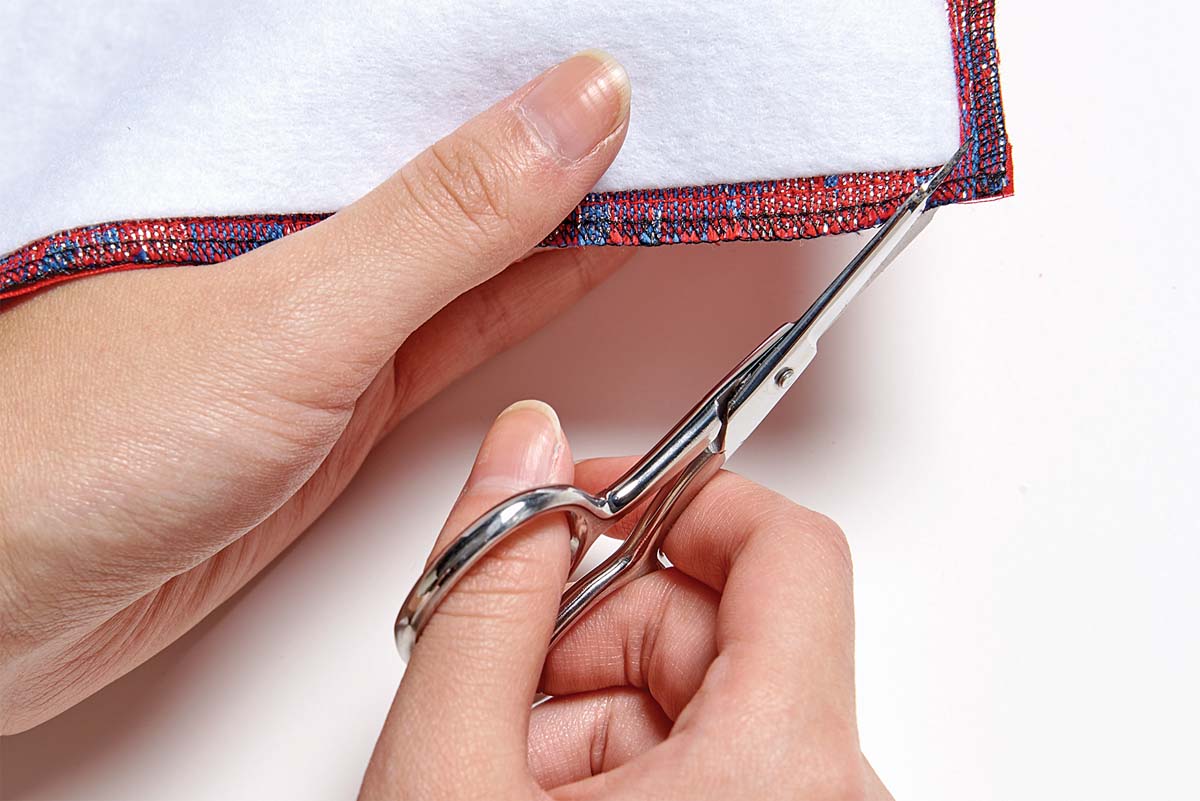
4. Turn and press. Trim the corner seam allowances, and turn the bag right side out. Make sure the turned corners come to nice points.
5. Tuck the seam allowances for the turn opening inside the square. Align the folds with the rest of the edge (A). Press the bag, and topstitch a scant 1⁄4 inch from the edge around all…
Start your 14-day FREE trial to access this story.
Start your FREE trial today and get instant access to this article plus access to all Threads Insider content.
Start Your Free TrialAlready an Insider? Log in


Log in or become a member to post a comment.
Sign up Log in