
Petal Sleeve Conversion with Bias Tube Loops
Fashion a graceful garment detail
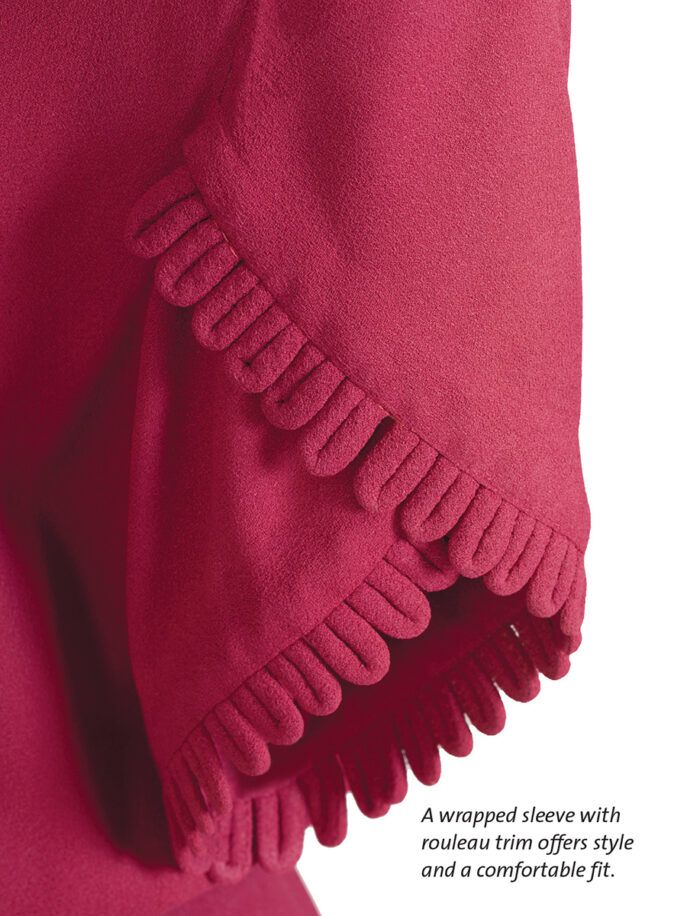
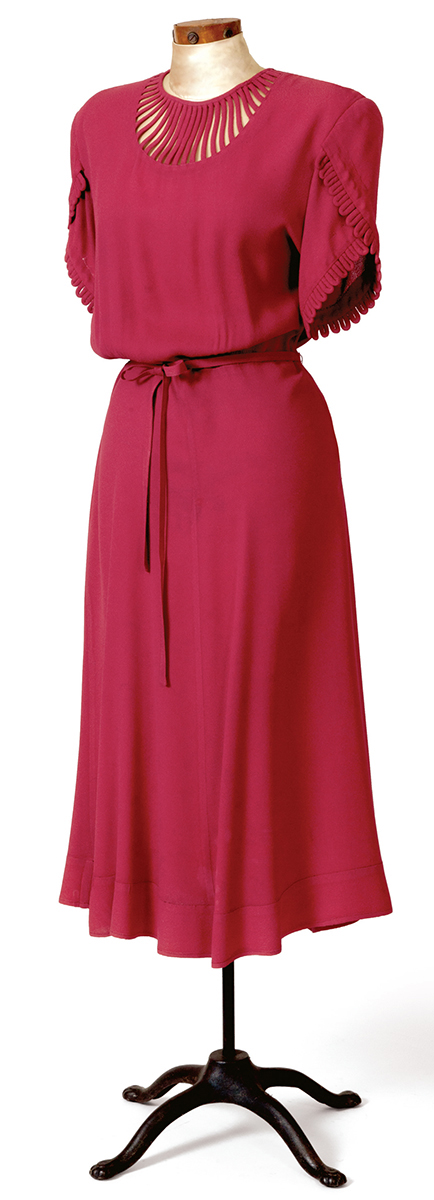
A simple frock becomes a standout with a few intriguing details. A petal (or tulip) sleeve replaces a more mundane straight sleeve, and rows of bias tube loops add texture and visual interest. Learn how to draft the pattern so you can emulate this sleeve shape.
A petal sleeve is usually cut above the elbow. However, it can also be cut as a long sleeve if closures are used along the open edges, such as frogs, ties, or even buttons. This is an attractive sleeve that has the bonus of nicely fitting a heavy upper arm.
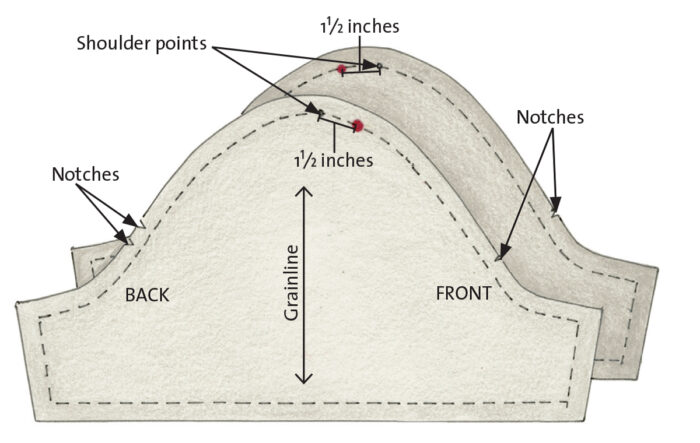
1. Start with a one-piece set-in sleeve pattern. Trace two copies. Mark the notches, dots, and shoulder point. Measure 1-1⁄2 inches to one side of the shoulder point on one copy and mark. On the second copy, measure the same distance in the opposite direction from the shoulder point and mark.
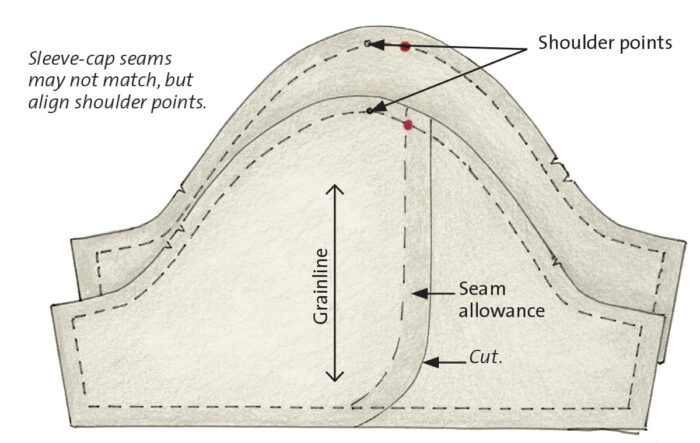
2. Draw the overlap edge. On one sleeve pattern, draw a line from the added mark toward the hem, curving toward the pattern’s center. Add a seam allowance toward the short side of the pattern. Turn the second pattern right side down under the first (wrong sides together). Align the shoulder points and the marks, and keep the grainlines parallel. Cut through both layers along the seam allowance line. Discard the smaller pattern pieces
3. Cut the fabric. Cut two of each pattern in fashion fabric and two each of lining. Make sure you cut mirror-imaged pairs to make a right and a left sleeve.
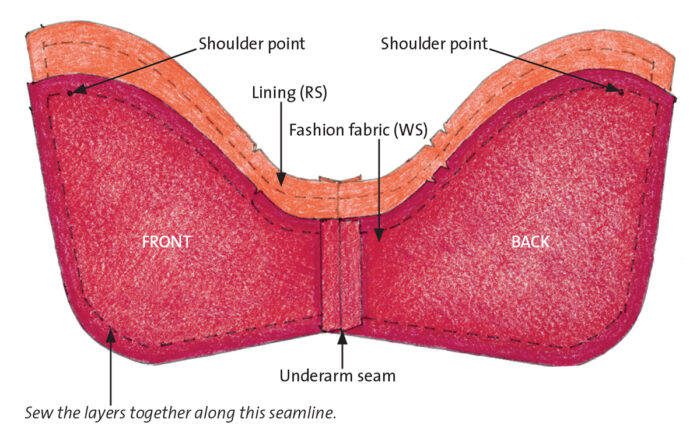
4. Join the sleeve pieces. For the fabric pieces and the lining pieces, sew the underarm seams, aligning the front with the back. This yields two fashion fabric units and two lining units. With right sides together, align a lining to the corresponding sleeve, matching the dots, notches, and underarm seams. Sew around the pieces from the front armscye seam to the back armscye seam. Trim the allowances, if desired.
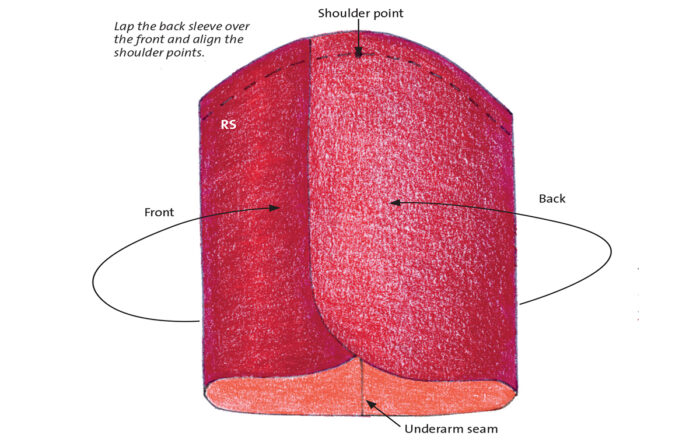
5. Turn the sleeve right side out. Press, then align the shoulder points, placing the back of the sleeve over the front. Baste the sleeve cap within the seam allowance. Last, sew the sleeve into the armhole as usual.
Intriguing sleeve and neckline treatments enliven a simple dress design.
Contributing Editor Judith Neukam enjoys bringing forgotten sewing techniques up-to-date.


Log in or create an account to post a comment.
Sign up Log in