
Mastering the Narrow Hemmer, Part Three
Get the most from the narrow hemmer in the third part of this three-part series.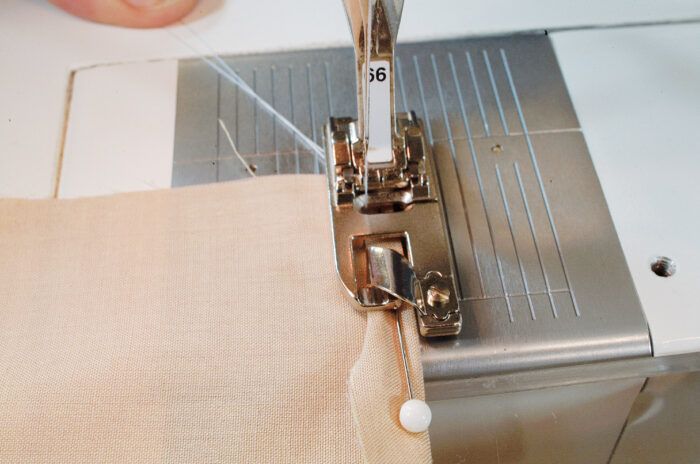
Basic hemming techniques
Hemming corners is three-step process: Trim 1/4 in. off the corner, stitch to the end, then start over in a new direction.
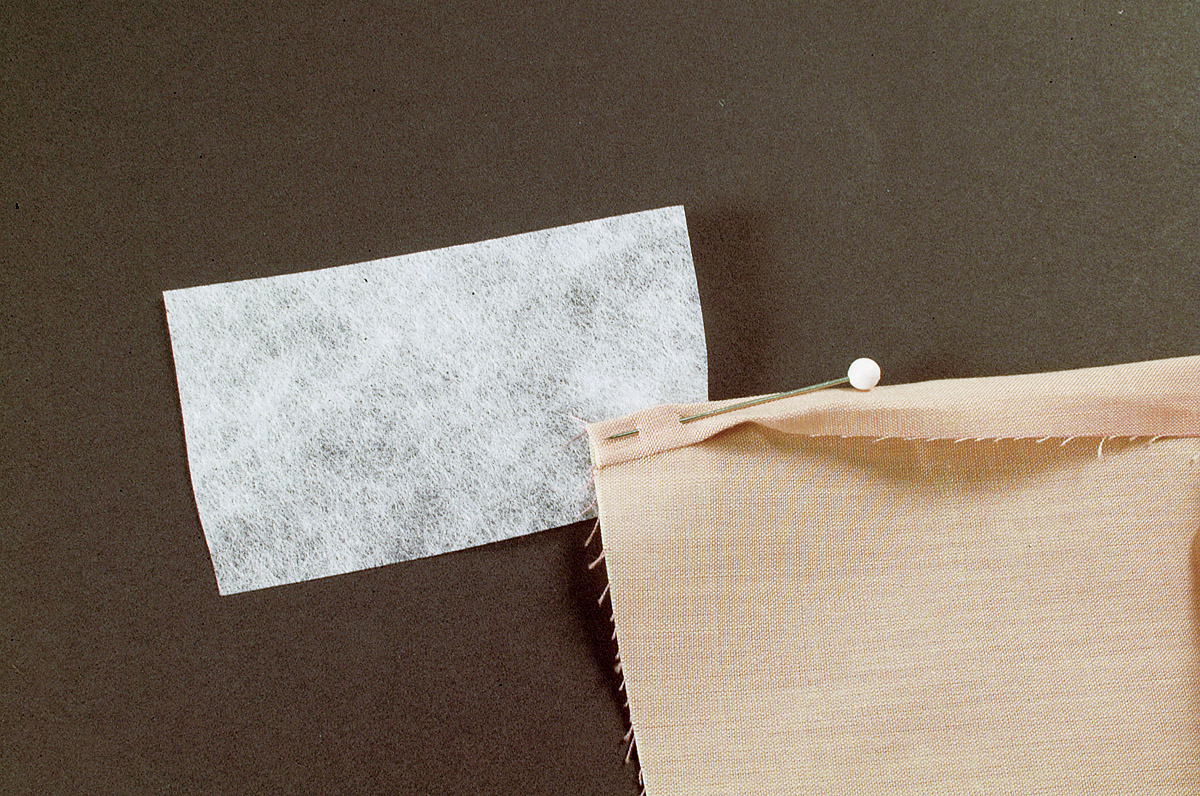
To start at a corner, use tear-away stabilizer or tissue paper under the hem, and stitch about 1/4 in. before feeding the fabric into the foot.
To end at a corner, press the fabric toward the foot to keep the full allowance in the curl.
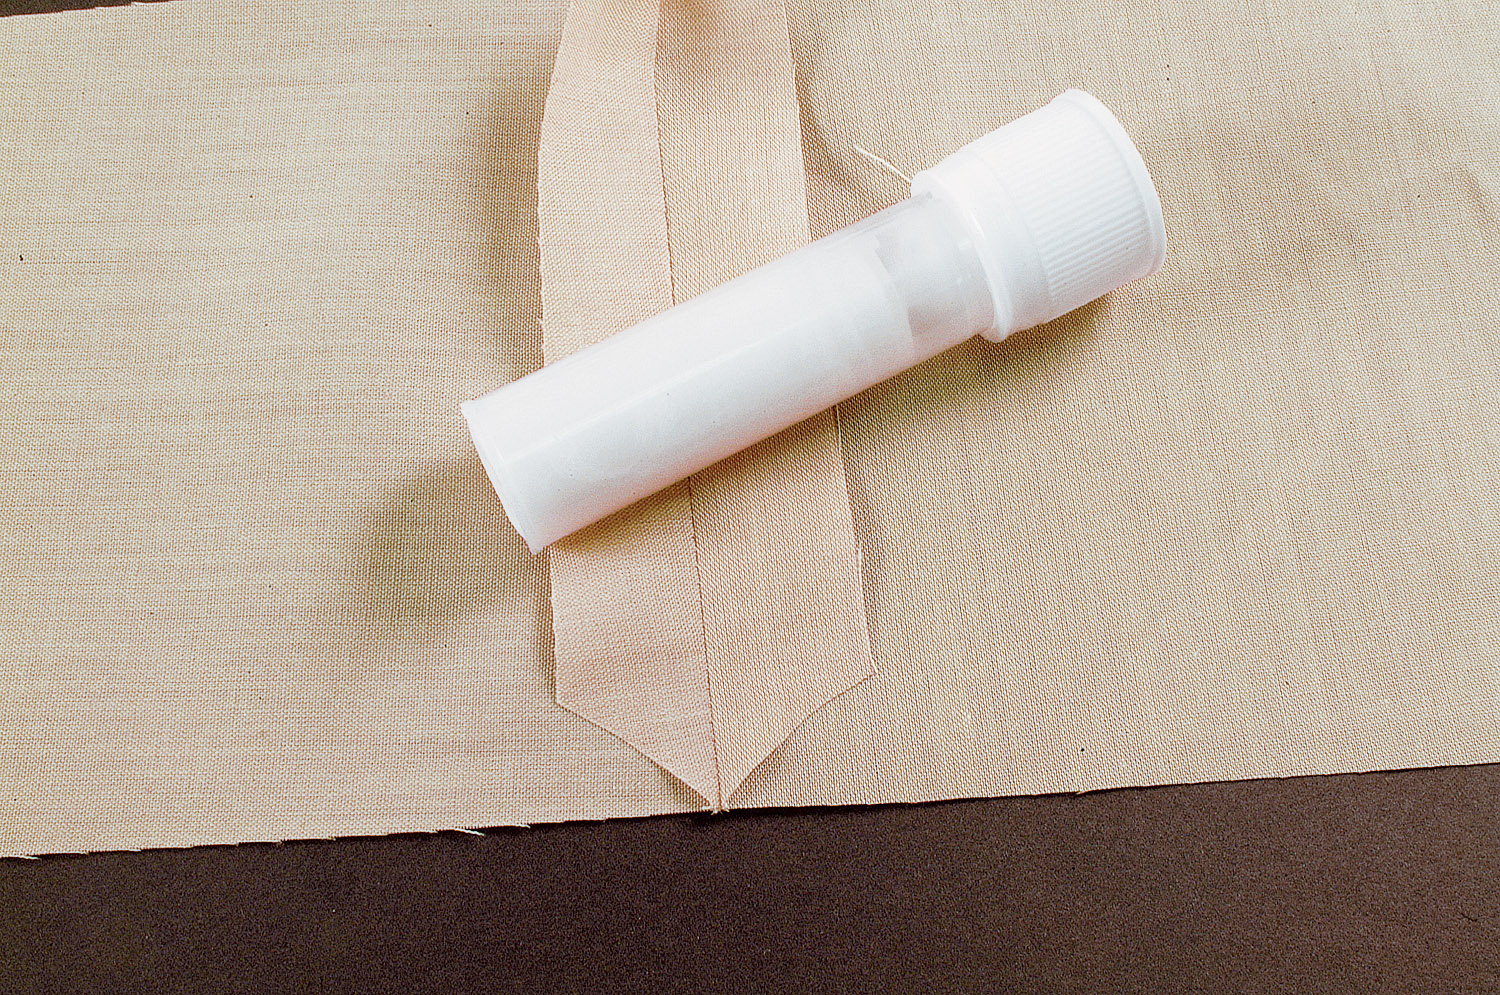
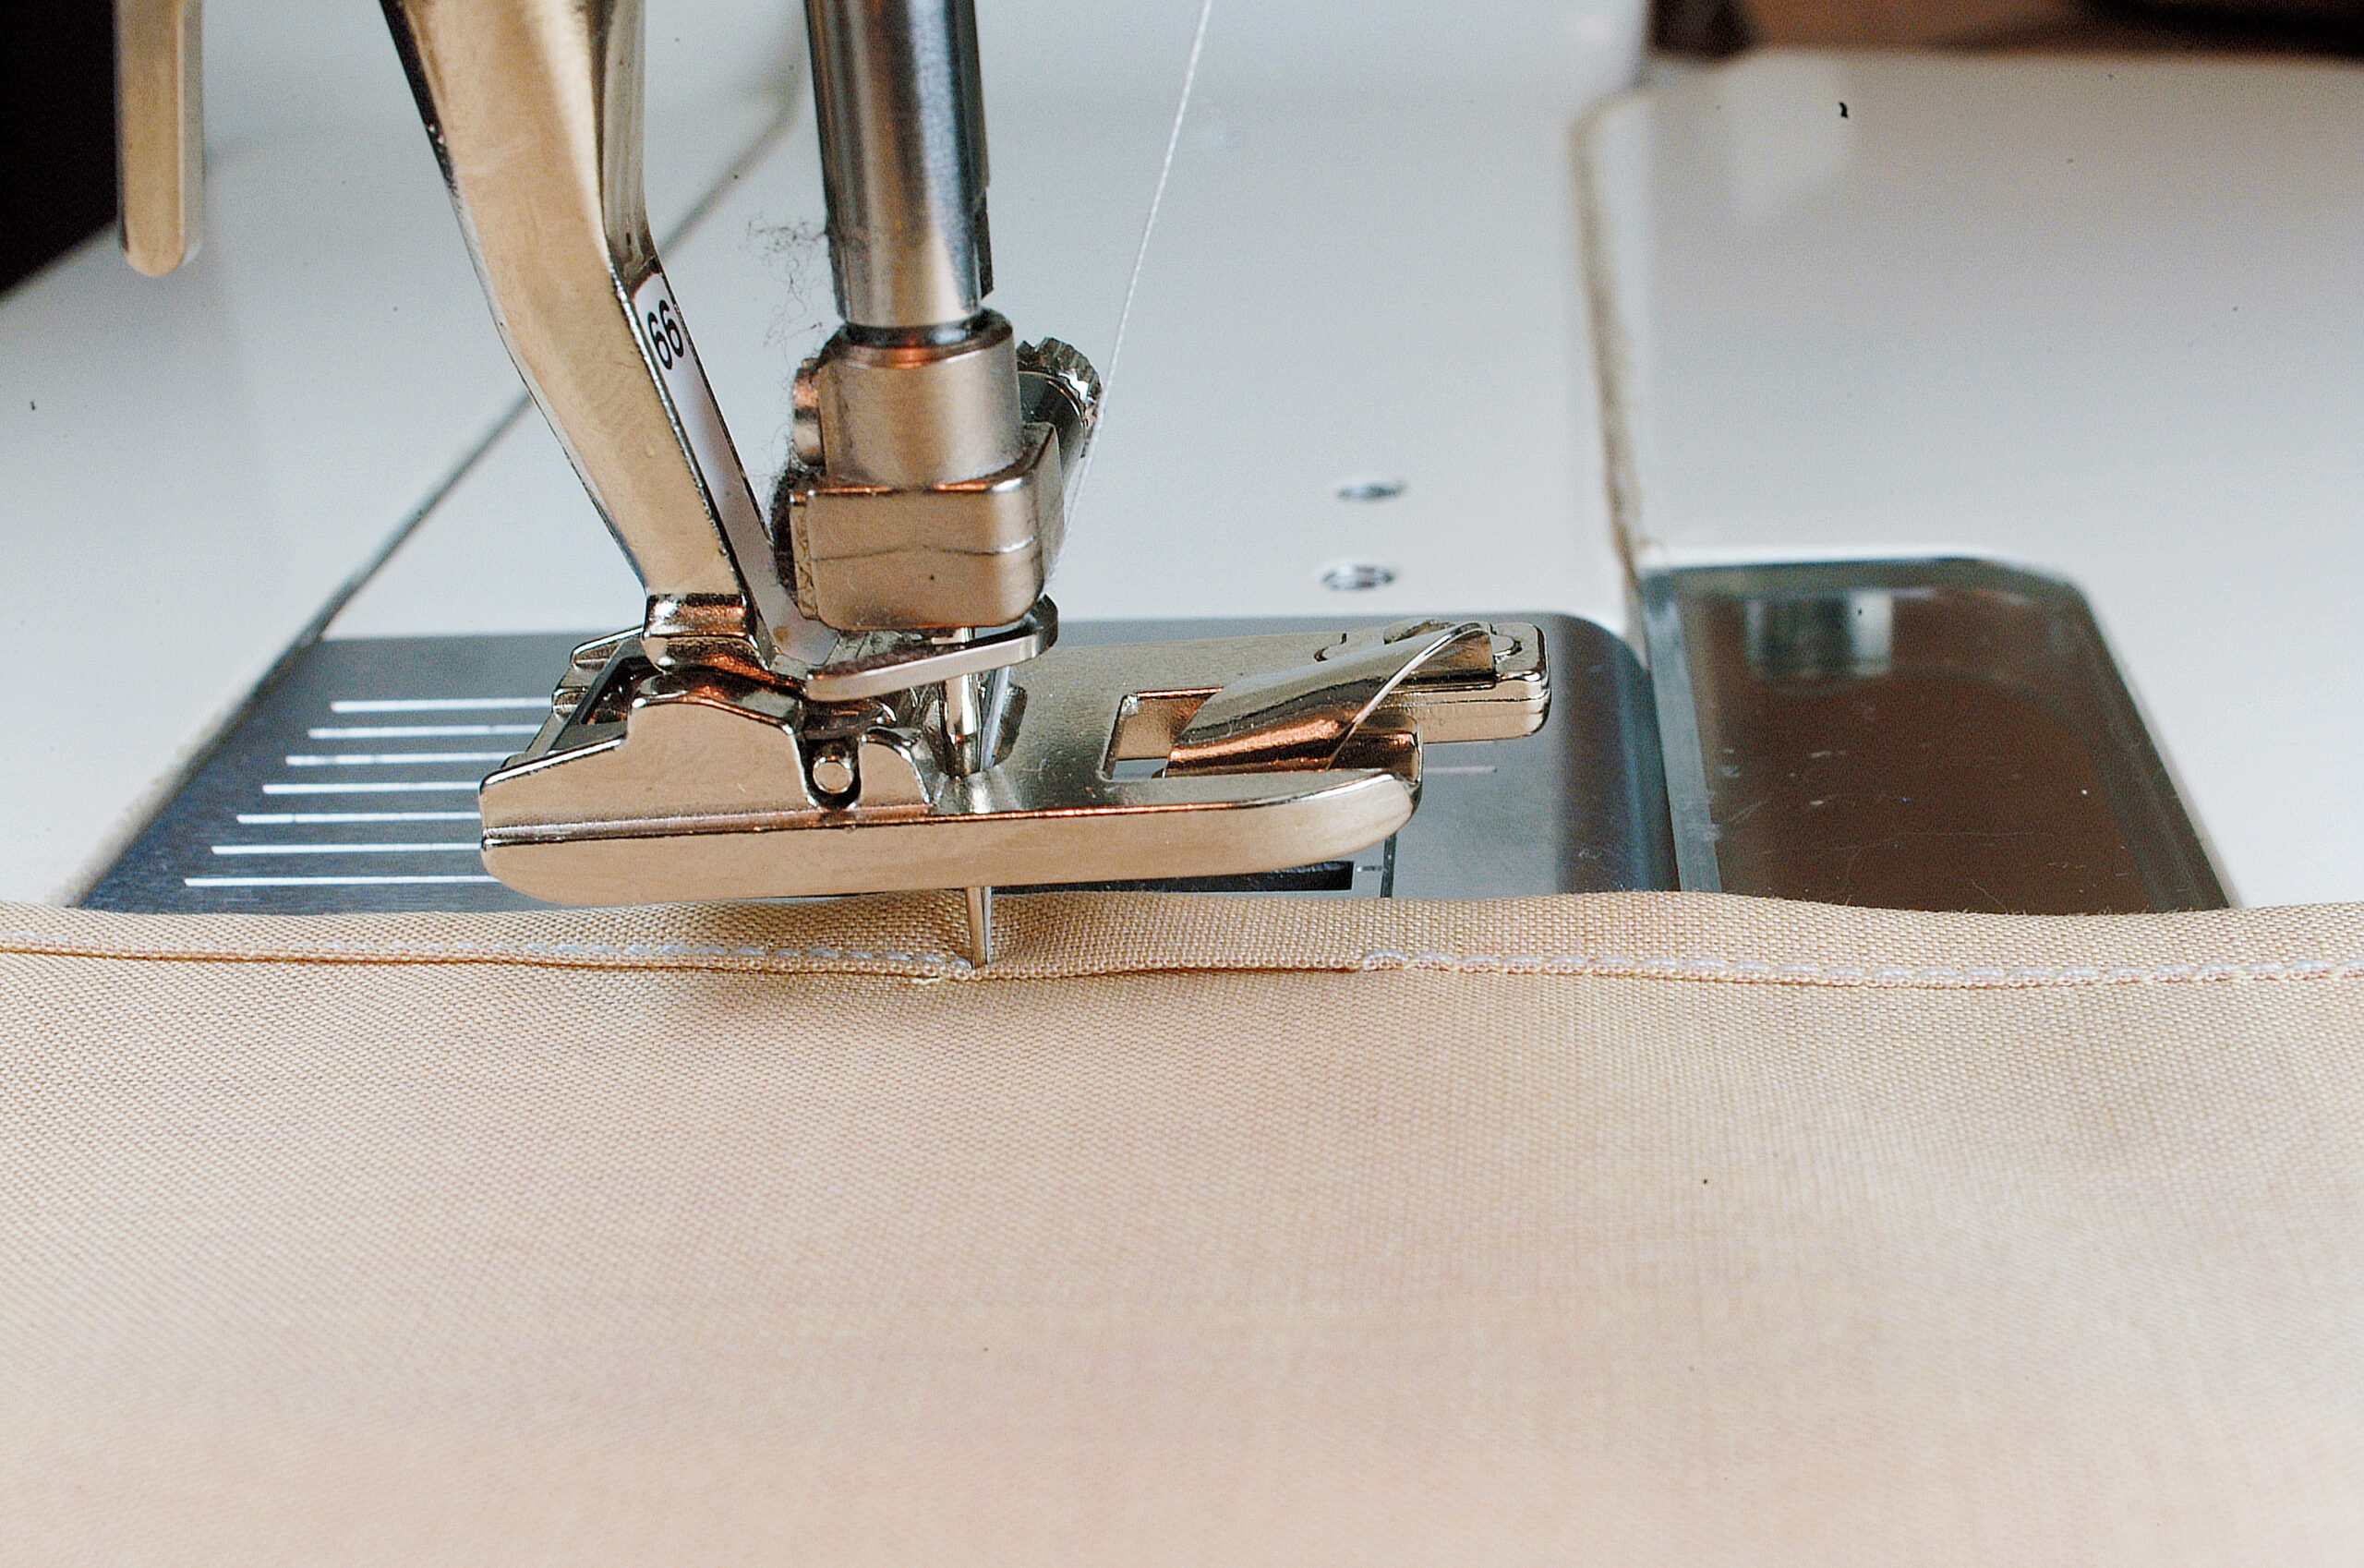
To cross a seam, trim to reduce the bulk of seam allowances; use a glue stick to keep the seam allowances flat during hemming.
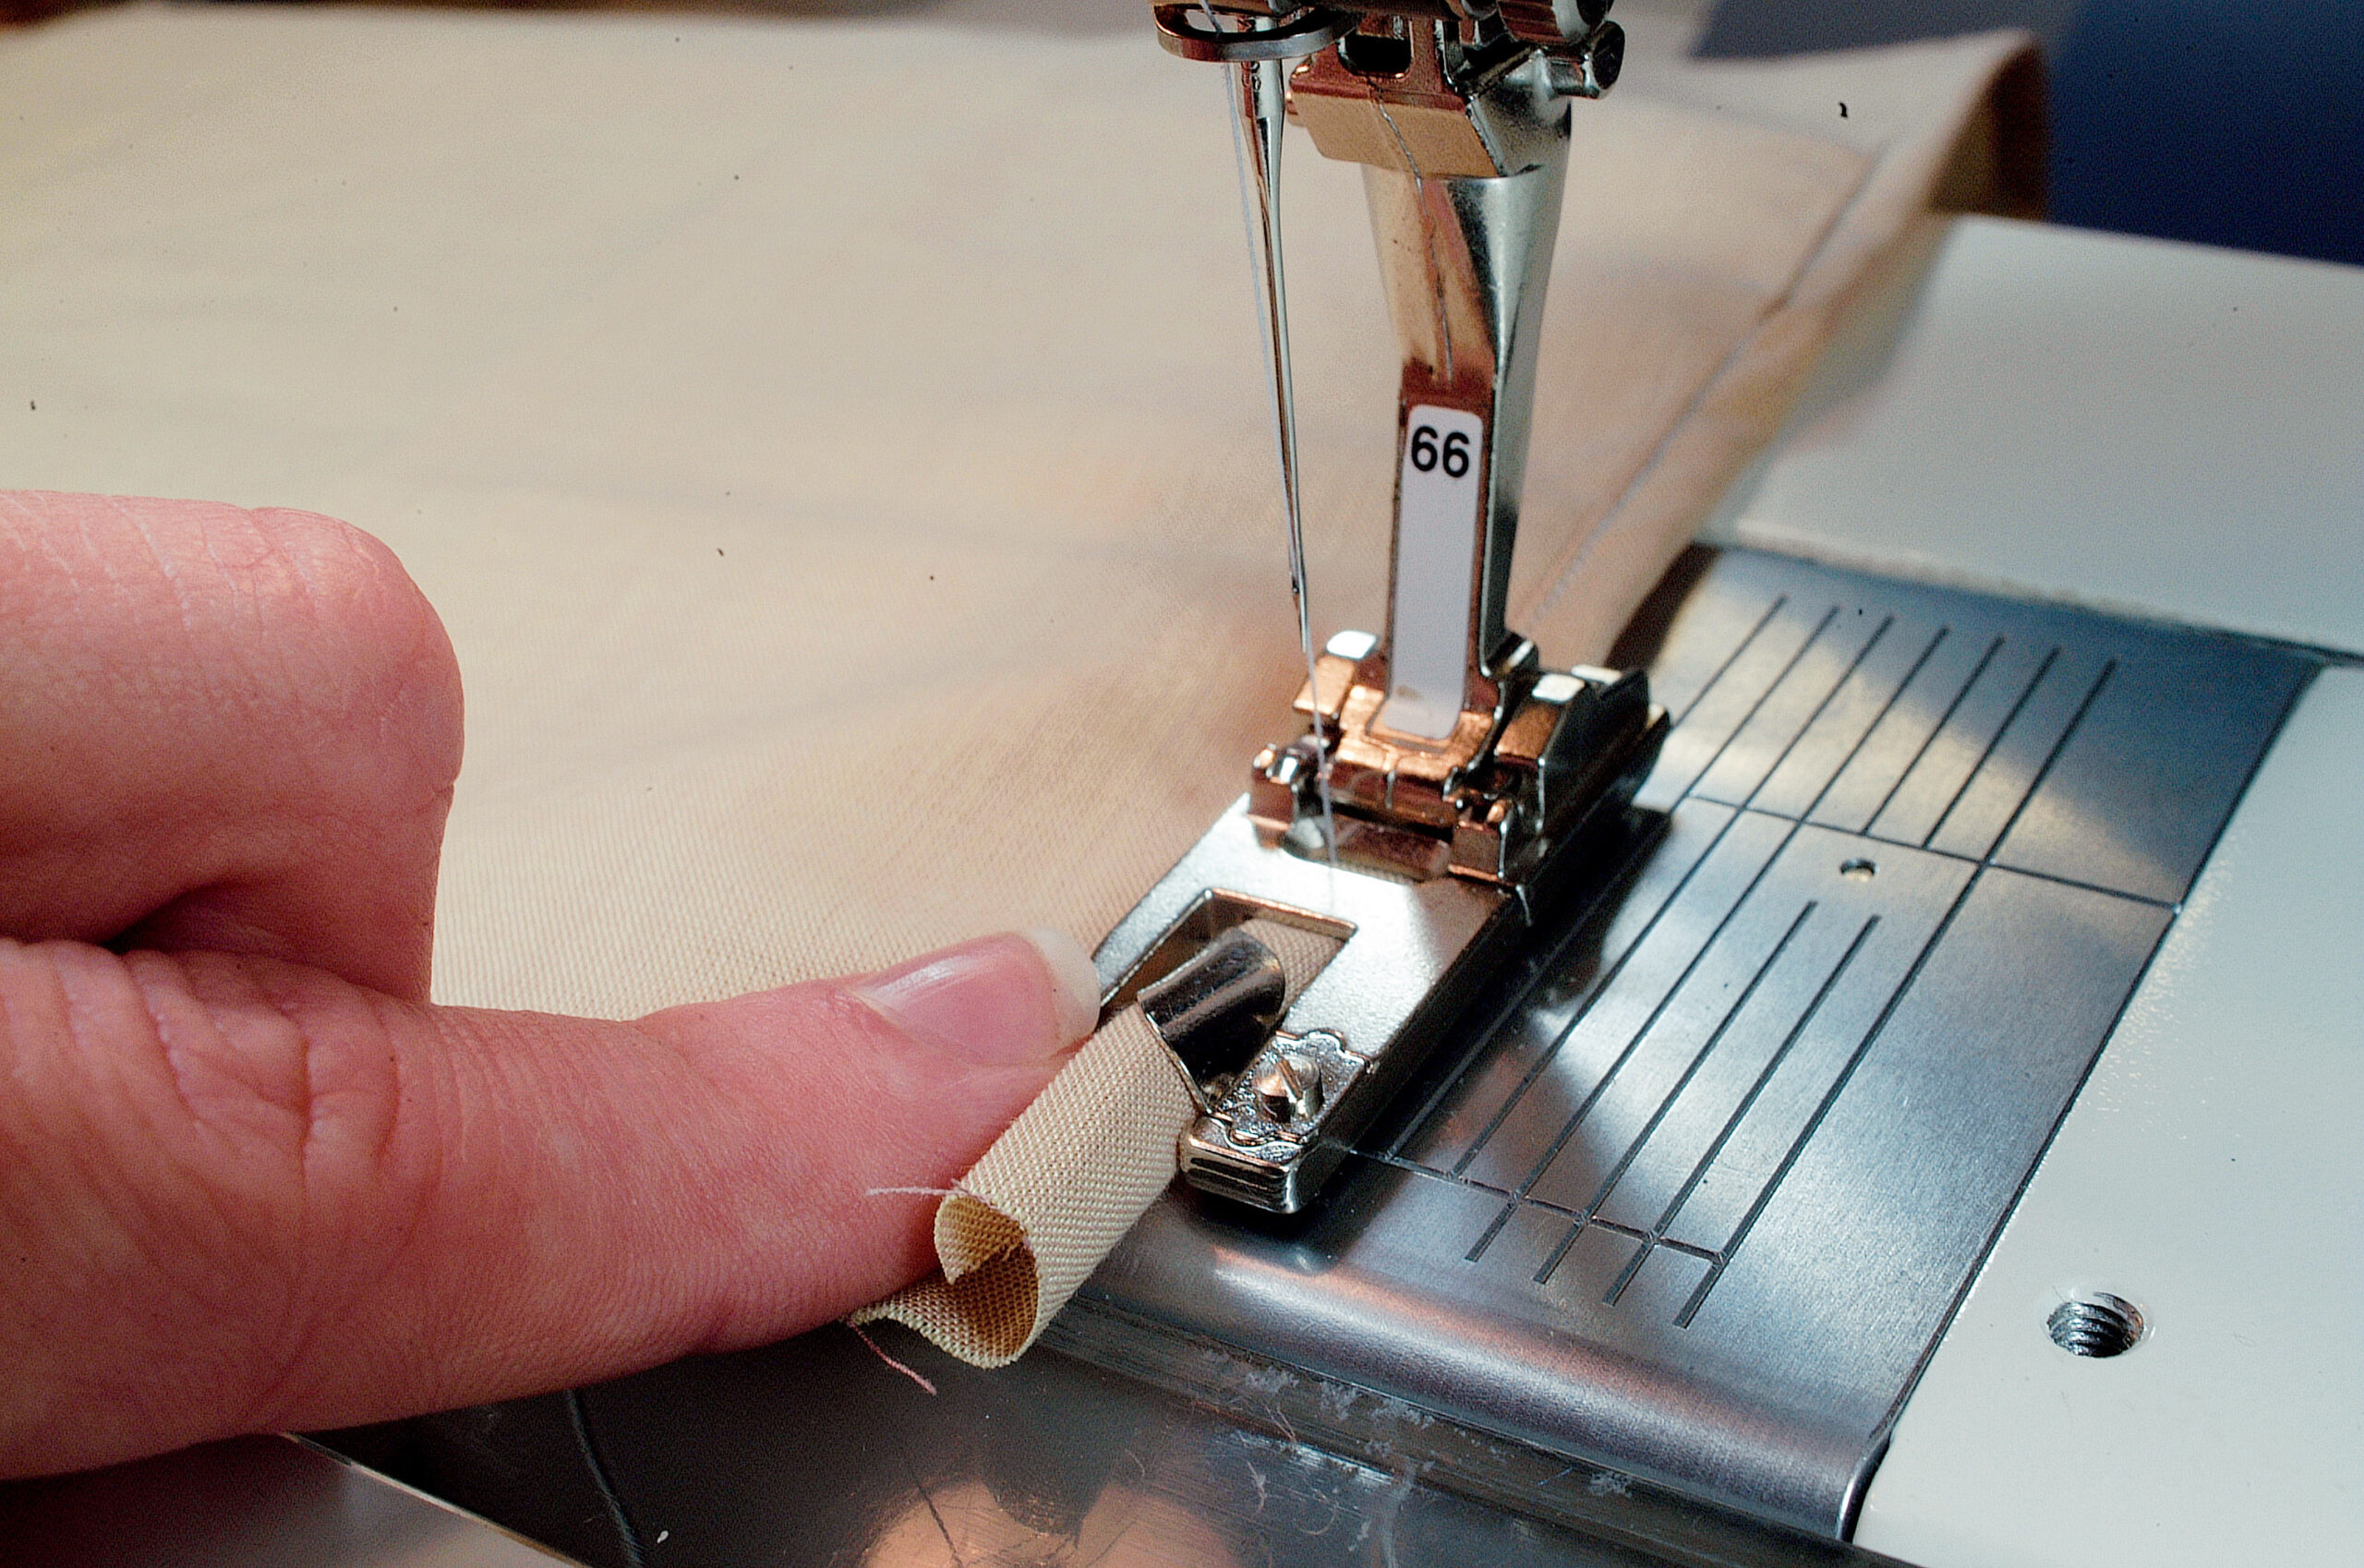
To blend into the starting point, stop with the needle down, raise the foot, and form the hem by hand to blend into the starting hem. Stitch with the hem under, not in, the foot.
|
|
|


To include a facing in the hem, trim to reduce the facing’s bulk (left), and use a stabilizer at the corner (right).
Special hemming effects
If your decorative stitch aligns with the hem’s edges within the hemmer foot’s width, you can stitch the hem in one step.
If your decorative stitch doesn’t align with the hem folds, baste the hem first using the hemmer, then stitch decoratively using the satin-stitch foot; finally, remove basting, if necessary.
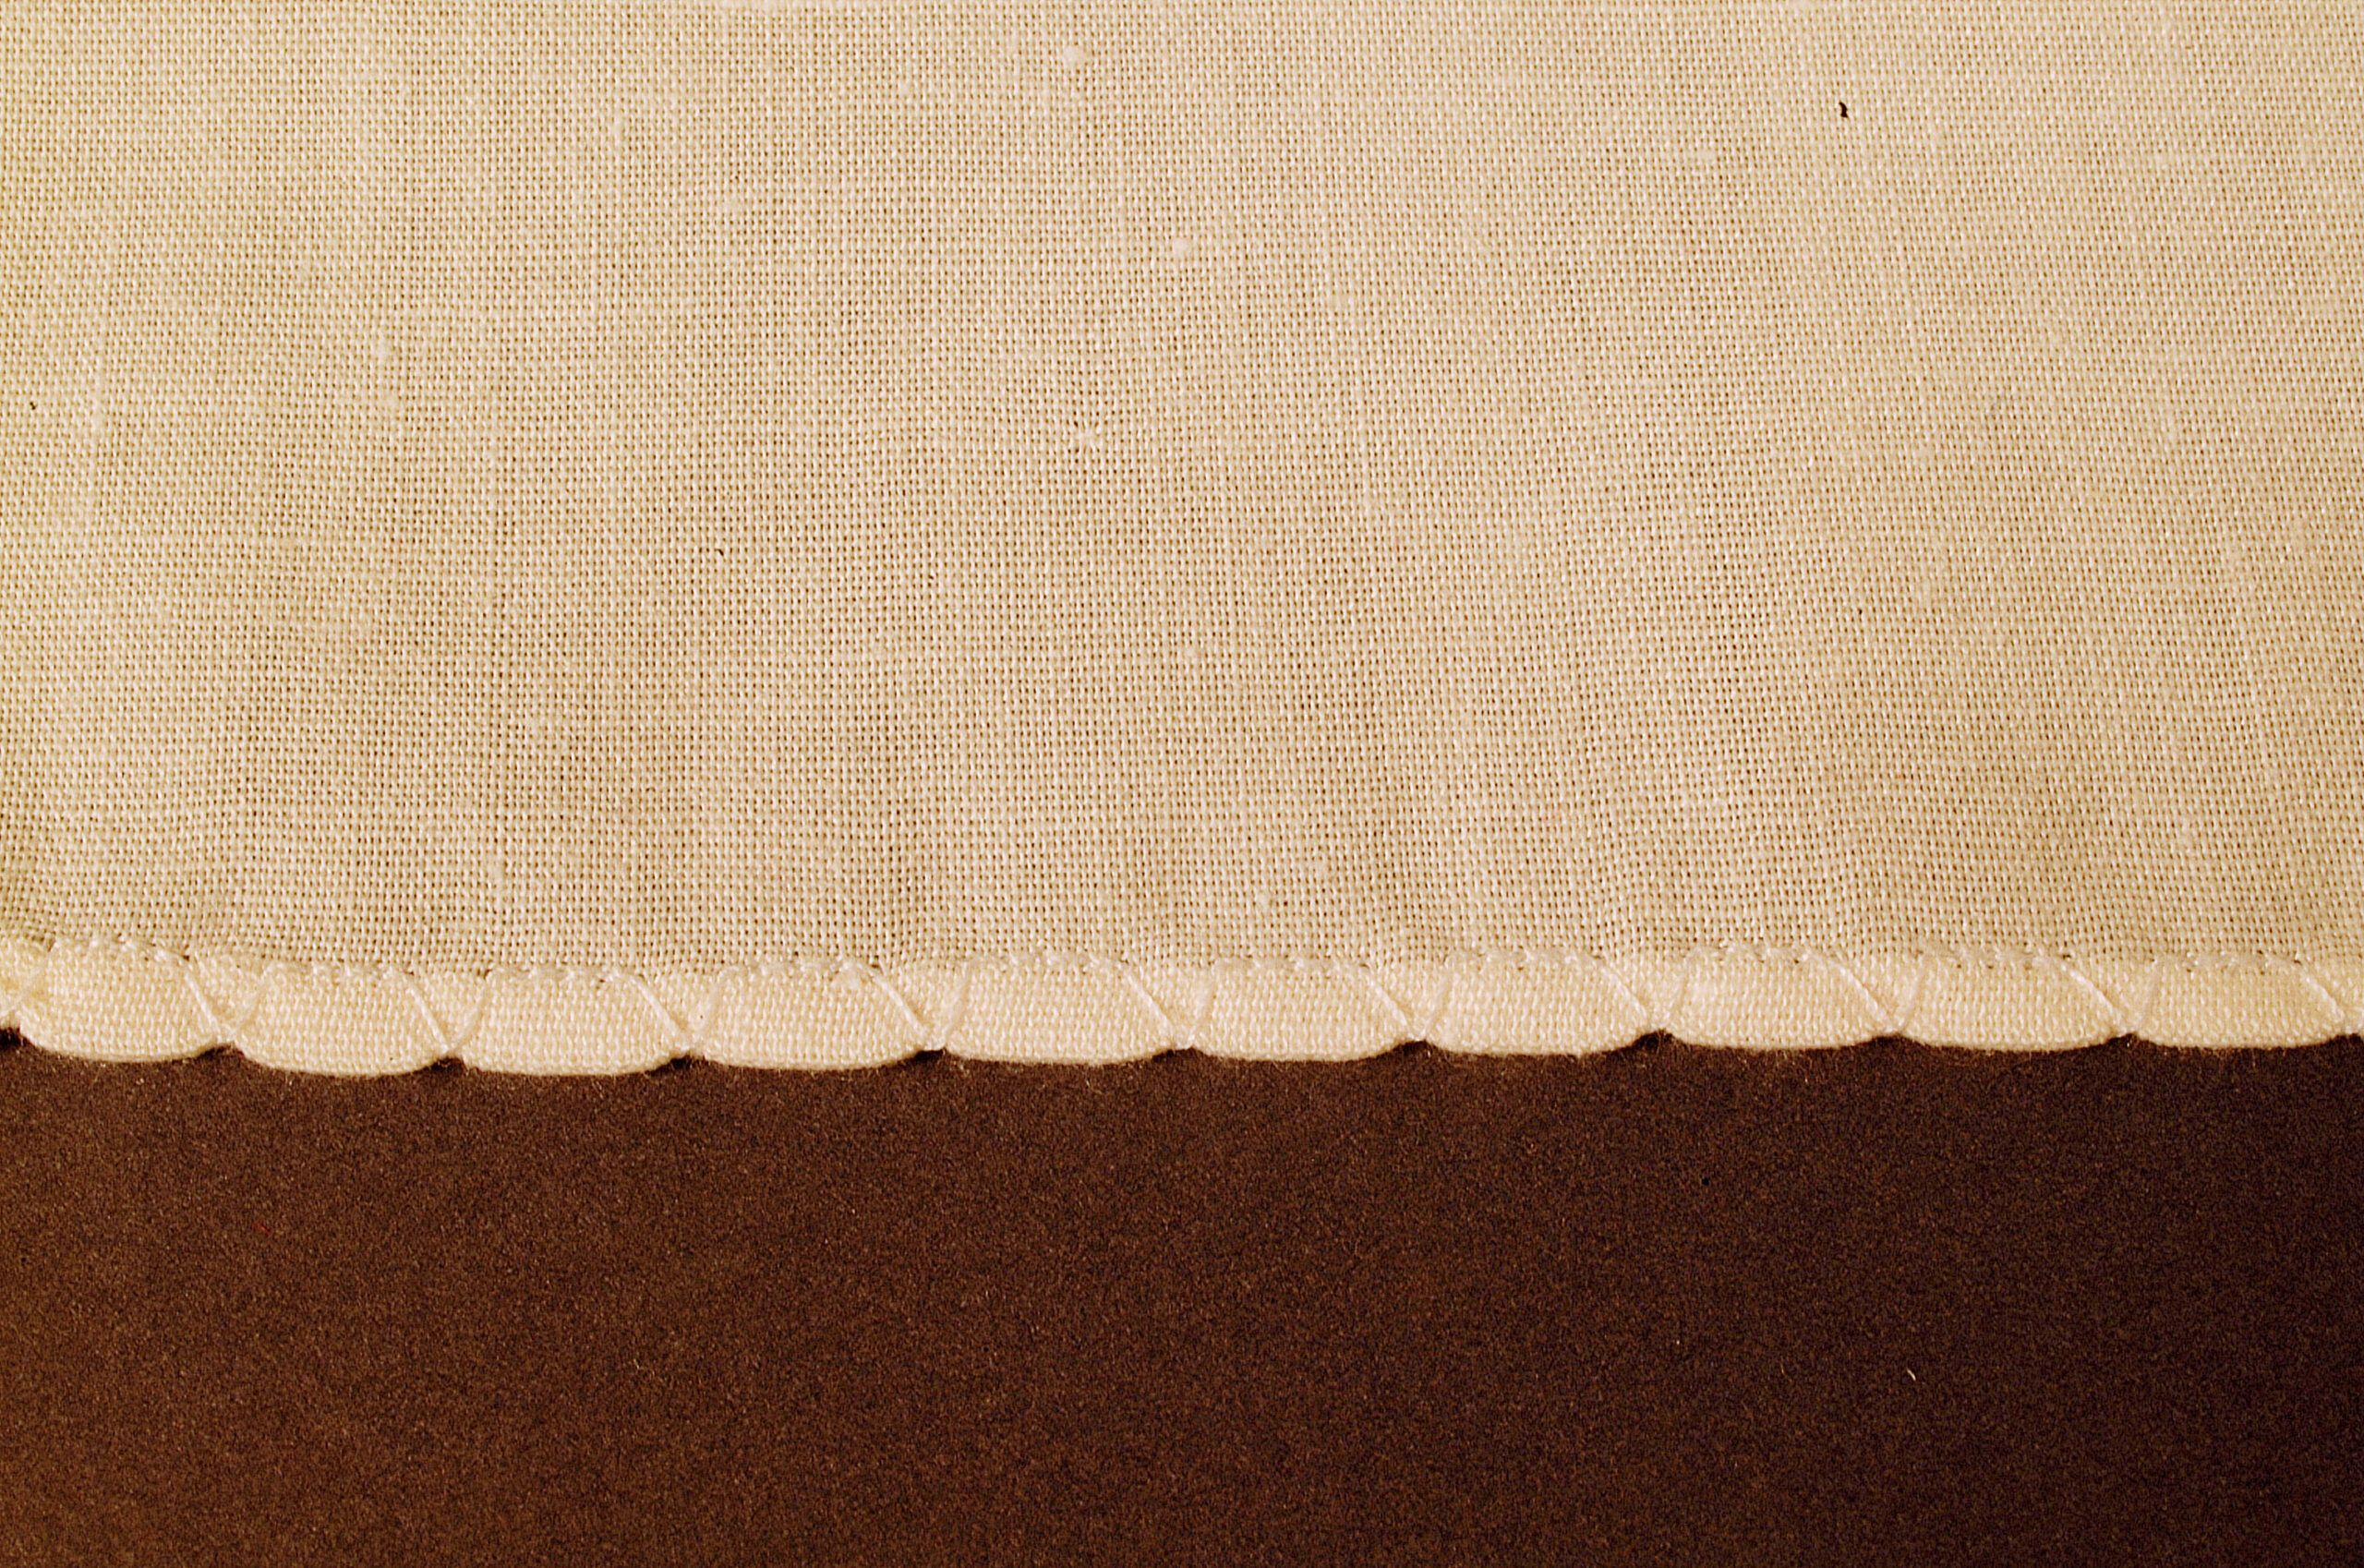
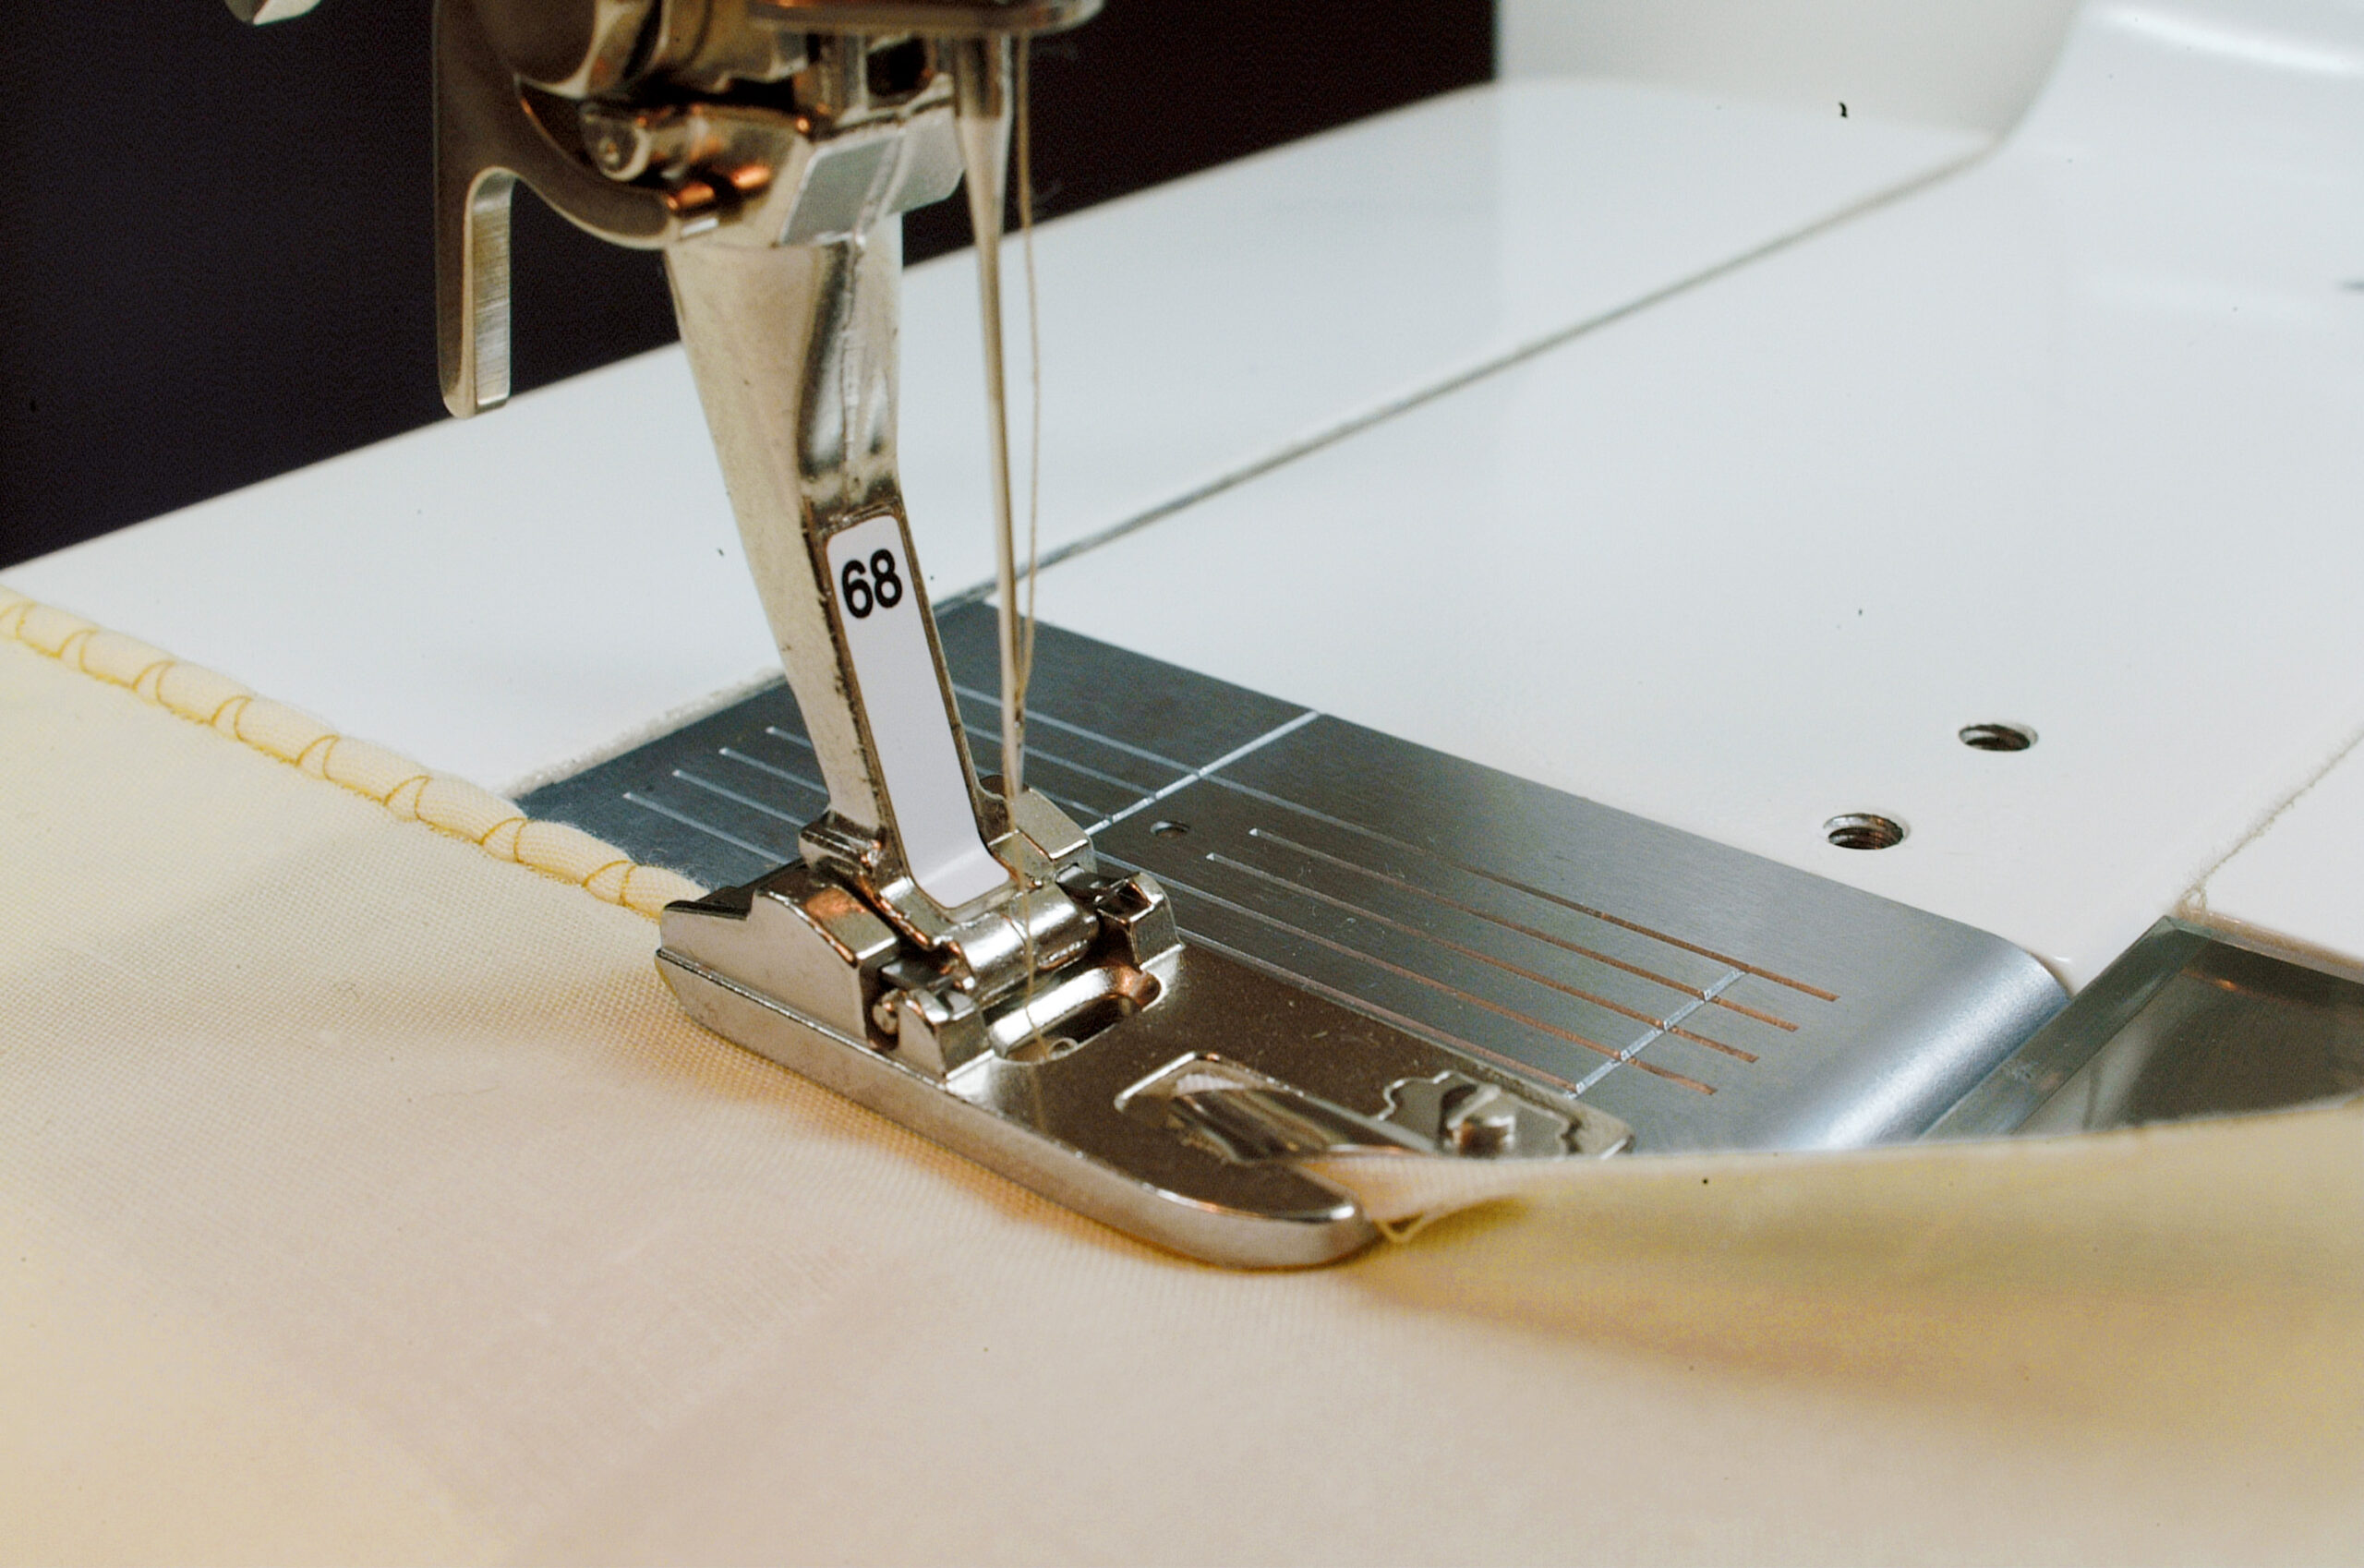
Shell edging, made using a blind-hem stitch, looks more like a hand-formed shell edge than if you use a plain zigzag stitch.
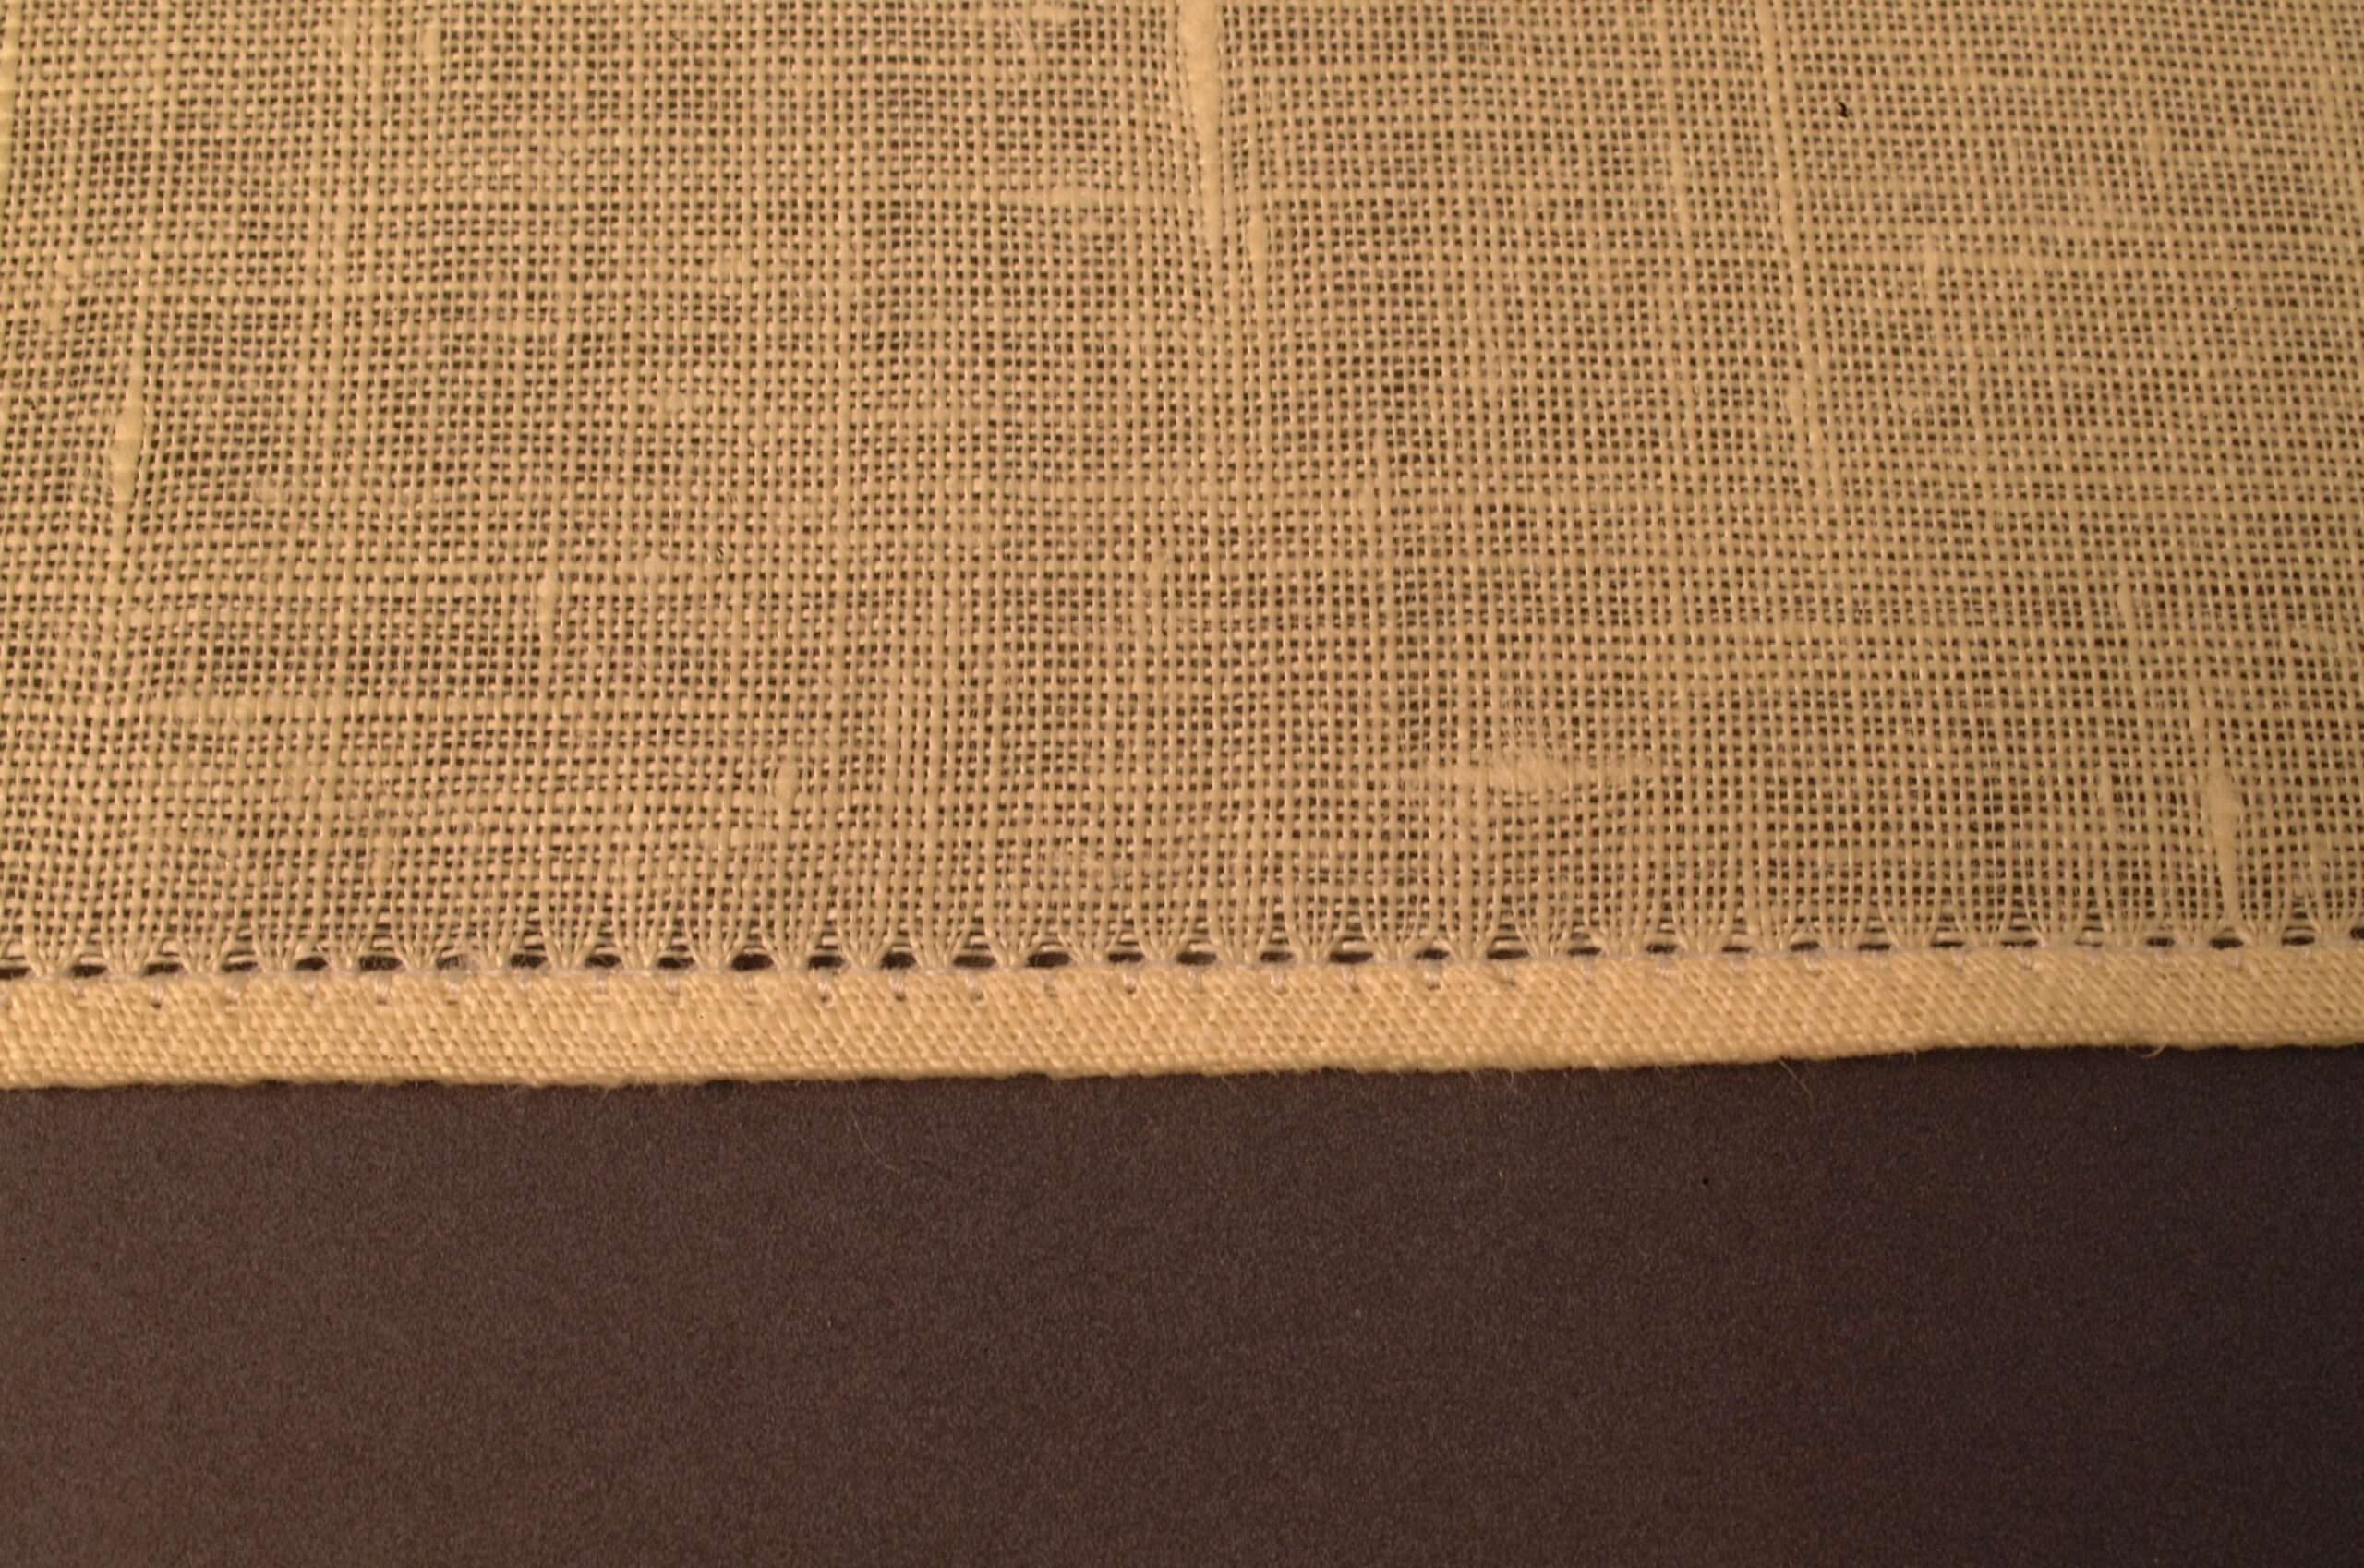
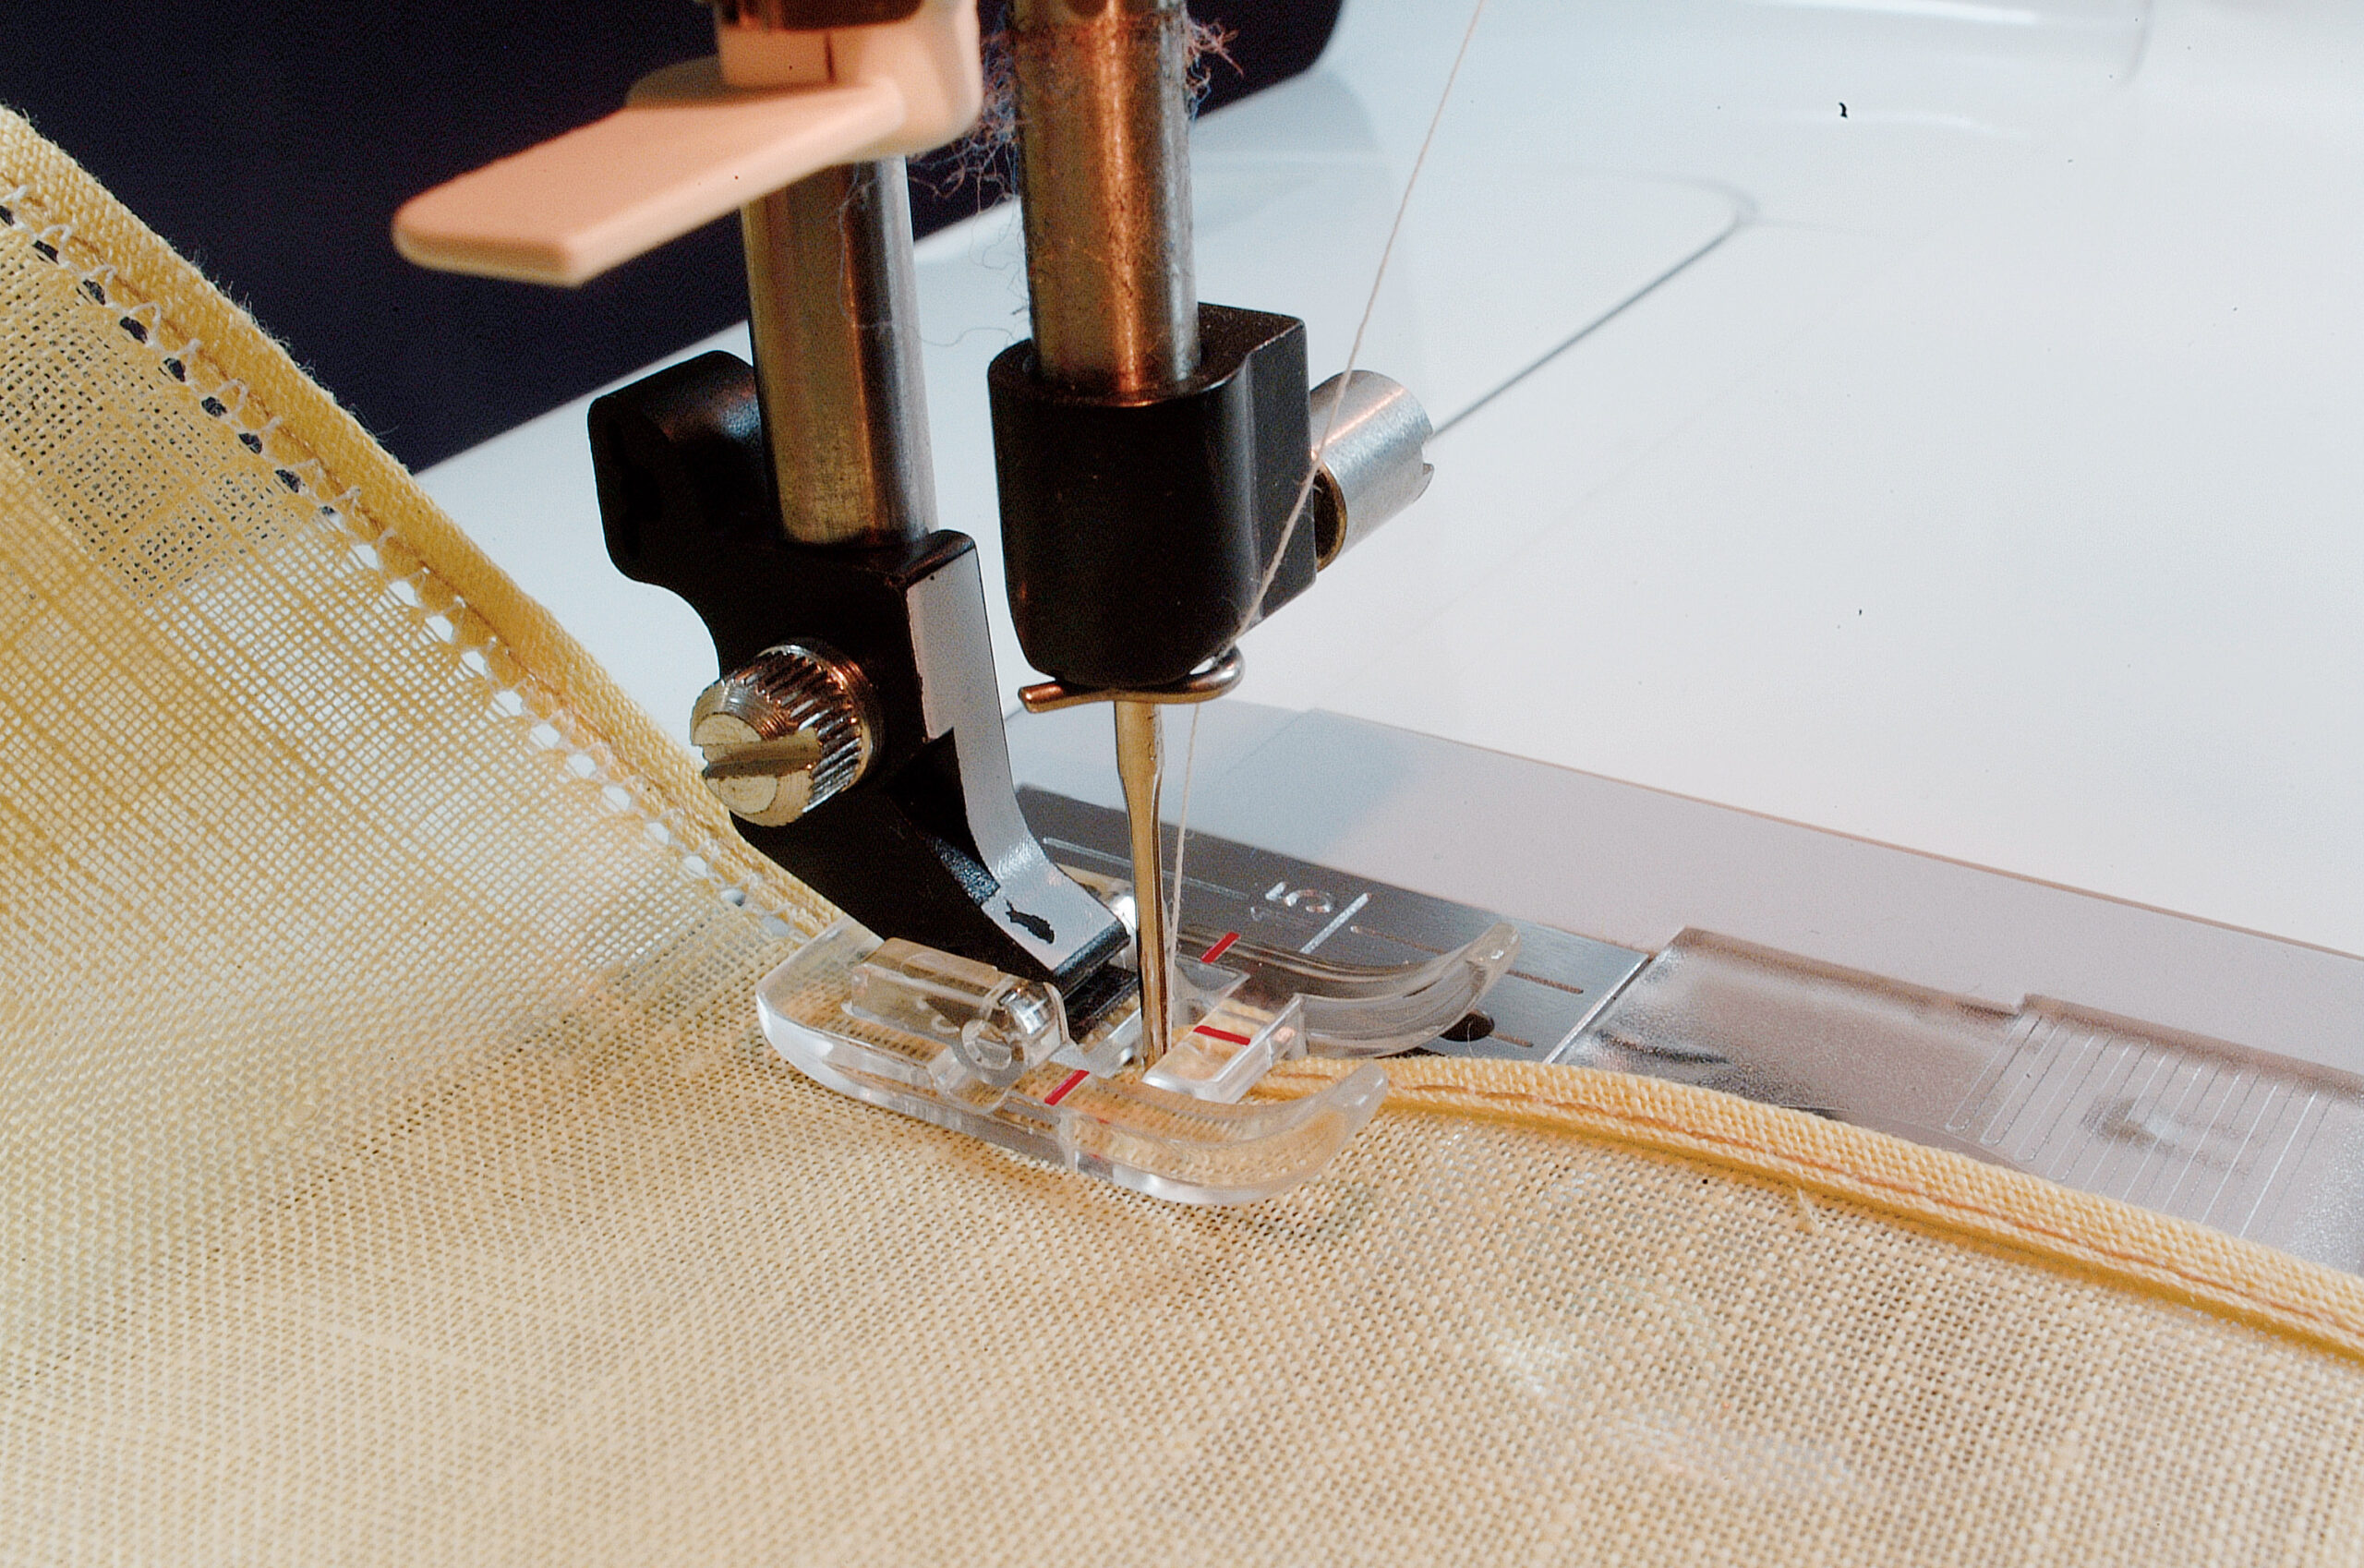
Narrow hemming combined with a Parisian hemstitch produces a finished decorative edge similar to those on hand-hemstitched handkerchiefs.
Read more…
Mastering the Narrow Hemmer, Part One
The basics
Mastering the Narrow Hemmer, Part Two
Sewing a narrow hem
Carol…
Start your 14-day FREE trial to access this story.
Start your FREE trial today and get instant access to this article plus access to all Threads Insider content.
Start Your Free TrialAlready an Insider? Log in


Very well illustrated, I have had the opportunity of taking a course showing and working with this hemming foot and I plan to print this guide and add it to my sewing Job Aid under sewing feet application as this Mastering technique article is awesome.
Really don't find that starting at a corner is that easy... maybe have to try a dissolving stabilizer? Perhaps that would tidy things up...
I appreciate that Carol illustrates her technique using fabric that ravels, as this scenario sometimes adds to the challenges of mastering this foot. Maybe I missed it (will go back and review), but I don't recall her addressing the handling of the corner where two rolled hems meet. I imagine you'd just stop creating the hem with the foot and form the edge with the aid of an awl or something pointed for the remaining inch or so, then just stitch to secure.
Thank you for tackling this subject, Carol!
I am probably among a host of people who have shied away from this group of presser feet because I did not know how to use them properly. I have this edition of Threads in my library, but this is the first time that I noticed and understood the importance of wedding the proper foot to the type of fabric. I can see now why I had so much trouble. I am getting ready to work on an evening skirt and this should make the hemming so much easier and more professional looking.
I've been sewing since & (a VERY long time ago( and never used this foot until 3 weeks ago. Made the brides dress and 2 maids dresses. they wanted organza capelets. I was afraid! However I finally gave it a try and wow! I wasted sooo much time through the years sewing by hand. Don't be afraid. What do you really have to lose? A few minutes and some carefully chosen words? I will be using this foot alot in the future.
This is my first time at this site. Love it.
i love this foot. To start I usually use steam-a-seam in the corner in the fold for about the first inch in the beginning and it rolls like a dream. Great illustrations. Keep up the good work, Threads!
Thank you so much for this great site and the easy technique shown on how to use the narrow hemmer foot. I have been pushing and pulling fabric for years - which caused no end of frustration.
and now - thanks to you I have a far easier way to complete the task. Thanks again.
For corners, the instruction was to trim 1/4" from the corner then complete the stitching off of the corner. Do you trim 1/4" at a diagonal from the corner? A picture to illustrate this point would most helpful.
Thank you.