
Like most sewers, I occasionally find myself completing a project at the eleventh hour. On one such occasion, I was faced with finishing a jacket that needed both an underlining for support, and a separate lining for a neat interior. Instead of panicking, I came up with this solution, which omits the lining and uses the underlining, applied in an unconventional way, to hide the seam allowances. It’s a very straightforward method that’s well-suited to a wide range of garment types (including multipanel jackets, skirts, and pants), works with most lightweight to medium-weight fabrics, and requires no special pattern pieces. And because you don’t construct the lining as a separate unit, you save lots of time. Even with a bit of topstitching to hold the underlining in place, this technique cuts construction steps without compromising the durability or appearance of the finished garment.
Neat and tidy on the inside, garments with an underlining that also lines are lightweight, uncomplicated, and nicely finished.

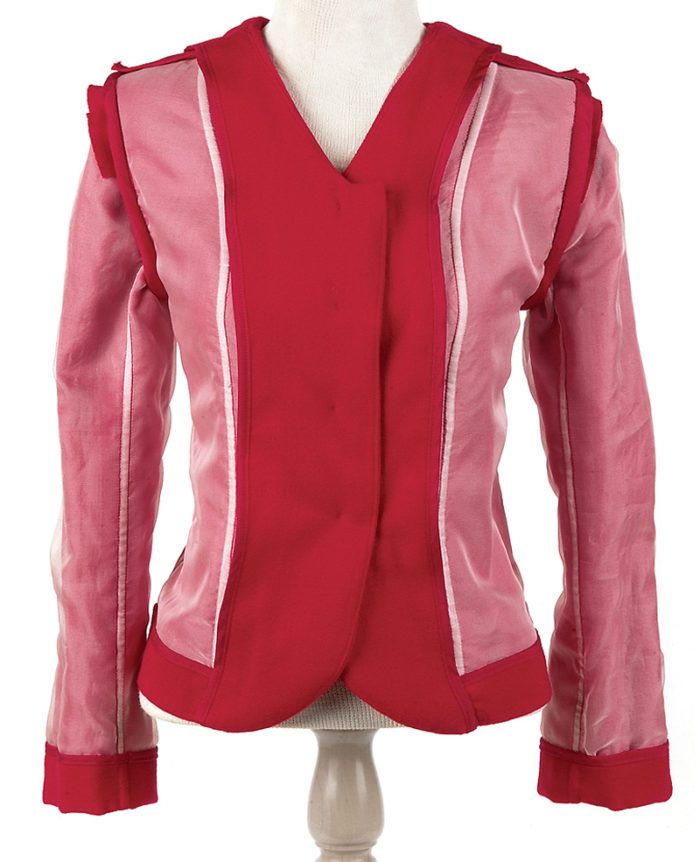
Handsome on the outside, this jacket (author’s design) gains shape and soft structure from its combination lining and underlining.

Pair the underlining to the fashion fabric
When choosing an underlining fabric, take into consideration how much support, slipperiness, opacity, or warmth the inner fabric must provide. Fabrics I’ve used successfully include traditional, silky linings, organza, batiste, flannel, and lightweight polar fleece. For fashion fabric, I avoid heavy or lofty types, which create undesirable bulk where the seam allowances are pressed to one side. I’ve also made fully reversible garments by using two equal-weight fabrics for the outer shell and the underlining.
Revise the garment construction slightly
My underlining technique finishes most interior seams as you sew, but because there is no separate lining to attach facings to, you must clean-finish facing…
Start your 14-day FREE trial to access this story.
Start your FREE trial today and get instant access to this article plus access to all Threads Insider content.
Start Your Free TrialAlready an Insider? Log in


Thank you. I would roll a french seam on the inside of the jacket to give more support at the top shoulder seam to prevent stress and give the jacket long wearability.
Love the instructions. I like to line most of my garments because it gives it a better fit and look and the garment hangs so much better. This will save me loads of time. Question- what about doing the same thing for pants?
Waterfox
Thanks a lot, this was a great tutorial! Bookmarked so I can look it up again when I'll try it the first time! :)
@Love it ~ I agree that the shoulder seams could be finished a little better. The french seam would certainly do it or a hand-stitched flat-felled seam on the inside so that the fashion fabric was covered by the lining fabric. The shoulder seams are so short it wouldn't take THAT long to do.
After the sleeves are inserted, the armscye seams should be trimmed and flat-felled also or at least bound with bias tape...anything would be better than the fashion fabric showing on the inside of the jacket, unless you don't mind it looking like a fifth-grade school project.