
Editor’s note: Whether from an estate sale or a thrift store, vintage fabrics, with their nostalgic charm and classic appeal, are hard to resist. In Sew Vintage (The Taunton Press, 2002, currently out of print), Jennie Archer Atwood shows how to fashion these textile treasures into elegant creations for garments or for the home. This excerpt from Chapter 4 shows how to add a bit of history to contemporary garments through embellishing with vintage buttons.
Use a little imagination and your sewing skills to turn ordinary details like buttons and buttonholes into design features. Take the techniques you regularly apply in sewing and alter them slightly while using vintage fabric, buttons, and bits and pieces.
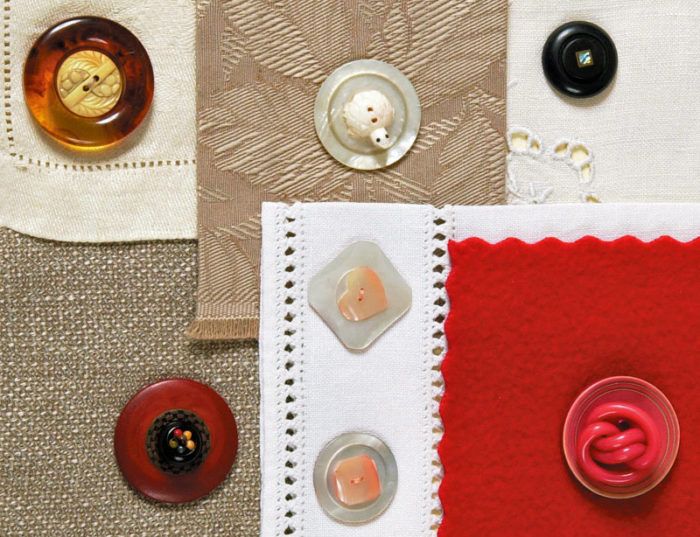
Vintage buttons

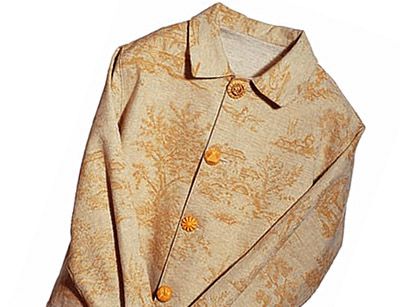
Pairing vintage buttons with vintage textiles is a natural combination. And whether you are using old or new fabric, adding vintage buttons to something you have purchased or made gives it a personal touch.
Consider how the button affects the design, but choose what you like, and don’t worry if the era or style of the button is different from that of your fabric. If you do not have the exact size and number of buttons the pattern calls for, adjust for size, eliminate a buttonhole, and reposition the others. Try grouping smaller buttons or using just one large vintage button. The buttons don’t have to match each other exactly as long as there is some unifying element: color, size, texture, style, or material.
Covered buttons

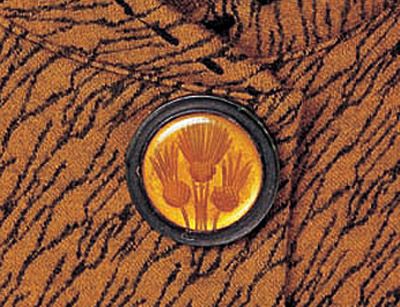
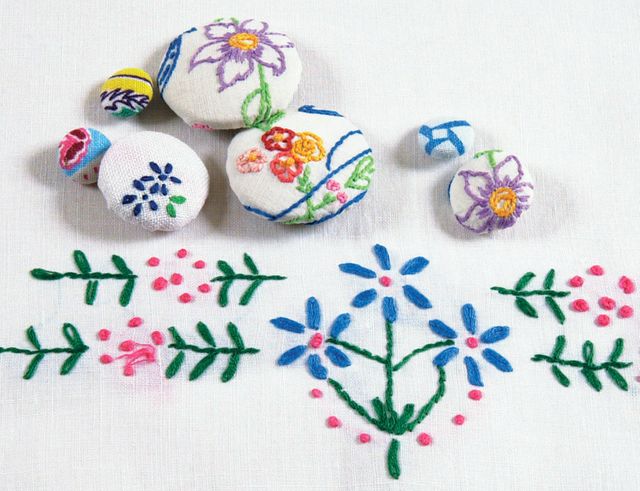
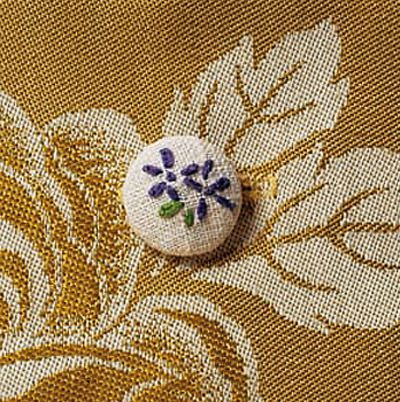
Covered buttons are one way to spruce up a garment or home-décor project such as a pillow or slipcover. Purchase one of the many button-covering kits on the market, and use your vintage fabric and a little imagination to make covered buttons.
Cover buttons with fabric from different areas on an embroidered hand towel for a matching set, each slightly different. Cut the covering for large buttons from a colorful tablecloth or curtains for a stylized look. Use pieces of cutwork with contrasting lining, or cover the button with delicately lined vintage lace. The silks in vintage ties make nicely patterned covered buttons, and wool suiting creates a lovely textured button.
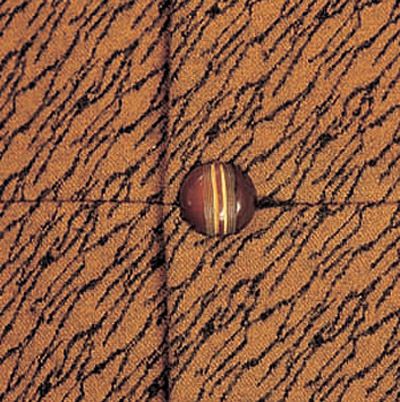
Mismatched buttons

Sometimes the garment or project you’re working on needs a little pizzazz. Extend some of the techniques you have already used on your vintage garments to the buttons. For example, take a piece of fabric you have stenciled or stamped, and use it to cover a button.
Stacked buttons

If the vintage button you like is too small or doesn’t seem to have enough impact for the design, try stacking the buttons. First, put the larger button against the fabric; it should be a flat button and have two or four holes. Sew it on as you normally would, but as you come back up through the holes of the button for the second or third time, go through the holes or shank of the second button. Continue until the stack of buttons is secure.
Beaded buttons
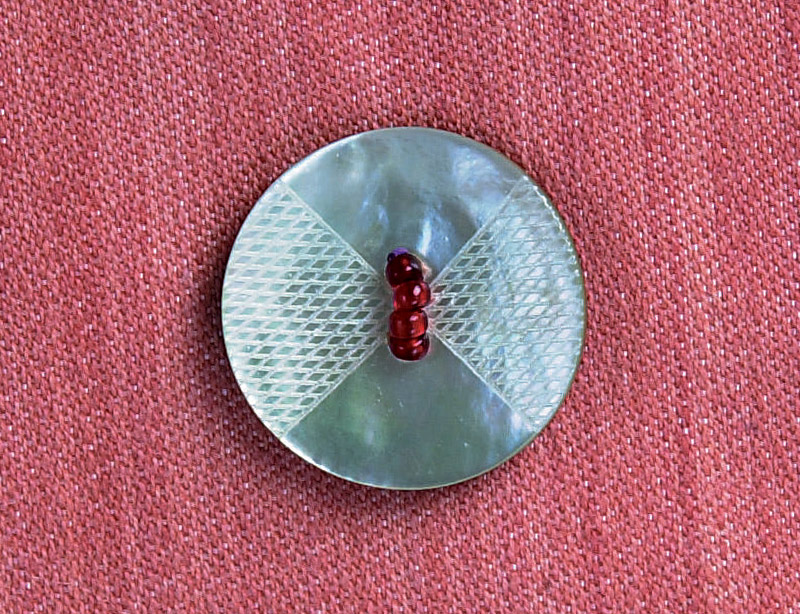
Simple bead-embellished buttons are easy, even for the bead-challenged. Once the button has been secured with two or three passes of thread, add three or four small beads or one large bead on the front and return the needle to the wrong side of the fabric. Continue adding more beads until you get the design you want, however simple or complex.
Try this: four little projects
Whatever your sewing skills and techniques, including the ones I have discussed, use them in creative ways to enhance your vintage textile. Sometimes just a small detail like a covered button gives your design individuality. You’ll see how easy some of these techniques are.
1. Position a buttonhole so the button becomes part of the design.

2. Make an inseam buttonhole, and allow the button to slip between the seams. If your pattern does not already have this feature, add a new seam, leaving openings large enough for the buttons to pass through. Inseam buttonholes make an attractive opening for very large or very small buttons, or where the placement of a buttonhole would be distracting.

3. Add an appliqué of vintage fabric found elsewhere in the garment or home décor project over the buttonhole area before putting in the buttonhole to unify the design.
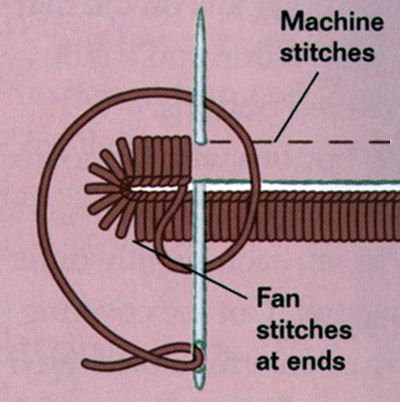
4. Hand-stitch a buttonhole with embroidery floss or cotton or silk buttonhole twist thread to match the rest of a design. To do this, mark the placement line on the right side of the fabric and machine-stitch a rectangle around it, 1/8 inch from the placement line. Cut along the placement line and finish by hand, using small blanket stitches. Fan out the stitches along each end to accommodate for the rectangular shape. For added strength, bar-tack across the ends of the rectangle.

![]()
![]()
Excerpted from Sew Vintage by Jennie Archer Atwood, pp. 80-83. Jennie also wrote “From Tablecloth to Terrific Garment,” in Threads #77, June/July 1988.
Photos: Jack Deutsch
Illustration: Christine Erikson


Log in or create an account to post a comment.
Sign up Log in