The Kilim Carpet Coat: Installing Shoulder Pads and Facings
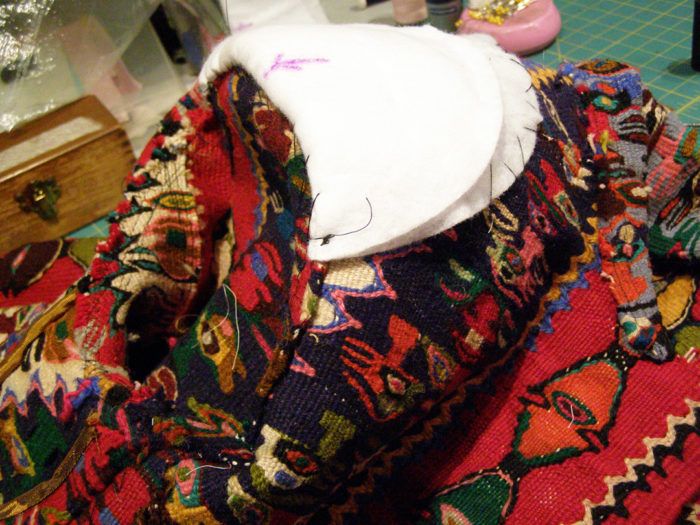
After the heavy lifting involved with installing the sleeves, the remainder of this coat has felt like a breeze!
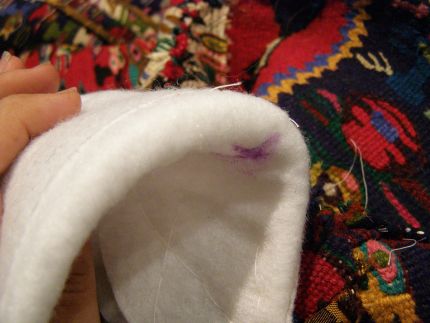
Next step was installing the shoulder pads. Since this isn’t a classic tailored sleeve, I chose a shoulder pad that has a curved edge to pad out the cap, rather than the classic set-in tailored shoulder pad.
After determining the proper placement by trying on the coat, I needed to secure the pad in the sleeve.
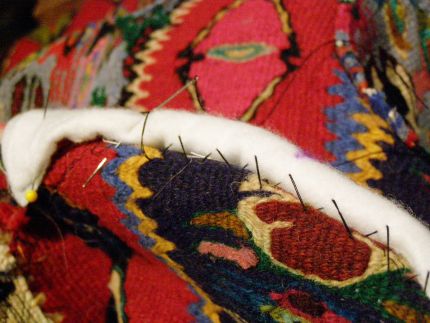
First, I whipstitched the edge to the inside of the cap.
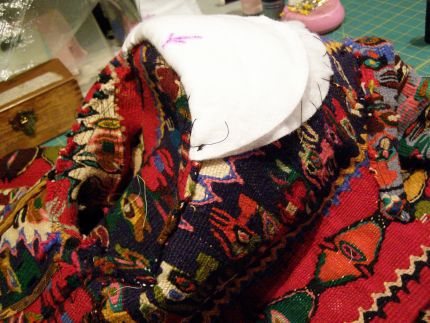
Next, I catchstitched the pad’s outer edges to the inside of the coat to prevent the pad from curling over time.
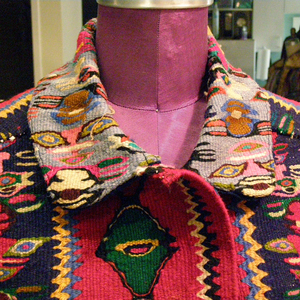
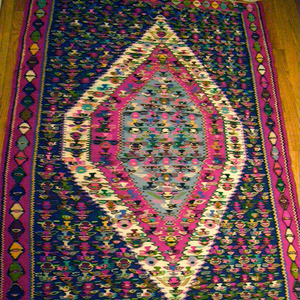
Next came installing the front facings. Because of the thickness of the fabric, I used the rug selvages as the font edges, which left the top (neckline) seam from the end of the collar to the front edge to finish.
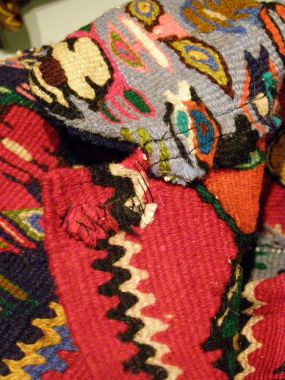
I pressed under the notched seam allowance using lots of heat, steam, water, and the mallet to get it as flat as possible.
Then, with needle and thread, I stitched everything down securely.
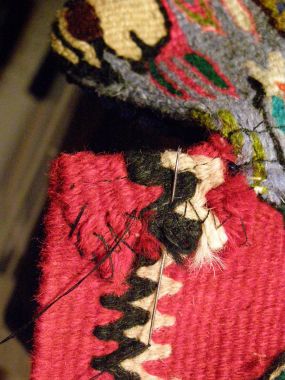
This is a close-up of that seam.
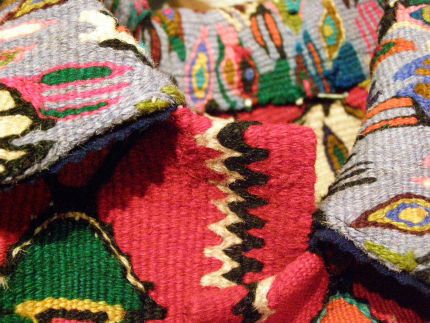
This is what the work looks like from the front.
I’d already prepared the facings and back lining by sewing the side seams together and finishing the inner edge with a Hong Kong binding.
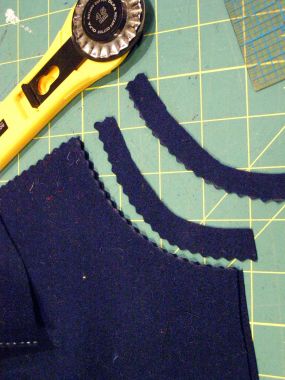
The next step was to mark the stitching line, and to cut away the seam allowance with the pinking blade.
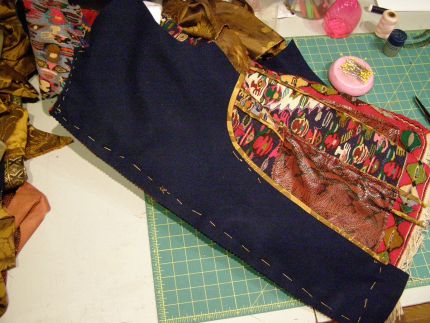
I then applied the underlap side of the facing to the inside of the coat, fabric wrong sides together. After pinning, I hand-basted everything to secure the placement.
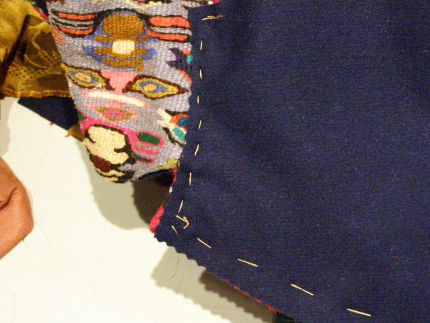
Here’s a detail at the neck seam.
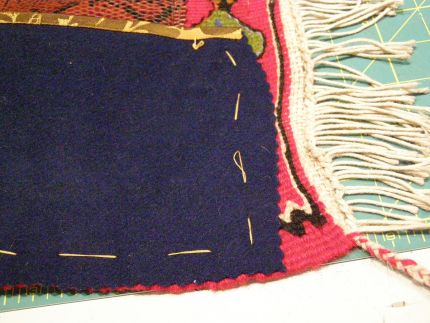
Here’s the hem.
From the front, I topstitched both layers together, starting at the shoulder seam, continuing around the…
Start your 14-day FREE trial to access this story.
Start your FREE trial today and get instant access to this article plus access to all Threads Insider content.
Start Your Free TrialAlready an Insider? Log in


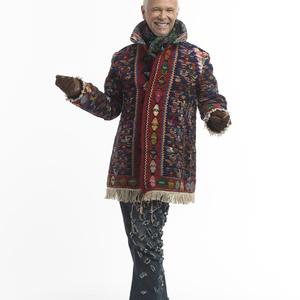


Kenneth - Your techniques Always surprise And delight!
Senor King,
Such wisdom in ensuring that the fabric not compete with buttons.
Soft sculpted shoulder pads situate a smart silhouette.
Awaiting the final installment in this sewing adventure; the big reveal! How about some location shots?
Hi,
Have been watching the progress on this project and was wondering if shoulder pads are actually a necessary addition to this garment because of the nature of the fabric (which is already stiff/bulky).
I was also wondering, out of curiosity, how much the jacket weighs. I have an area rug that is a woven creation similar to this material and it weighs a ton.
Thanks for all of your posts and tips Mr. King, I enjoy your entries.
Ree
To Ree65: The coat isn't light, but it's no heavier than any other wool overcoat that might be made with a boiled wool. The weight isn't the issue--it was the relative stiffness of the carpet that made for some challenges. But it's not uncomfortable to wear!
As for the shoulder pads, I tried it on without them, and it collapsed a little at the shoulders, so the pads, while adding thickness, were needed.
I love this coat! Am doing this with some upholstery fabric I had left over but couldn't part with...need to find some contrast the same weight to have enough. Cringed a little when I saw shoulder pads not covered with lining-I have been known to take them out of ready-to-wear and recover with better match/slippery fabric. But easier to see stitches, so that must be reasoning behind choice. Thanks for great tutorial-plan to do more than one.
To 902001: The shoulder pads will be under the back half lining (the gold brocade in the photos near the end) so there's no need to cover them with lining. They will be completely out of sight in the finished jacket.
This has been very interesting to follow. Great workmanship! Really looking forward to seeing you model the finished coat. (I do hope you will do that.)
For both hand and machine stitching what types of thread and needles have you been using? Have you needed to use pliers for the hand sewing? Are you using an industrial sewing machine for some of the thickest seams?
I have sewn on heavy car and tenting materials and had a great deal of trouble with skipped stitches. I will figure out how to fix the problem at that time. But because I work on that type of material so infrequently I'll forget the fix the next time I work on super heavy fabrics. Have you had that trouble? What is your fix if you have needed one?
Hope you had the carpet cleaned first. All I can imagine is the dust and grime from the lenght of weaving in dusty conditions to say nothing of the wear and tear imbedded into it. Just curious.....
To Carolebarrel: These were new carpets--that's how I was able to get a matched pair. Susan Khalje's husband Qadir is a reputable dealer who sells only first-rate goods, and if he does have an antique in his showroom it's been thoroughly cleaned, so that isn't an issue here. Also, I did tumble the carpets in the dryer (mentioned in the first post) for an hour, to limber then up.
To dpog: I used Gutermann polyester thread and a size 16 universal needle. I went through an entire pack--this was sewing on carpet. Stitch length was short--2.0mm. For thicker fabrics with thicker thread, I use either a topstitching needle and thicker thread, or an embroidery needle with the thread. For thicker fabrics I also have a portable leather, walking foot machine that I use--it seems to "like" the thicker fabrics and threads.
The button placket is a brilliant solution and currently fashionable. This has been a most interesting segment, and I cannot wait to see Mr. King in the finalized garment. :-)