How to Sew a Vintage Stand-Away Collar

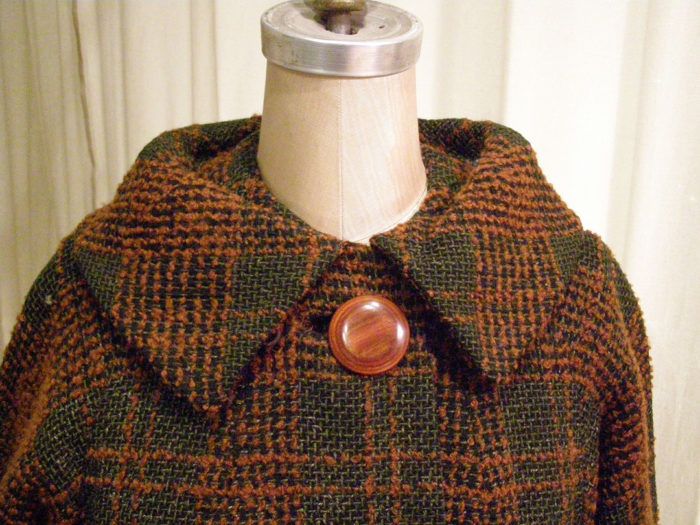
Note how the collar stands up nicely at the shoulders. There's a trick to achieving this, which I'll cover when we draft the collar.
Create a Stand-away Collar
Recently in my travels, I came across this lovely vintage coat. Because it didn’t have a store or manufacturer’s label, I think it was made by a talented seamstress.

It is beautifully sewn and has a lot of lovely collar detail.
This stand-away collar (a rolled collar that doesn’t hug the neck) is a charming design, which makes the neck look long and elegant. It’s also easy to re-create. The coat has a jewel neckline with a separate rolled collar that’s been hand-sewn to the bodice.

The collar stands up nicely at the shoulders. There’s a trick to achieving this, which I’ll cover when we draft the collar.
At first glance, the collar looks complicated, but it is easy to construct. The patternwork is important, so we’ll cover that next.

The stylish stand-away collar is not incorporated in the neckline seam but is attached to the coat’s neckline after construction.
Continue to next page to learn how to construct a stand-away collar.
The pattern:
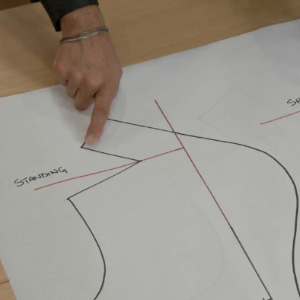
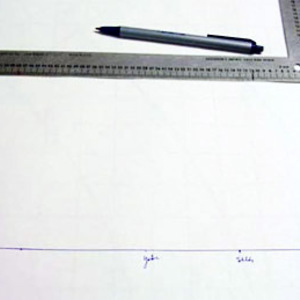
It all starts with the pattern. The lines in the example represent the sewing lines. Seam allowances are added after the drafting is complete.
When creating a broad neckline, as in this instance, there is a proper proportion for how much to adjust at the shoulder and center back.
The rule: Lower the center back neckline half the amount that you widen, or open, the neckline along the shoulder seam. (In this case, we opened the neckline along the shoulder seam 2 inches, so we lowered the center back 1 inch.)

The blue line in the photo represents the seamline where the collar attaches to the bodice.
This rule also holds when you’re making a collarless garment.
Widen the neckline at the shoulder seam…
Start your 14-day FREE trial to access this story.
Start your FREE trial today and get instant access to this article plus access to all Threads Insider content.
Start Your Free TrialAlready an Insider? Log in


This is just gorgeous. I have to try this at some point. I don't feel proficient enough a sewer to try just yet, but, I will give it a whirl at some point. Thanks for sharing!
Perfect for my next fall coat. I love the way the collar stands away from the chin and face but with lots of flair.
Having the collar stand away from the neck creates the illusion of a longer neck, which is really elegant.
Thank you so much Kenneth for your detailed explanation: it gives me the courage to try this beautiful haute couture technique.
I'm short and small-boned--I don't see why I can't narrow the collar and still have it stand away from my neck--what do you think? Thanks for all the wonderful info you give so generously--M
This great . I have been wanting and searching forever to get this information . Thankyou so so much . I would love you to do some more retro collars . There were some absolute beauties in the 1960s .
If I wanted to sew this collar but use it as an attached collar in the normal way how would I go about doing that ?
I went the other direction on a similar vintage coat. I took off the same stand away collar that at one time probably had a fur collar attached to it, and drafted new stand and collar, then cut a new collar from the scrap pieces left from a severe hem shortening. The wool boucle fabric allowed me to invisibly hand stitch the collar to the old neckline. With a new stand up collar, cocktail length hem, and new buttons, the once dowdy wool coat was remodeled to a contemporary chic coat.