Vintage Coat Refresh: Applying a Collar Stand
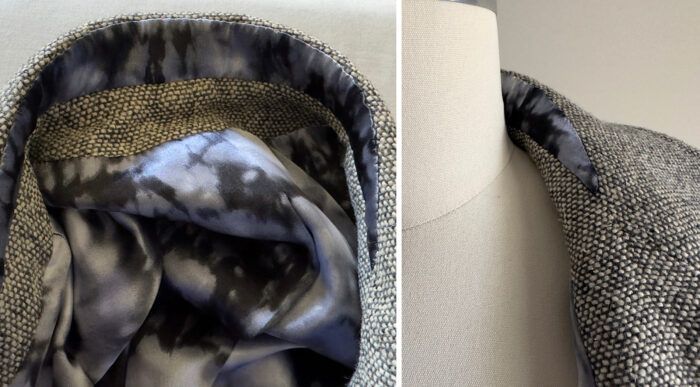
Applying a collar stand to a jacket or coat is a straightforward process. There are a couple of reasons to consider doing this: The collar may be a little worn or discolored from the age of the garment or years of use, or smoother fabric is desired at the back neck to make the garment more comfortable.
In the case of this vintage coat, it was both reasons. I had some leftover fabric from replacing the lining and the pocket bags of the welt pockets, so I decided to use it to appliqué a collar stand onto the existing upper collar. Welcome to Part 2 of my “Vintage Coat Refresh.” I explain below how I did it and the steps you can take if you have a similar garment.
I started by putting the coat onto my dress form so I could see where the upper collar naturally folds when in place (the roll line).
Make the collar stand pattern
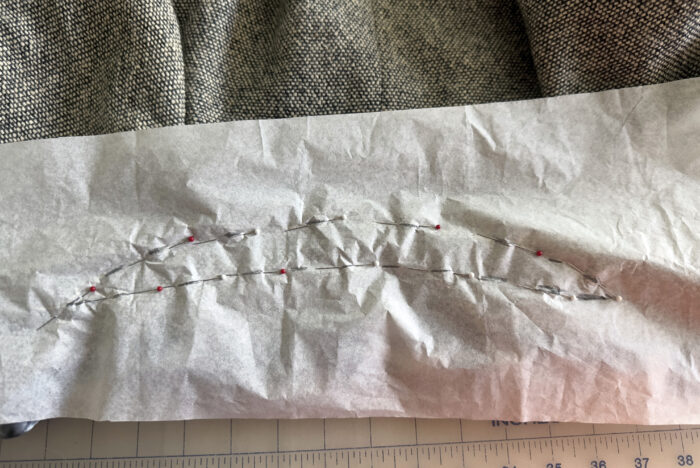
1. Place a few pins on the upper collar to use as a guide to create a pattern for the new collar stand. Do this on any coat or jacket that does not have a separate collar stand sewn onto the upper collar. On the lower edge, the pins follow the back neckline seam, from center-back to about 1 1/2 inches to 2 inches in front of the shoulder seam. On the upper edge, place the pins along the roll line you determined from seeing where the collar folds. The resulting shape is like a crescent moon.
2. Pin pattern paper onto the area, and place pins into it to capture the shape. 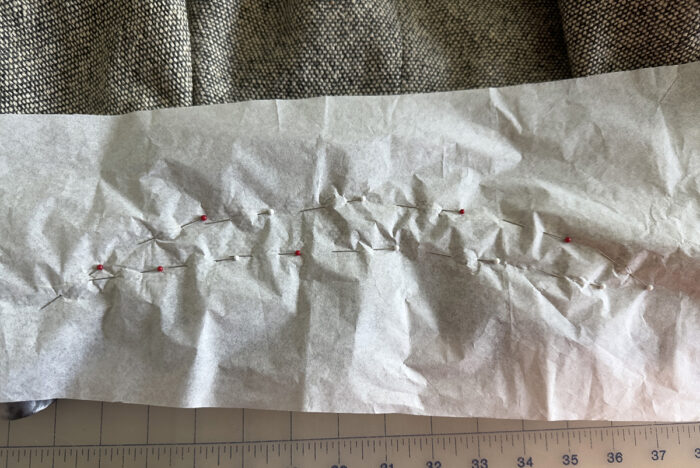
3. Next, use a pencil to put dash marks between the pins to mark the shape.
4. Remove the paper from the collar, locate the center line, and fold the paper on it.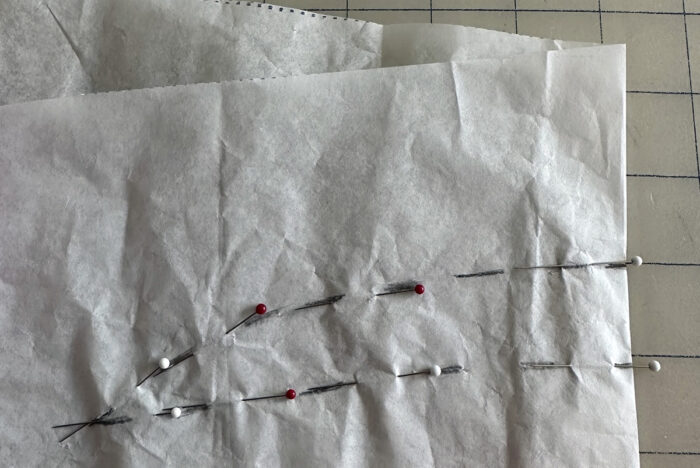
5.…
Start your 14-day FREE trial to access this story.
Start your FREE trial today and get instant access to this article plus access to all Threads Insider content.
Start Your Free TrialAlready an Insider? Log in









Log in or become a member to post a comment.
Sign up Log in