Draft an All-in-one Stand-up Collar
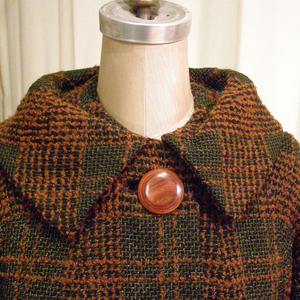
This variety of collar is cut as an extension of the garment front neckline.
Threads Contributing Editor Kenneth D. King demonstrates how to draft a pattern for an all-in-one collar, also known as a cut-as-one collar.
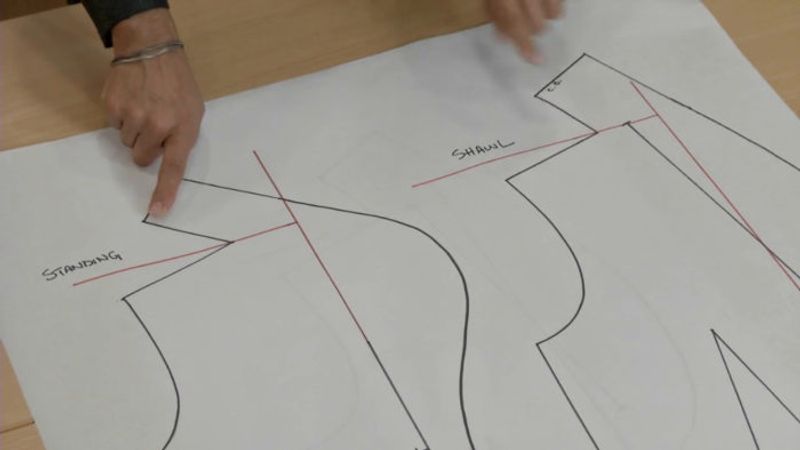
This variety of collar is cut as an extension of the garment front neckline. It has a center-back seam and is then sewn to the back neckline. Unlike a shawl collar, which folds down at the back neck, the one shown stands up, creating a funnel-like silhouette.
Two drafting techniques
A simple pattern-drafting process enables you to add an all-in-one collar to any bodice with a basic jewel neckline. If you have a pattern with a shawl collar, Kenneth explains how to revise it to a stand-up, or standing, collar. In both cases, you can shape the jacket front opening as desired, from a straight to dramatic lapel. He then demonstrates the best way to draft a facing for the jacket front and collar.
Add a half-lining
The all-in-one collar pattern can be used for Kenneth’s ingenious half-lining technique, explained step-by-step in “The Smart Half Lining,” Threads #198, Aug./Sept. 2018. This treatment is ideal for jackets made of double-faced fabrics. The jacket back and sleeves are fully lined, but the front is only partiallylined, so the lapels can be turned back to reveal the fabric’s reverse side.
For more tips on working with two-sided fabrics, Insider members can read “How to Sew Double-Faced Fabric.” To learn an alternative half-lining method, check out “How to Make a Half Bias Jacket Lining.”


Love this idea. Mr. King gives such clear information.
Excellent tips, especially the 1/4 inch bottom facing ease allowance. Thanks
The facing folds out (over the outer layer- shell) to create the lapel therefore it needs to be wider, not narrower. There is no need to trim off at the back because the collar stands and not fold over;. however trimming off just a little might help the style edge turn slightly towards the neck (body) because the shorter center back of the facing pulls the longer shell inward.
Nice!
Long live The King!
An amazing video.
I see ready made blouses and jackets with wired collars. I have a Patchington coverup that has a 1/4" x 8" flexible, silicone? coated wire in a middle channel in the back of the collar which makes the collar repositionsable. I have been searching for some time trying to find out what is used, and where to get it. Can anyone at Threads tell me what I'd used?
such a clear video! Can't wait to try this. Thank you KDK!