
Hand-Sewn Eyelets for Strength and Beauty
Even if you aren't an historical sewer, hand-sewn eyelets have many applications for modern sewing.

Before the invention of the bone eyelet (early 1800s) and the metal eyelet (around the 1830s), there was the hand-sewn eyelet.
Hand-sewn eyelets are ideal because they are sturdy, give a polished finish, and can be created with tools that are likely already in your sewing basket. Such eyelets are traditionally used anywhere one would find lacing, such as on corsets, tie-on sleeves, and breeches.
You are not a historical sewer? Hand-sewn eyelets have many applications for modern sewing as well. Use them as a clean finish for drawstring casing openings in purses, pants, and hoodies. Dyed-to-match thread makes the sewn eyelets nearly invisible. Alternatively, you can use contrasting color thread to really show off your handwork.

Unlike eyelets punched in metal, hand-sewn eyelets will never pull out regardless of how tight you lace through them. This is because, rather than cutting a hole in the fabric, you use tools to move the fibers out of the way and the stitching to hold the fibers back. The yarns in the textile are never cut. This makes stitched eyelets ideal for high-tension closures (such as corset lacing). They take more time, but the result is worth it.
The eyelet itself is sewn using a blanket stitch and heavyweight thread. For eyelets—unlike buttonholes—the “lip” of the stitch is placed on the outer perimeter of the eyelet, rather than along the opening edge. Heavyweight thread, as opposed to a doubled standard-weight thread, is preferred. It allows the stitching to lie flat and eliminates uneven tension.
Always practice on scrap fabric, as it can take some time to get the tension right. Even after hundreds of these, I always start my eyelet sessions with a few practice eyelets to acquaint myself with the hand of the particular project.
The size of the eyelet can vary but generally is proportional to the hole needed to accommodate the lacing material. I have original 18th-century garments with very large and very small eyelets, likely a reflection of the size of the lacing being used. Not surprisingly, the finer the garment, the smaller the eyelet.
Examples
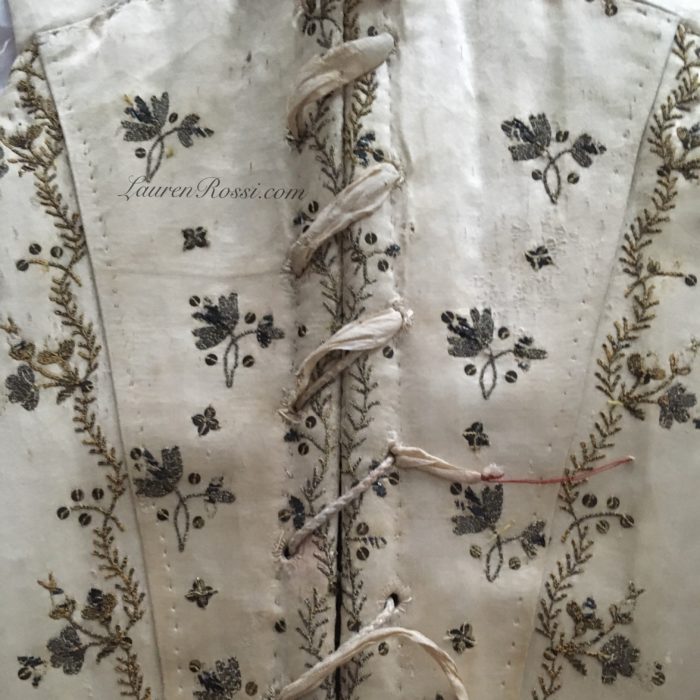
Original 18th-century stays in my collection:
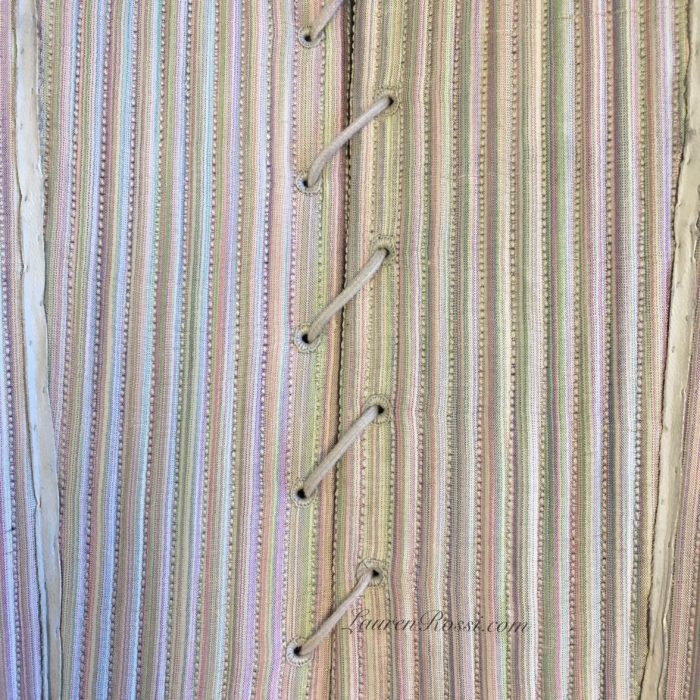
My hand-sewn reproduction 18th-century stays have hand-sewn eyelets:
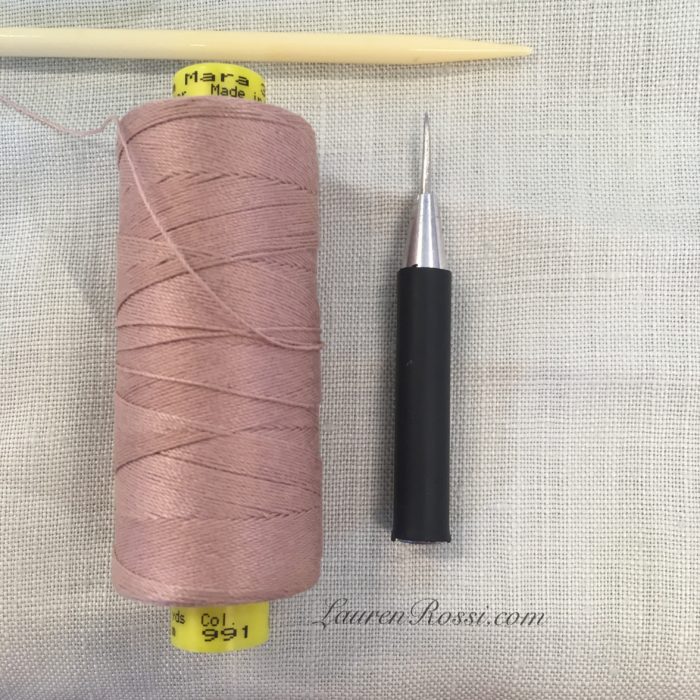
Tools
- Awl
- Stiletto or knitting needle
- Buttonhole twist or other heavy thread
- Sewing needle (not shown)
Directions
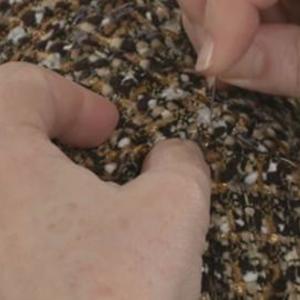
1. Use an awl to make a small piercing in the weave of the fabric. Ideally, try to put the awl between the yarns rather than through the fibers.
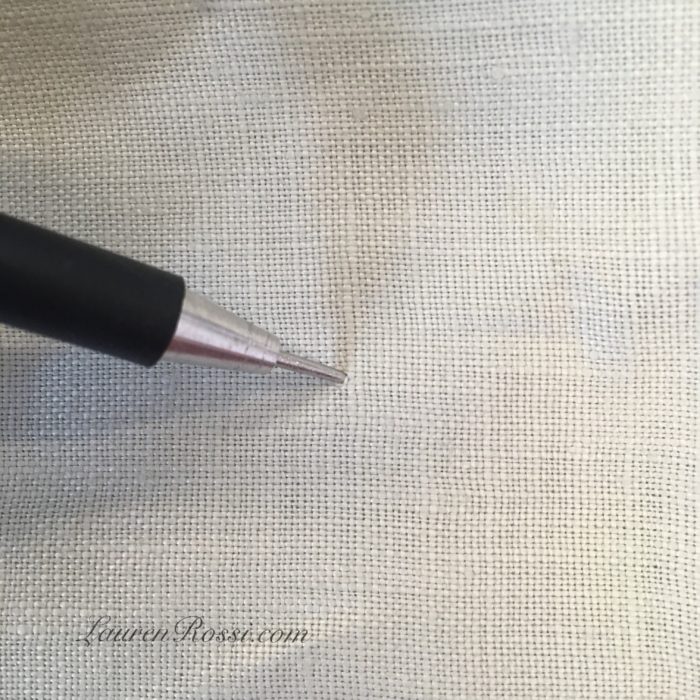
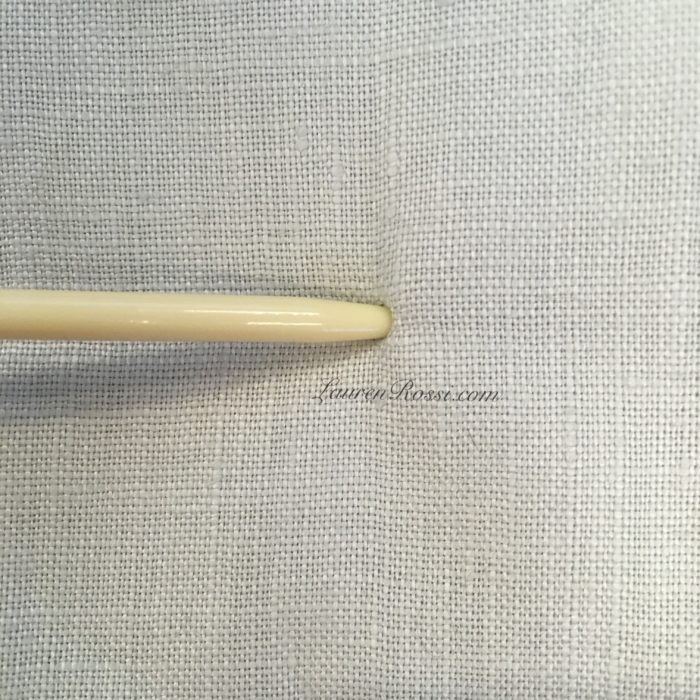
2. Use a stiletto—a knitting needle works in a pinch—to push the fibers out of the way, creating a larger hole.
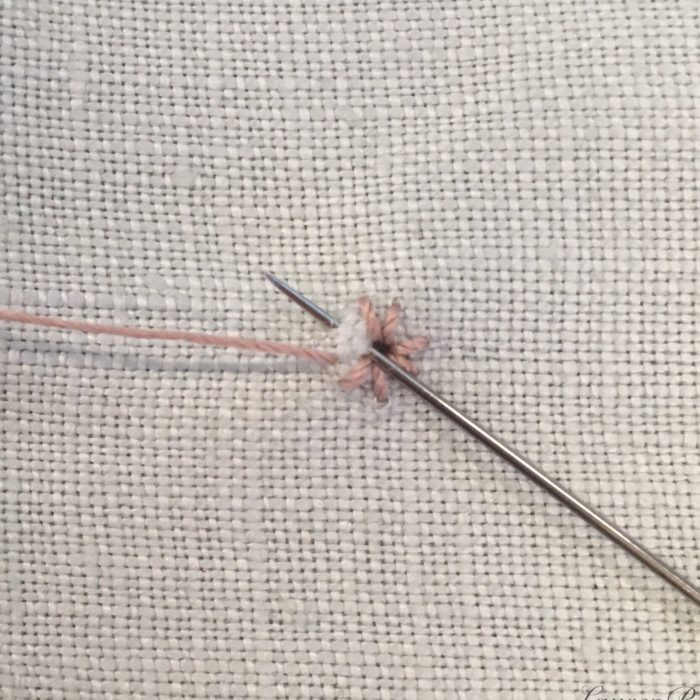
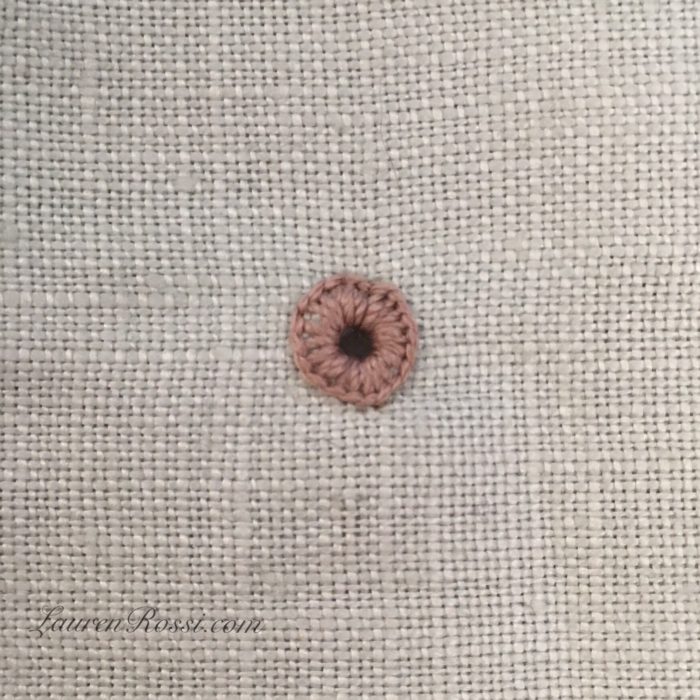
3. Thread the needle with a single strand of thread. Bring the needle up from the fabric’s wrong side just outside the opening, and make a small ring of whipstitches smaller than the diameter of the desired eyelet. This holds the fabric back while you work. Note: If you get proficient with sewing eyelets, this step is optional. Do not catch the tail on these.
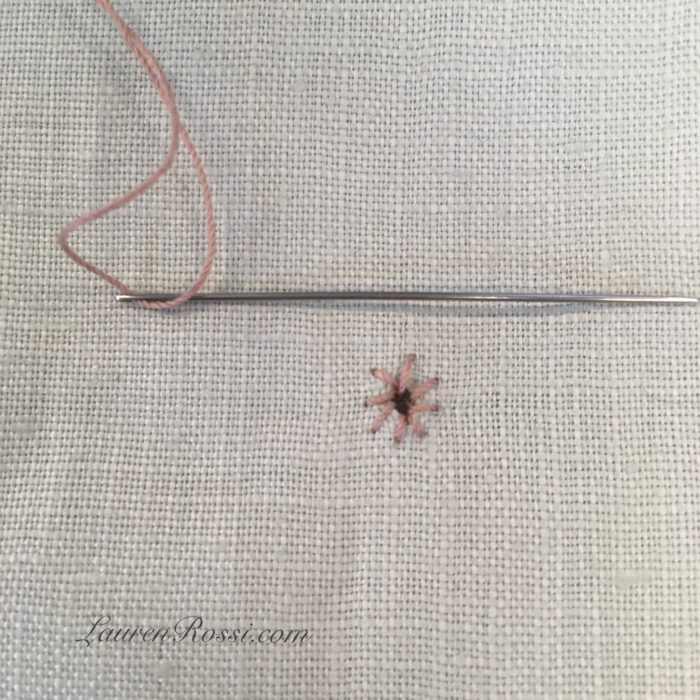
4. Complete the inner circle.
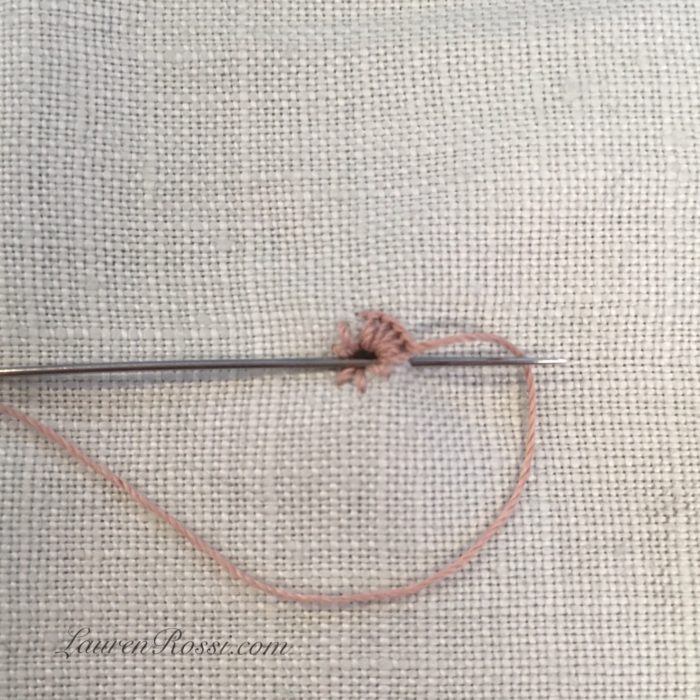
5. Again from the fabric’s right side, start the buttonhole stitch. Bring the needle up from the wrong side, then go down through the hole in the middle and up again one stitch over from the previous stitch. The trick is to catch the tail end of the previous stitch, making a loop.
6. Repeat all the way around. Stitches can go clockwise or counterclockwise, depending on which hand is dominant. (I am left-handed.) Form the last stitch through the first one. This completes the circle. I usually knot the thread on the wrong side and hide the tail between the layers.
Leave a comment
Have you ever hand-sewn an eyelet? Was it for an historic or modern garment?


Thank you for this beautiful, easy embellishment technique. I can hardly wait to try it in my next garment.
I h;ave never seen this before! Great article, I'm going to try it on a laced v neck top I plan to make :)
This is a fantastic idea for those buttons that cannot be washed! Make the eyelet, insert the shank of the button into the eyelet and hold it in place with the metal or plastic clip!
Thanks so much for sharing this! Wish I had known this when I made a costume with a corset last spring. Used metal eyelets as pattern instructed and what a nightmare! They were almost impossible to secure thru several layers. So happy to add this skill.
Very well written and Super helpful! Thanks for the tip
GREAT TIP! I have had troubles with metal eyelets and was looking for an alternative. This article made something that sounds very complicated into something so simple! I have been practicing on scrap like you suggested, and the photos make it super easy to follow along! Thank you Lauren! Hope you have more tips to share, sounds like you know what you're doing :)
I have done many eyelets for my embroidery work. Yet, I never considered making a hand-made eyelet for clothing or other articles. Thanks for the inspiration.
Thank you so much for posting your instruction for eyelets and what a timely delivery.
Thank you for the great simple and clear instructions. I will try to use this technique when making masks for Covid-19. Two eyelets to the left and right bridge of the nose. One can insert a paper clip refashioned with jewelry pliers, for a sealed fit around the nose. Worth a try. Thanks again for your passionate guidance.