

Create a Professional-Looking Shirt Collar

Collars are the most visible part of a shirt. When I sew shirts for clients, I know that the shirt collar is the first thing they will notice. There’s little room for error, particularly for shirts that will be buttoned at the neck.
The shirt collar construction method I use and describe is based on classes I took at the Fashion Institute of Technology in Manhattan, tricks I’ve picked up from books and videos, and trial and error.
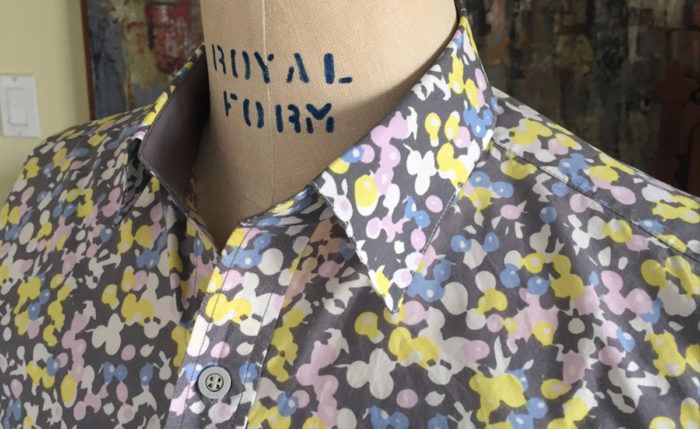
Details from ready-to-wear shirts
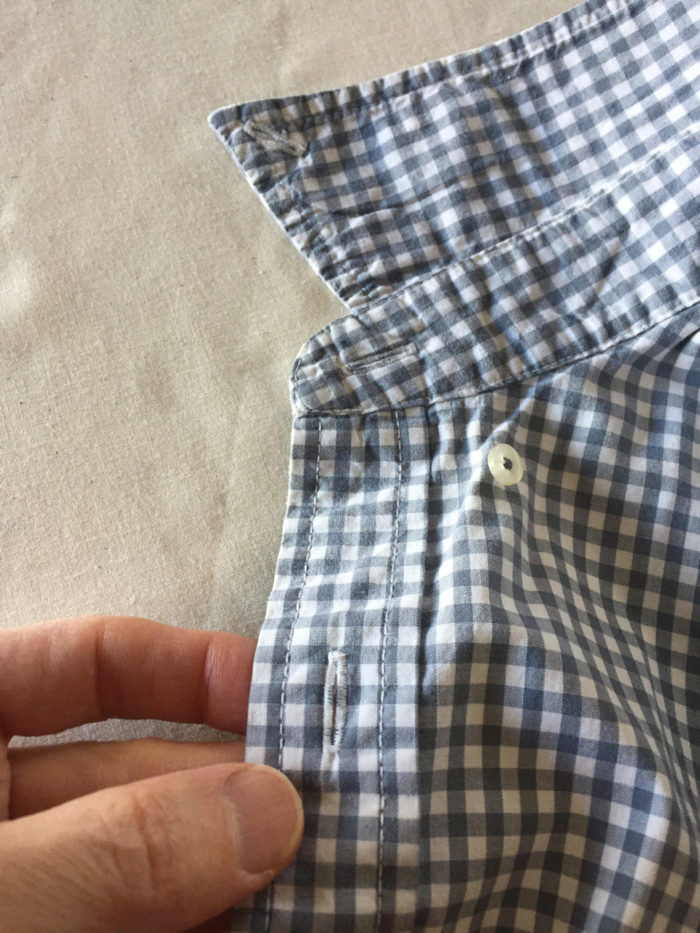
Before discussing this method, let’s examine some ready-to-wear collars to ensure we know what a professional collar looks like. Recall that what we generally refer to as the collar consists of a collar stand and collar combination. The collar and stand are each sewn from two separate pieces: an inside piece and outside piece. These are often referred to as the upper collar and undercollar, and the stand and stand facing. The collar edge ends at the center front of the shirt or 1/8 inch to 1/4 inch short of it, to leave space for a tie knot when the collar is buttoned. This is true for the buttonhole side and the button side of the shirt. Collar patterns generally have a notch designating the point where the collar should end on the collar stand.
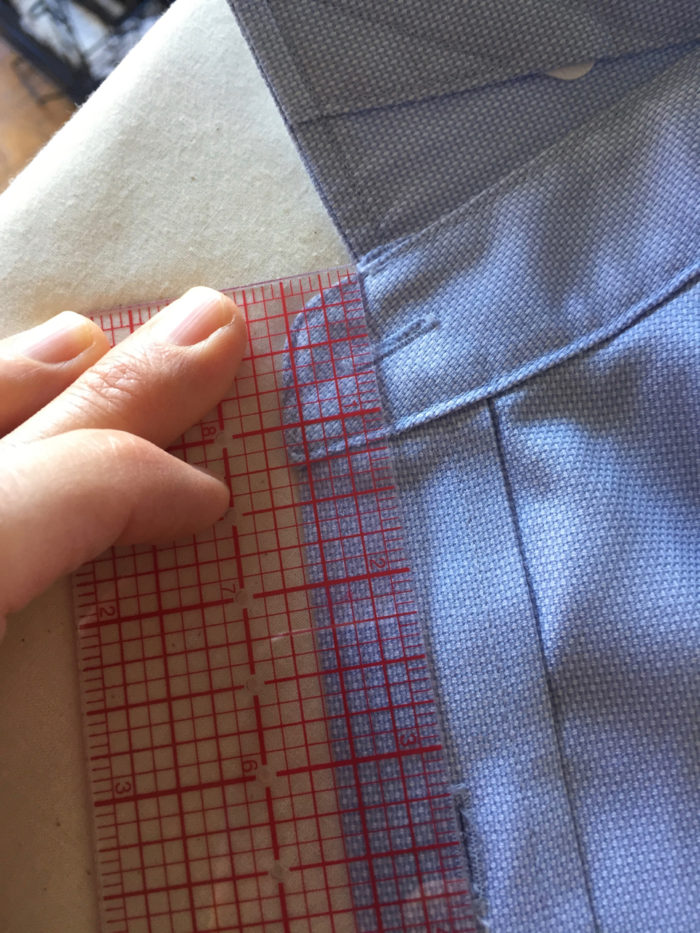
The center front of a shirt is also the center of the placket, or the button/buttonhole line if there is no placket. If the placket is 1 1/4 inches wide, the center front is 5/8 inch from either placket edge.…
Start your 14-day FREE trial to access this story.
Start your FREE trial today and get instant access to this article plus access to all Threads Insider content.
Start Your Free TrialAlready an Insider? Log in


Log in or become a member to post a comment.
Sign up Log in