
Add Pattern Markings for Sewing Accuracy

Those of us who sew are always looking for ways to make our sewing more efficient and accurate. I’d like to show how you can add pattern markings to help make your sewing easier. Some patterns give few match points, so it can be difficult to know where sewing lines and foldlines are. I always add my own, and so can you.
Dart match points
I’ll walk you through where and how to add the marks and lines. My sample is a tiled Burda pattern that was downloaded, printed, and taped together. Your pattern may be slightly different, but you can you use this as a guide.
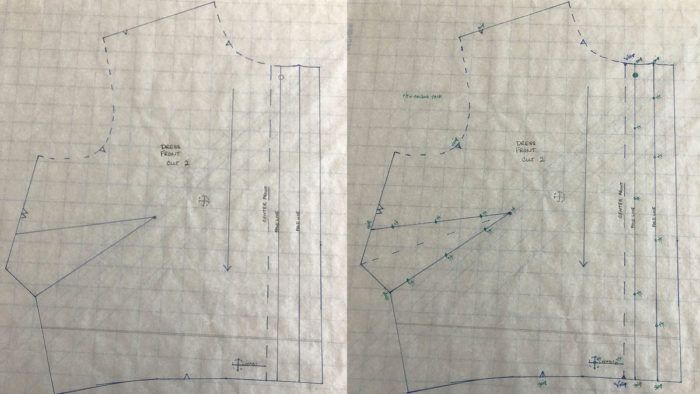
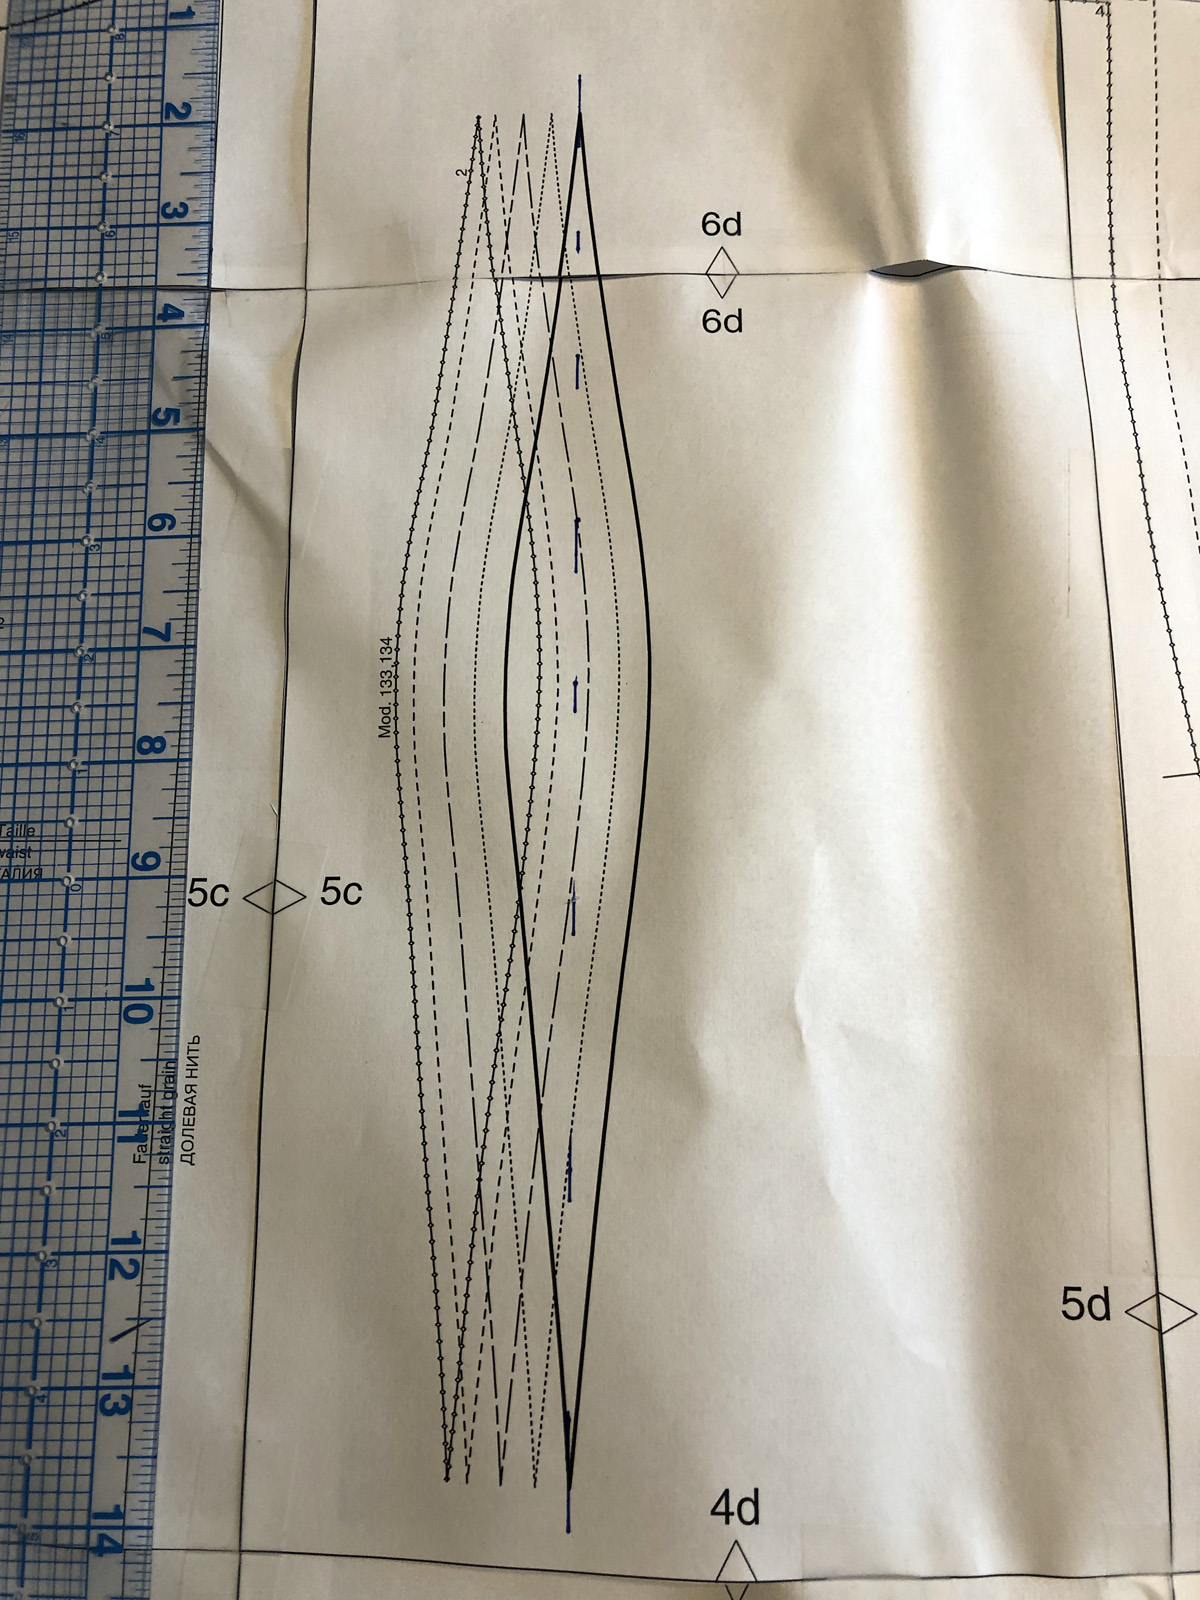
1. Notice if there are bust and fish-eye darts on the pattern’s bodice section. If there are no match points printed on the pattern, as in this case, draw them on to get more accurately sewn darts.
Note: I chose the solid-line size so you can see the technique clearly.
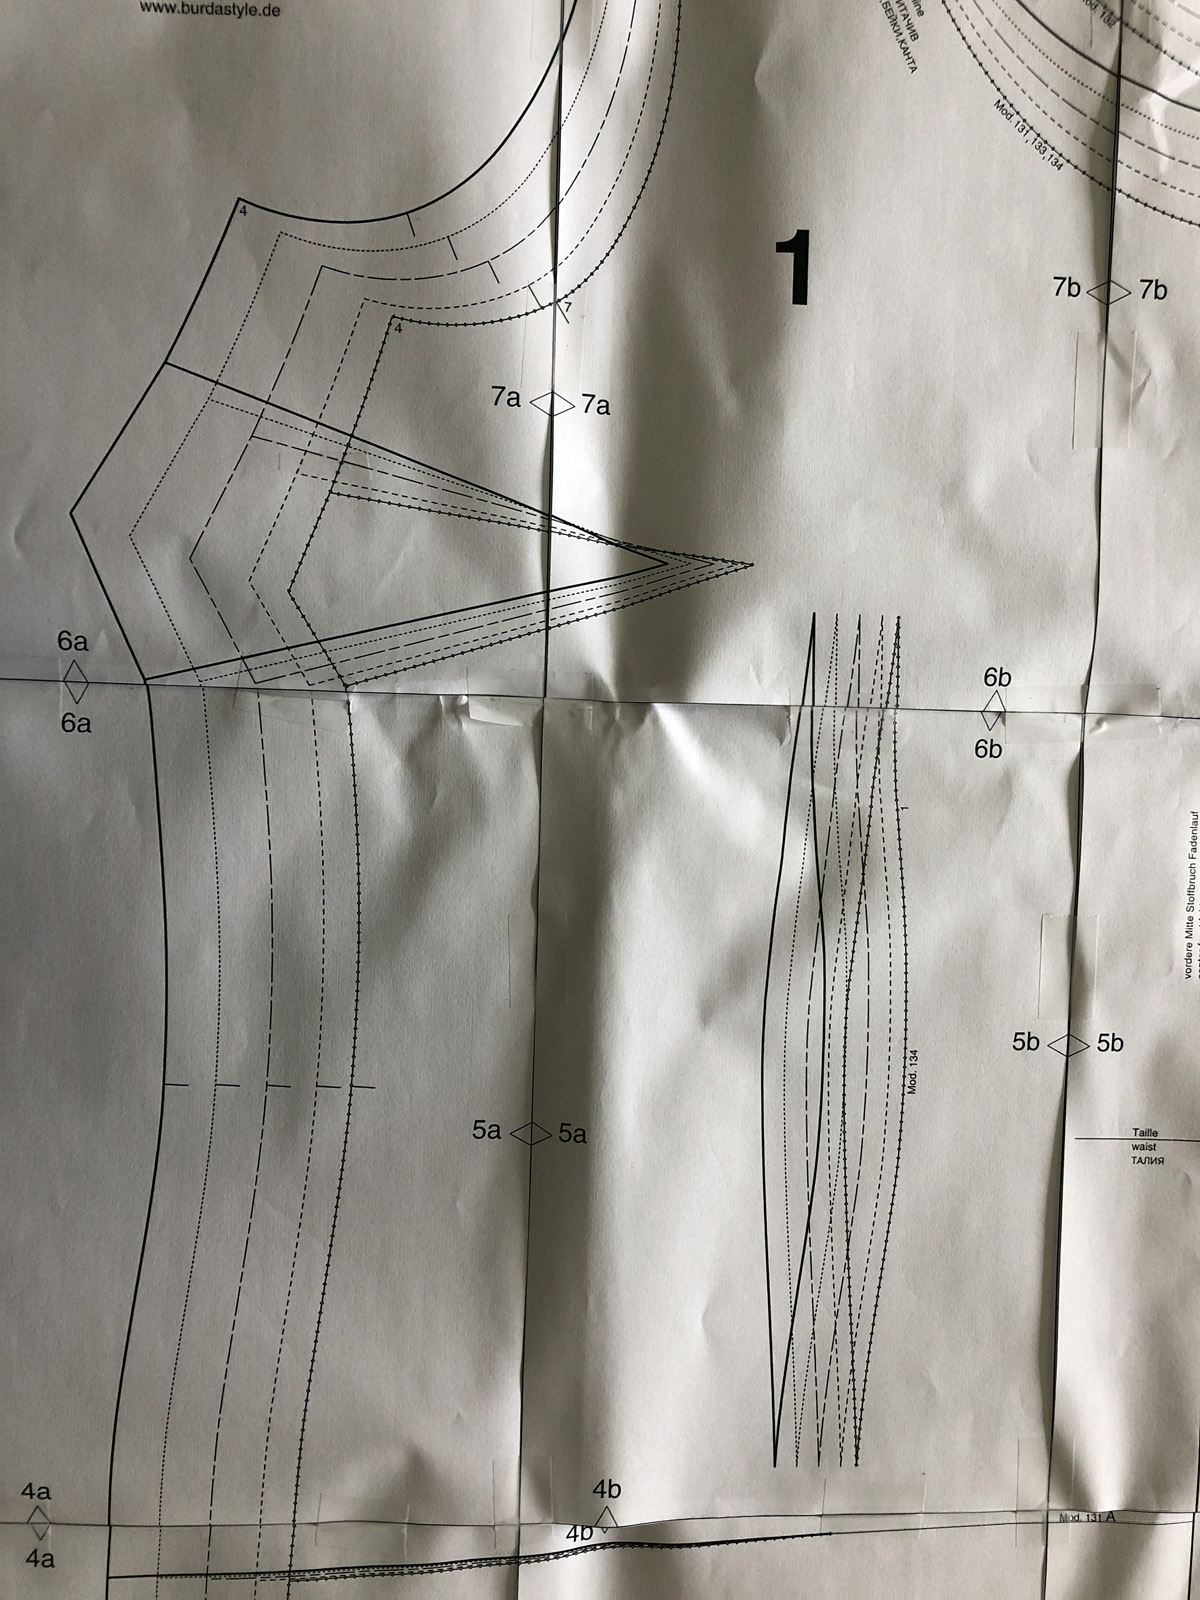
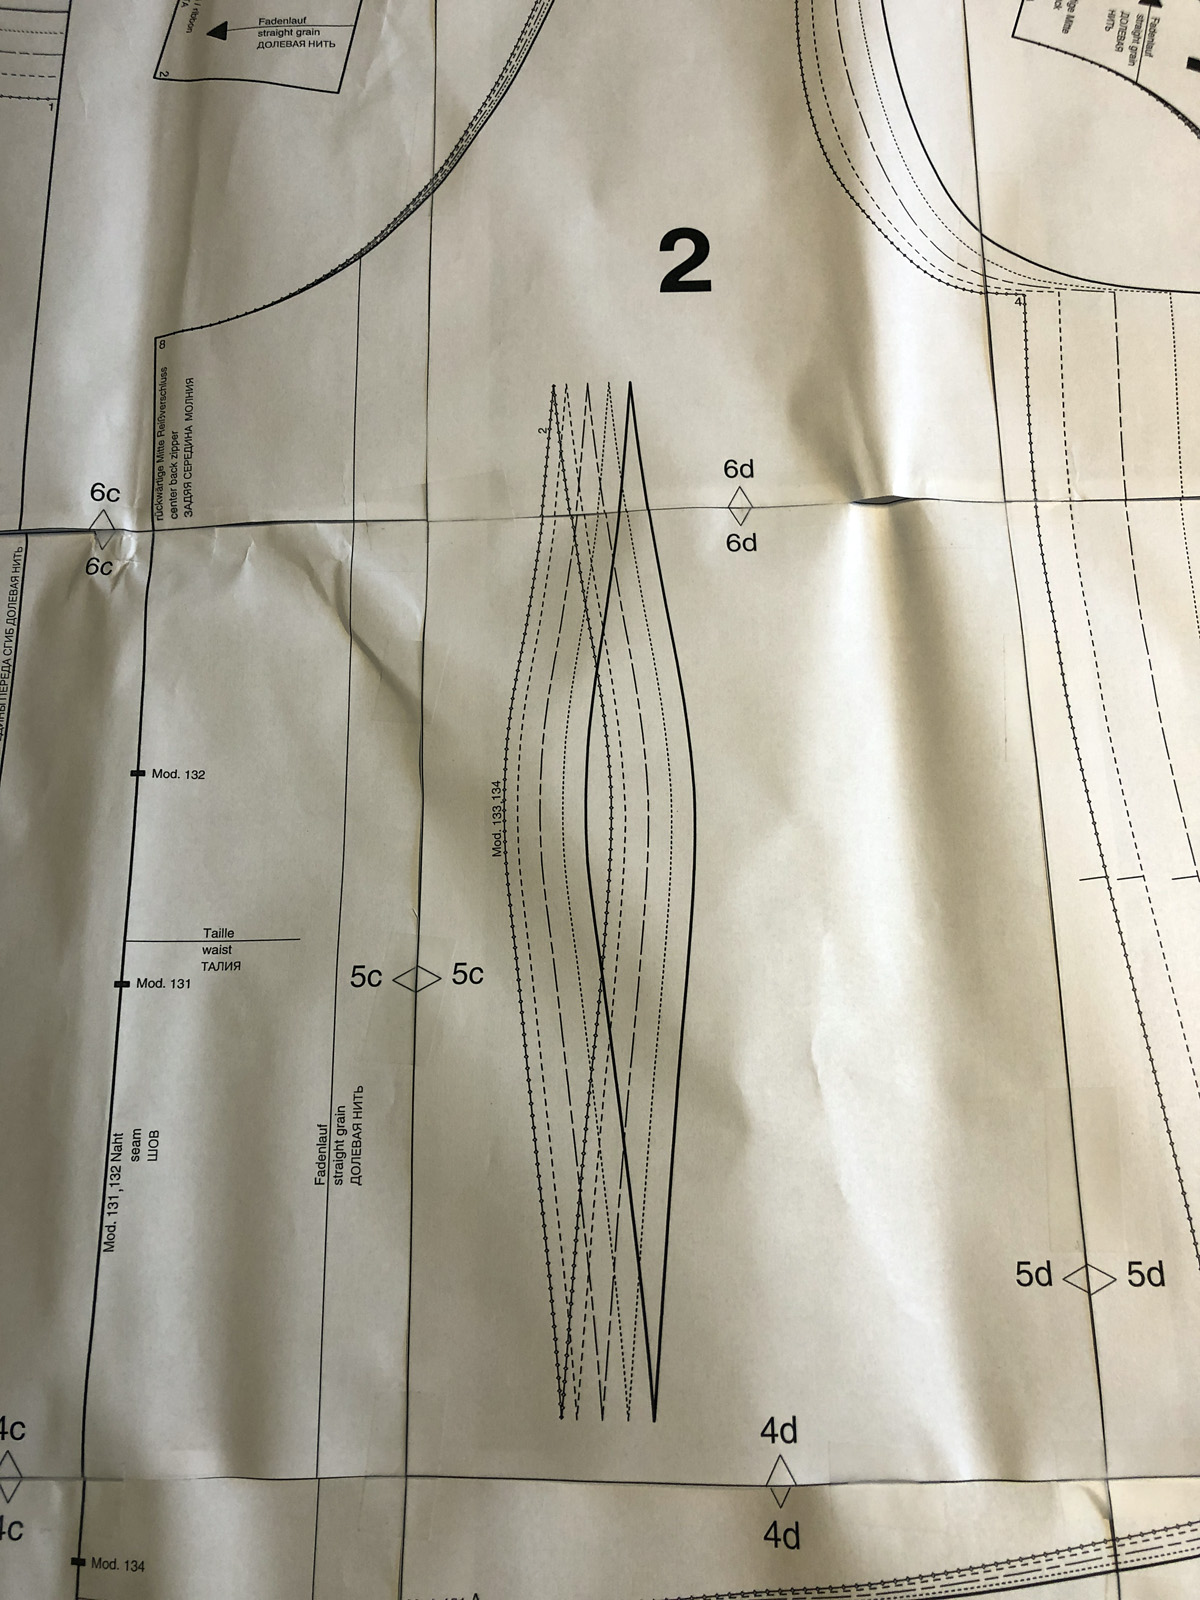
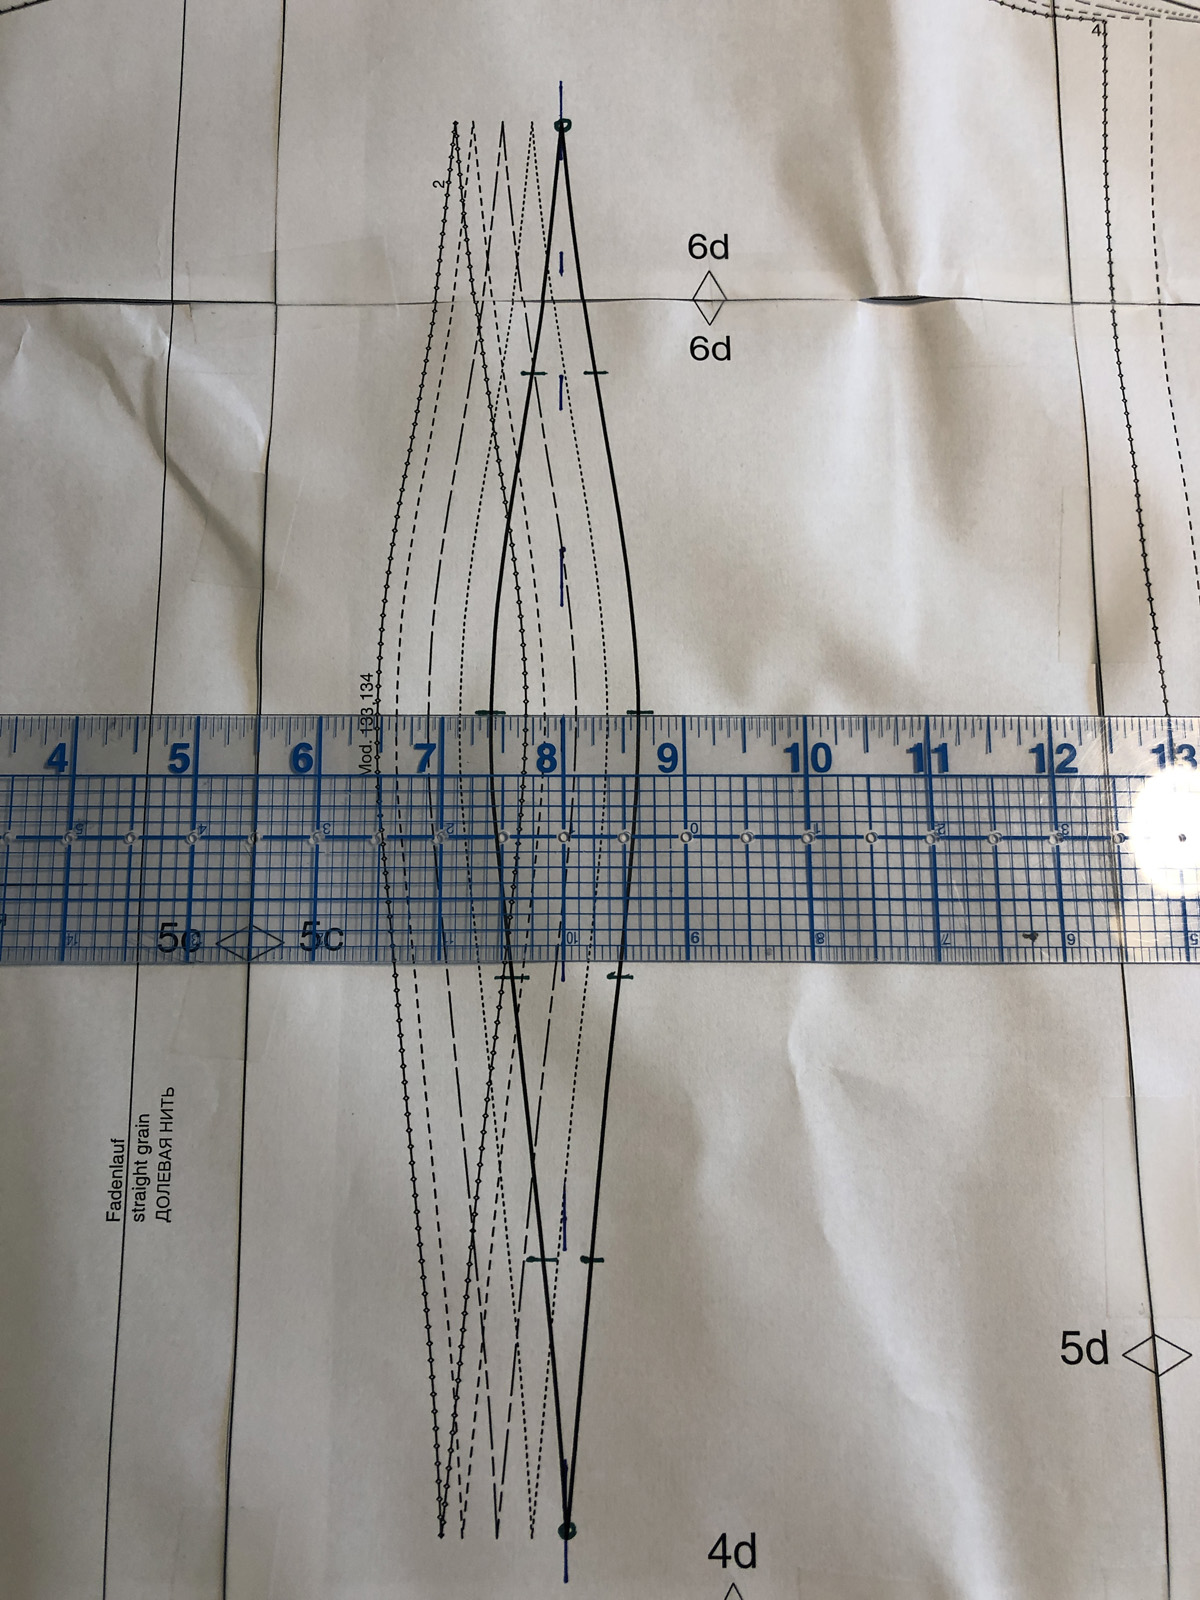
2. Starting with the fish-eye dart, position a ruler so it intersects the upper and lower points. Then, draw a dashed line through the center from top to bottom. This establishes the dart’s foldline.
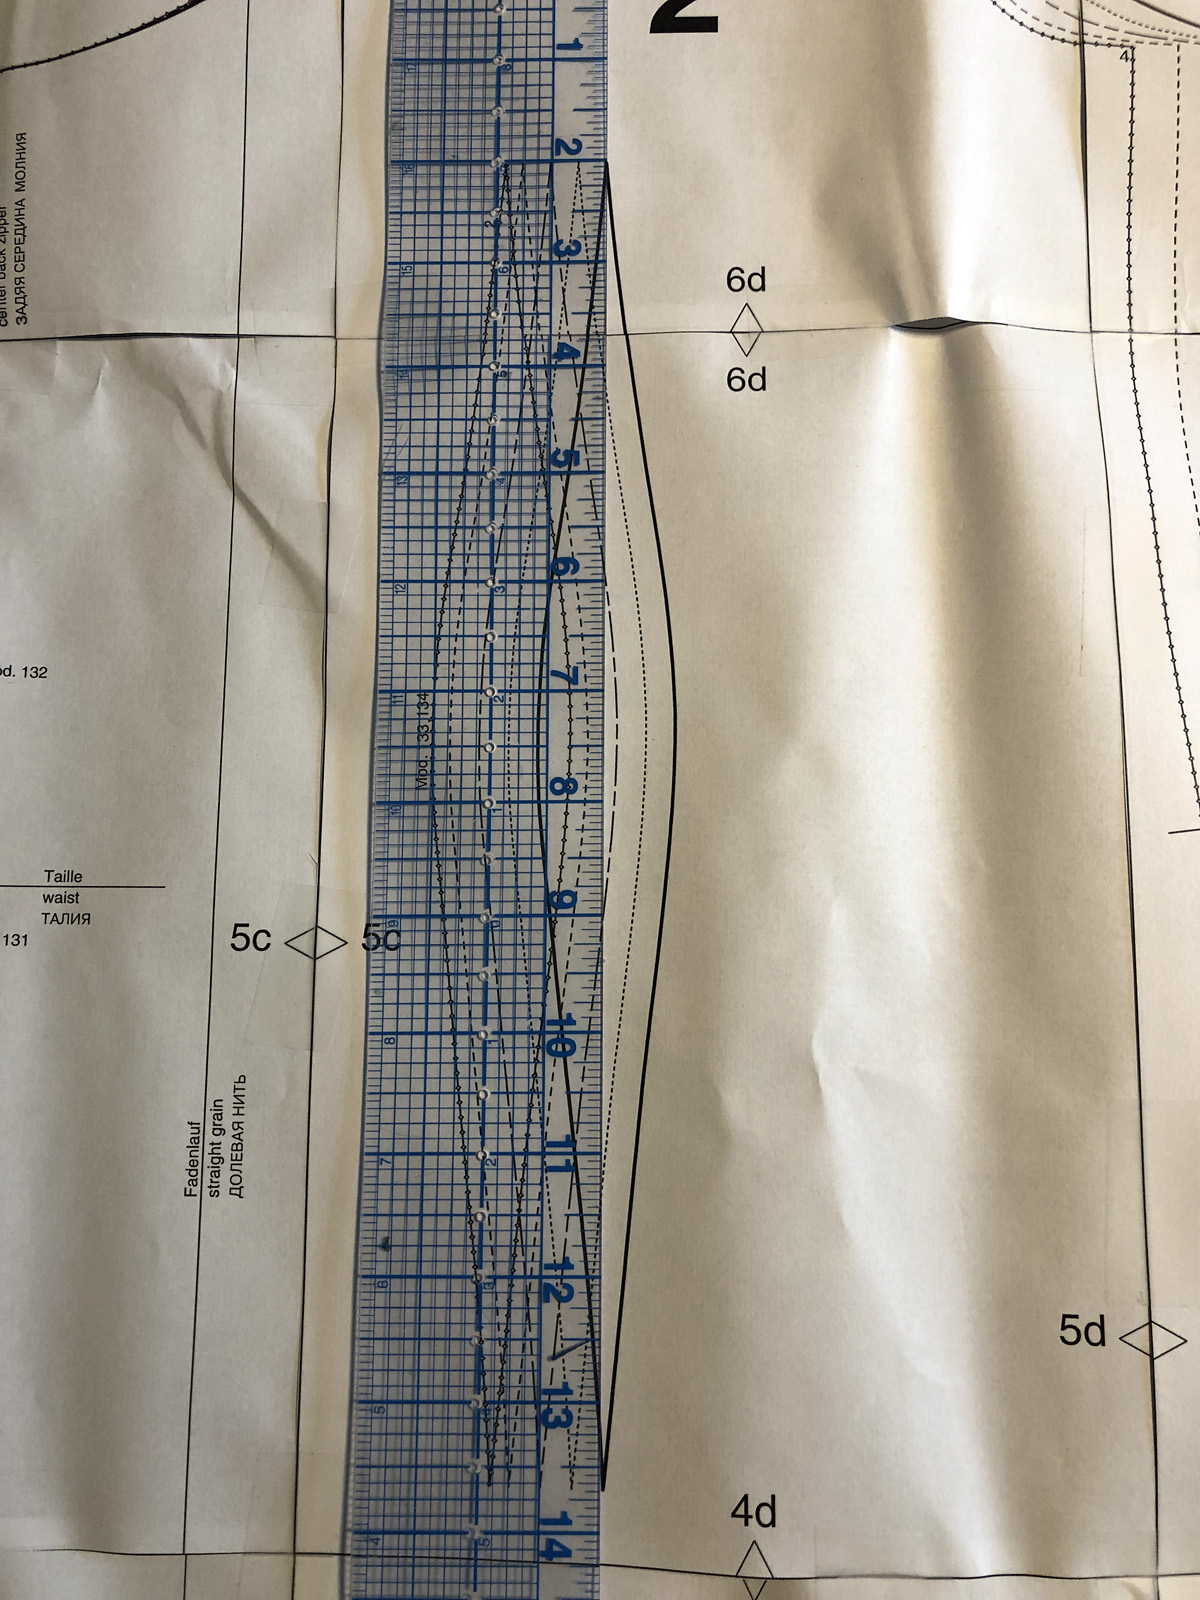
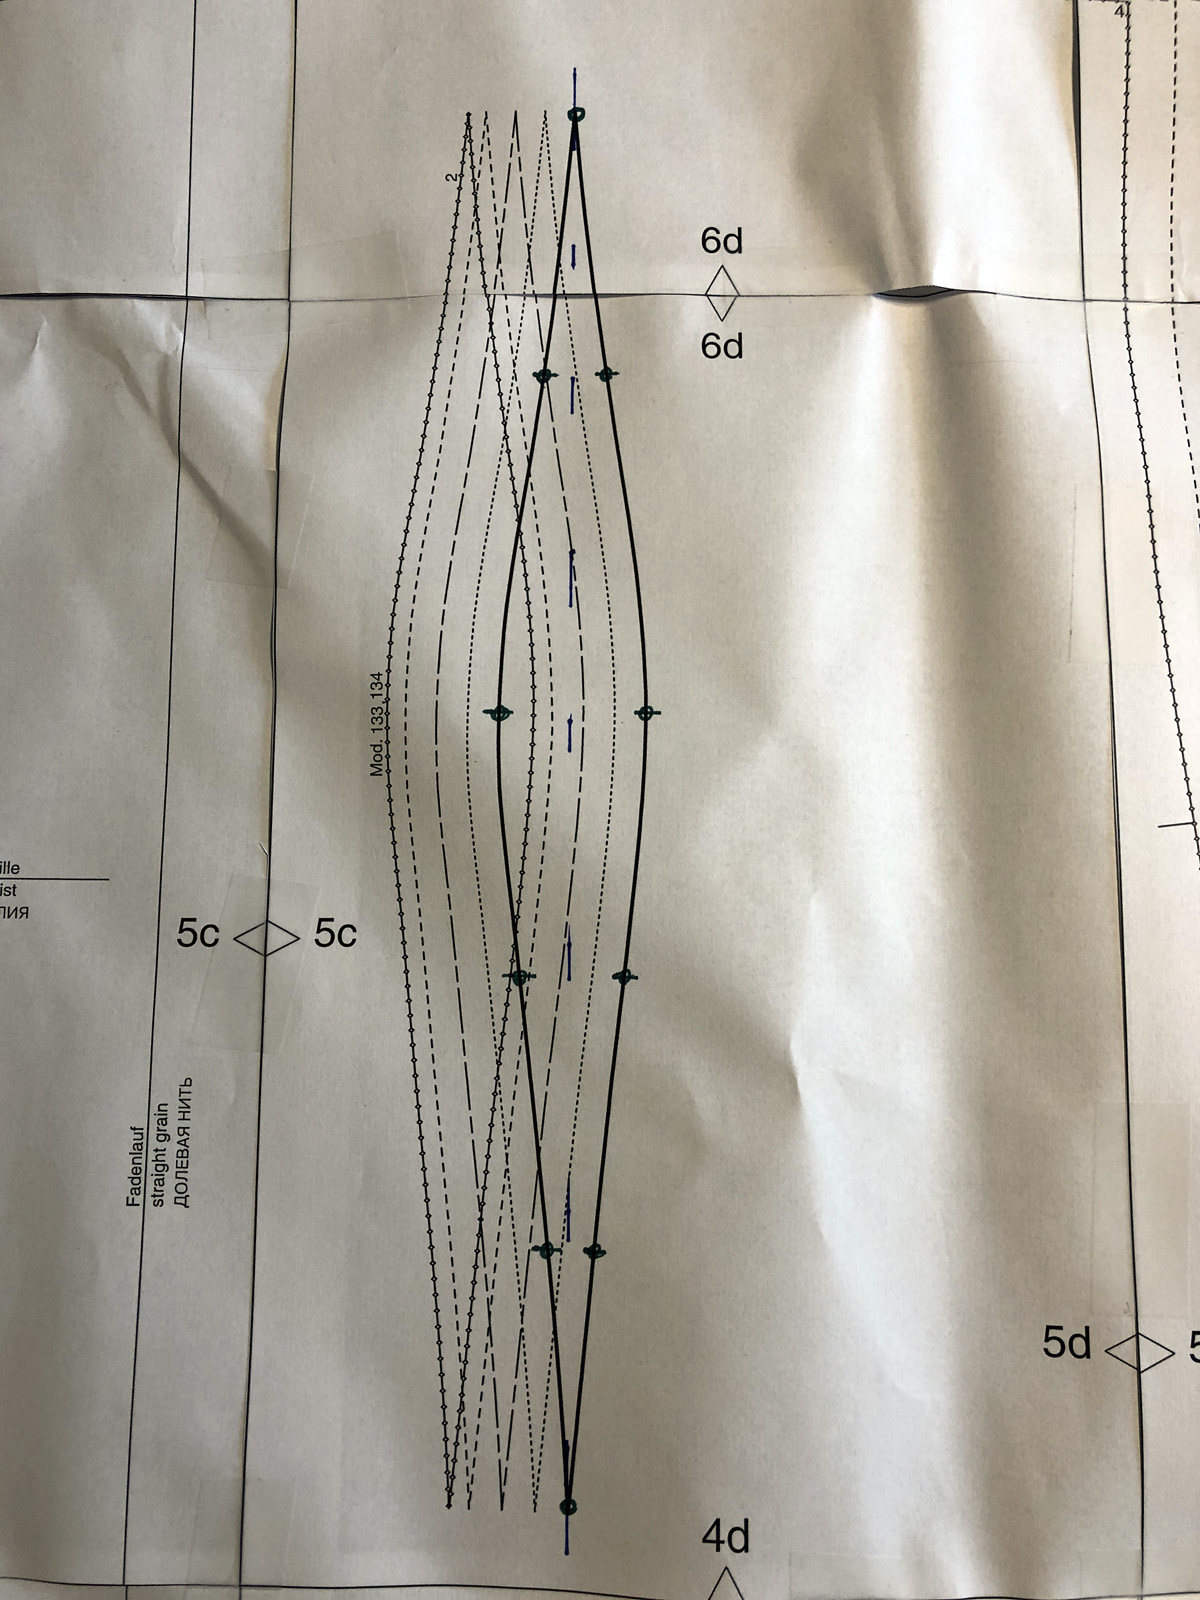
3. Next, place your ruler horizontally so it is perpendicular to the vertical line. Make a mark at the widest point on both dart legs, then make additional marks a few inches apart above and below the center markings.
4. You can add circles on the dash marks so you can easily hand-sew tailor’s tacks through the pattern into the fabric.
5. Next, use the same marking technique with the bust dart.

6. Find the center and draw a foldline from the bust dart tip to the outer point. Make sure the ruler is perpendicular to the dart’s foldline, and draw marks at each side of the dart legs.…
Start your 14-day FREE trial to access this story.
Start your FREE trial today and get instant access to this article plus access to all Threads Insider content.
Start Your Free TrialAlready an Insider? Log in


very useful thank you. I was using some of these methods but not being careful about matching points on darts. I have often confused myself with snips for match points and snips for centre front particularly with a cut on placket. I will be using the v snip from now on.
Great! I’m glad that I am able to help you. Having different types of markings really help with accuracy when sewing garments together!