
How to Miter Binding Corners Using a DIY Template
Make a template for sharp, accurately formed corners.
I am primarily a garment sewer, but occasionally I quilt place mats or a baby quilt with bound edges. In the past, I used the eyeball method to make the corner miters. Most of the time, the miter would come out looking uneven and mismatched. I just went on and was satisfied with less than perfect. When I mastered a better way to attach binding, I wanted better-looking corners, too. I made a template out of card stock to help me fold more accurate miters. Using the template doesn’t take more time than the eyeball method, but the results are so much better and more consistent. Read on to learn how to make and use a template to miter corners in double-fold binding.
1. Create a template.
Cut a 2-inch-by-6-inch rectangle from card stock. This size is manageable at the sewing machine and produces a point that’s long enough to fold the binding against at the mitering stage. Using the 45-degree line on a quilting ruler as a guide, cut a 45-degree angle at one end.

2. Begin attaching the binding.
Work with double-fold binding, which is tape folded in half lengthwise and its raw edges folded inward toward the center crease. There are three creases. Start attaching the binding in the middle of one of the project’s sides. Place the binding along the edge, with right sides together and raw edges aligned. Stitch along the crease closest to the edge.
3. Mark the seam allowance width on the template.
Sew for a few inches, then stop and place the template’s uncut short end along the seam. Mark the seam allowance width in pencil at one edge. Later, you can erase this mark and reuse the template for projects with a different seam allowance width.

4. Identify the corner turning point.
Sew along the crease; as you approach the corner, stop and align the template along the edge, with the seam allowance width mark near the corner. Insert a pin into the binding at that point. Stitch to the pin, backstitch, and remove the work from the machine.

5. Begin the mitered fold.
Keep the binding fully open, and place the template along the portion you just sewed. Align the longest side to the edge and the point to the project’s corner.

6. Fold the binding up.
Snug it against the template’s 45-degree angle. Hold this fold in place securely and slide the template out.
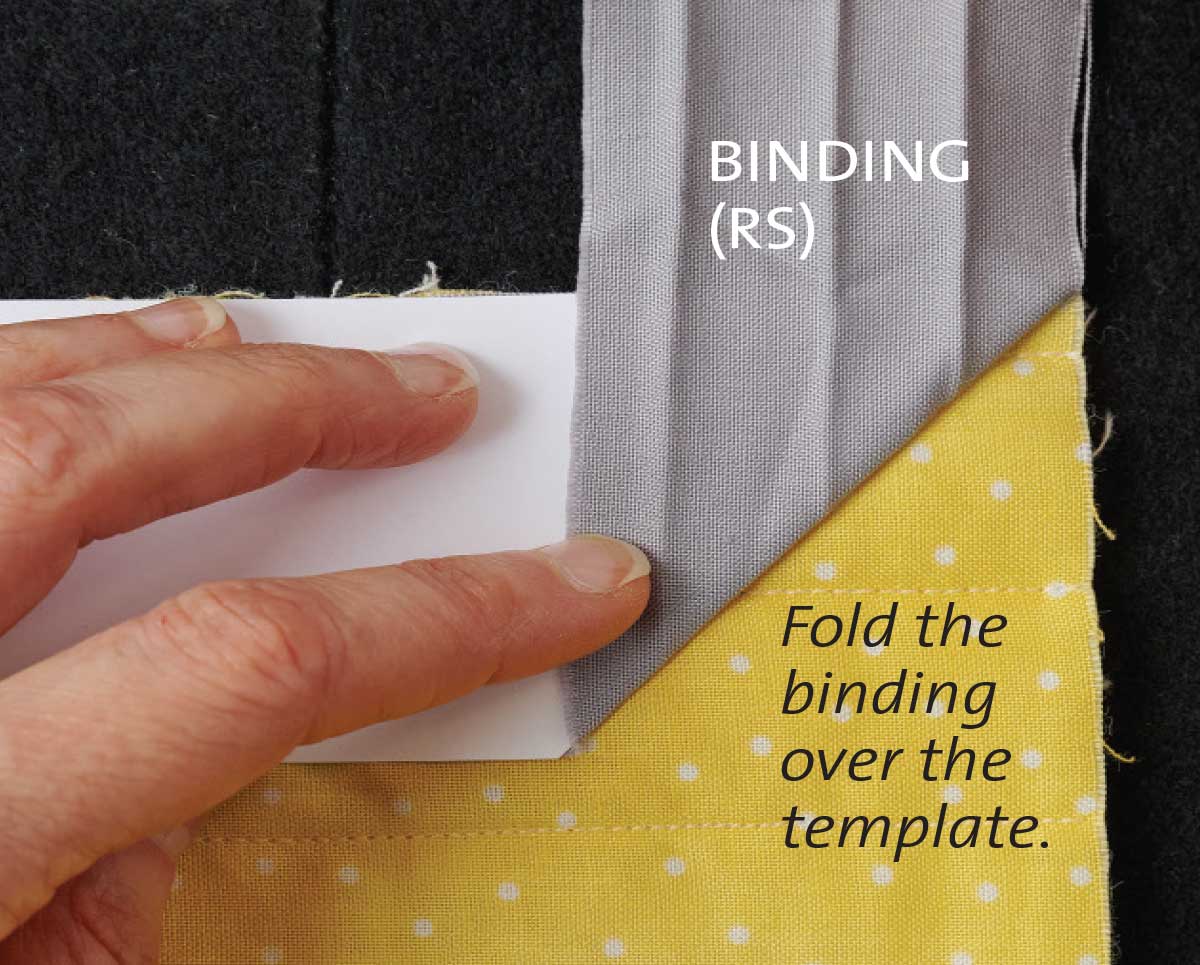
7. Then fold the binding down.
Align the template’s long edge with the project’s edge, atop the folded binding, and fold the binding down snugly against the template’s upper edge. Again, hold the binding in place as you slide the template away. Pin the folds in place if desired.

8. Sew the adjacent side.
Begin sewing at the top edge, within the binding crease, and continue to the next corner. Repeat for all four corners. Then complete sewing on the binding, joining the short binding ends using your preferred technique.
9. Shape the binding into its finished position.
First, press the binding away from the project with the iron’s tip, taking care not to press out the binding creases (A). Then fold the binding along its original creases, toward the wrong side, tucking in the corners for a neat miter (B). If the corner needs shaping, nudge it into place with the template’s point. Press the binding (C).

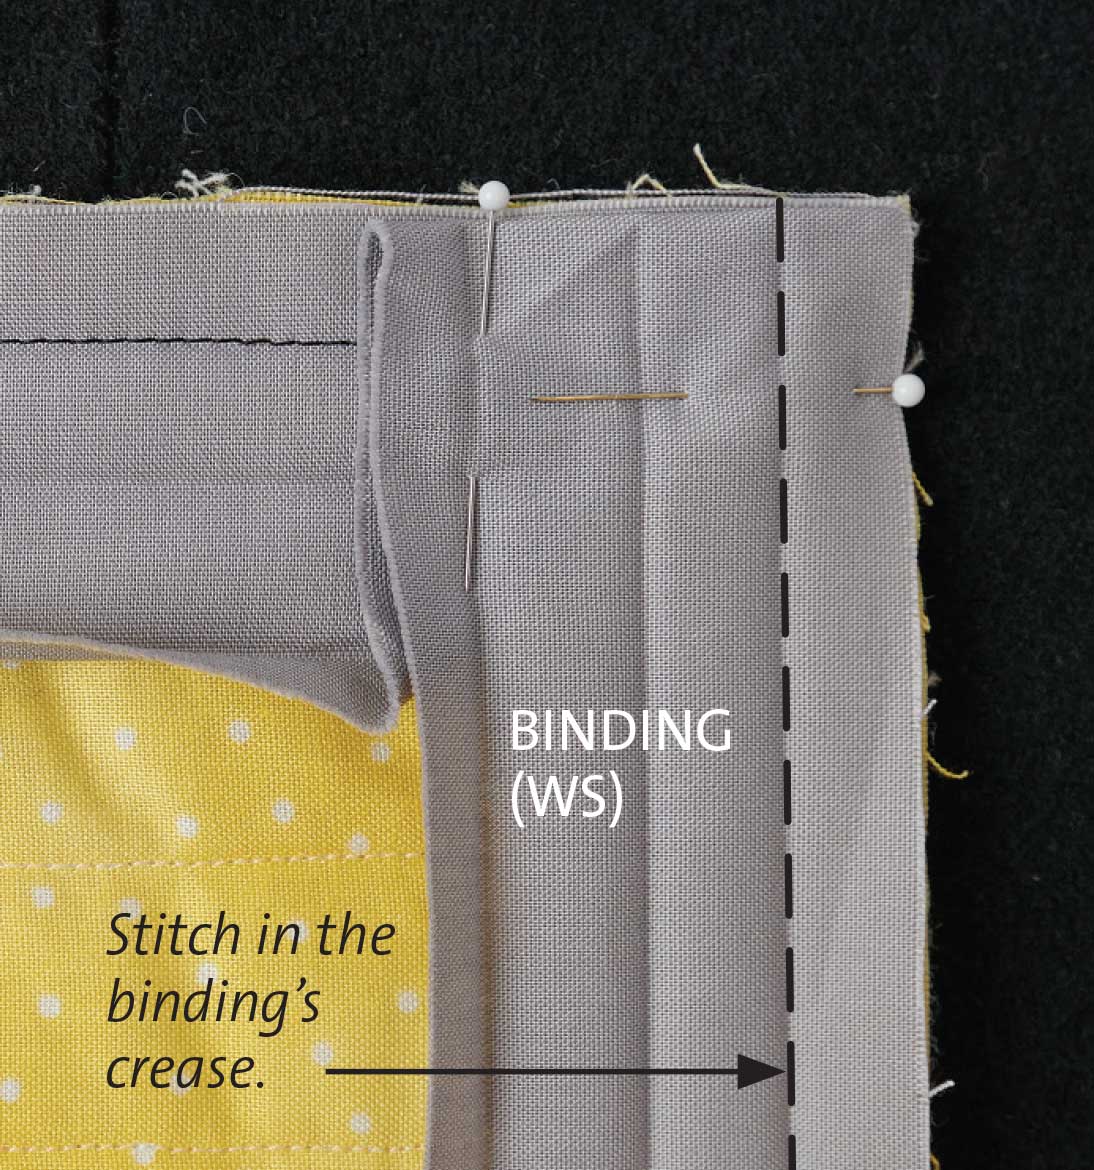
10. Secure the binding’s free edge.
Sew by hand with a fell or slipstitch, or stitch in the ditch from the right side, catching the binding edge on the wrong side.

Judy Parker of Madison, Alabama, is a longtime sewer with an inquisitive mind, who likes to find a better way to accomplish basic sewing tasks.
Photos: Mike Yamin


Log in or create an account to post a comment.
Sign up Log in