Push and Pull Needle Threaders for Hand and Machine Sewing
Push or pull devices to ease a basic sewing task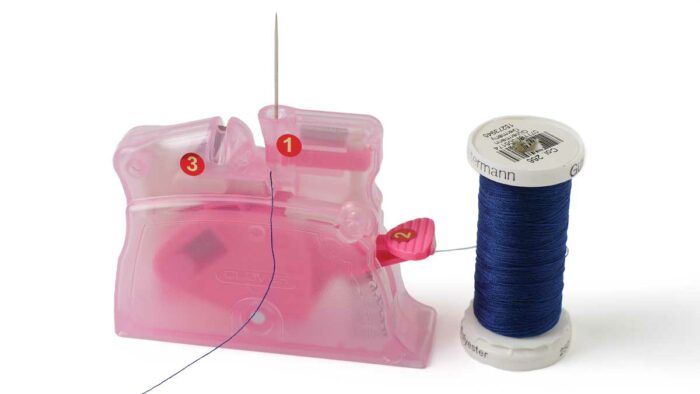
Threading a needle is the most basic part of sewing, yet it is a task many of us dread, especially those with less than 20/20 vision or unsteady fingers. Thankfully, there are different needle threaders available to make threading easy. Let’s look at the different types of threaders and how to use them.
There are two types of needle threaders: those that pull the thread through the needle’s eye and those that push it through. Each has advantages, so it is helpful to have both available for different threading applications.

Pull Threaders
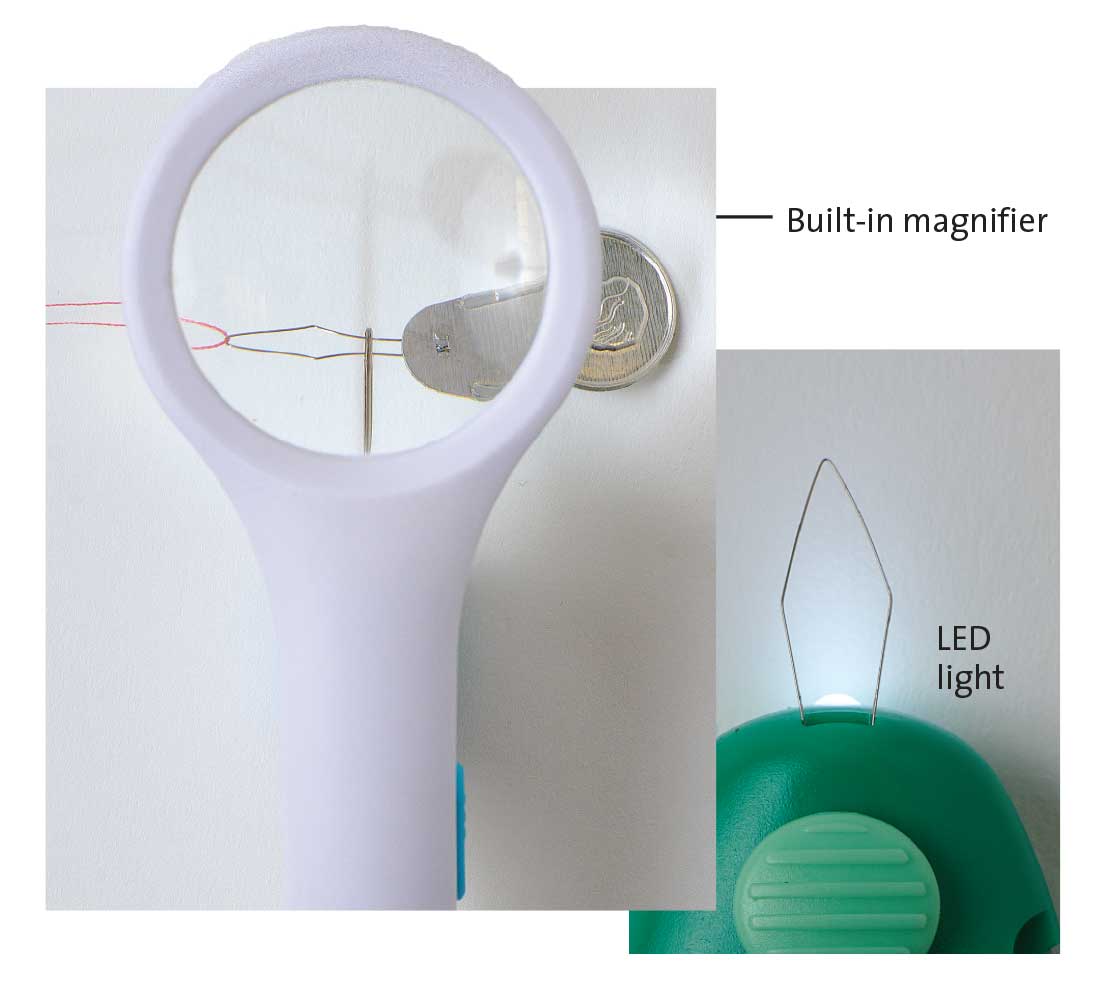
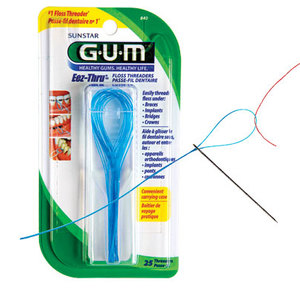
A pull-type needle threader consists of a fine wire loop that you insert through the needle’s eye. Once the wire loop goes through the eye, insert the thread into the loop. Then pull the threader’s wire loop back through the eye to draw the thread through the eye, thereby threading the needle.
Pros
- Simplest, most common, and least expensive needle threader.
- Wide range of threader options from inexpensive plastic or thin aluminum holder with a wire loop to a sophisticated model with magnifying glass, a light for visibility, built-in thread cutter, or retractable function to protect the wire loop from damage.
Cons
- Thin wire loop can be easily bent.
- Wire loop can also be broken if pulled forcefully through a small needle, especially if a heavy thread is used.
- Loop must pull a double thickness of thread through the eye, so the needle eye must be large enough to accommodate this.

Push Threaders
Push-style threaders are a more recent invention. Place the thread into a groove on the threader, and a lever or plunger pushes the thread through the needle’s eye using a forked metal tongue. Push-style threaders come in stationary and handheld styles.

Stationary Push Threaders
Meant to sit on a table or desk, these are used exclusively to thread hand-sewing needles. Place the needle into the hole, eye end down, and lay the thread in the groove. Press the lever. This action pushes the metal tongue through the needle’s eye. The tongue catches the thread along the way to thread the needle. Gently remove the needle from the threader, and pull the thread loop through the eye. Some models also feature a built-in thread cutter.

Handheld Push Threaders
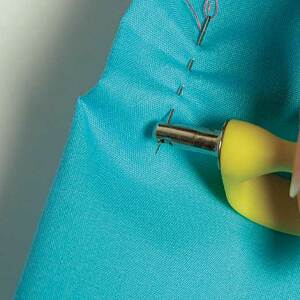
This version is commonly used to thread sewing machines and sergers. A cylindrical tool, it has a forked opening with vertical and horizontal grooves. A mark or notch on the threader indicates which side(s) must point upward. Place the thread across the device’s horizontal opening. Align the vertical groove along the machine needle, and slide the threader down the needle toward the eye, while exerting a little pressure. This pressure enables you to feel when the threader has reached the eye of the needle. Once aligned with the needle’s eye, the threader pushes forward, inserting the metal tongue through the needle eye. The action forms a loop at the back of the needle. Most models feature a hook or finger for catching the loop and pulling the thread through the needle eye. Many handheld push threaders also have a handy needle-insertion finger.
Pros
- Suitable for threading sewing machines and sergers.
- Easier and faster to use than a wire loop pull threader.
- Stationary, or desktop, version is convenient.
- Sturdier than wire loop pull threaders.
Cons
- The needle eye must be perfectly aligned with the push tongue in order for the threader to work.
- It may be difficult to feel the needle eye alignment when using the handheld version.
- Correct threader orientation during use can be confusing.
 |
 |
Katrina Walker is a designer and teacher based near Spokane, Washington. KatrinaWalker.com





I always seem to pull the wire out of the little wire pull type threaders. They work well until they break. I thought it was because I was using cheap give-aways, but even a set that I paid money for eventually broke on the size I used the most. I love the one that came on my sewing machine.