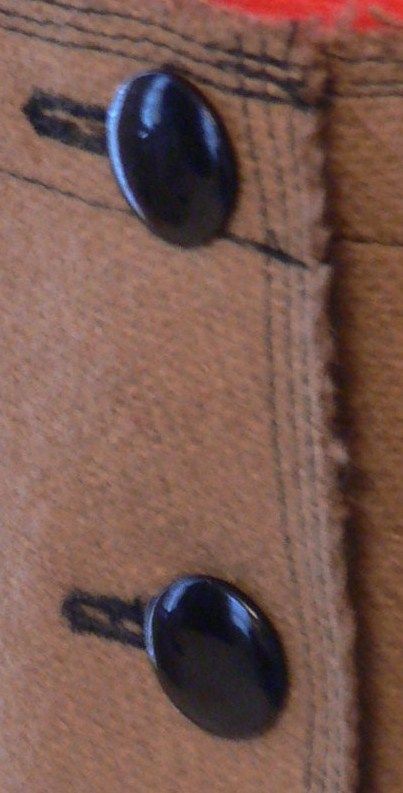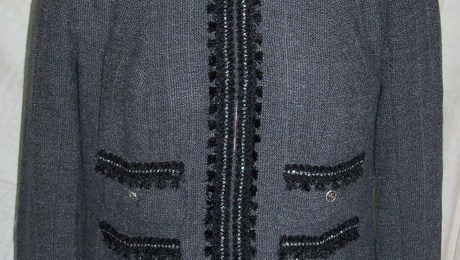
100% wool skirt constructed using lapped seams.
Inspired By Threads: Lapped Seam Construction, November 2002, Number 103, p.58
After reading the article by Kathryn Brenne, (why not?) I had to try the lapped seam technique. The article is from 2002 which means this skirt is about 6 years old. I still get compliments on it although I look dumpy in this photo … oh well. I had just gotten home from work and made the hubby take pictures …
I find this to be a difficult, putzy, and extremely rewarding technique. When finished, the inside looks (mostly) like the outside. When sewing the lapped seam, the garment is laid out flat on the sewing machine bed and can be unwieldy. This gives me greater respect for quilter’s working with large expanses of material and batting …
-Kate
Lapped seam construction, my tips:
- I use my sewing machine for marking seams. No chalk. I sew a long basting stitch at 5/8″ on the underseam allowance — this is the allowance that will be lapped over.
- I sew a regular length stitch at 5/8″ minus a needle position or two on the allowance that will be cut off. Just before seaming, I cut off the upper seam allowance by cutting just to the inside of the stitching.
- I lay the raw upper edge against the long basting stitch marking the lower seam allowance and pin to my heart’s content.
- I use my blind-stitch hemming foot and an off-center needle position to sew along the upper edge that’s doing the lapping. The knife of the foot rests on the lower fabric and is butted up against the upper layer.
- After sewing the lapped seam, I remove the basting stitch from the underseam. Voila!


Log in or create an account to post a comment.
Sign up Log in