

Try these double pockets for retro styling.
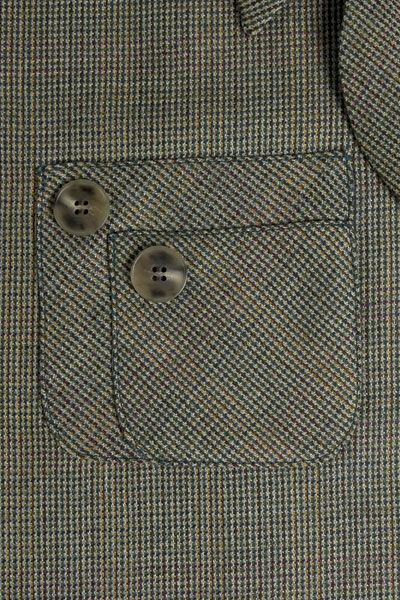
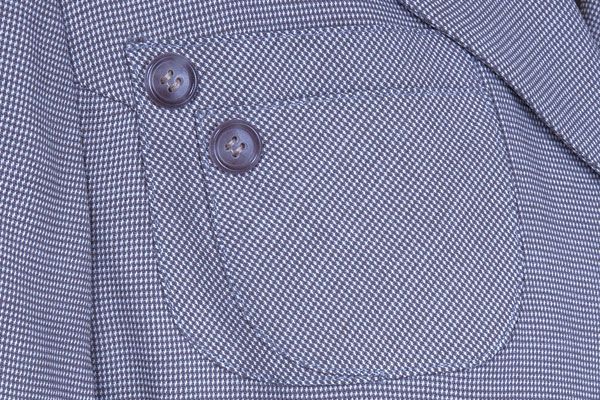
With retro suits inspiring fashion today, a sewer can easily borrow vintage details and work them into current projects. The pocket shown on the back cover of Threads #153 is certainly a likely candidate. By capturing a detail from an era when suits were at their best, this simple piggyback pocket (called piggyback because the smaller pocket rides on top of the larger one) will add grand style to your favorite jacket pattern.
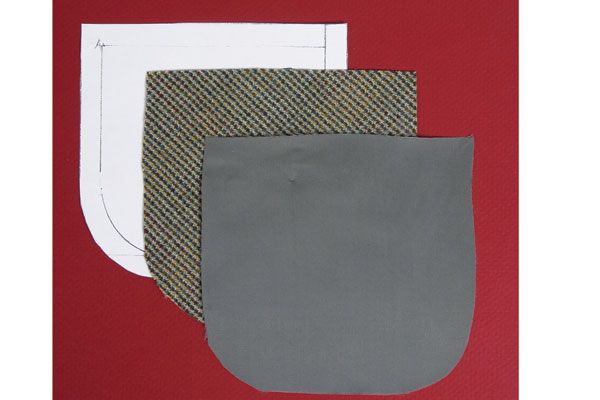
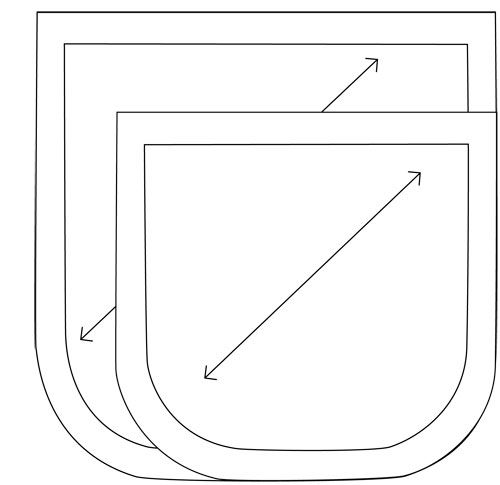
1. Draw two pocket patterns. Download the piggyback pattern, or draft your own.

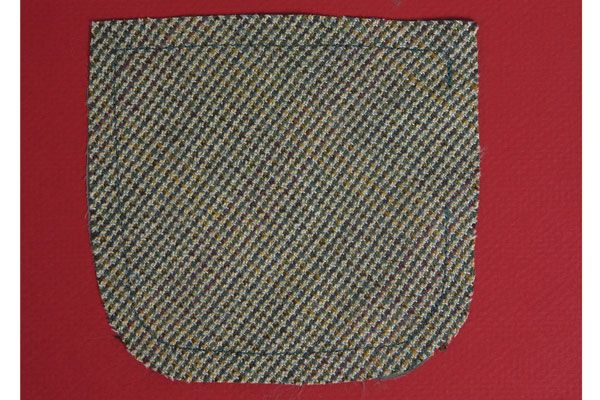
2. Cut one pair of pockets for each placement on your garment. Cut them on the bias from the fashion fabric and a lightweight lining.

3. Sew the lining to each pocket. Use a 3⁄8-inch seam allowance, and leave a small opening on the side to turn the pocket right side out. Grade and clip the seam allowances as needed. Turn and press.

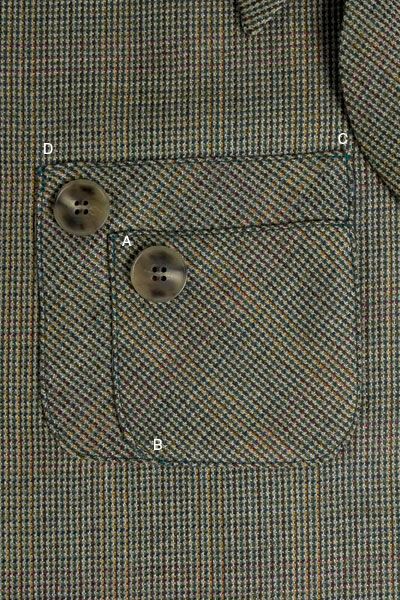
4. Follow this stitching order. Edgestitch both top edges. Position the small pocket over the large pocket, and edgestitch from A to B (see below). Position the piggyback pocket unit on the garment, and edgestitch through both layers around the sides and bottom, from C to D. Attach 7⁄8-inch-diameter buttons 1/4 inch from the edges.

These pockets were inspired by a vintage suit from The Collection at Western Costume shown on the back cover of Threads issue #153.

excerpted from Threads #153, p.22


I love vintage and this pocket is real easy.
Thank you
Just the perfect detail to add some zest to my winter sewing. As sewers sometimes we need to be reminded how clever details make a great fashion ststement. Thank you.
Sweet detail. Do you cut the lining on the bias as well?
LOL what a funny name, i'm a dutch girl whom is fallen in love of piggies.
love this must make one , because only of the name as well.LOL
love the design and pckets are soooo smart to have, always having a shortage of them
thank you of your great tute and the sharing, well done!!!!;-D
Cute detail!
To ustabahippie: you would want the lining cut on the straight grain of fabric to stabilize the pockets; otherwise the pockets would tend to pull out of shape if you actually put things inside.
So incredibly cute and useful! I will have to work this into my next project.