
Mastering the Narrow Hemmer, Part Two
Get the most from the narrow hemmer in the second part of this three-part series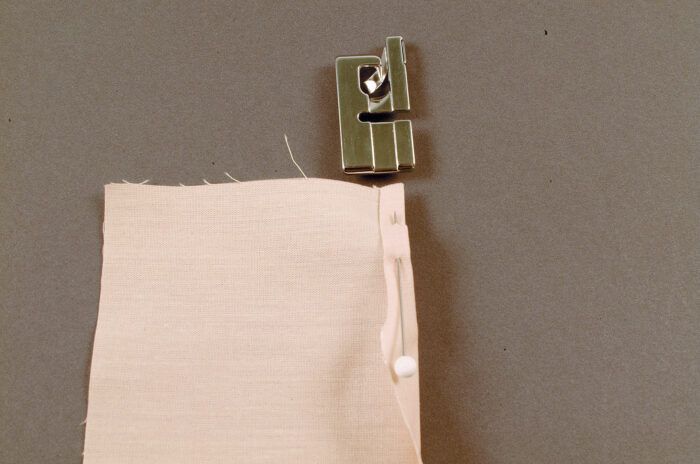
I learned how to manage my narrow hemmer when circumstances placed a huge edge-finishing project in my lap. After 150 yd. of hemming, I had it down! But if I’d had the information I needed at the start, it wouldn’t have taken even a fraction of that effort to master this essential tool. In fact, I’ve taught literally thousands of people to narrow-hem successfully just by sharing the same rarely provided information offered here. But there’s no question that a little time spent practicing hemming before you tackle your project will pay off, so give yourself every advantage; your results will show it. Just cut a long, narrow strip of your garment fabric, start away from a corner, and stitch until it feels comfortable. You can just trim away your mistakes with a rotary cutter.
Starting a narrow hem
Begin away from a corner if possible.
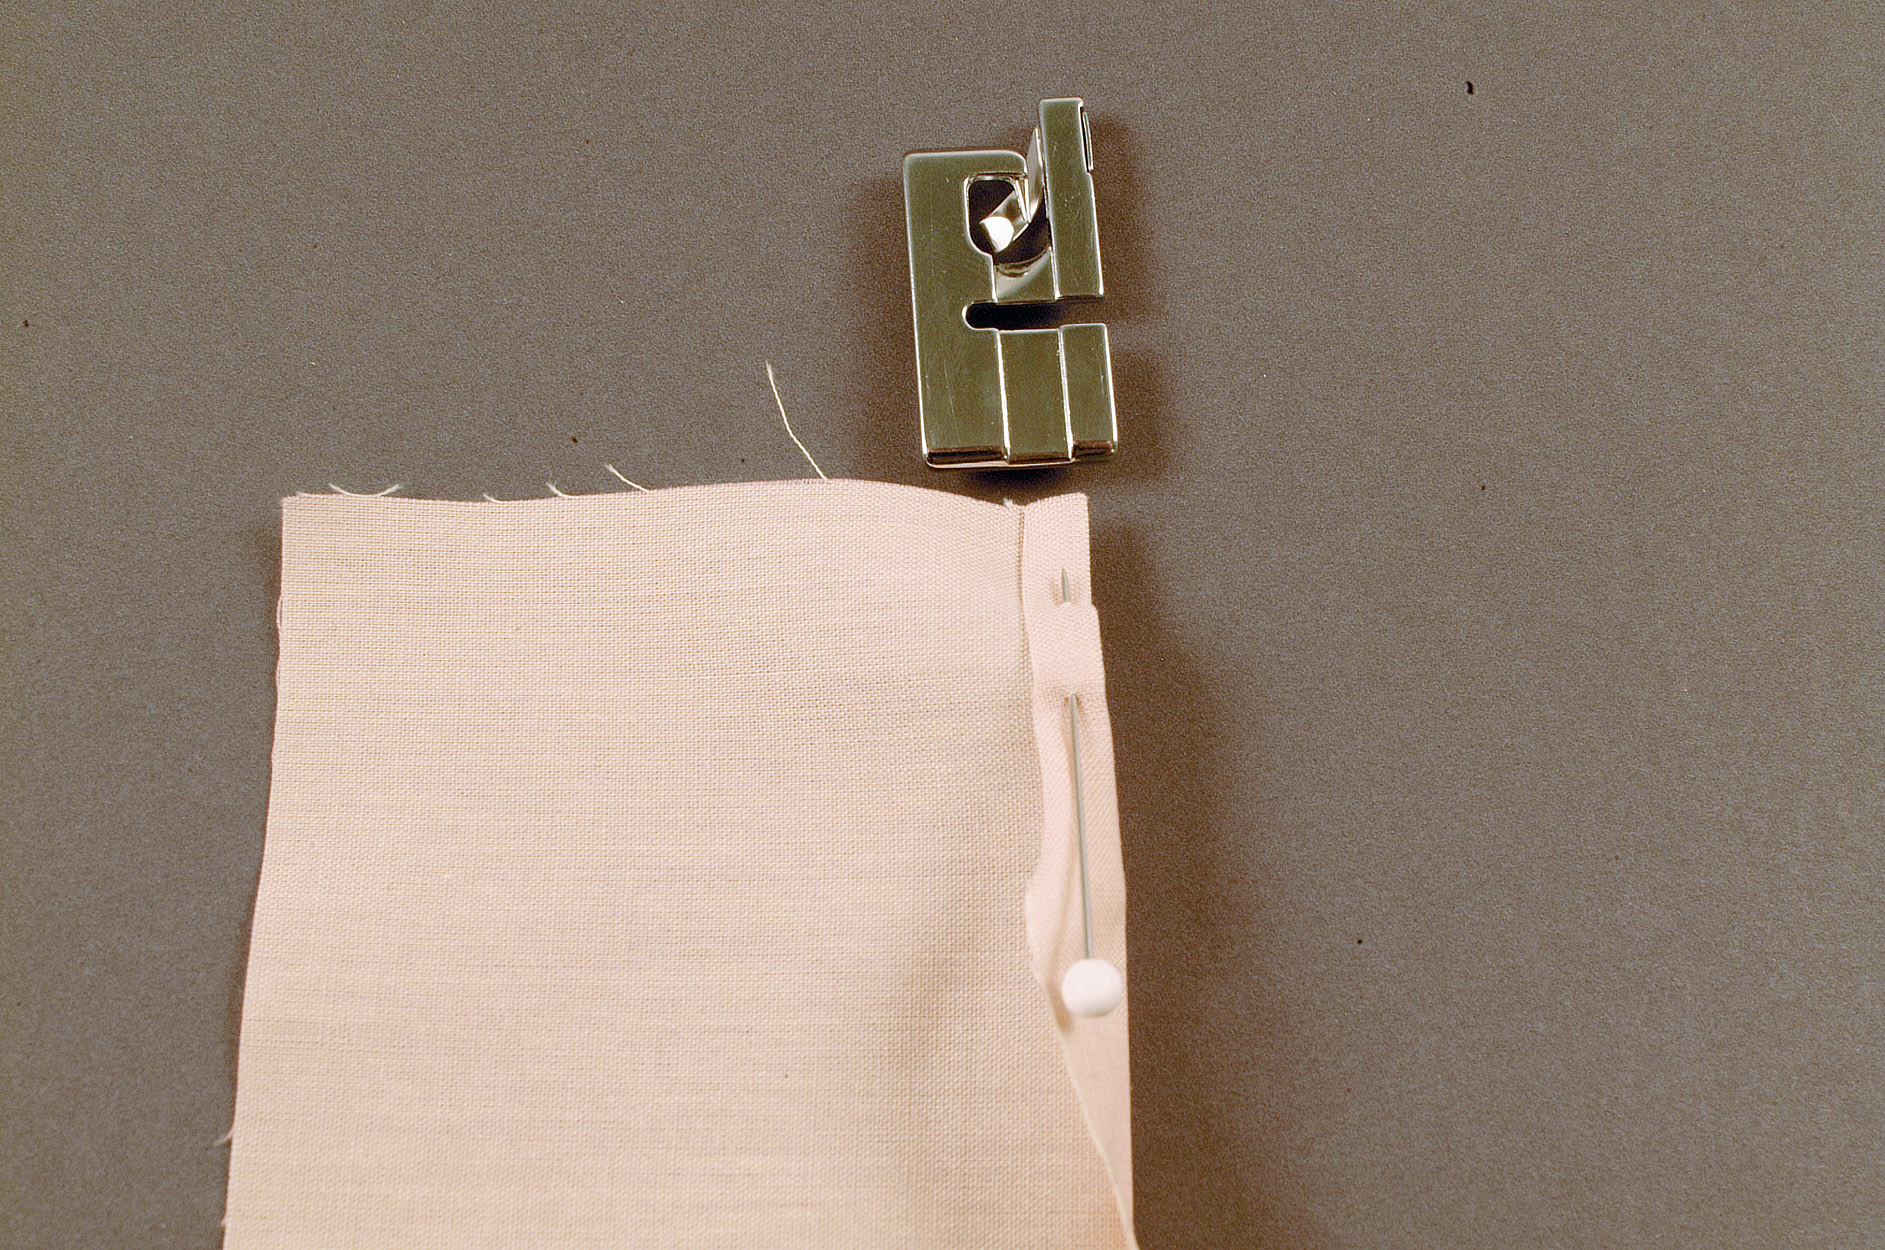
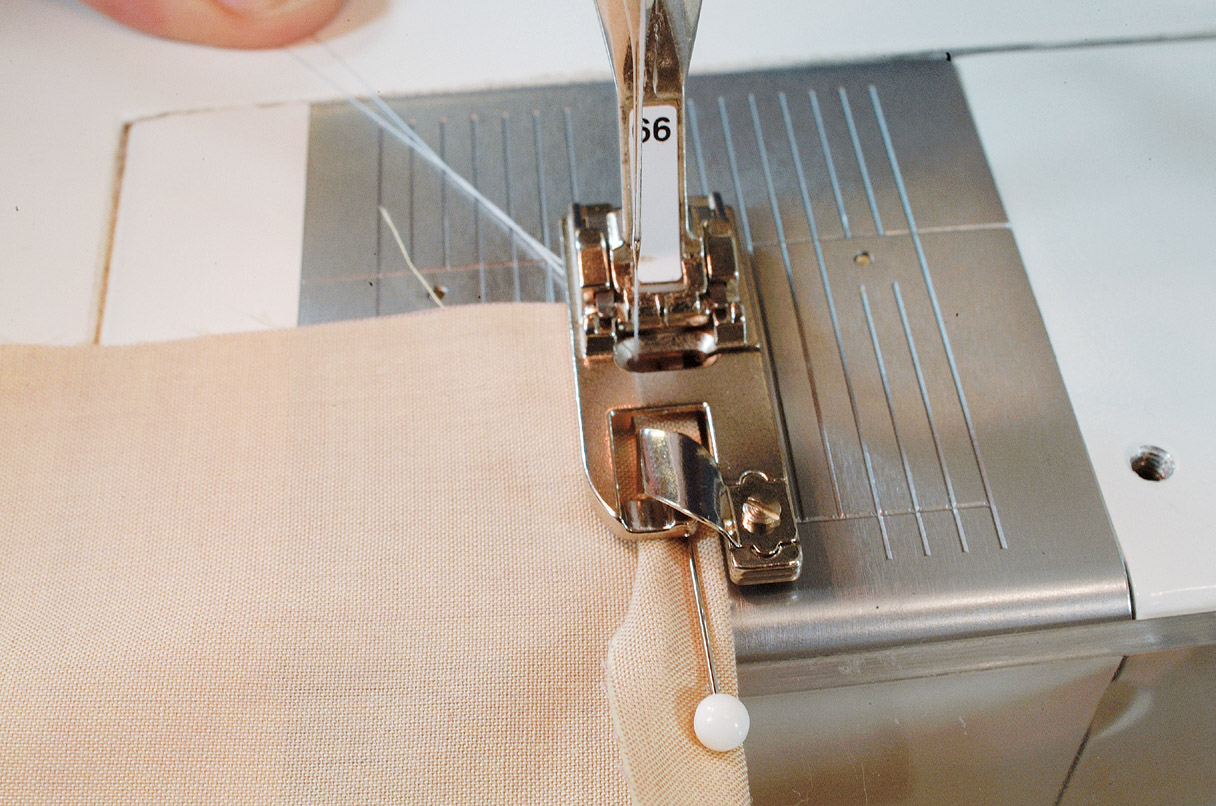
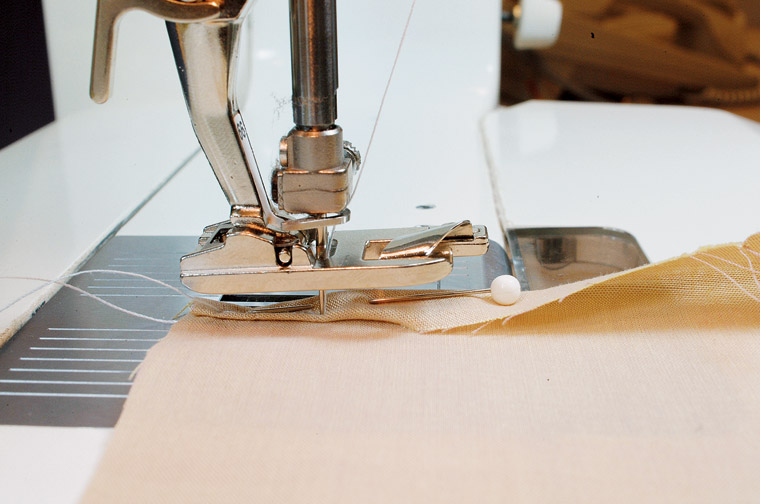
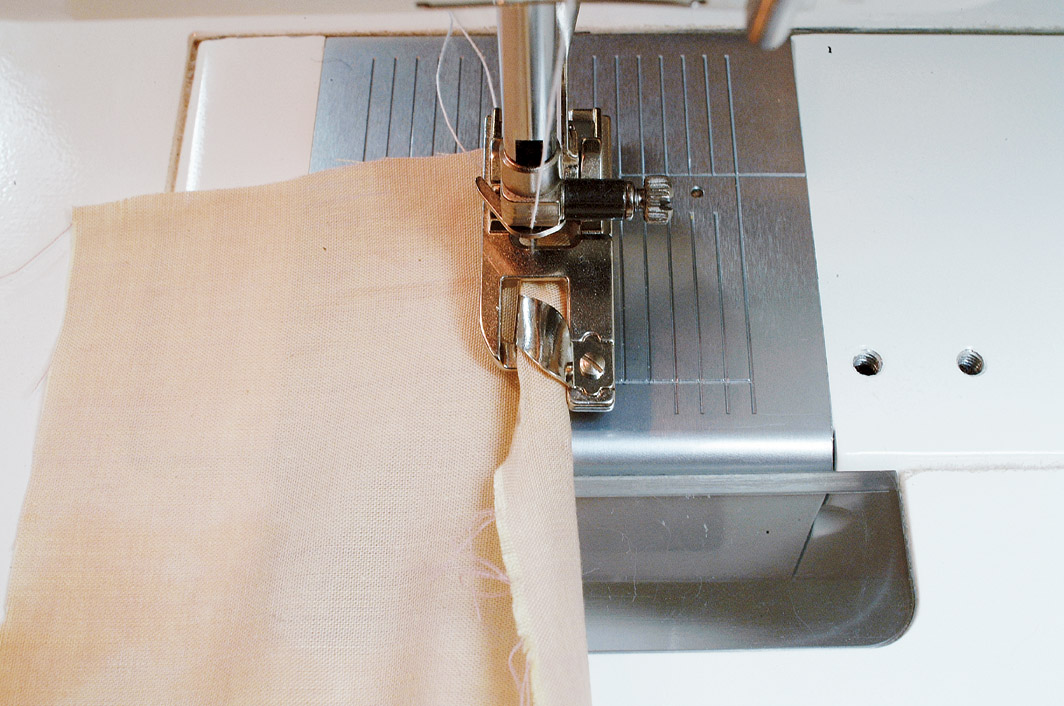
Always guide the fabric with two hands
Start your 14-day FREE trial to access this story.
Start your FREE trial today and get instant access to this article plus access to all Threads Insider content.
Start Your Free TrialAlready an Insider? Log in


I have Carol Laflin Ahles' book and it is invaluable!!!!! Thanks for taking the time to write it!
Thanks for this info. I have tried to narrow hem before and gave up. How can I save this to a sewing folder I have?
I've mastered the straight cut fabrics for the narrow hem. The bias cut narrow hems I'm having troubles with. Any Ideas how to make that job easier? Thanks bunches, Christine
I desperately needed to learn this and found that when I went to my Bernina site, they gave wonderful instructions in a video, I am sure its the same for all machines and I sucessfully mastered it on my first try. Gorgeous and I am now doing another skirt with this. My project is doll clothes with a ruffly skirt. I used my ruffler sucessfully too. Sure glad I bought these parts long time ago as they are very expensive now.
I'm in search of Vogue Elements 9614. Can anyone help?
How do you deal with corners, as in napkins and handkerchiefs?
I've never managed my narrow hemmer its been in the sewing box since I bought it I will certainly try you method thanks for that I will let you know how I get on.
To finish a handkerchief - I run the stitches off the corner (sewing off the fabric) - keeping a tail on the thread. Then I pull the tail thru the hemmer drawing the fabric thru with it. This method helps to guide the material folded thru the hemmer. It takes some practice - but it works. If you're not comfortable, you can roll the edge by hand and draw thru the hemmer.