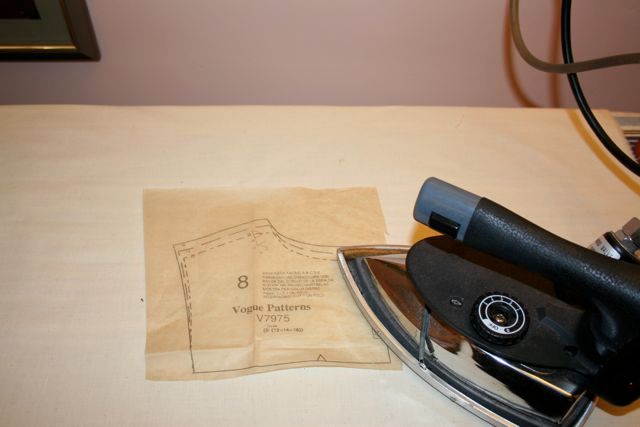
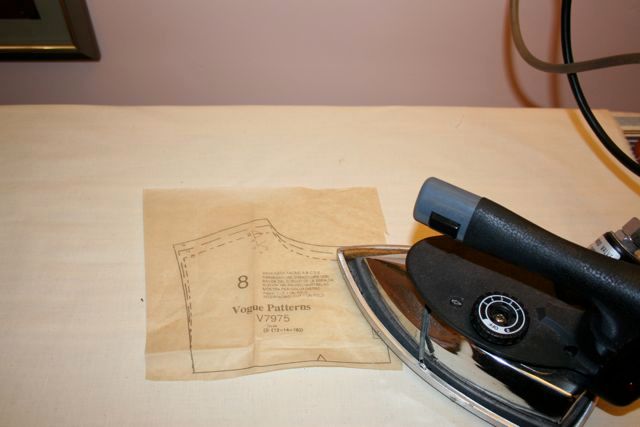
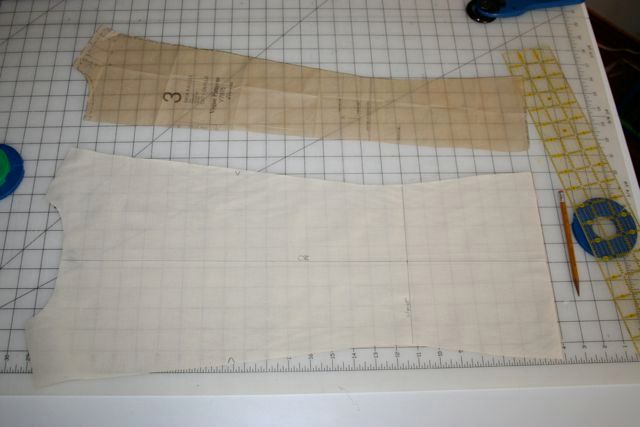
Dry-iron the pieces of tissue to remove creases. This makes every subsequent step more accurate.
As you know from reading this blog, I enjoy quick projects. But now that the holidays are over, I can take my time and make something bigger. After reading Amber Eden’s letter about Slow Sewing in No. 135 of our sister publication, Threads, I was inspired. I decided to slow down and make something whose instructions don’t begin with, “Start with a rectangle X inches by Y inches.” I decided to make a jacket.
I love jackets. For me, they are one of the most fulfilling garments to make. They look good with everything from skirts to jeans, and they can instantly transform a look. I decided to use Vogue Basic Design pattern number 7975, View C. This is a semi-fitted, cropped, princess-line jacket in the Chanel style. Come along with me and I’ll show you how I make this jacket from start to finish.
Even Sewing has a Mise en Place
“Mise en place” is a cooking term that means to “set in place,” or to prepare your station and all the ingredients you’ll need. Sewing is very similar. Often, you can spend more time prepping your pattern than sewing it. But once all your elements are in place, you can zip right through construction.
Prep the Pattern and Fabric
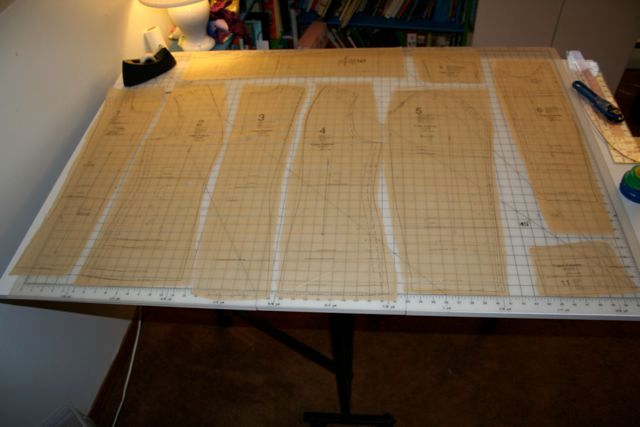
The first step to using any pattern is cutting the individual pattern pieces from the sheet. Once I’ve done this, I use a dry iron to press the creases out of the tissue. This ensures that I have no distortion when I’m cutting my fabric. It also allows me to readily do any pattern alterations or manipulations. (For the purposes of this article, I’m not going to talk about fitting alterations. We’ll get to that another time.)
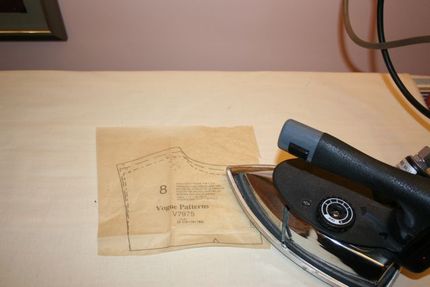
Dry-iron the pieces of tissue to remove creases. 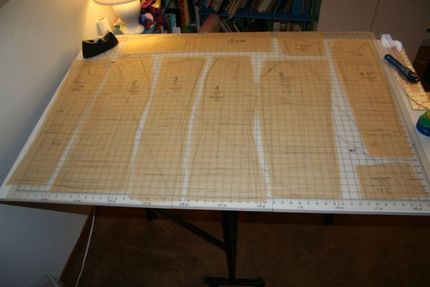
Cut out individual pattern pieces from the sheet.
Pretreat your fabric, if necessary, then press your yardage (in a single layer) to get out any wrinkles and straighten the grain, if needed. (For a great video on straightening grain, check out Straighten Your Grain.)
Get Best Results with a Single Layer
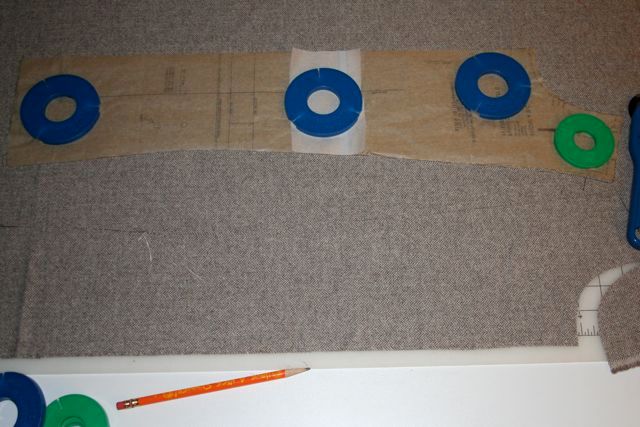
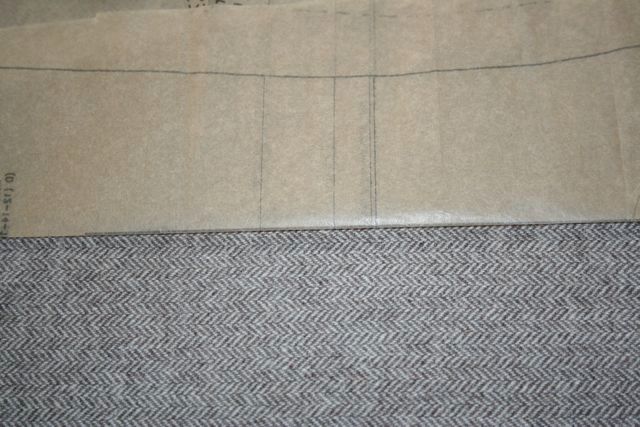
When laying my pattern on fabric, I prefer to use a single-layer layout. This means that I spread my fabric out in one layer and cut each piece twice. Make sure you flip your pattern piece over when you cut it the second time, otherwise you may end up with two left sleeves! Before anyone starts groaning, there are several good reasons to do this. First, using a single-layer cutting layout can reduce the amount of fabric I need to make the garment. According to the pattern envelope, a size 14 requires 2 yards of fashion fabric. In fact, by cutting one piece at a time, I used less than 1 1/2 yards. Second, I can control the exact placement of the pattern and make sure it’s aligned with the grain. I do this by folding my pattern piece along the printed grainline. Then I line that up with the grain of the fabric.
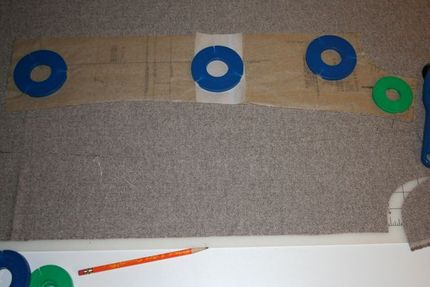
For perfect alignment along the grain, use a single layer layout.
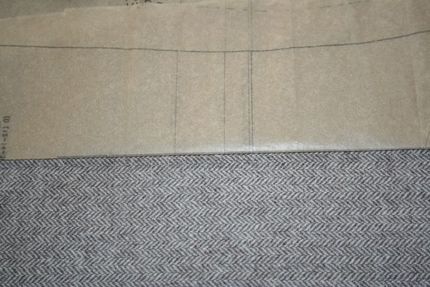
By cutting one piece at a time you can match the grain of your fabric perfectly.
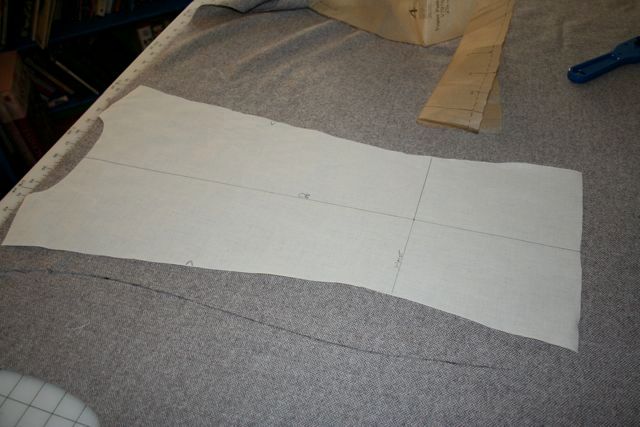
When I have a pattern that has a center-front or center-back fold, I make a new pattern piece from muslin that has the full front or back. I then use this to cut my fashion fabric.
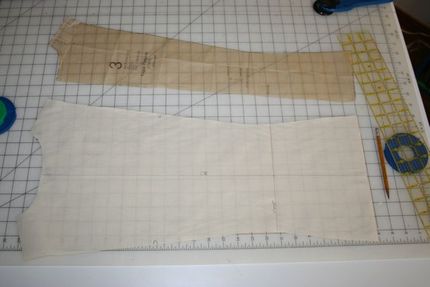
Create a full back pattern piece from muslin. 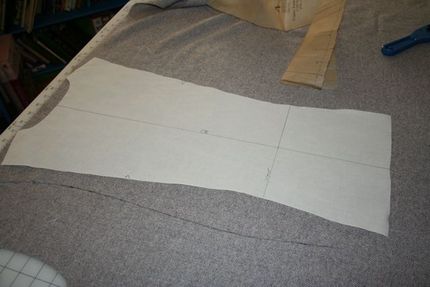
Use the muslin pattern piece to cut your fashion fabric.
Believe it or not, these steps add only about 20 minutes to the process. A wonderful sewing teacher, Cynthia Guffey, has a great saying: “It’s your hobby, what’s your hurry?” Since I’m slow sewing, I don’t mind those few added minutes. The results will pay off in droves!
Cut Your Fabric, Lining, and Interfacing
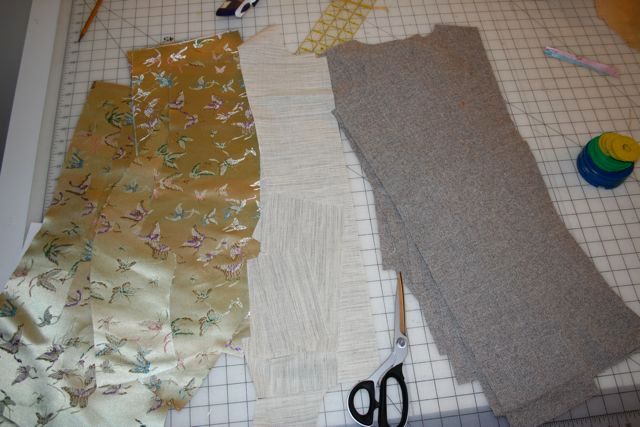
I cut all my garment elements (fabric, lining, and interfacing) in one session so I have them all ready to go and in one place. Once that’s all done, it’s off to the sewing room!
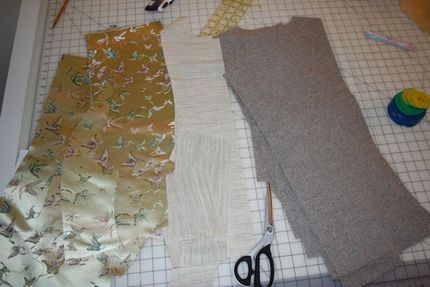
Cut all of your fabric first so you are prepared to start sewing.
Make the Lining First
“Huh?” you might say, “Make the lining first?” That’s right. Contrary to what the standard pattern instructions say, I always make the lining first. The reason for this is two-fold. First, the lining can act as a muslin: If you need to make any fitting tweaks, you can catch them before you assemble your garment shell. Second – and this is the real reason I do things in this order – by making the lining first, I avoid “project fatigue”. You know that feeling? You make the garment with the fashion fabric, then you sigh, look at the lining, and think, “Oh, do I have to do that?” Often, the garment ends up as a UFO (UnFinished Object) in a pile. Making the lining first avoids that fate.
Assemble the Lining
Apply the interfacing to the facings and then stitch the lining pieces together. Here are a couple of hints that I use. On a princess-line garment, staystitch the back and/or front pieces as indicated in the instructions. But before pinning the back to the side back, clip to the staystitching at about 1-inch intervals. This will help you accurately distribute the stretch, and you can always clip more if you need it.
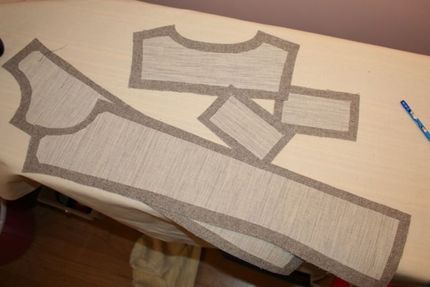
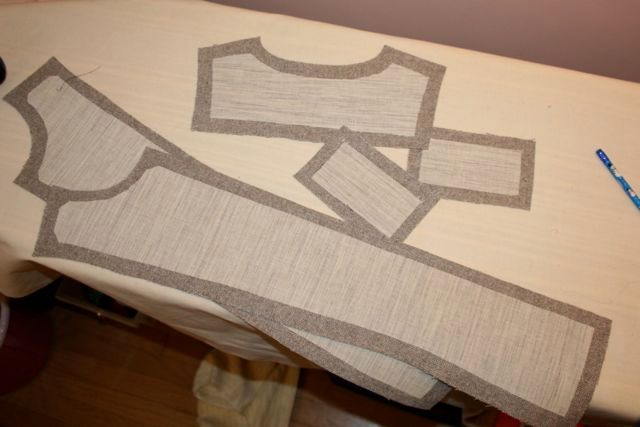
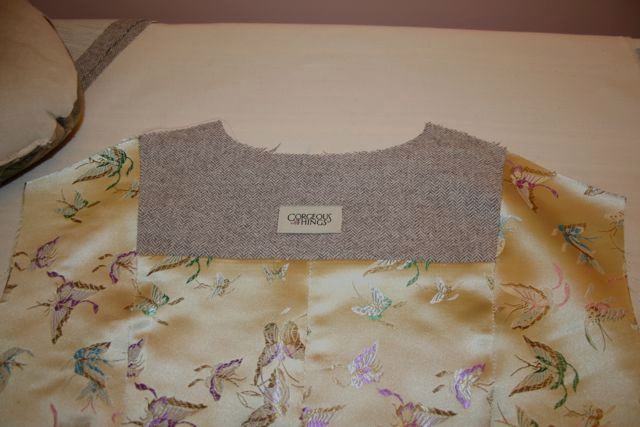
Start by applying interfacing to the facing pieces that will be joined to the lining.
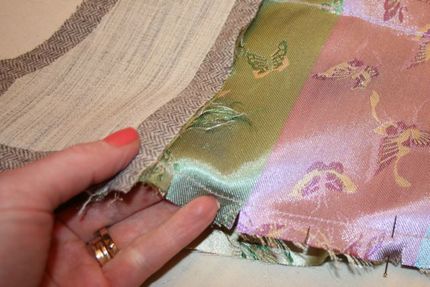
When making a jacket, clip to the staystiching first.
When making a jacket or jacket lining, I sew the back and side-back pieces together first, then I sew the front and side-front pieces together. Then I sew the front to the back at the shoulders and side seams.
Pressing the Night Away
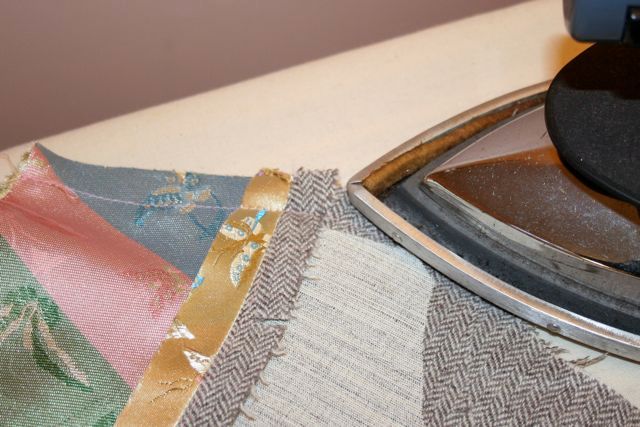
Anyone who knows me knows that I am a stickler for pressing. On every seam, press the seam allowances flat before pressing them open.
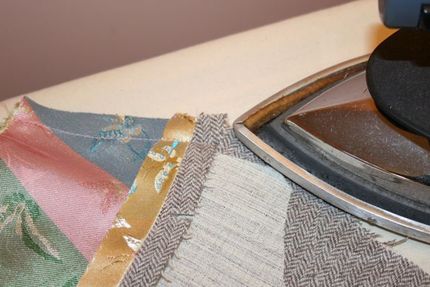
Press each seam flat, as stitched. 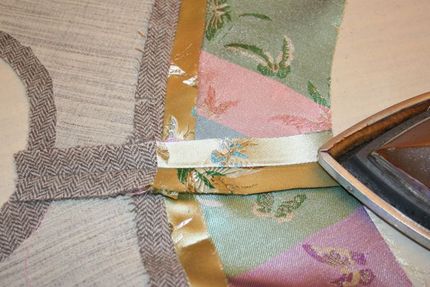
Next, press the seams allowances open.
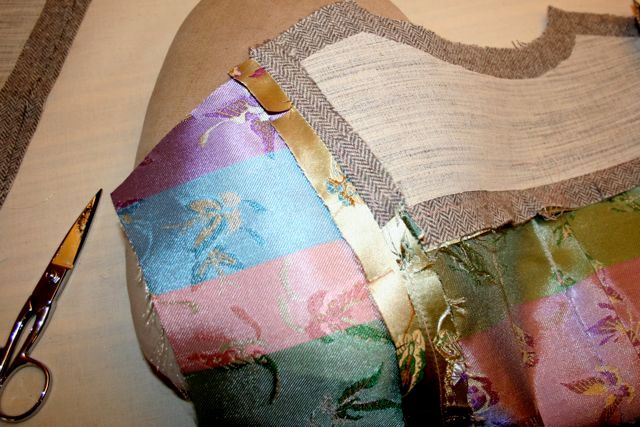
For curved or even slightly curved seams, you will get much smoother results if you press over a ham. The curved surface ensures that your seams lie smooth and look great.
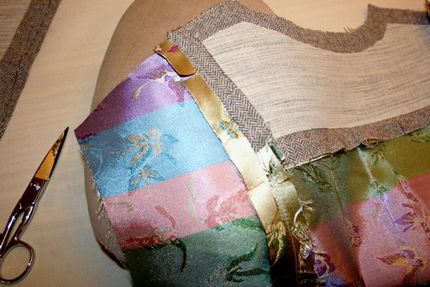
Press over a ham to get a beautifully shaped seam.
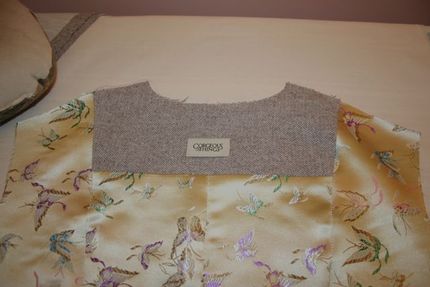
After careful stitching and pressing, the jacket lining looks good enough to be on the outside of the garment!
Once the Body is Done, Add the Sleeves
I set in the sleeves to any jacket using the method I described in Pucker up? Not when it comes to sewing! I also use pin-basting to ease the elbow on my two piece sleeve.
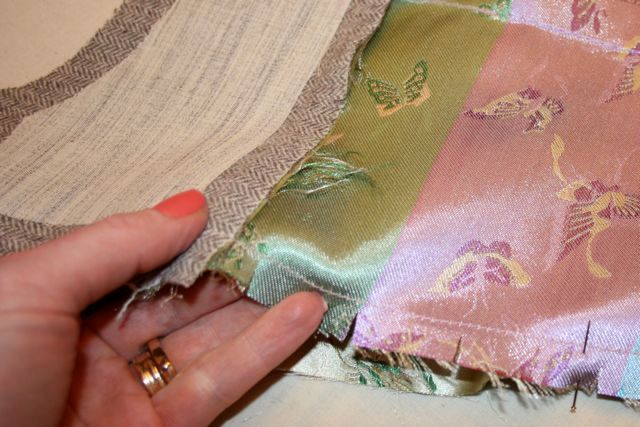
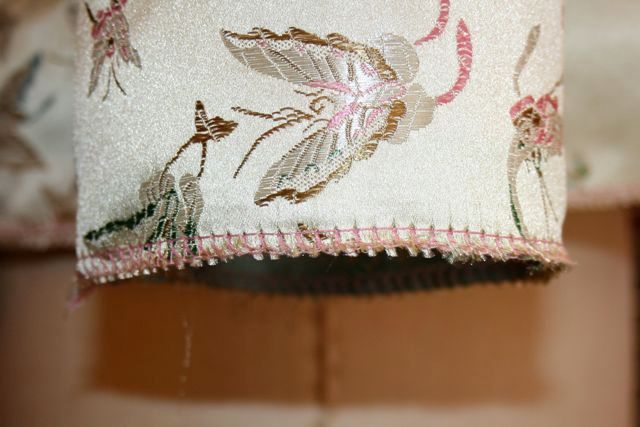
Here’s what I have so far. The last thing that I do before putting the lining aside is serge the sleeve and lining hem edges. This is especially important if you’re using a fabric that ravels easily, like brocade.
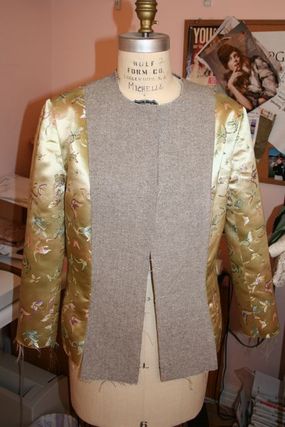
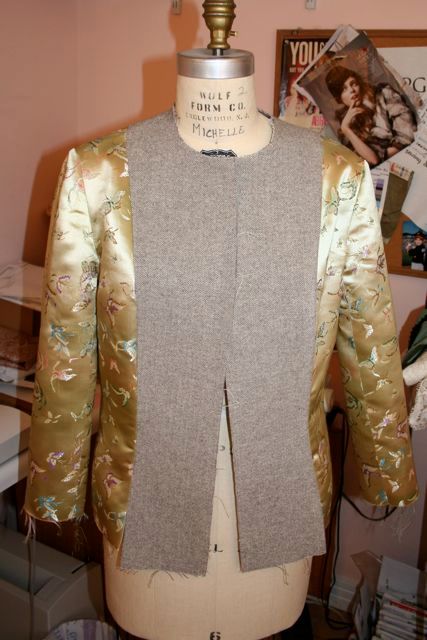
Here is the assembled jacket lining. 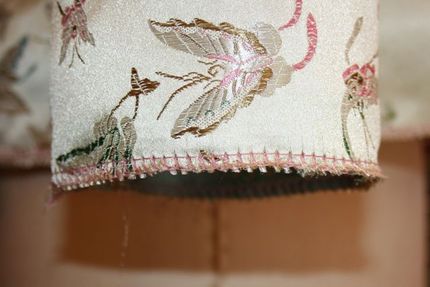
Serge-finish the sleeve hem edges.
Next, I’ll show you how I assemble the jacket, insert the lining, and apply trim!






wonderful jacket making product.