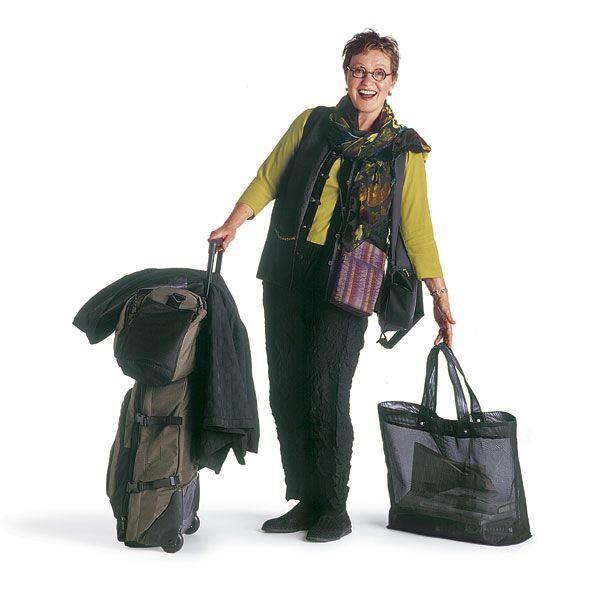
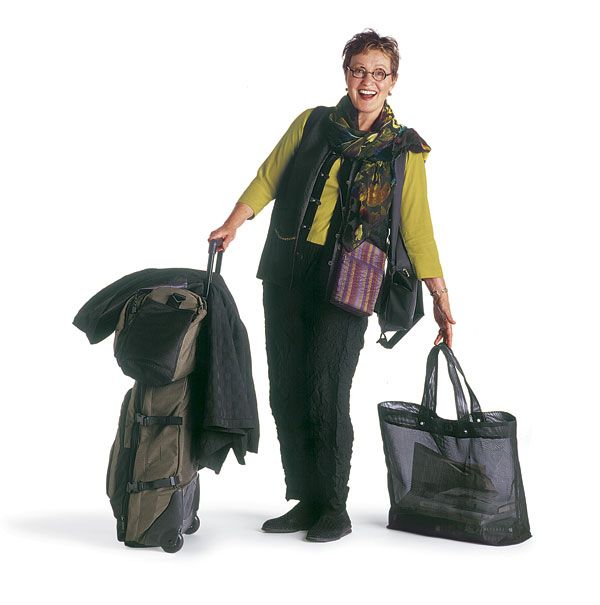
Rolling luggage, malleable carry-ons, a convertible vest, and a coat designed to fit comfortably over layers make globe-trotting easy.
By Marcy Tilton
from Threads #100
I come from a family of travelers and have spent much of my life on the road. As an adult, I have traveled from Denmark to Kenya for nine months in a Mercedes van packed to the gills, and I’ve enjoyed numerous travels to Europe, including one three-week jaunt that fused urban Paris, a workshop in the Swiss Alps, and an exploration of Venice. I have crisscrossed the United States to teach sewing, hauling big black suitcases with a tag labeled “heavy” permanently attached, and have driven my fully laden minivan to innumerable sewing retreats. As a result, I realized a few years ago that my favorite travel fantasy was to travel light, to easily carry or pull on wheels everything needed for a three-week trip, and to look and feel great while doing so.
I’ve worked on realizing that vision for several years, and last year, I fine-tuned my previous efforts when planning for another three weeks in Europe. For this trip, I decided to combine past personal experience with advice from travel experts to develop the perfect globe-trotting wardrobe. I sent off for travel catalogs and began haunting travel stores to see what I could learn. I picked veteran travelers’ minds for what each considered essential. I read stacks of books and shopped for luggage in upscale stores and in outlet malls-I even took classes in packing. Here, I’ll share the lessons I’ve learned and the strategies I’ve developed.
At the outset, give up thinking that a travel wardrobe has to be sewn entirely from scratch and that everything must be brand new. That’s just not realistic for most of us. And let’s face it: How much time do we have to sew nowadays? When I went to Italy last fall, with six weeks in which to get ready, I had to decide how many pieces I could complete in the available time. I surveyed what I already had, determined which pieces were the most important to make, and decided what I would like to wear. This, of course, was greatly influenced by where I was going, for how long, and what I was planning to do while I was there. In short, I developed a strategy for creating this travel wardrobe.
First I reviewed my current wardrobe, fabric stash, and collection of patterns to see what I already had to work with. Next I took time to define what I expected and wanted from the clothing I would live in day in and day out on my travels, and to determine exactly what and how many pieces I needed. Then I made a point of spending my major sewing time where it counted-on key pieces.
Start by Reviewing Your Closet, Fabric, and Patterns
The first step of my journey begins with “shopping” in my own closet and my fabric and pattern collections. I put garments I wear and love most on a clothes rack and display shoes, bags, and accessories under the rack where I can see them and consider them for possible travel attire. I look for the most flattering garment shapes and silhouettes among these clothes and inventory what I can incorporate into my new travel wardrobe. If a garment from last season worked well, I consider making it in another fabric or color and maybe even improving on the original. I make sketches, take notes, and begin a shopping/want list. When reviewing my fabric stash, I look for pieces that work with existing garments and that enhance colors, textures, and function of the developing wardrobe. I prefer to work with solid colors or woven designs rather than prints, because, as a fiber artist, I often create my own patterned fabrics by adding stamping, stenciling, stitching, or embroidery.
During this review stage, I also look through my favorite patterns, particularly for basics like pants, skirts, or tops. Inevitably, I start with too many choices, and ultimately edit out patterns to suit my travel needs. Early in the planning stages, I do a numbers crunch. That is, if I’m going to travel for three weeks and plan to wear each outfit four times during those 21 days, I’ll need five to seven outfits, including what I wear on the airplane. In the “Wardrobe list” below, I’ve suggested items and quantities of clothing to pack for a three-week trip. Destination and weather conditions are important factors to take into account when planning a trip. I have both cool and warm weather core travel wardrobes. I select from one of these for each trip, adding special pieces and eliminating anything that I don’t find essential.
Define Your Wardrobe Preferences
Everyone has his or her own preferences about clothing and what’s really important for daily wear while traveling. For some people, pockets are key. For others, color or style may be a chief concern. If you take time early on to define what you want, it will make your shopping and packing decisions fast and easy. Here are the requirements and expectations I have about my travel clothes:
- Fabrics must feel good, not wrinkle, and not show dirt. Stretch knit velvet is a good example: It can be either hand- or machine-laundered and dried. Crinkle rayon is another good choice if you pre-wash it to exaggerate its texture and to reduce wrinkling.
- Clothes must be comfortable. Don’t let your clothes limit your activity. I want to be able to sit on the floor or do yoga in any of my clothes. They should have a comfortable waistband and should be styled with an easy fit, the fabric needs to stretch, and skirts must be wearable for when riding a bike.
- The style must be distinctive. I want the clothes I make and buy to reflect my personal style. Whether with regard to the color, embellishment, silhouette, or shape of my garments, I want to feel and look distinctive, individual, feminine, and chic-coming and going. When I get dressed, I expect to feel great, then forget about my clothes and go out to explore the world.
- My wardrobe must have a color palette. I work within a three- to four-color palette when assembling my travel garments. Black, purple, acid green, and a few shots of coral were the palette for my recent trip to Europe. With limited colors, the wardrobe easily coordinates with itself and opens up to harmonious on-the-road combinations. I should be able to layer garments over one another-I like to assemble separates that go with, over, and under each other so I can create new looks from a few pieces and be comfortable. Hence, a jacket and a coat, which will ultimately go over everything else I pack, are essential. The necklines and sleeves must nest together easily, and the jacket must slide smoothly under the coat.
- Passion is key. I love every piece of clothing I take and leave behind anything I feel just so-so about.
Design While You Sew
I actually start sewing before settling on all the final pieces. While making a favorite pair of pants or a T-shirt, for example, I’ll plan more complicated travel garments. By switching back and forth between simple and complicated sewing, my brain designs while my fingers stitch. I start from the ground up (pants and skirts first) and from the inside out-leggings and T-shirts before the jacket, with the coat last to make sure its style works over everything else. This strategy allows me to consider more than one coat pattern and tissue-fit the candidate patterns over the other clothes to see which style will prove best. Because these clothes get a lot of wear, I take care to use sturdy construction techniques like French and flat-felled seams, as well as topstitching to hold seams flat and add details like pockets.
Become a Pocket Collector
One of the best reasons for making your own clothes is to add pockets to your heart’s content. I collect pocket patterns to use in future garments and even to add to ready-to-wear clothing. Pockets should flatter the figure and harmonize with the overall design of the garment. While designing and placing each pocket with attention to accessibility, I also scale it to my size and shape.
How to make a hidden patch pocket
Issey Miyake sometimes uses this pocket on shirts and jackets. It can be hidden on the inside or placed on the outside of a garment. One vertical edge can be caught in the front band or placket, or the pocket can be applied as a stand-alone patch or entered by a vertical welt opening made in the outside layer of the garment. In a plain fabric, it becomes a design detail, and in a patterned fabric, it all but disappears.
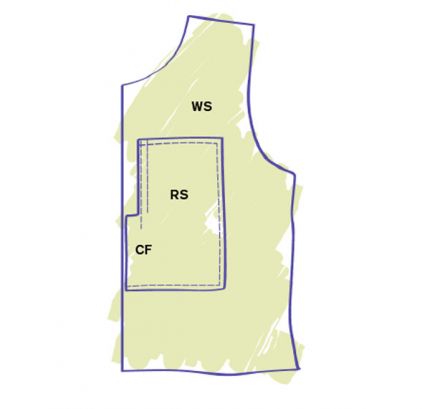
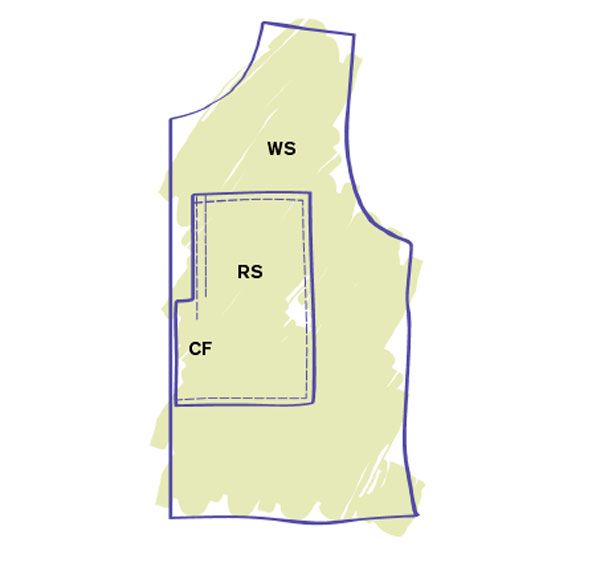
These directions are for a patch pocket topstitched to the inside of the garment with a pickpocket-proof vertical opening on the inside, adjacent to the placket. The finished pocket measures 6 1⁄2 in. by 10 in., with a 5-in. opening.
1. Cut rectangle of fabric 7 1⁄2 in. by 11 in.
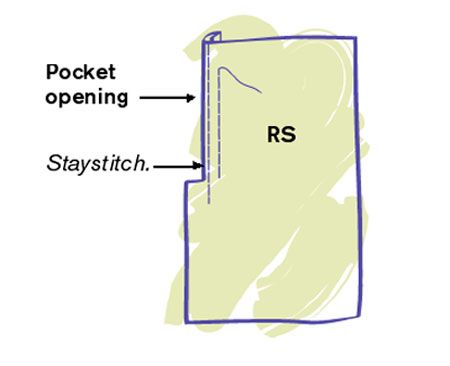
2. Make mark at midpoint of long edge. Staystitch to just beyond mark. At mark, clip from edge to stitching. Fold under 1⁄4 in. twice at staystitched section (pocket opening) and topstitch.
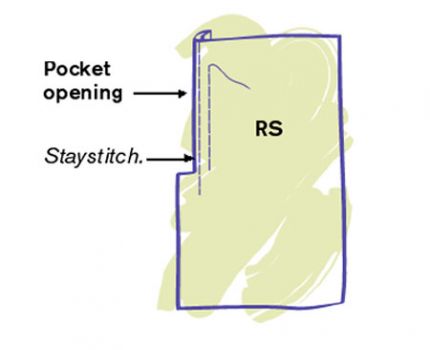
3. On remaining three sides of pocket, press 1⁄2 in. to WS.
4. Baste pocket in place, matching raw edge to front edge of garment. Mark a precise disappearing stitching line on garment RS, topstitch from RS using guidelines, and then apply placket or front band.
How to make a hidden hanging pocket
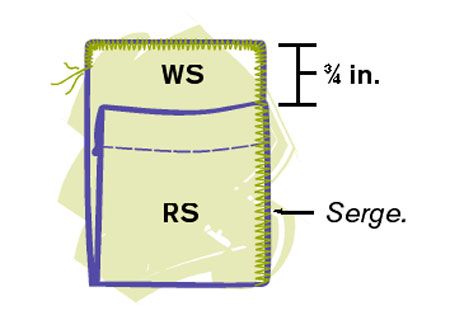
The following little hanging pocket can be added to a skirt, jeans, or leggings in just a few minutes.
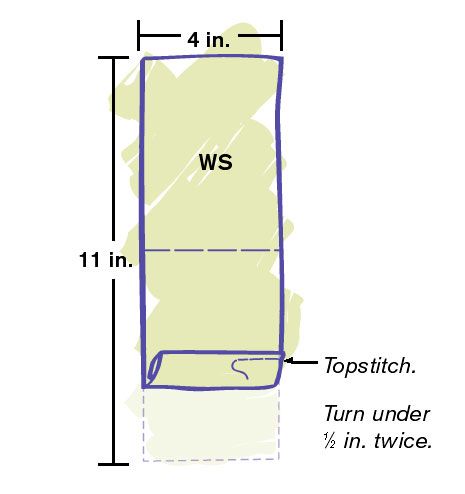
1. Cut pocket fabric 4 in. by 11 in.
2. Fold a double 1⁄2-in. hem to WS on one end, press, and topstitch. Fold hemmed end up to opposite end, leaving 3⁄4-in. margin.
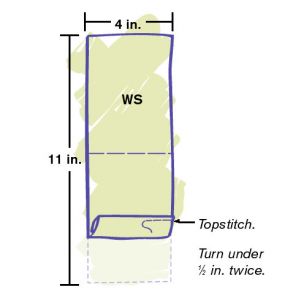
3. Serge around all raw edges to finish edges, and make pouch.
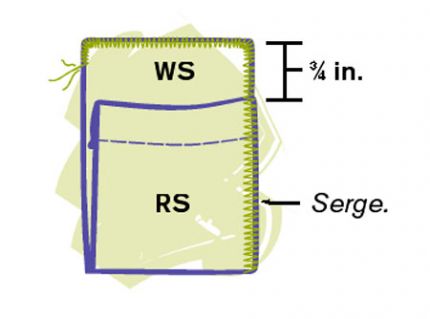
4. Place pouch inside garment; align extending end across waistband seam. Stitch in ditch of waistband seam through all layers.
Spend Your Time Where it Counts–on a Jacket and Coat
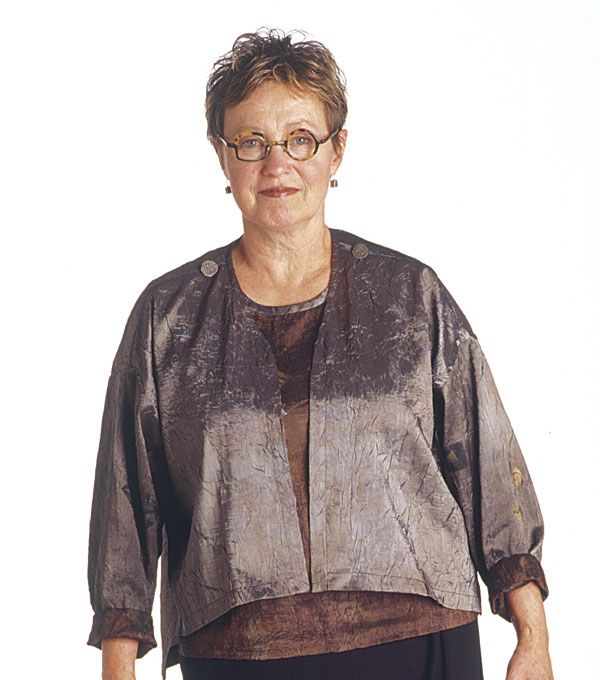
A jacket and coat are the two pieces worn most and seen most by the world. And they’re generally the most time-consuming to construct. Because I want to be sure about the patterns I pick for these key pieces, I spend a lot of time considering the options. After winnowing my jacket-pattern choices down to three or four, I carefully filter the criteria below to decide which one I’ll make. When I expect to wear a jacket every day for three weeks, from morning until night (sometimes even sleeping in it), besides being comfortable, I want it to have a distinctive shape and a high sense of drama. (For me, Issey Miyake patterns often fit this bill.) I add many pockets to my jacket and coat because I also want these garments to serve as “carry-on luggage” and transport a lot of stuff.
If I don’t have lots of lead time, I use a pattern that I’ve made before and know I like. Because I’m repeating it, the previous garment serves as a fitting muslin, and I already know the pattern techniques. When there’s only time to make one jacket, I want to be sure it is successful.
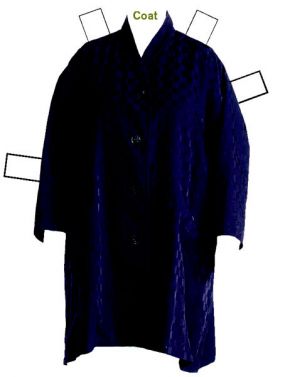
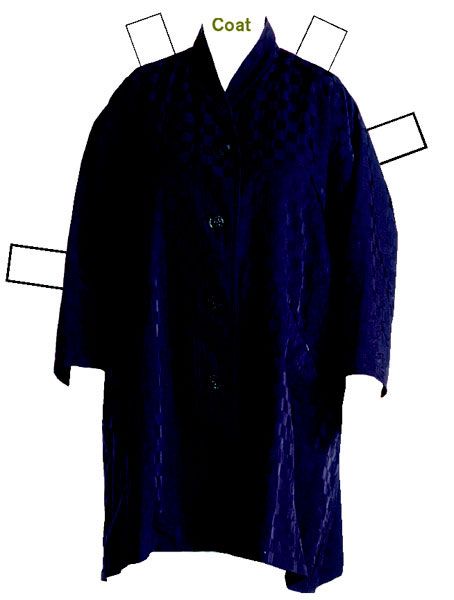
In cool or damp weather, a coat may be the one thing that you will wear daily, so the design choice for this garment is crucial. I like a raincoat that is roomy enough to fit over many layered garments, yet folds up into nothing and doesn’t wrinkle. And while I love big, long, dramatic, ankle-length raincoats, I don’t like them for traveling. There’s way too much fabric, which drags on stairs and can trip you. Instead, I prefer a knee-length coat-one with a great shape, of course. I realize that when you’re making a short coat, the only silhouette that works below it is a narrow one. Therefore, bottoms need to stay slim. I avoid A-line and long, flowing skirts and wide pants.
Making a roomy coat is much like sewing a big shirt. There’s little fitting to it, and it goes together quickly. Single-breasted is the best because it takes less fabric and is therefore lighter to carry. Instead of making a collar, I will wear a big scarf.
Planning a travel wardrobe is part of the joy of the journey. If you combine my strategies with your clothes, fabrics, patterns, and itinerary, you are bound to have a bon voyage.
Wardrobe List
21 days divided by number of wearings per garment (4) = 5.25. I plan 5–7 complete outfit changes (not counting the coat and jacket).
Coat: The raincoat you can wear to dinner in Paris or stuff in your satchel.
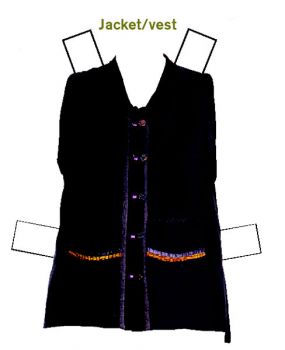
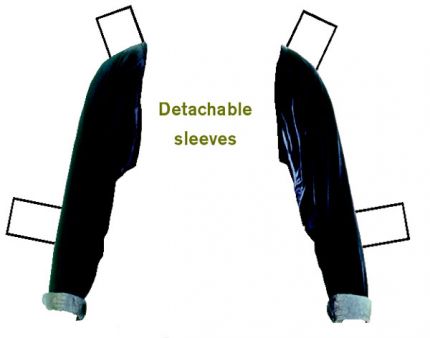
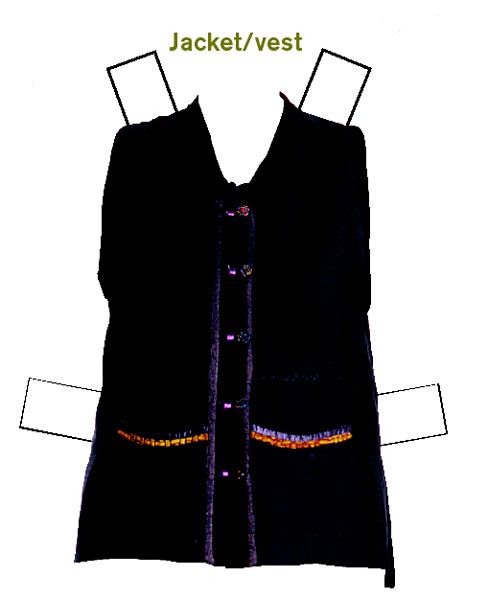
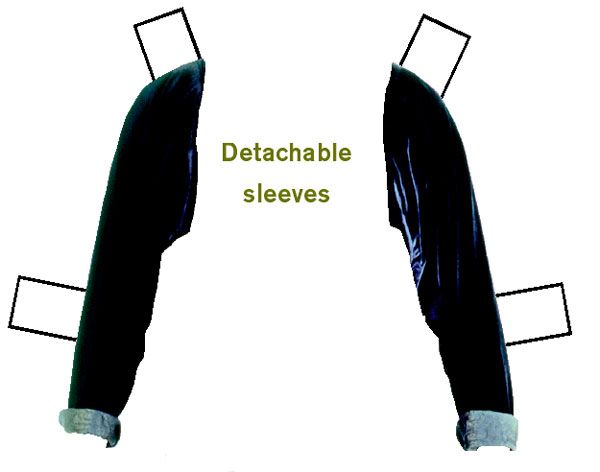
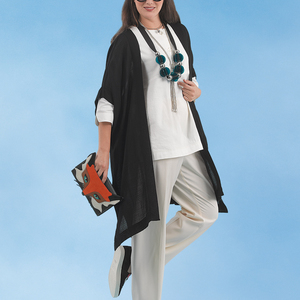
Jacket: You need only 1; it must flatter your figure, be comfortable, not show dirt or wrinkle, work under a coat, and work over all tops. A detachable sleeve lets it serve as a vest too.
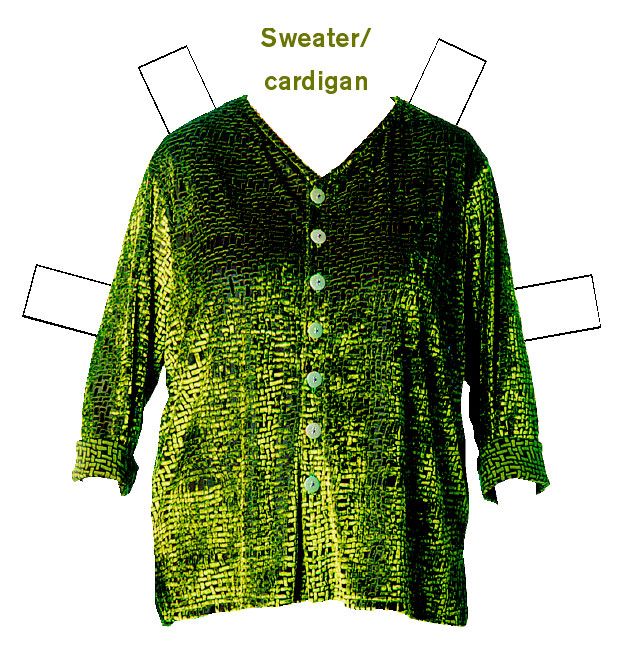
Sweater (optional): Not too bulky, in a flattering color from your palette.
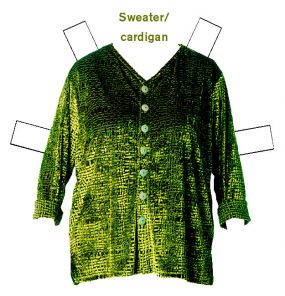
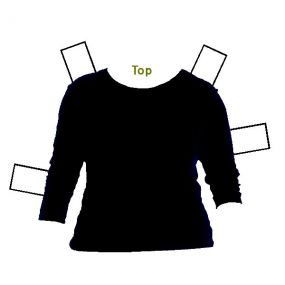
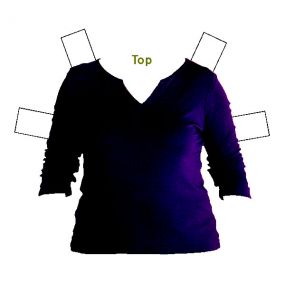
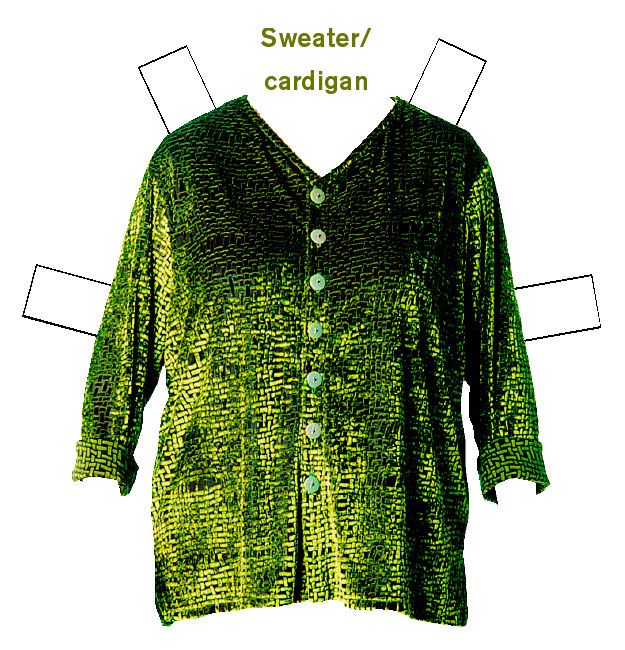
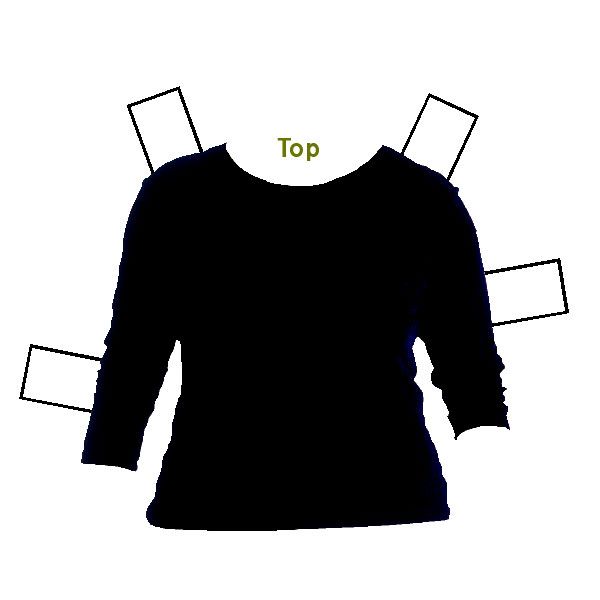
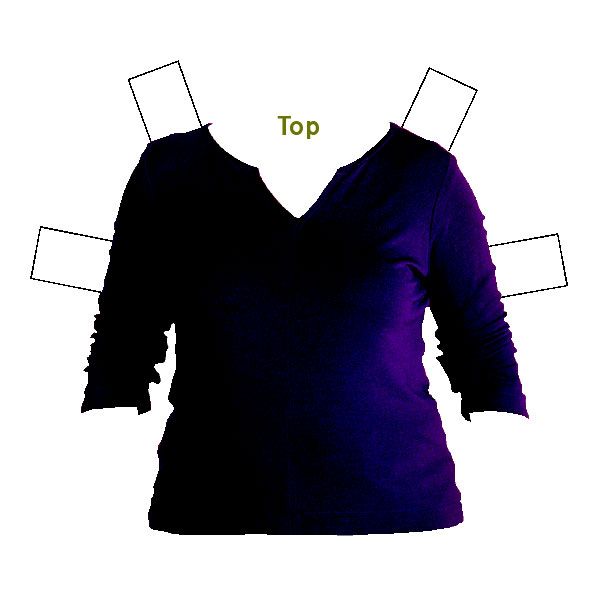
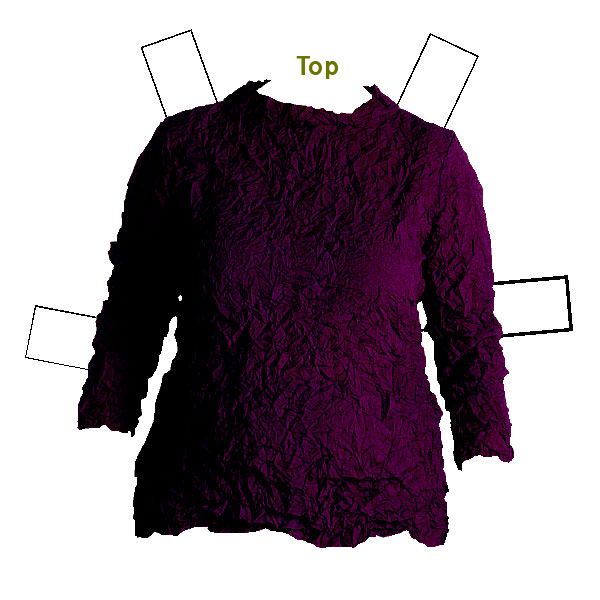
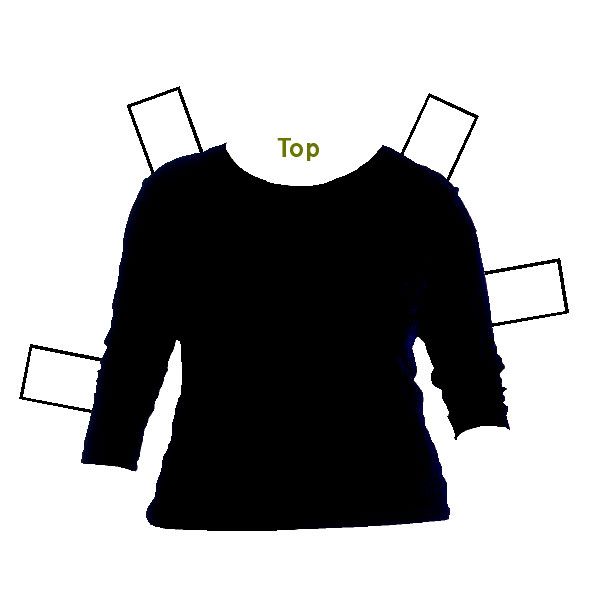
Tops: 3–5 long-sleeved T-shirt-type tops in a variety of weights plus 1 cardigan that makes a twin set with 1 of the tops and can be worn with at least 2 others.
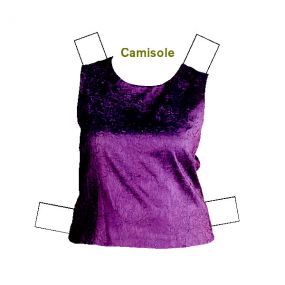
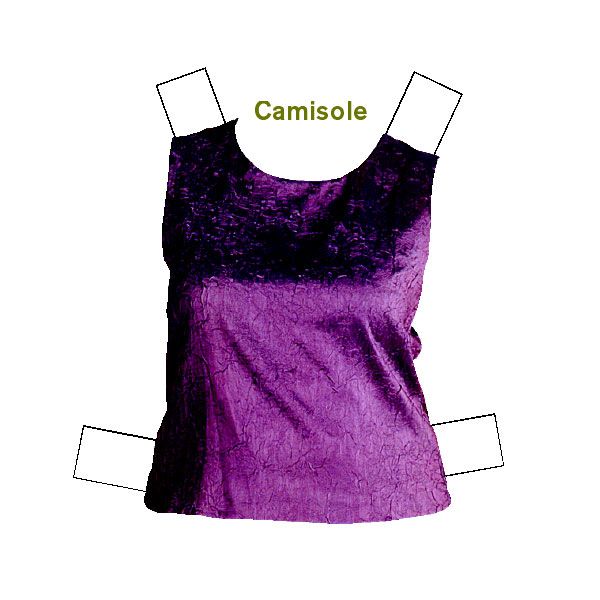
Camisole-type tops: 1–2 to layer under other tops or sweater or to wear for morning yoga-stretching or jogging.
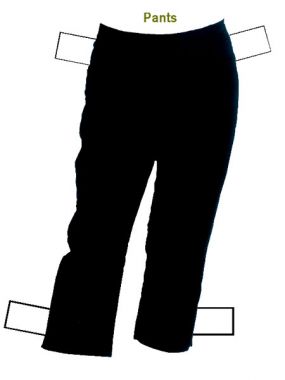
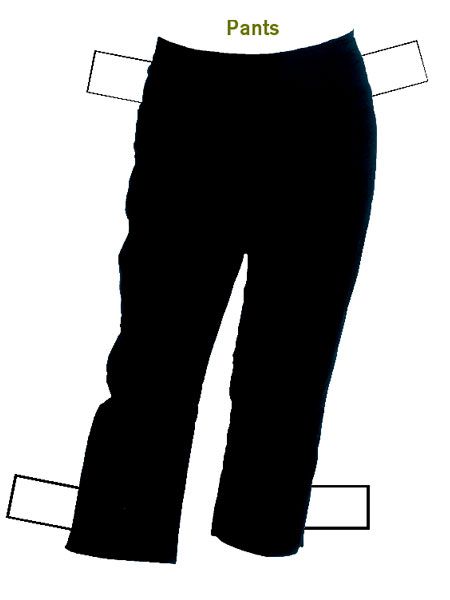
Pants (2 pairs): 1 pair stretch jeans; 1 pair soft, feminine pants.
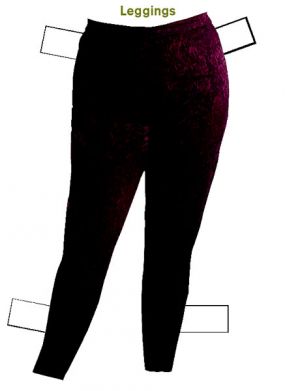
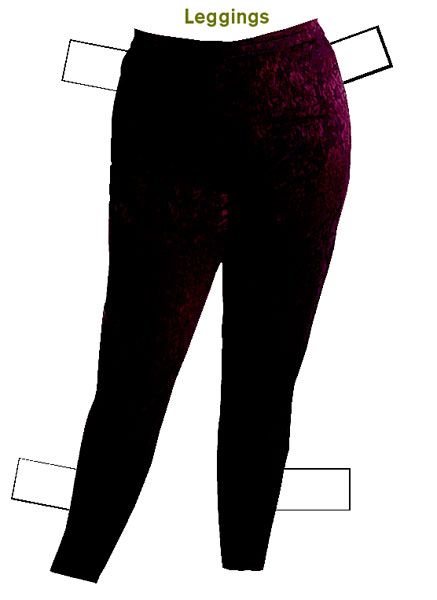
Leggings (2 pairs): 1 pair stretch velvet leggings to wear on the plane, for warmth or lounging; 1 pair lightweight, rayon/spandex, slinky knit leggings to use for exercise or to layer under the skirt or pants for warmth.
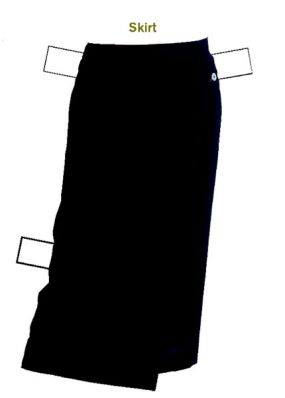
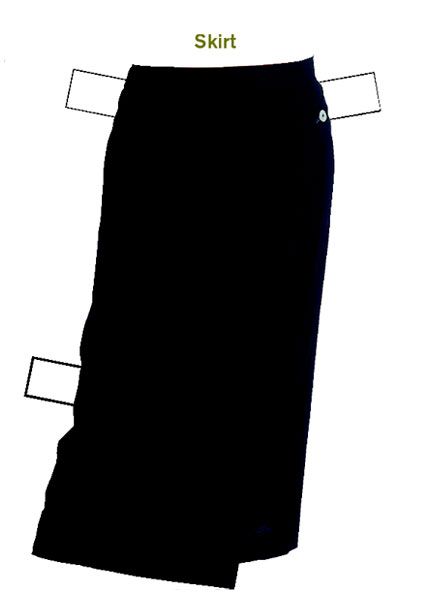
Skirt: 1 in a kimono poly crepe.
Travel Tips
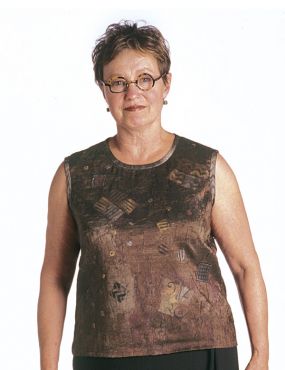
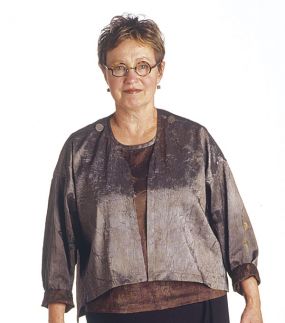
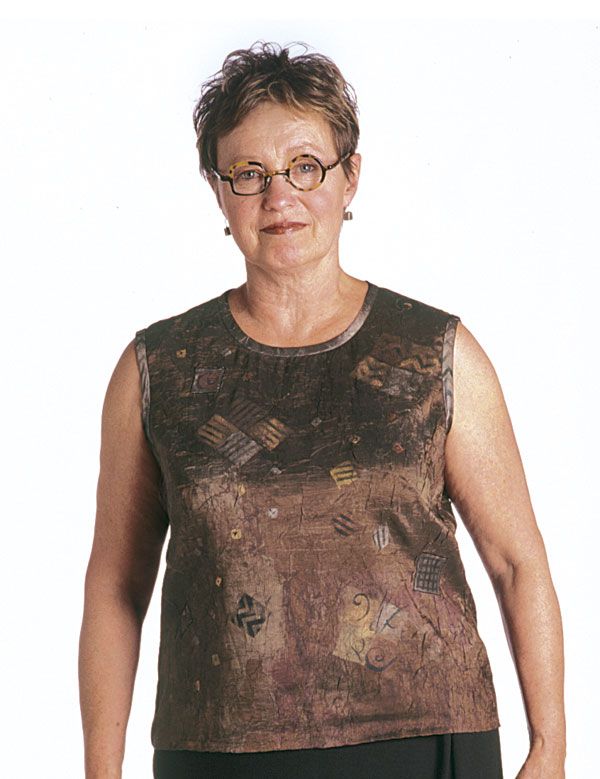
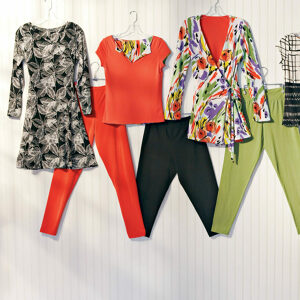
- Layers work for travel in any season. Here, a lightweight tank, jacket, and over-vest suit up together or independently to be eye-catching from 360 degrees.
- A shawl is a great travel accessory to wear over lightweight garments or, in cold weather, over or under a coat. And use it on a plane as a blanket.
- Sew T-shirts from unexpected fabrics like a cashmere knit or a velvet burn-out. Make a cardigan to go with it to create a twin set.
- For a warm-weather wardrobe, make a vest in silk organza to wear over a sleeveless top or T-shirt. You’ll gain attitude without adding bulk or weight to your luggage.
- Instead of a lined raincoat, make two jackets from the same pattern in different fabrics. Wear one over the other, or wear each separately.




Quite frankly I have not been away for more than two weeks.
I have accumulated a wardrobe of reversable mix and match outfits. I try to stay to solid color on one side and something wild on the other. Many of mine came from ebay and
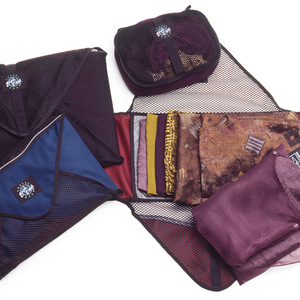
are amazing. Plus 99.9% of the items can be rolled up and packed and comeout fresh as a daisy. I also pack travel size
Downey Wrinkle Releaser. Bon Voyage!
I like to make and wear skirts from knit fabrics. They're cool if the weather's warm and more appropriate than shorts on most occasions, especially if we're travelling abroad.
I also love garments with lots of pockets and have been known to add an interior pocket to my jackets.
Kwik Sew pattern 3097 - reversible bias cut skirt. I made mine with eyelet on one side and a solid color silk on the other.
Black is always good, especially if you're in Italy. Take colorful scarves to jazz it up.
I used to travel for business teaching seminars. Frequently I would fly to a particular state and work my way across that state visiting a different city each day. So I bought several leather skirts in different colors - plum, forest green, blue etc. Leather doesn't wrinkle and cleans easily (not suede - leather). A few blouses that could either dress up the leather or dress it down for dinner in the evening. One casual jacket and one dress jacket and I could make it through a week easily with two skirts and a few coordinated pieces. I stayed away from black and red leather - too much significance attached to those colors.
Each time I travel, I create a different wardrobe. It depends on where I am going and the time of year I am traveling. My favorite time to travel is spring, summer or fall, that way I can choose a comfortable pattern style with plenty of wearing ease for hours of sitting, eating and drinking. I make tunic blouses that don't have to tuck in and pants with elasticized waists. Drapey crushable silks and silk blends are easy care, warm when layered and wrinkle-resistant. I try to make my luggage as light as possible since I carry it on flight or take up small space in a car.
first, as they say, good minds think alike! i do usually take jaunts, but often to NYC, where style, color and POCKETS! matter alot. sometimes i'll build the planned pocket into a seam, but after i've first placed a hip patch pocket on the outside. i make a necklace purse for easy access to tokens, coins or commuter cards i need ready access to, carry a small handbag w/a mesh shopping bag inside for when i find something i must have from or for my gadabouts.
i make reversible jackets when it's cold, kimonoesque gossamer weights for when it's warm but the temp might drop or i want some evening drama