Couture Tool Kit
Necessary notions for refined results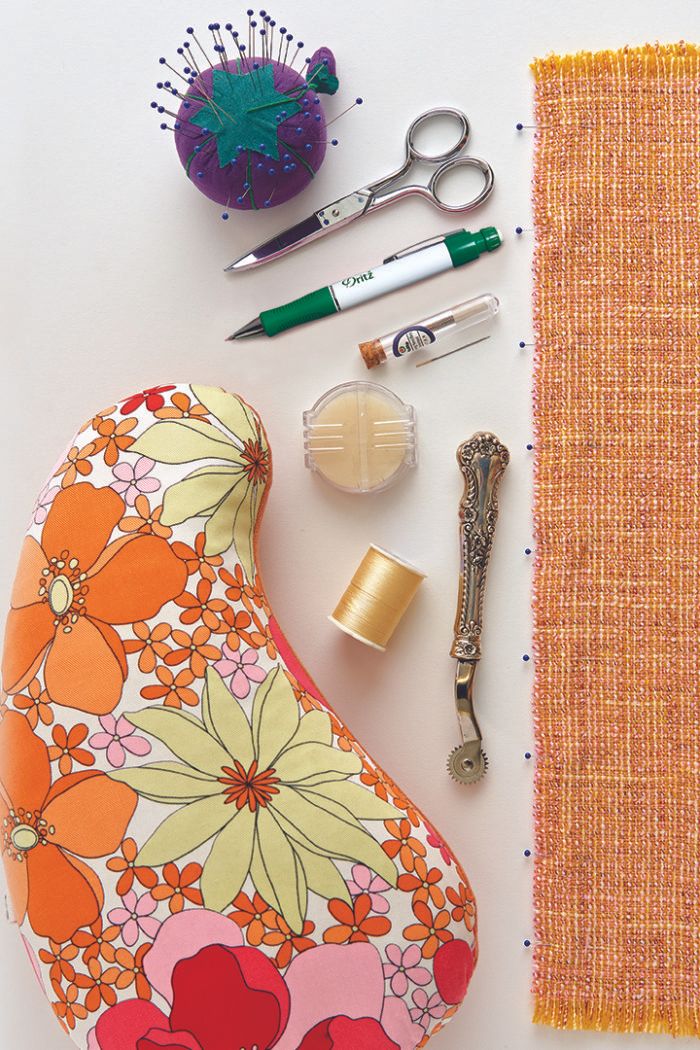
In high-level sewing, you seek control of the process, from beginning to end. The correct tools make each step easier and faster as you pin, mark, cut, shape, sew, and press.
I’ve listed the notions that are, to my mind, essential for fine sewing. Though I often work on couture garments, these implements are helpful for all types of sewing at any skill level.
You’ll go a long way toward guaranteeing a good result with these implements at hand.
Waxed tracing paper
Couture sewing relies upon marked seamlines to indicate where to stitch, as opposed to stitching a certain distance from a cut edge. You may mark on the underlining (a backing layer that gives stability to the fashion fabric) or directly on the fashion fabric. The best way to do that is to trace the seamlines with waxed tracing paper, which traditionally comes in white, yellow, red, and blue.
There is no more accurate means to record stitching lines, as well as other important information: hemlines, placement lines, the center front and center back, buttonhole and pocket positions, and more. Be careful that the marks do not show through to the fashion fabric’s right side. Avoid powdered tracing paper, which covers everything with colored powder, and stick to the waxed paper that’s a staple in every couture workroom. Be warned that once it is applied to the fabric, the wax is there forever. In addition, try not to fold the paper, as you want it nice and flat when you work with it.

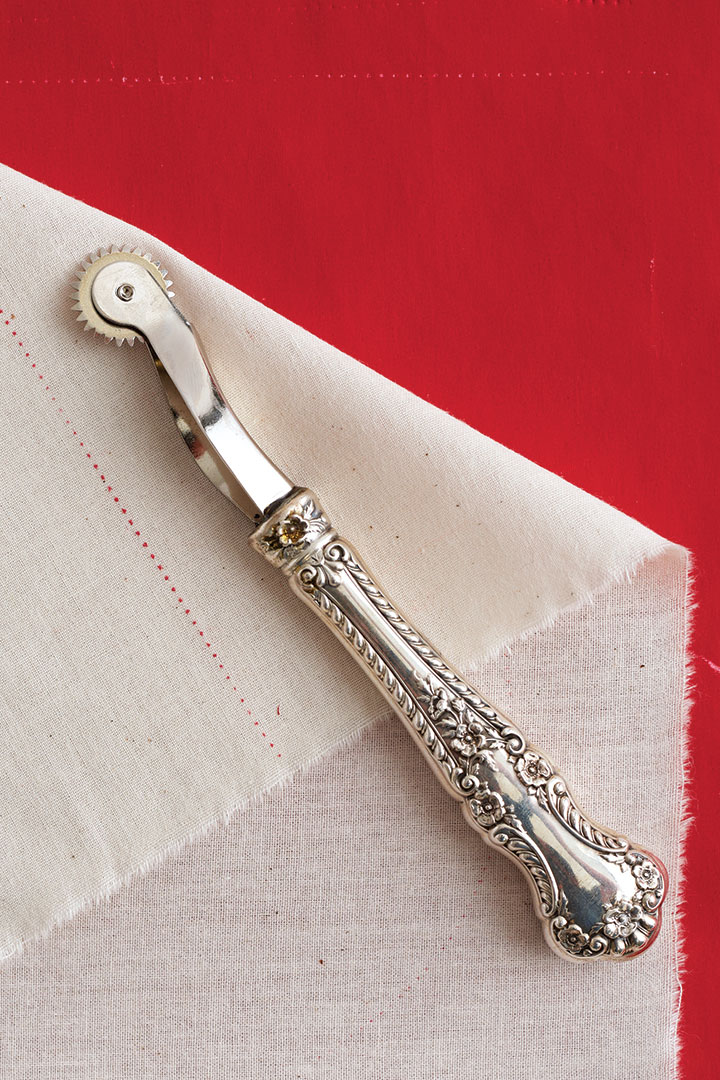
Serrated tracing wheel
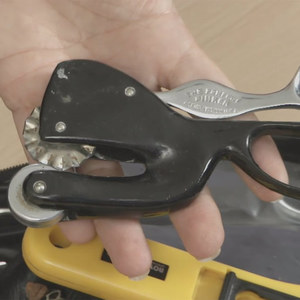
There are lots of fine tracing wheels available. Be sure the one you choose feels good in your hand, and allows you to see the wheel as it makes contact with the line or mark you are transferring —not all of them do. I prefer a serrated edge; it grips the fabric better than a plain edge. Make a sample to find out how hard to press. Press just enough to make a line you can see. Do not confuse the serrated-edge wheel with a needle-point wheel, which is for perforating thick pattern paper. You risk harming the fabric and perforating the tracing paper with its sharp points.
Basting thread and needles
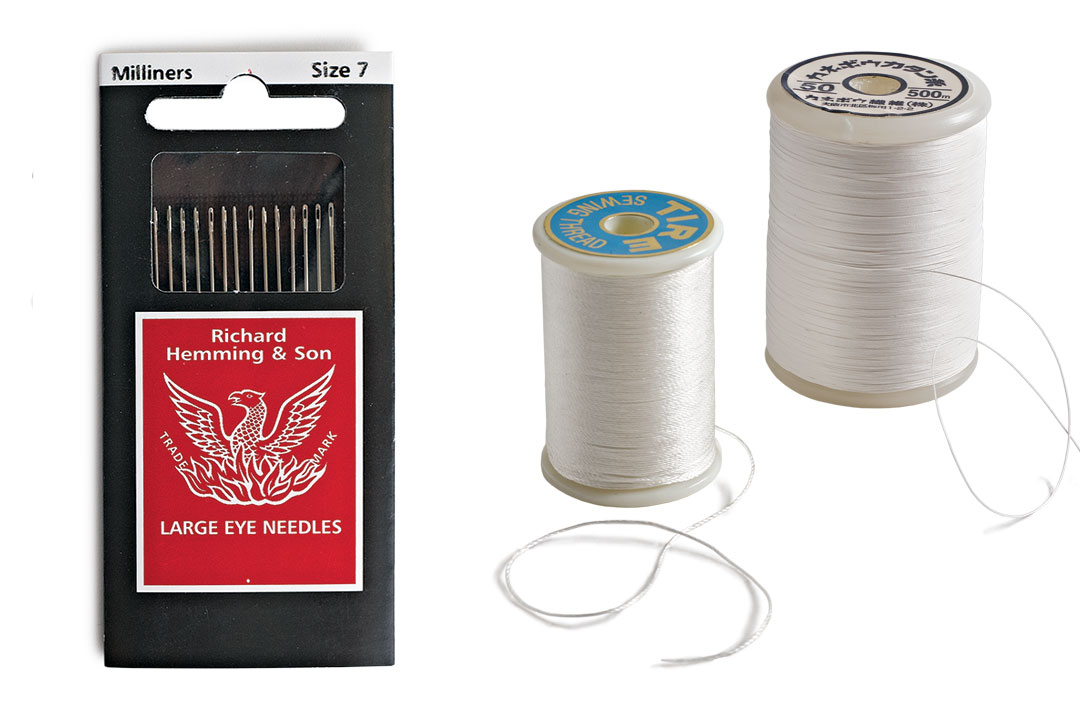
Basting is a big part of the couture sewing process, for marking seamlines and other important information, and then for assembling the garment for fittings. While machine basting is an option, it is painstaking to remove when the permanent stitching is placed close to or over it, and it can mar the fabric.
Hand basting is the way to go. Silk basting thread used to be the standard, but it is now difficult to find the right weight. Cotton basting thread has a bit of grip that helps it stay put, it is lovely to sew with, and it is easy to pull out. It is thicker thanregular thread, so you’ll need a basting needle with a larger eye. Basting needles are worth adding to your tool kit. They are longer than hand-sewing needles, so you can stack up several stitches on them and baste long lines quickly.

Scissors assortment
You need what I call a scissors wardrobe. I consider these three essential:
4-inch scissors, with blades that are sharp all the way to the points: Use these to clip into corners, trim seam allowances, and tidy up threads. I prefer scissors with large thumbholes. You are constantly cutting with the scissors and then putting them down, and that process is far easier when you do not have to pry your fingers out of small thumbholes and finger holes.
5-inch tailor points with a strong spine: They have the strength of large shears without the weight and bulk. Your hand won’t tire while you cut with them. They are ideal for working on thick layers that would overwhelm—and ruin—smaller scissors.
8-inch shears for big cutting jobs: Be sure to get a pair that feels good in your hands and opens easily; otherwise the shears are uncomfortable and tiring to use. You might like the feel of microserrated shears, which grab even the most slippery of fabrics with ease.
Smooth-action chalk markers
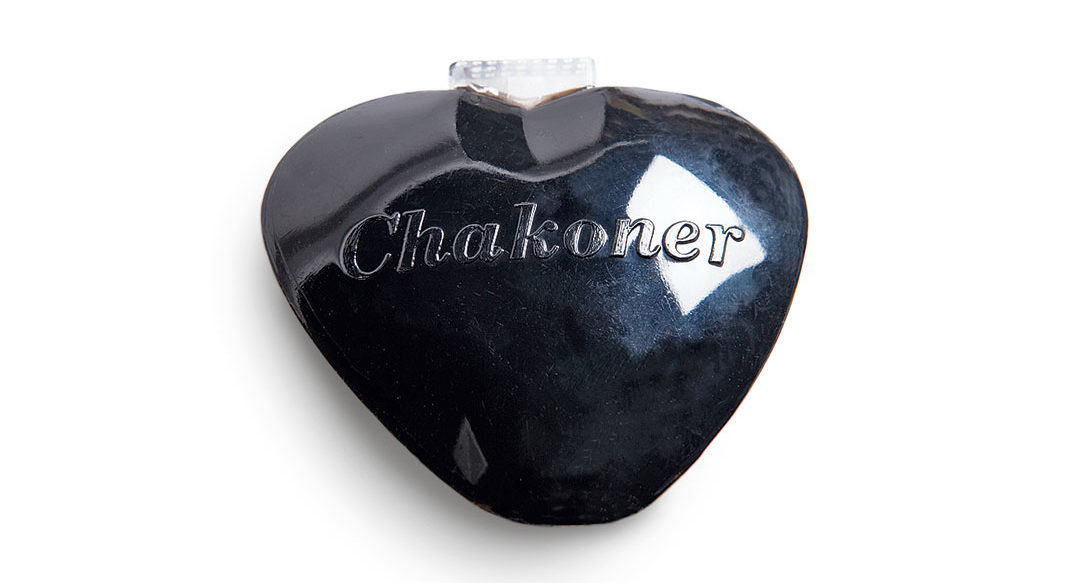
Choose a rolling chalk marker that moves smoothly on the fabric. If the roller snags the fabric and shifts it (a common problem), then you’ve lost accuracy and your marks are useless. The best I have found is the heart-shaped Chakoner. The roller wheel never snags on the fabric, meaning it does its job efficiently and accurately.

Marking pencils
You need a long-lasting mark on occasion, and a good marking pencil is a better choice than a rolling marker. Test the pencil on a fabric scrap to be sure the mark does not show through to the right side and/or can be removed later.
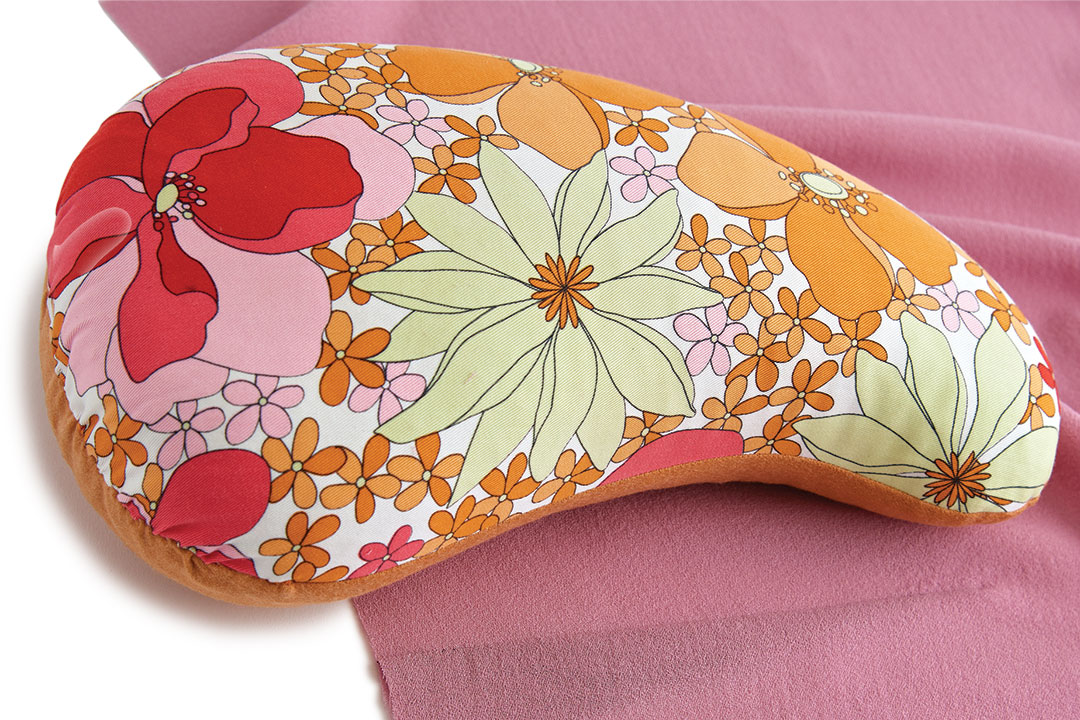
Pressing ham
In addition to your ironing board and a good steam iron, you will want a ham. This firmly padded pressing form does, indeed, look like a ham. It has a curved surface, which is essential for pressing anything curved, including shaped seams and darts. No matter how accurately you stitch, a curved seam or a dart looks amateur unless you press it smooth.
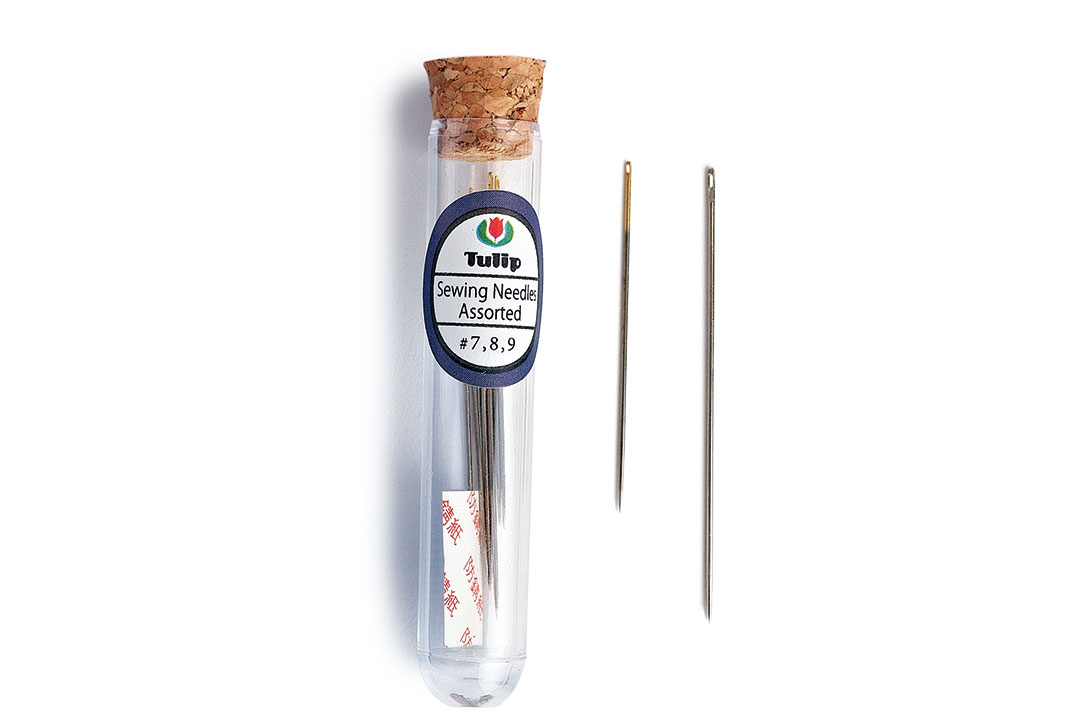
Hand-sewing needles
Hand sewing occurs frequently in couture, so select hand-sewing needles that do not bend, do not shred the thread, and are sharp enough to go through the fabric without distorting it. You want to avoid forcing a needle through the fabric, which is tiresome and leads to inaccuracy.
The finer the needle, the finer the eye. It takes some practice to thread finer needles, but it is worth it. Good needle threaders are available, too. Once you get used to beautifully made needles, anything else feels thick and cumbersome.
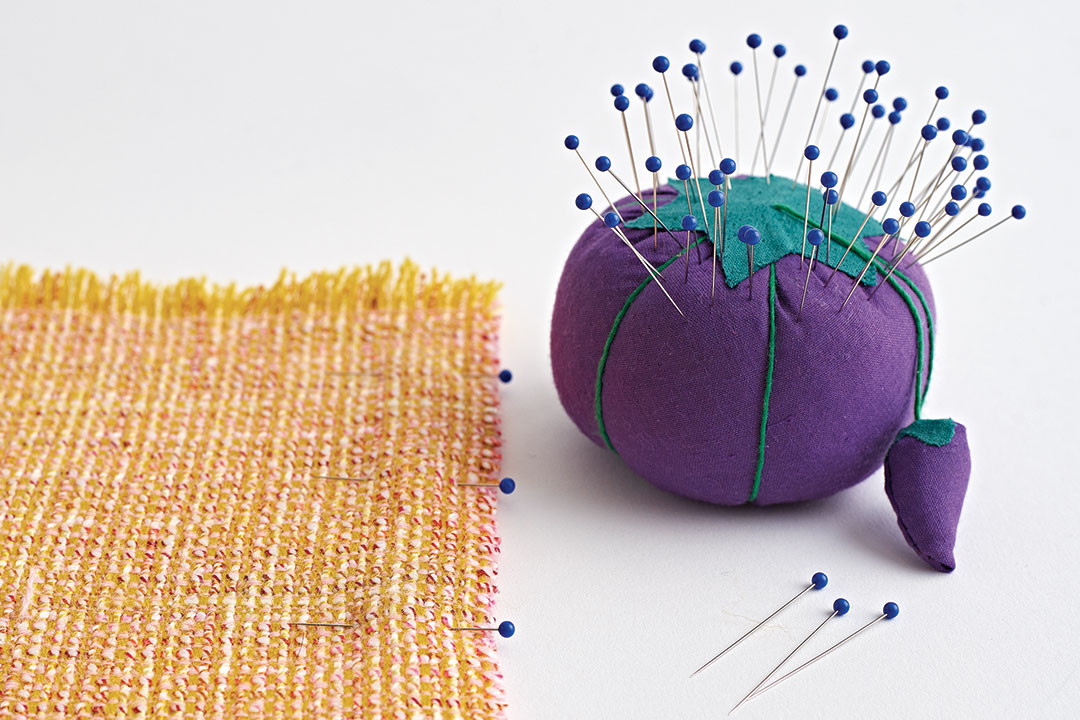
Thin, sharp pins
Pins need to be strong enough to go through multiple layers without bending but thin enough to glide through without shifting the fabric, which leads to inaccuracy or leaves a large hole. I like pins with glass heads. They are easy to push through fabric, they do not sink out of sight if you are working with lace, and the glass heads don’t melt if you press over them. I prefer pins 17⁄16 inches long. Be careful of pins that are too long and too thin. They are almost too sharp and they bend easily, in which case they are unusable. There are times when thicker, sturdier pins are necessary to pierce thick layers, but watch that they do not leave a hole in the fashion fabric. Working with thicker pins should be the exception, not the rule.
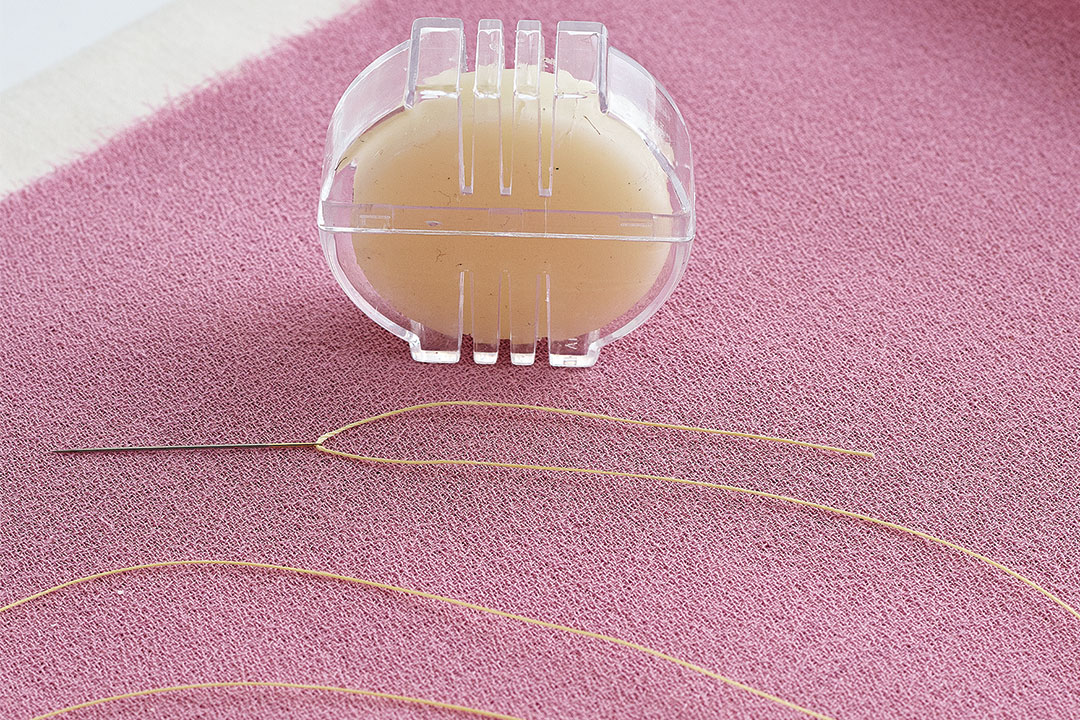
Beeswax
Some construction details call for strength in hand-sewing thread, especially when you’re installing a zipper, applying hooks and eyes, snaps, buttons, or creating thread chains and bars. For these tasks, you can strengthen the thread with beeswax. Pull the thread through the beeswax a couple of times, then press it to melt the beeswax into the fibers. The thread will behave beautifully, and more importantly, it will be stronger. While thread conditioner is popular and keeps thread from tangling, it does not add strength
Susan Khalje is a reads contributing editor.
View PDF



I want that beautiful tracing wheel! Where can I get one?
Me too!
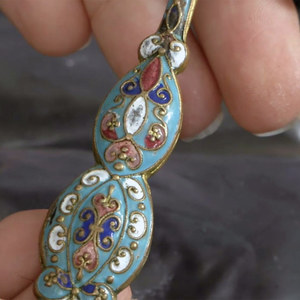
The beautiful serrated tracing wheel was made by Contributing Editor Kenneth D. King. He sources the handles from vintage tableware. I'm not sure of Kenneth's prices, or if he is currently taking orders, but you can see his work and reach him via his website, http://www.kennethdking.com/
I always LEARN something new!! I did not know to press the thread after waxing so it would penetrate the thread!! Will definitely try this in the future!!
Pardon my ignorance and cluelessness, but why are these considered couture sewing tools? My mother (born in 1932) taught me how to sew using these tools and many of the techniques I’ve read on here. Basically, this is all I know. I’m a little confused. Are there other ways to sew that don’t use these tools and techniques??
PS Great article btw! I didn’t know why the beeswax needed to be worked into the thread. I knew it needed to be done but never knew why.
The exquisite serrated tracing wheel was crafted by Contributing Editor Kenneth D. King, who cleverly repurposes handles from vintage tableware. I'm uncertain about Kenneth's pricing or whether he's presently accepting orders, but you can view his creations and get in touch with him through his website at KennethDKing.com