
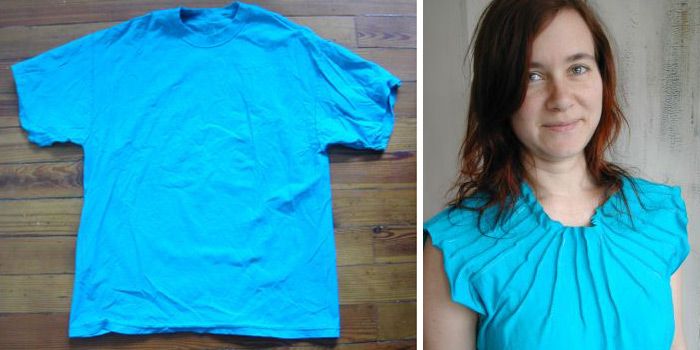
I’ve always been a fan of pin tucks, those tiny stitched pleats often seen on vintage blouses or dresses. They add a dimensional element, but each one also uses up a smidge of fullness, and that means they can be used to add shape to something shapeless, like the ubiquitous boxy T-shirt. Traditionally, they run parallel and close together, but I like to change the rules.
You can use this technique to practically sculpt the fit of the shirt without creating any new seams. So find yourself a big old T-shirt, a ruler, a tape measure, and some chalk or a disappearing pen, and let’s get busy.
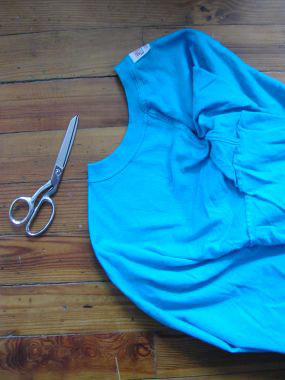
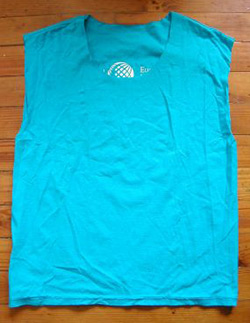
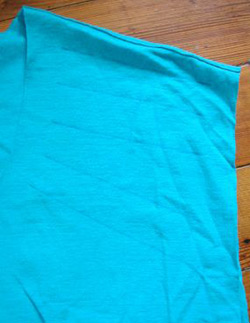
1. Trim your T-shirt. We’re going to remove the neckband and sleeves so we’re left with a sleeveless chemise. To cut the neck symmetrically, fold the T-shirt along the center front and center back, overlapping the shoulder seams.
|
|
|
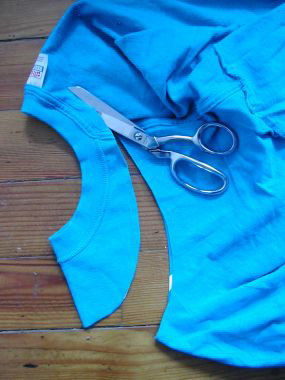
Start cutting at the center front a few inches below the neckband, and continue cutting in a smooth curve around to the center back, close to the band.
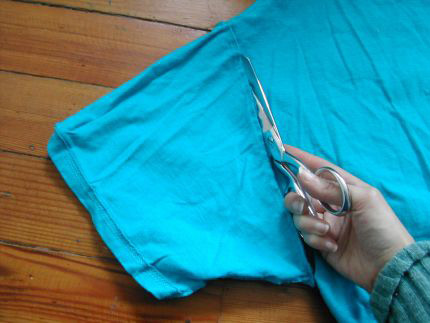
Then cut off the sleeves just inside the armhole seams.
|
|
|
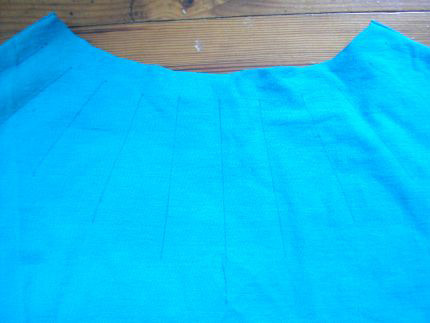
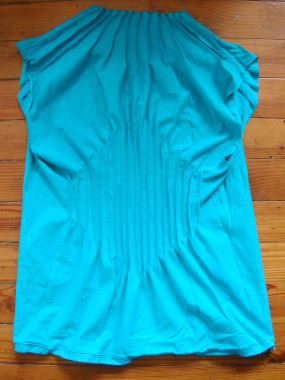
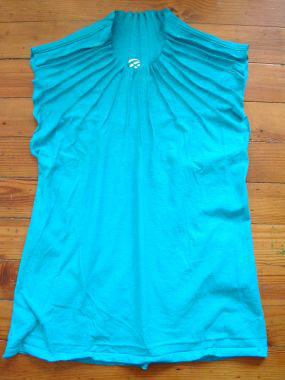
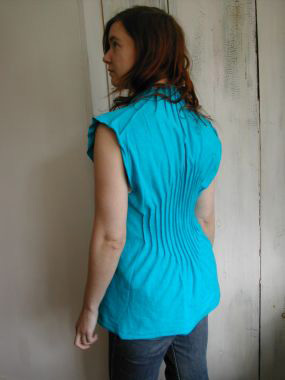
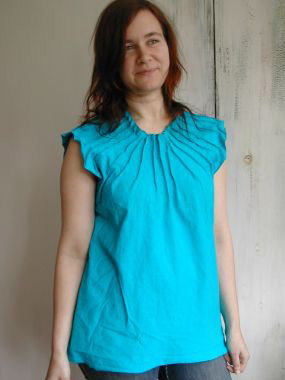
2. Using the ruler, begin drawing the lines for your pin tucks in a design that you like. Be creative. I did tucks radiating out around the neckline and over the shoulders, leaving 1 inch free at the raw neck and sleeve edges for a ruffled effect. I also plotted a large diamond shape at the center back, centered at the lower back where your waist is smallest. Remember that each pin tuck will nip out about 1/4 inch of fullness, and this can add up quickly. So you may want to measure your T-shirt and yourself, find the difference, and make sure your tucks won’t take out any more than that measurement.
|
|
|
3. Sew the tucks. Choose any tuck to begin, and fold the shirt on the marked line. With the fold on the right, stitch from the top of the line and begin sewing (don’t forget to backstitch) 1/8 inch over from the fold.
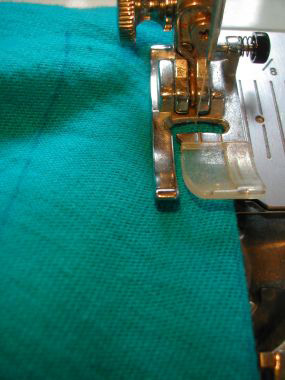
Continue down to the bottom tip of the line and backstitch again. It may be helpful to place a pin at the top and bottom to mark where the line begins and ends. Repeat for every tuck around. It may be easiest to work the tucks from right to left, but experiment to see what works for you.
|
|
|
4. If desired, unpick the bottom hem of the T-shirt to maximize the length and create raw edges.
That’s it. The shirt looks difficult to create, but it was easy, wasn’t it?
|
|
|


Log in or create an account to post a comment.
Sign up Log in