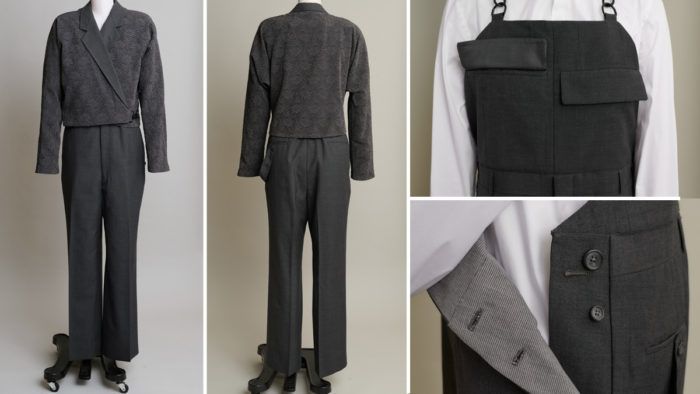
The method I used for transforming a men’s suit into black overalls is more of a philosophy than a technique. It’s something I learned from artist and designer Diane Ericson.
Over the years, I have attended several of Diane’s workshops. Her art, work, and sewing are organic. She lets the fabric and the project guide her, most of the time without an end in mind. Her approach always inspires me and, just as often, frustrates the heck out of me. I think that anytime we are working near our learning edges, inspiration and frustration go hand in hand. I am always grateful for her patience as I struggle along.
A free-form approach
Diane has taught me to “do the part you know.” If you have been fortunate enough to watch Diane work, you’ll notice there are always bits and pieces of fabric and trim and sticks and feathers hanging around that don’t seem to fit together. But they stay with the piece until their place in the composition is revealed. Some are cut away, and others are incorporated into the design.
Diane moves through her work by doing the part she knows. If she is not sure where a seam is going to end up, she moves to the collar or the sleeves, continuing until everything has found its landing spot. For now. Diane often comes back to a piece over and over again, tweaking and adding or deleting as ideas occur to her.
Her energy was definitely hanging around my sewing room while I was converting my suit into overalls. I knew I only had one suit. There were no do-overs. So I was careful not to cut anything away until it was clear that it had found its landing spot.
Goals for transforming the men’s suit
When I brought my suit home from the thrift store, I had so many ideas of what I could do. My thoughts and plans kept whirling out of control. Most of the ideas started to look more like a costume party than a refashion that could work as streetwear.
To help corral my thoughts, I decided on some objectives for the project:
- Make something that would be fun to wear;
- Avoid creating a costume;
- Give it a more feminine than masculine vibe;
- Make it wearable for every day.
With those parameters in mind, I threw the suit onto my dress form. It sat there for a long time. My ideas seemed to evaporate into thin air.
A transformation idea took hold
My inspiration returned in the form of my gardening clothes. I have a pair of broken-in denim overalls I wear when I’m going to be mucking about outside. As I was throwing them into the washer after a long afternoon of muddy weed-pulling, I realized that they were basically a pair of men’s pants with a pocket attached to the front. I have a pair of men’s pants. I have several pockets. Hmm. That was all it took.
I decided to make business friendly black overalls.
My dress form lacks legs, which means I would be using my own legs as my dress form to do my refashion. I’m not even going to try and guess how many times I got in and out of those pants.
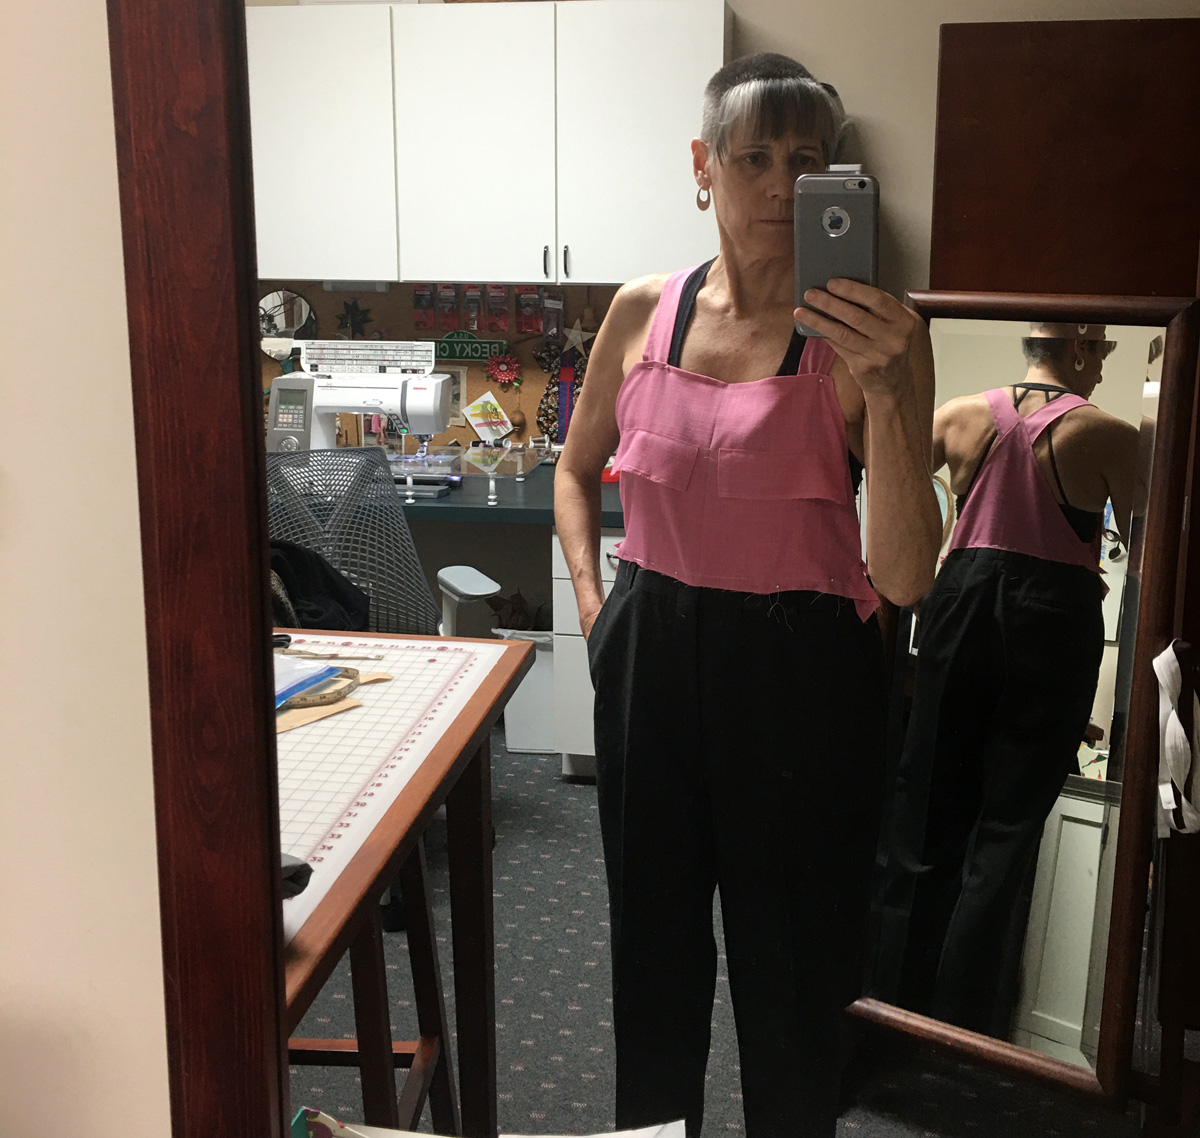
When I first put them on, I realized they fit much like my overalls. The waist basically was a straight line from the hip point, no easing into the waist as with women’s pants. This was just what I needed. The pocket I was going to attach to the top of my pants would come from the jacket pockets. With that information, I made a muslin to try out the idea. I pinned it to the pants and was satisfied I was on the right track.
Executing the idea
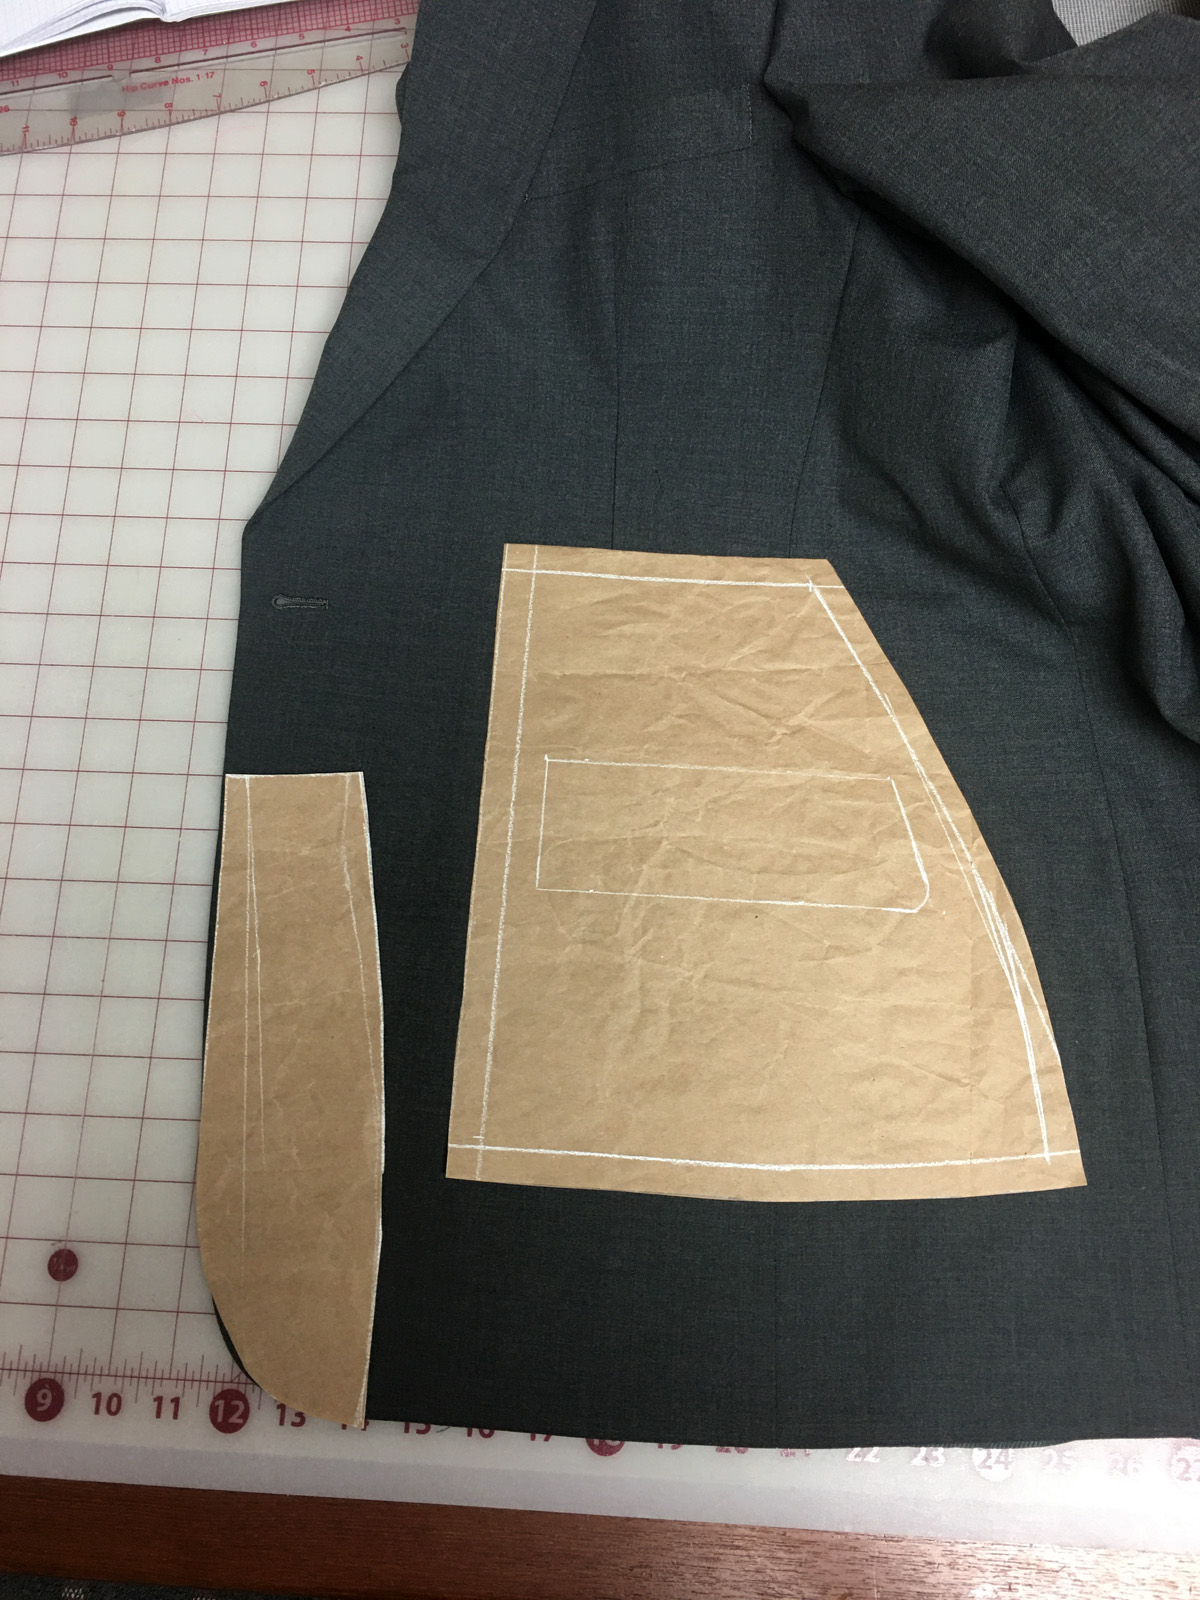
My next step was to translate my muslin into a pattern. I knew I wanted to keep the jacket pockets intact, so the measurements of the pocket flaps were set. From that measurement, I created a bib that would accommodate the size of the flaps.
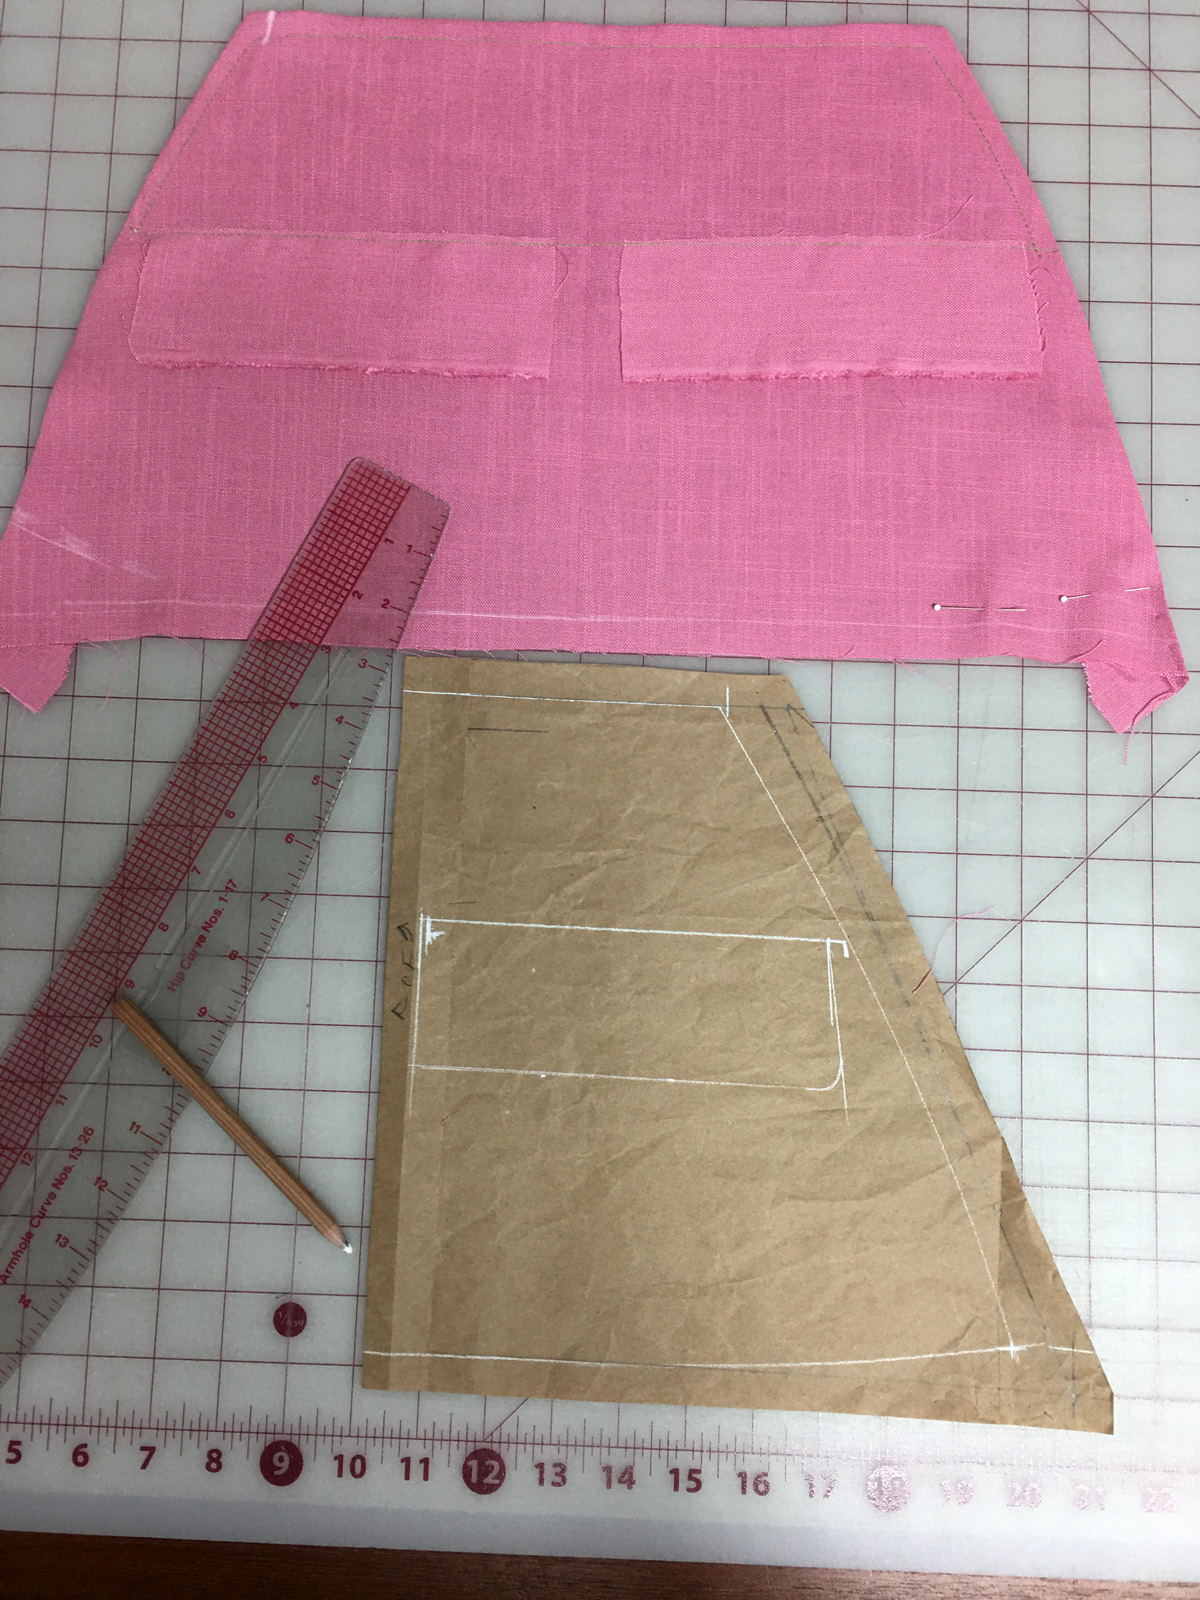
Here’s where Diane’s “do the part you know” philosophy comes into play. Once I had the pattern, I had to figure out how I could attach it to the pants. Because I didn’t have that figured out yet, I put it aside and moved on to the pants.
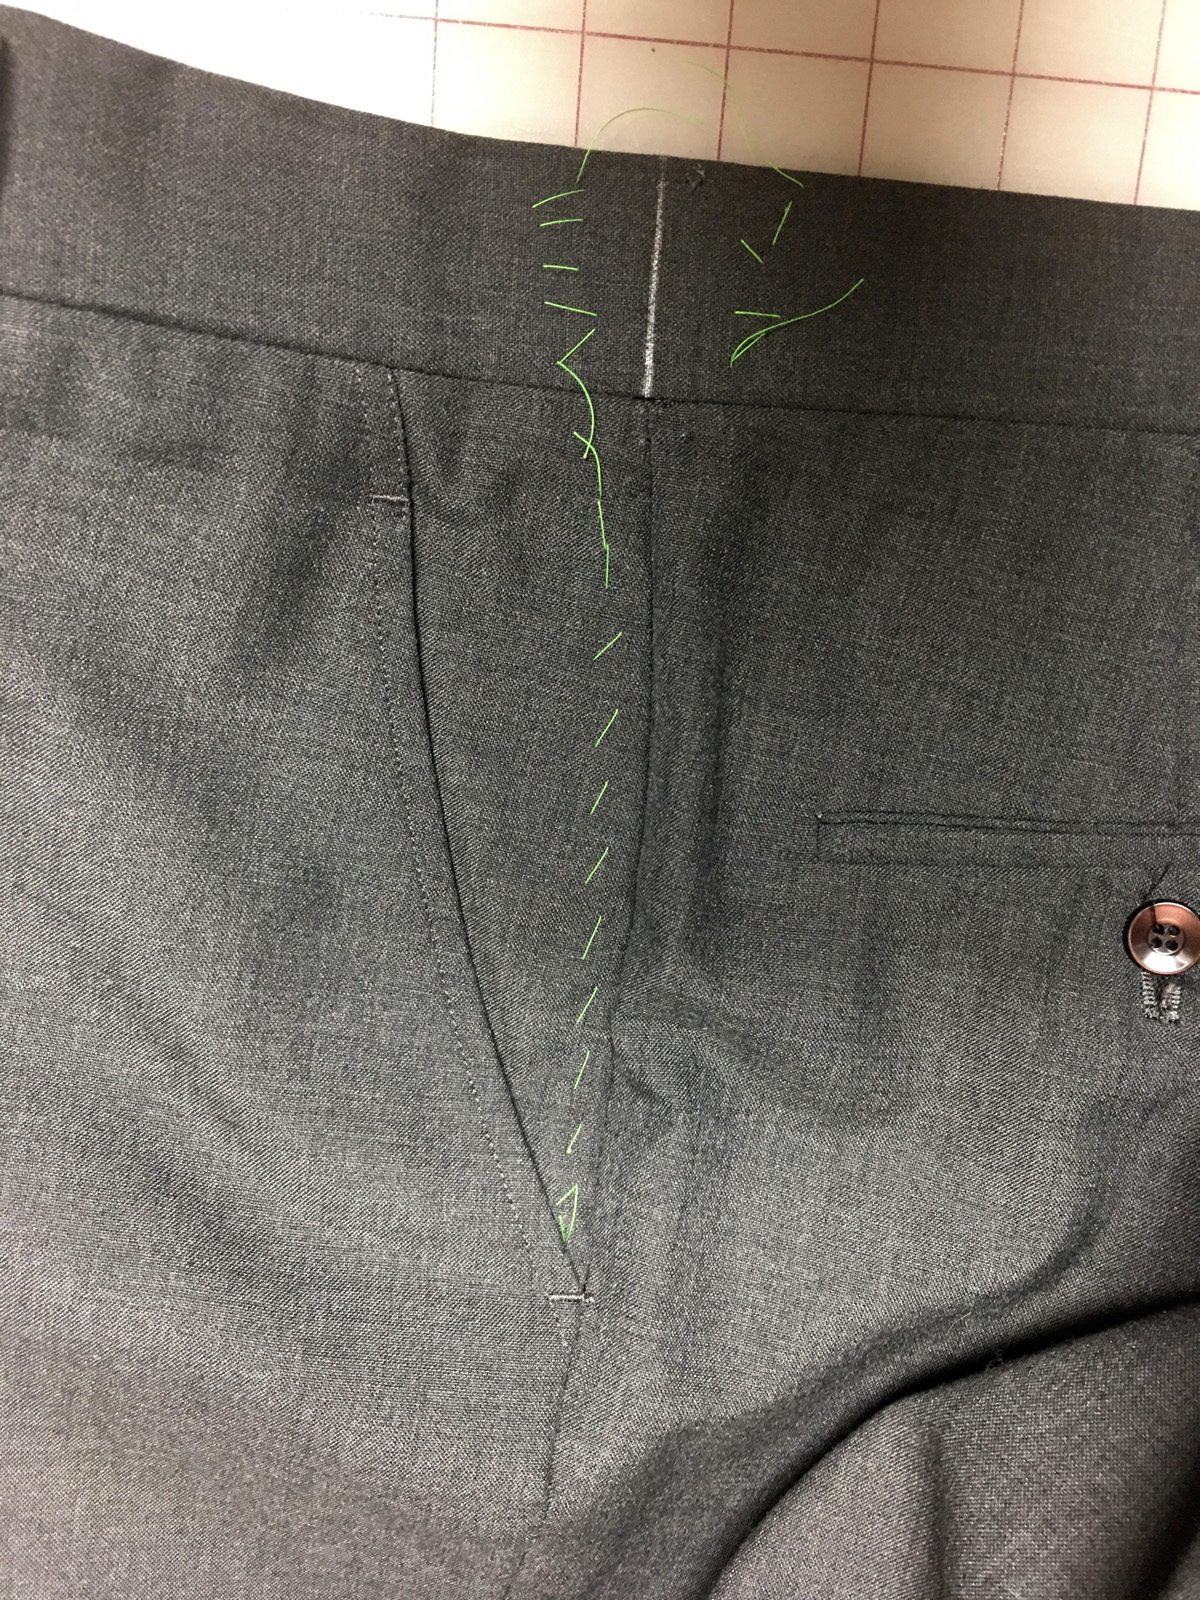
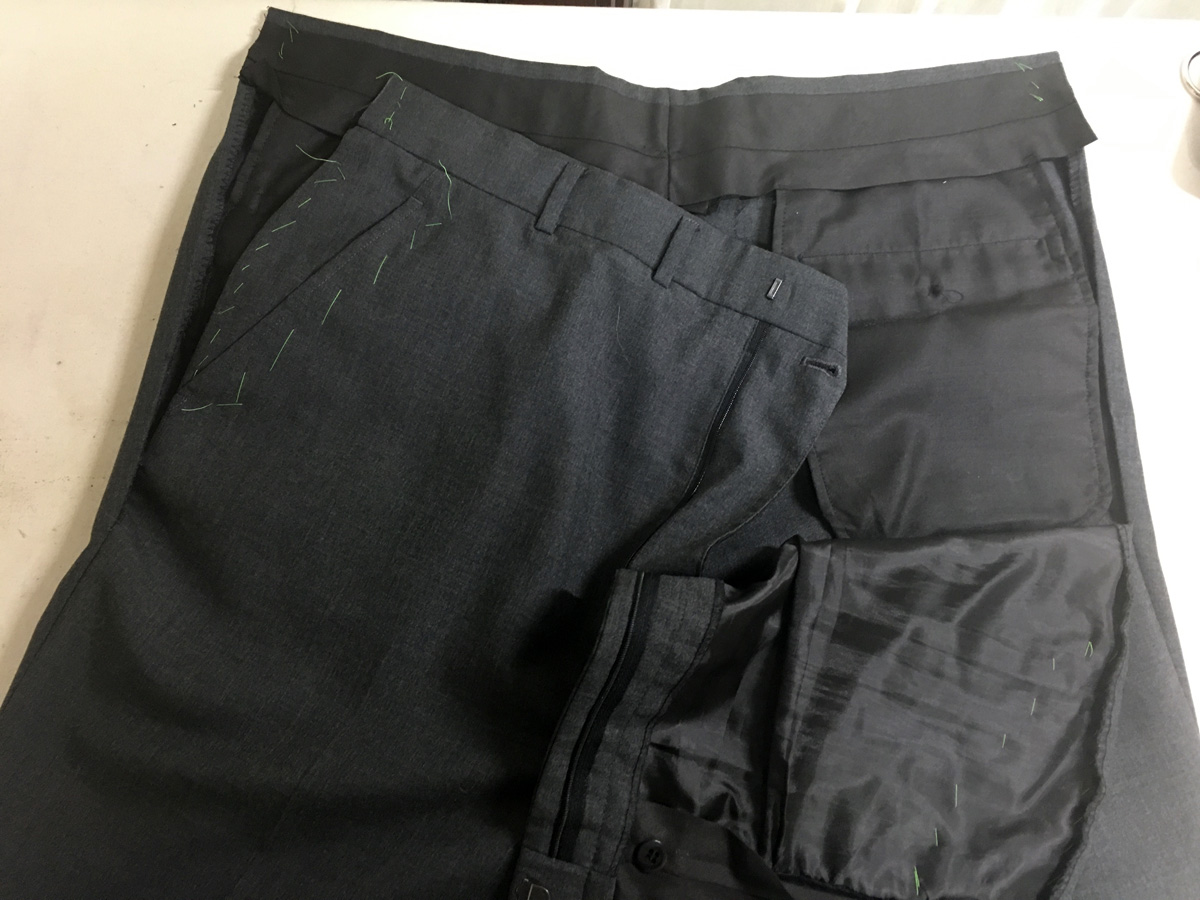
The new openings to get in and out of the overalls were going to be in the side seams of the pants, since the original fly opening would be rendered inoperable by the bib. I wanted to keep the original side pockets. A facing could incorporate the bib front, keep the inside tidy, and provide the space needed to add new buttons at the sides.
I basted the pockets closed and made my first cut into the suit. Yikes. The first cut is the toughest. After that, it’s all fun and games.
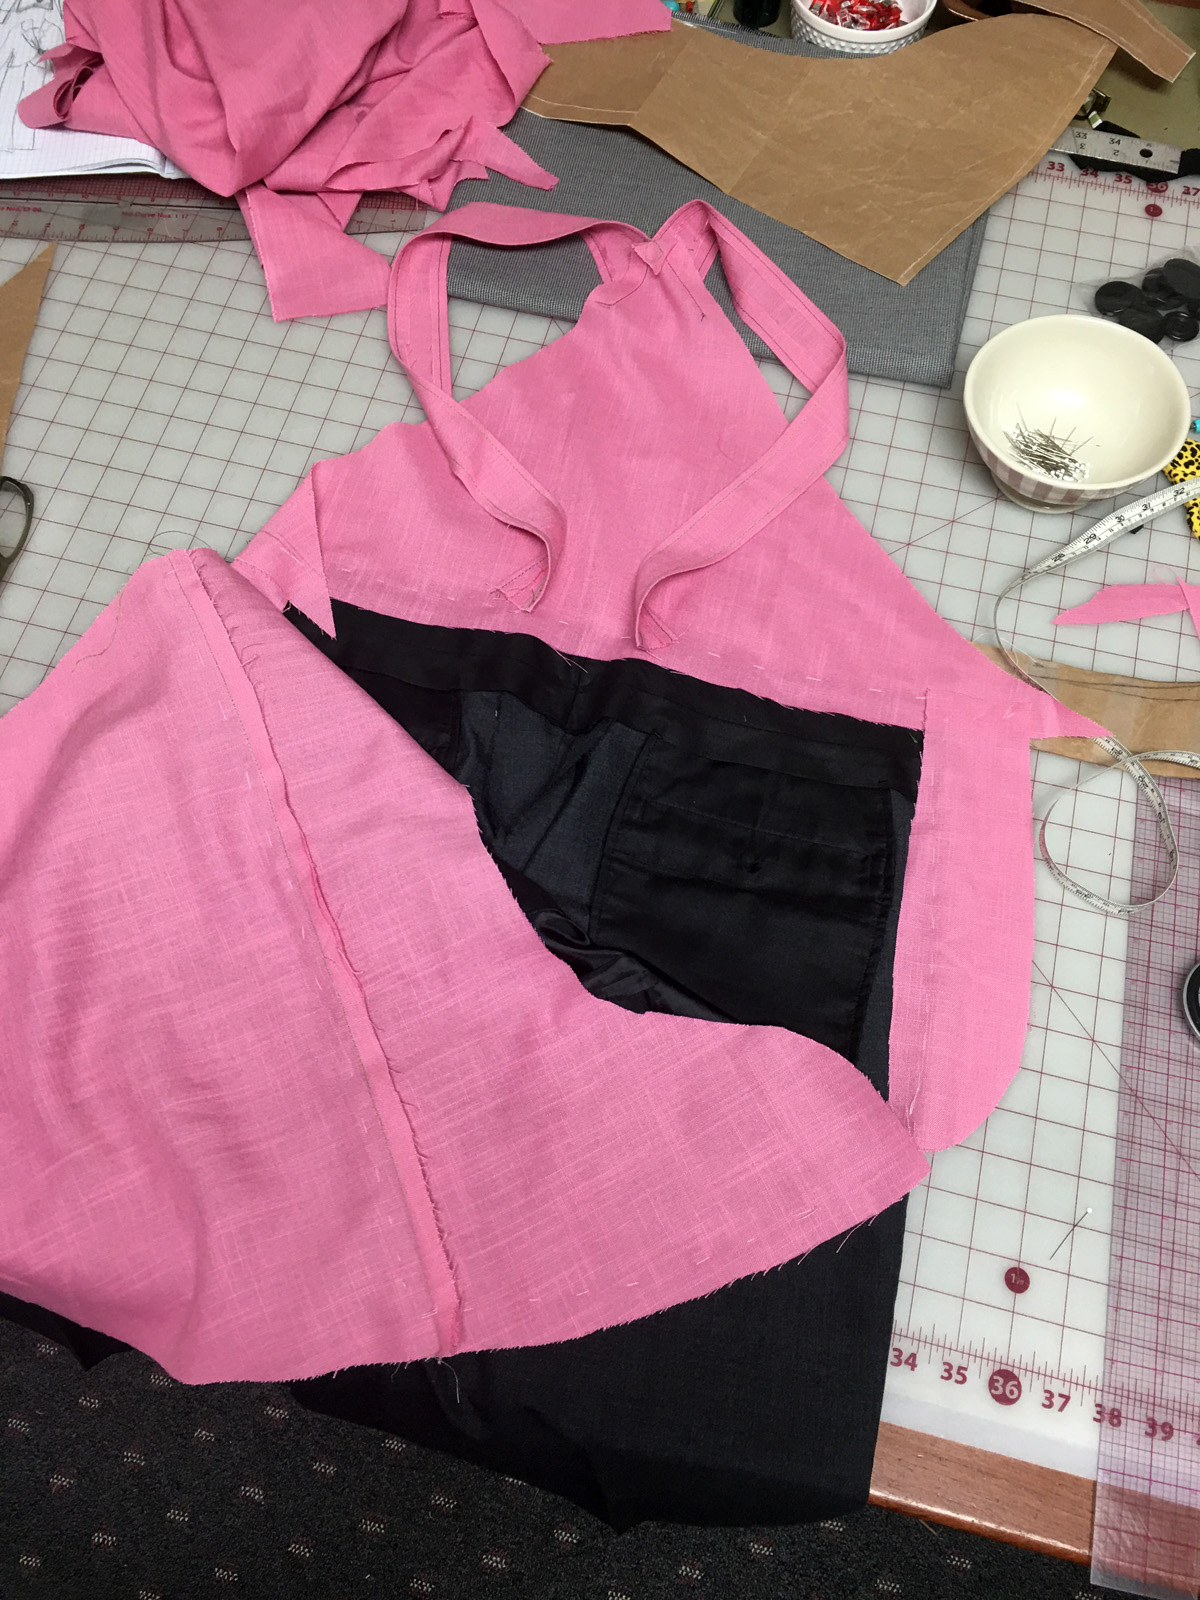
I added the facing pieces to my muslin to see if my theory would fly. All good. I made another pattern piece for the facings. I also created the patterns for the back and straps.
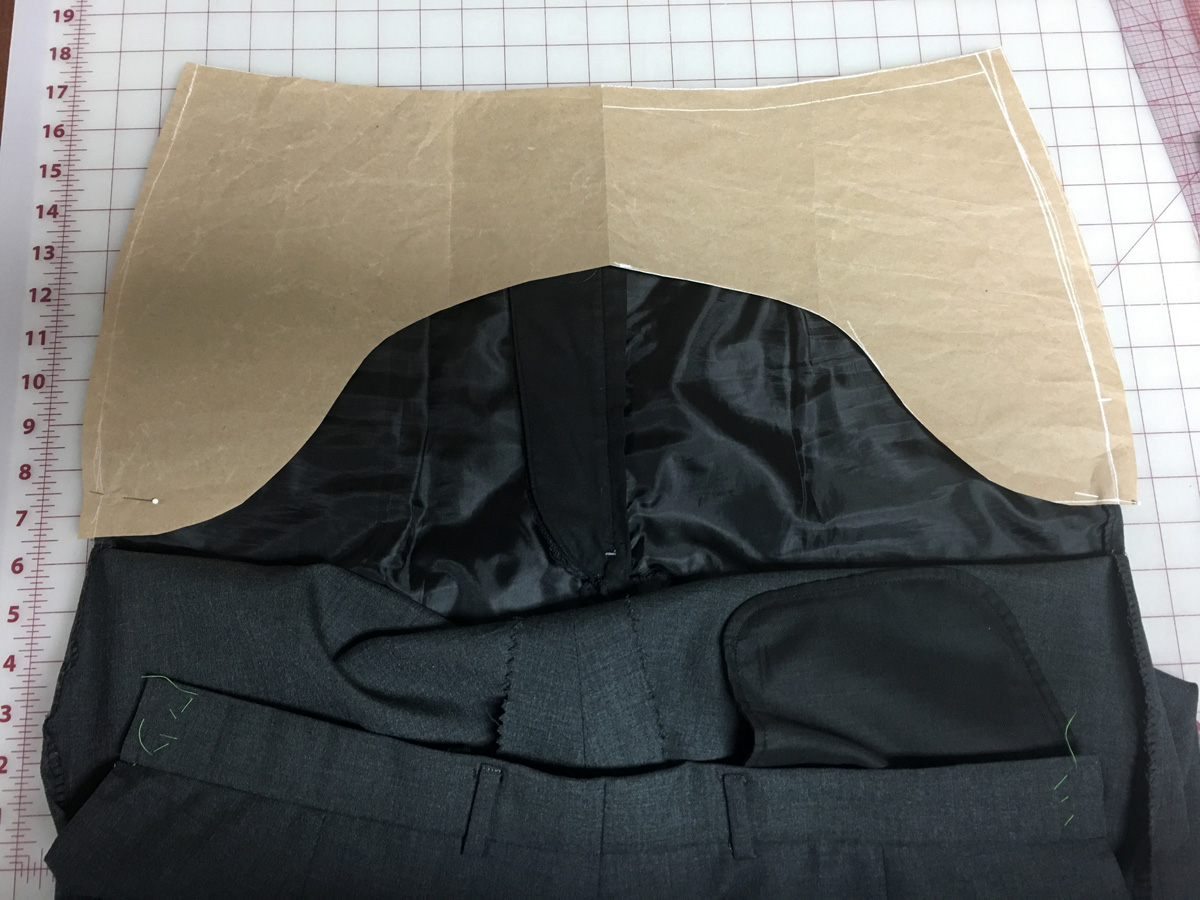
Taking a leap—with shears
I still wasn’t ready to cut up those jacket pockets. Do the part you know. So I cut the back and straps first. I used the jacket back for those pieces.
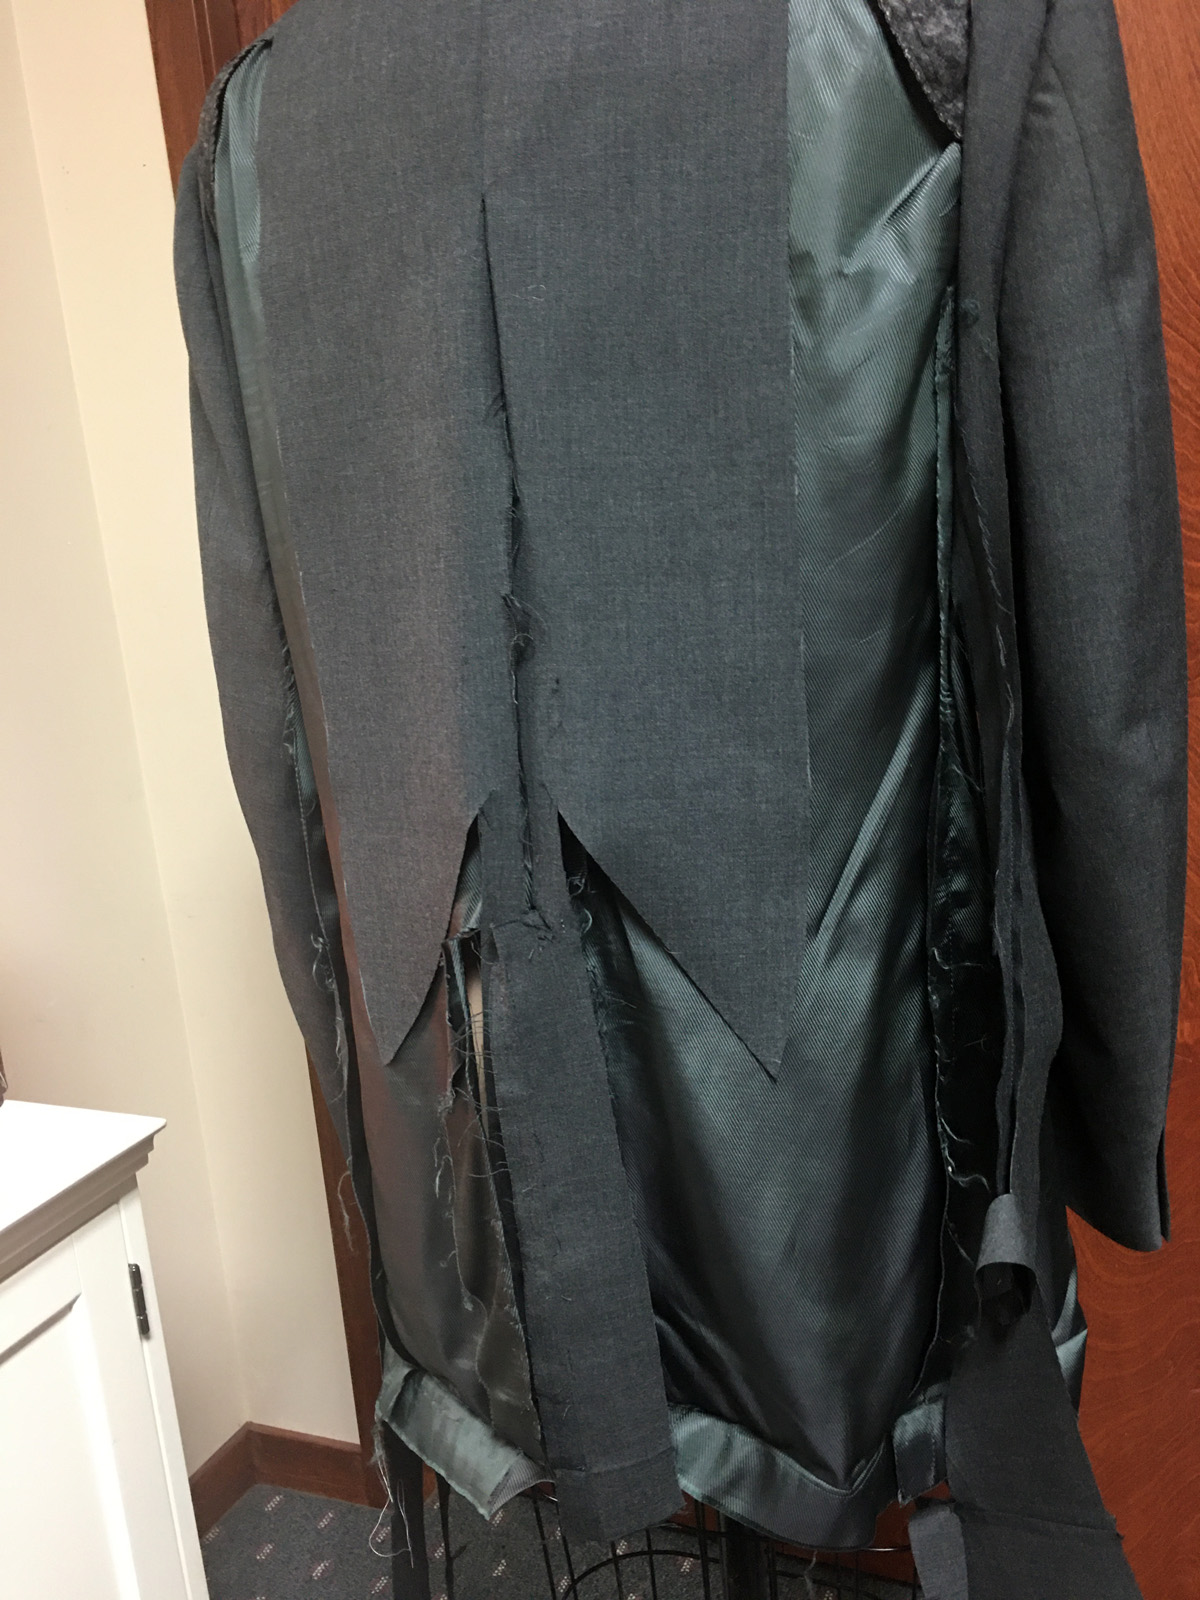
OK, just do it. I laid out the front bib and used the bottom curve of the jacket front for the side facings. There was no turning back now.
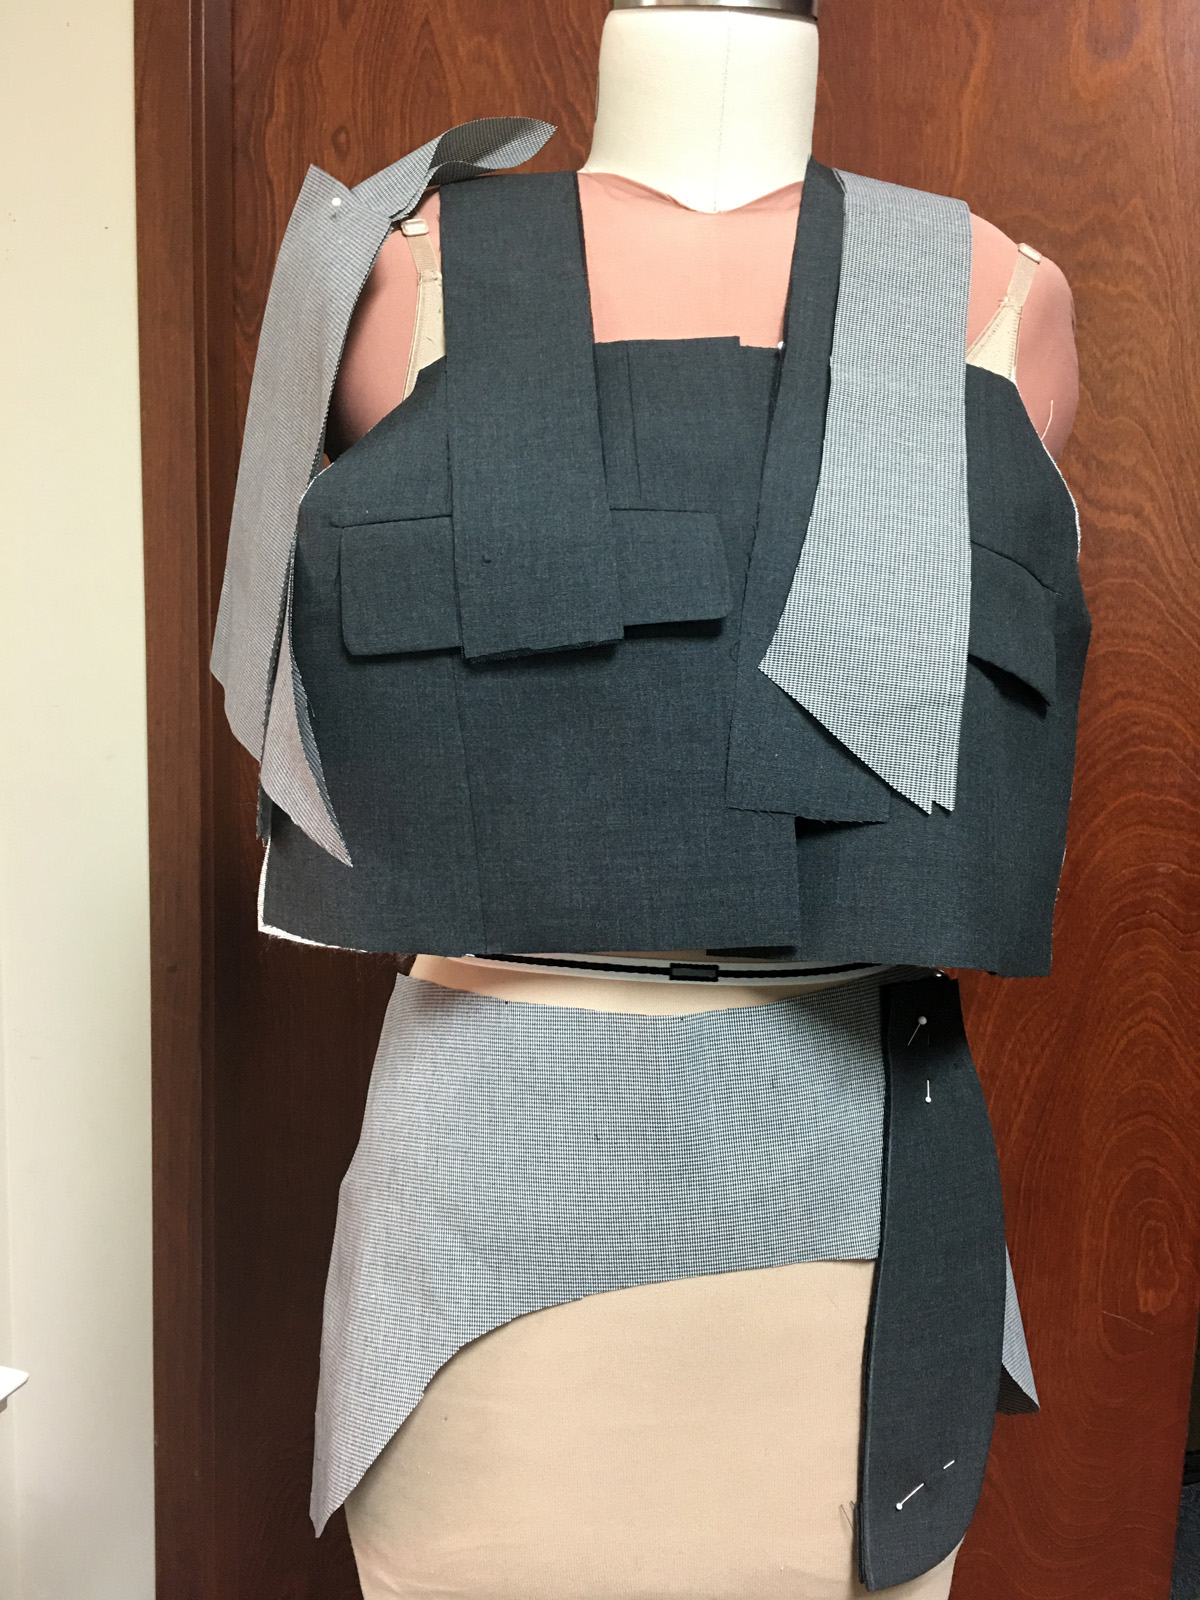
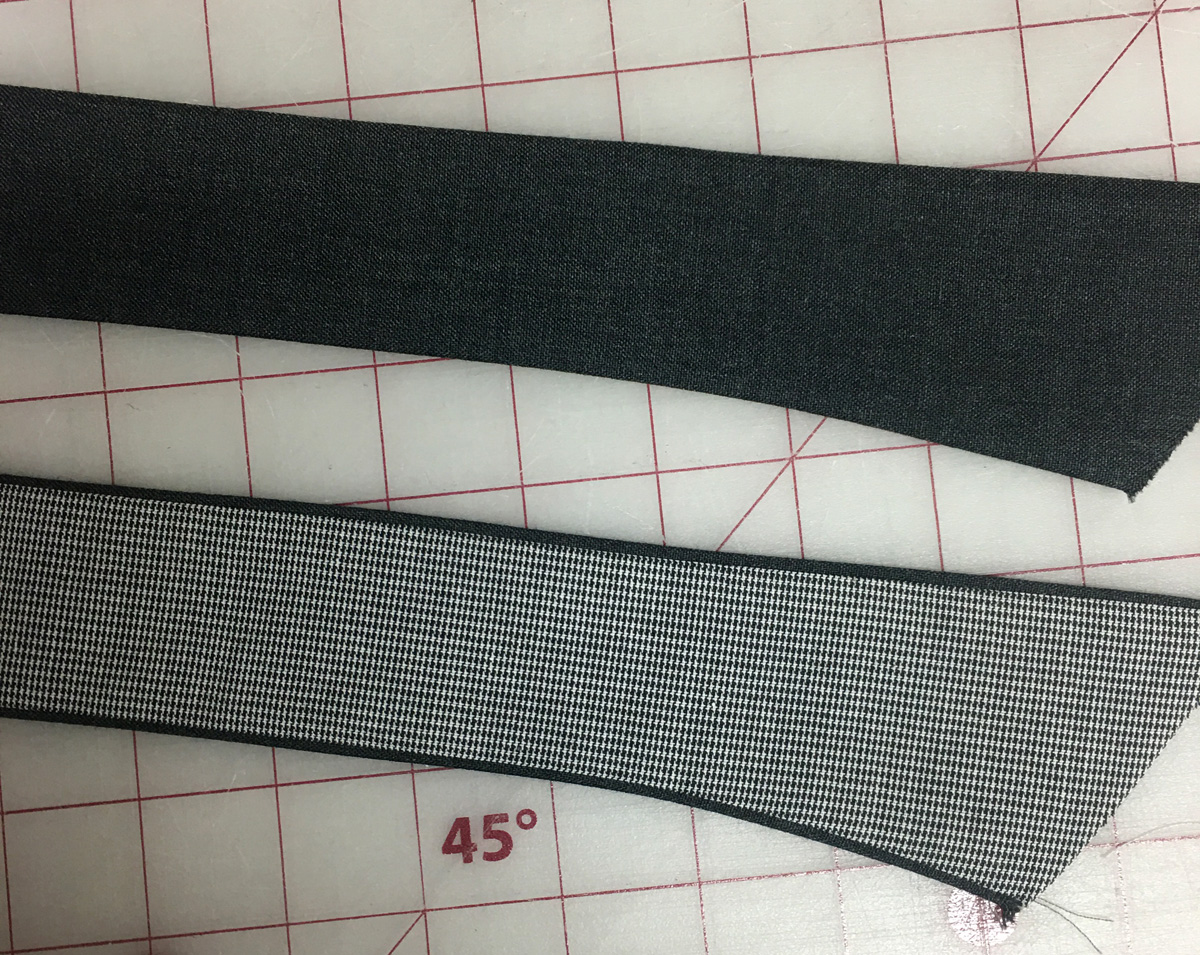
I used a pant-weight cotton with a small, black-and-white houndstooth check to make the linings and facings for the bib, back, and straps. The weight of the cotton gave support to the suit’s lightweight wool. Plus, it finished the inside nicely. With all the pieces ready, I just needed to hook it all together.
Straps and hardware for my black overalls
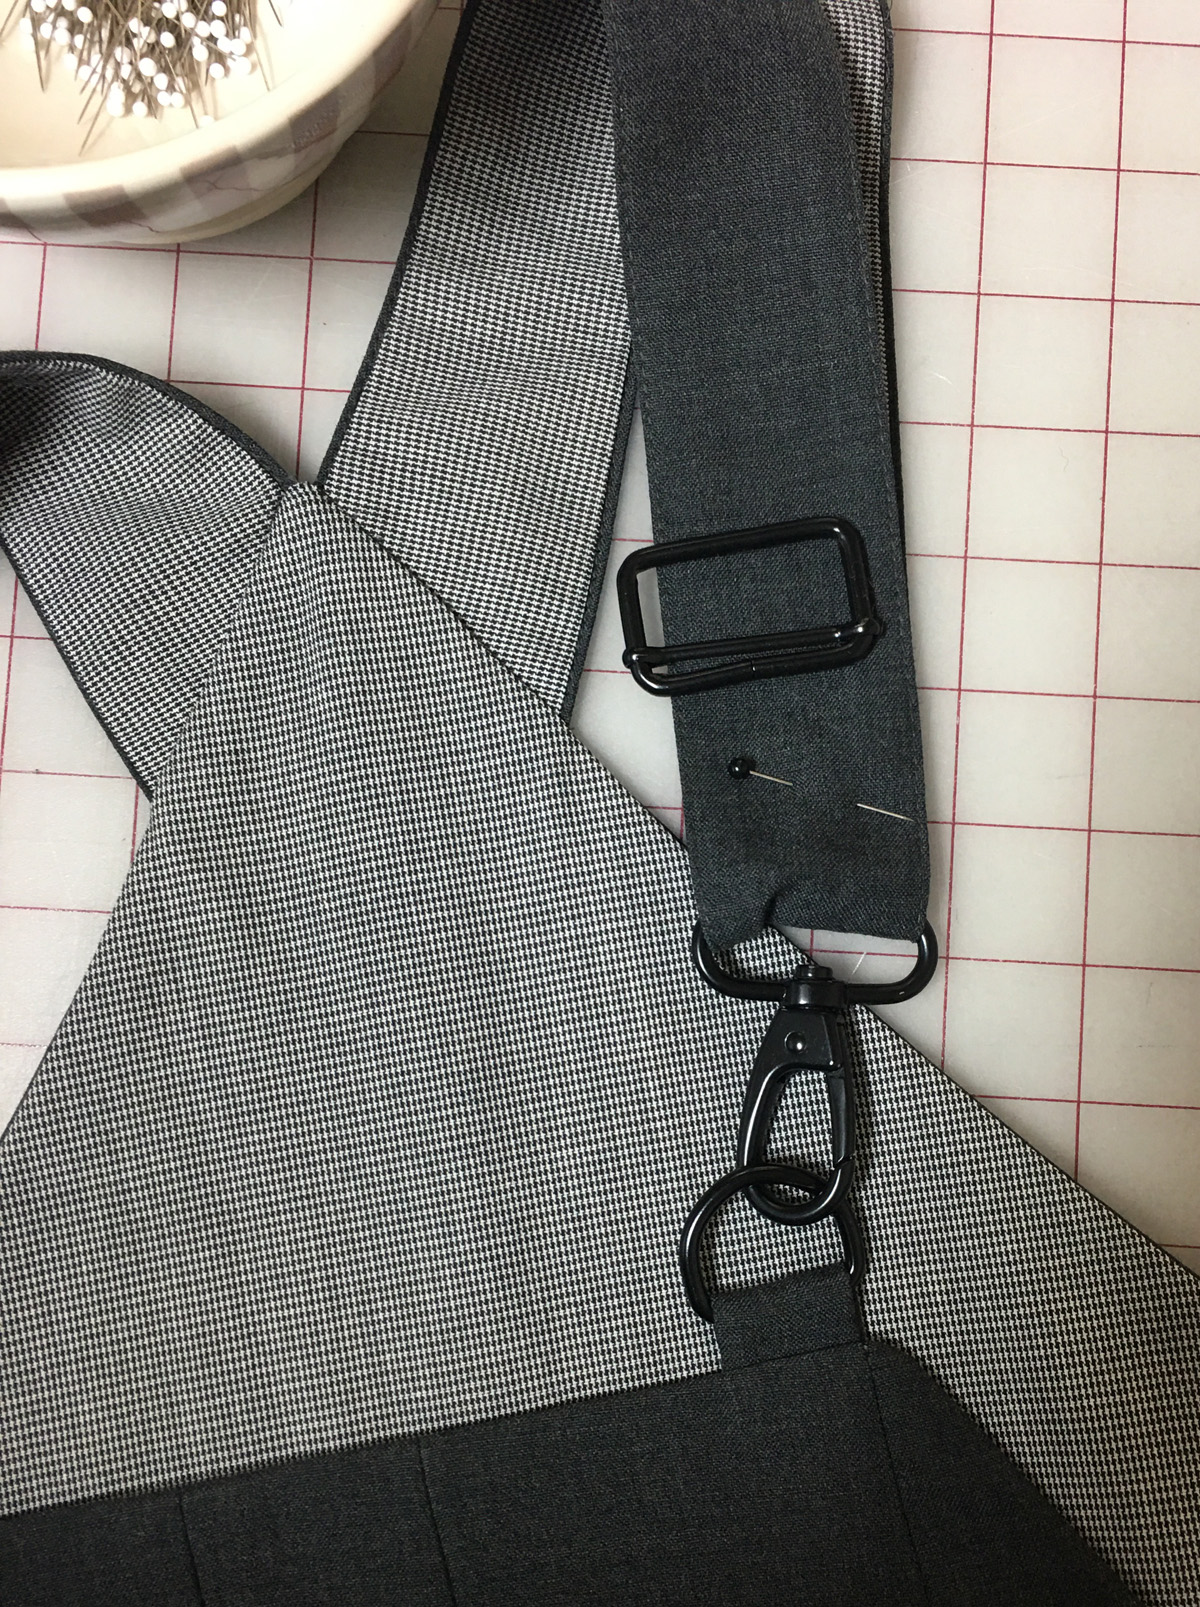
I found some great hardware to make the buckles for the straps.
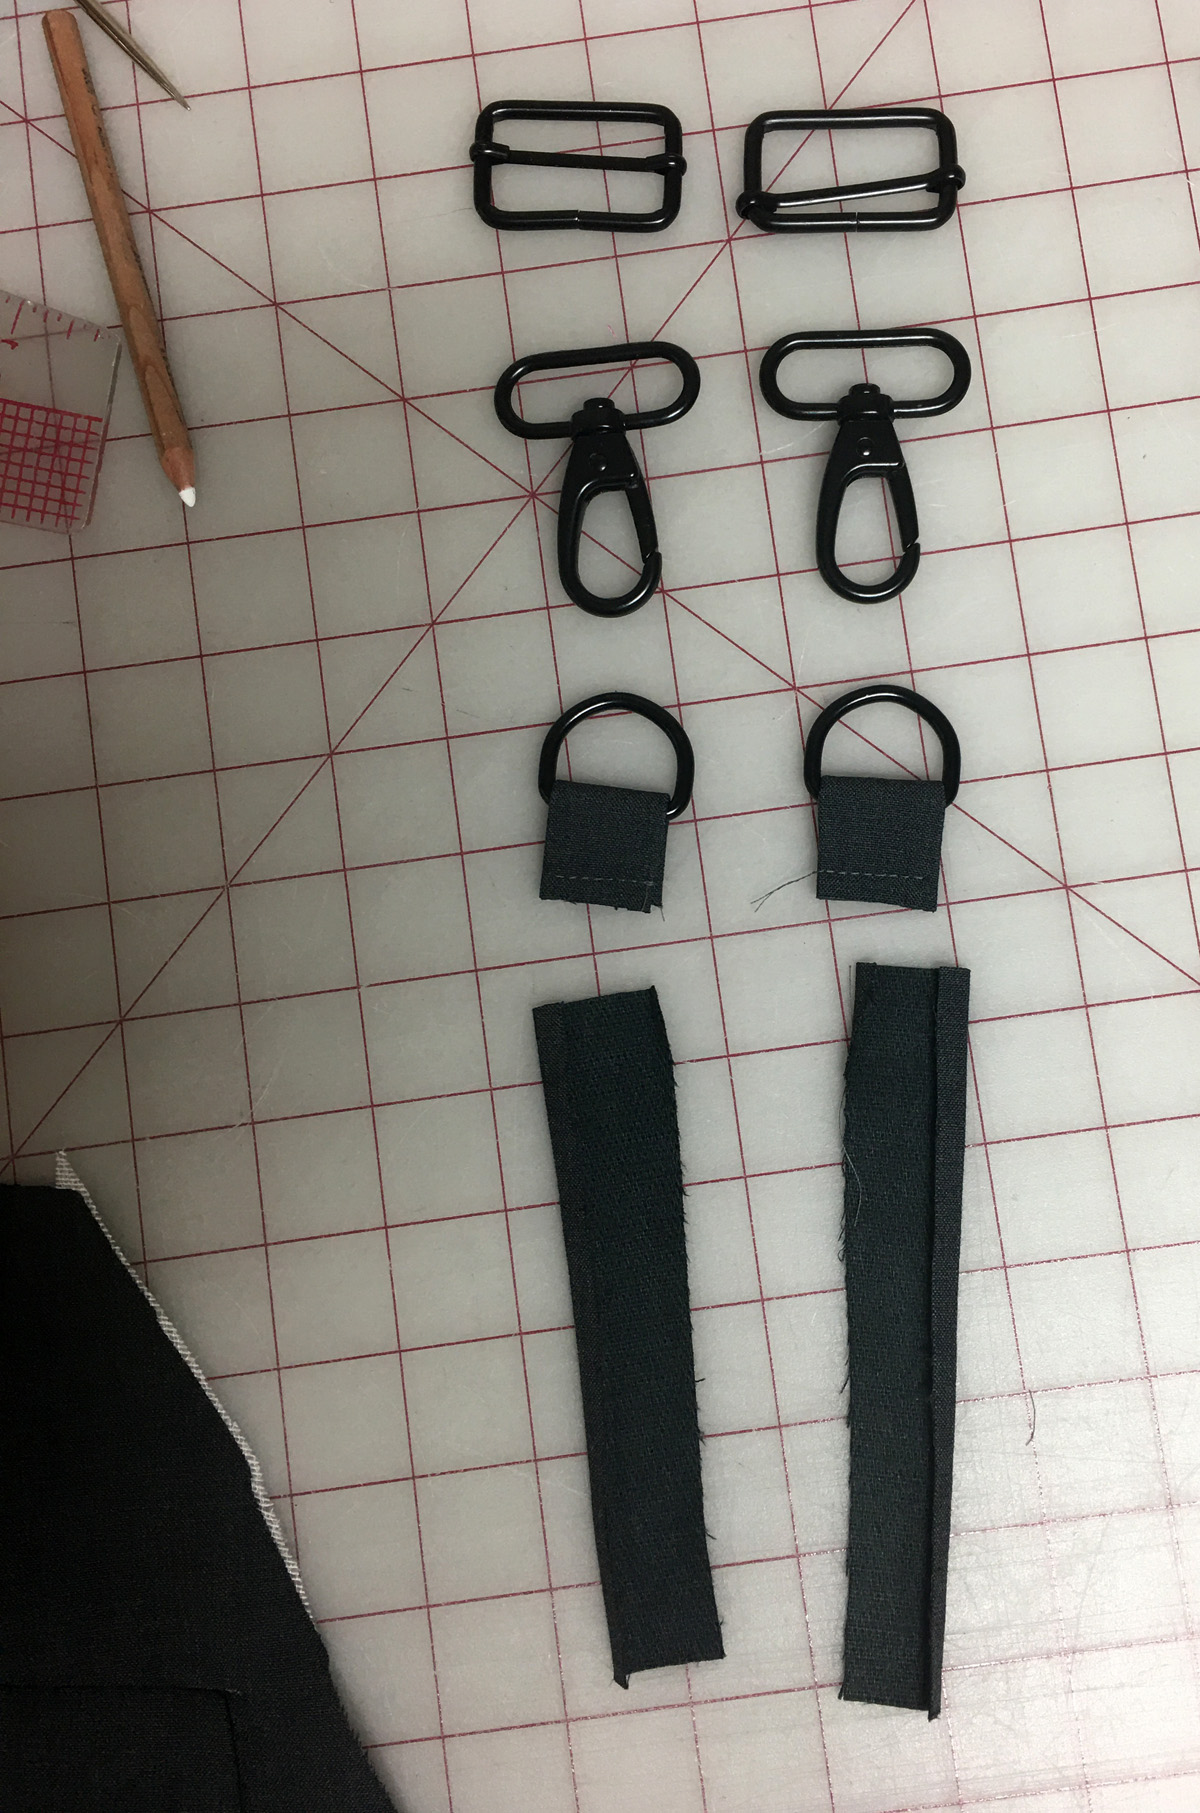
Straps were sewn and ready to go.
Back and back facings were attached to the pants.
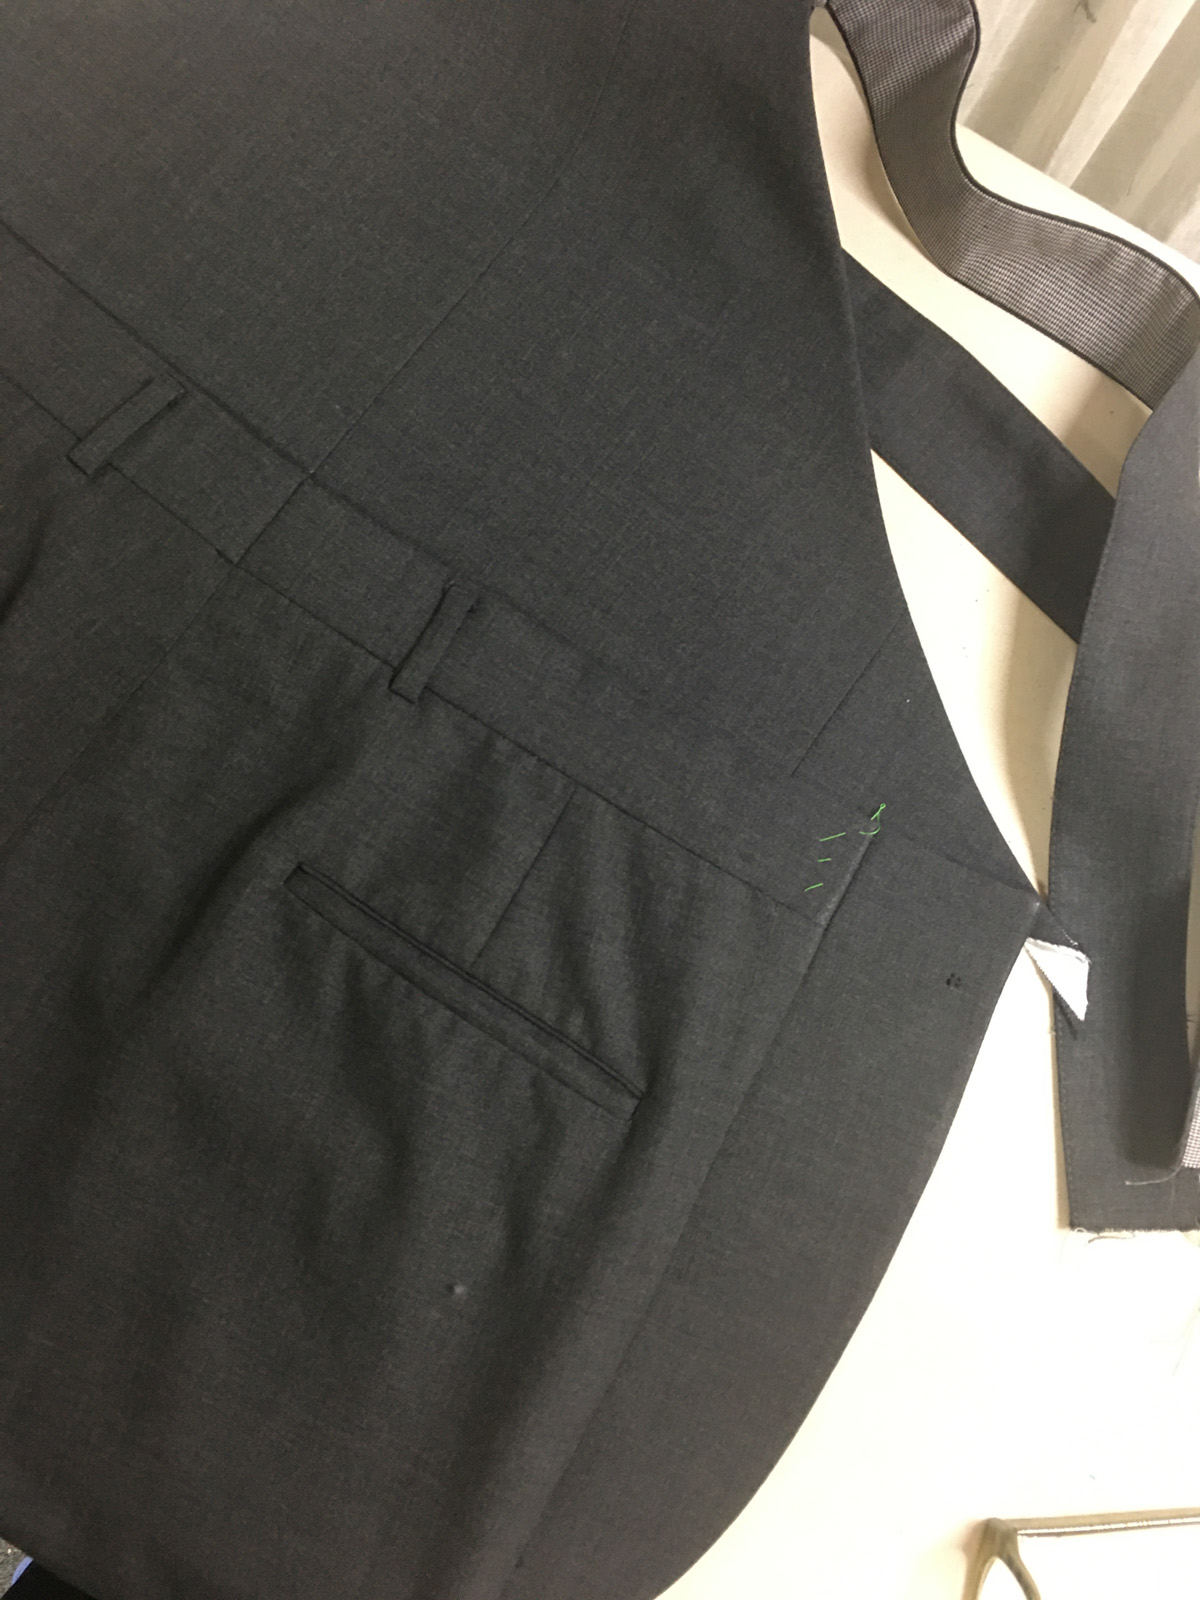
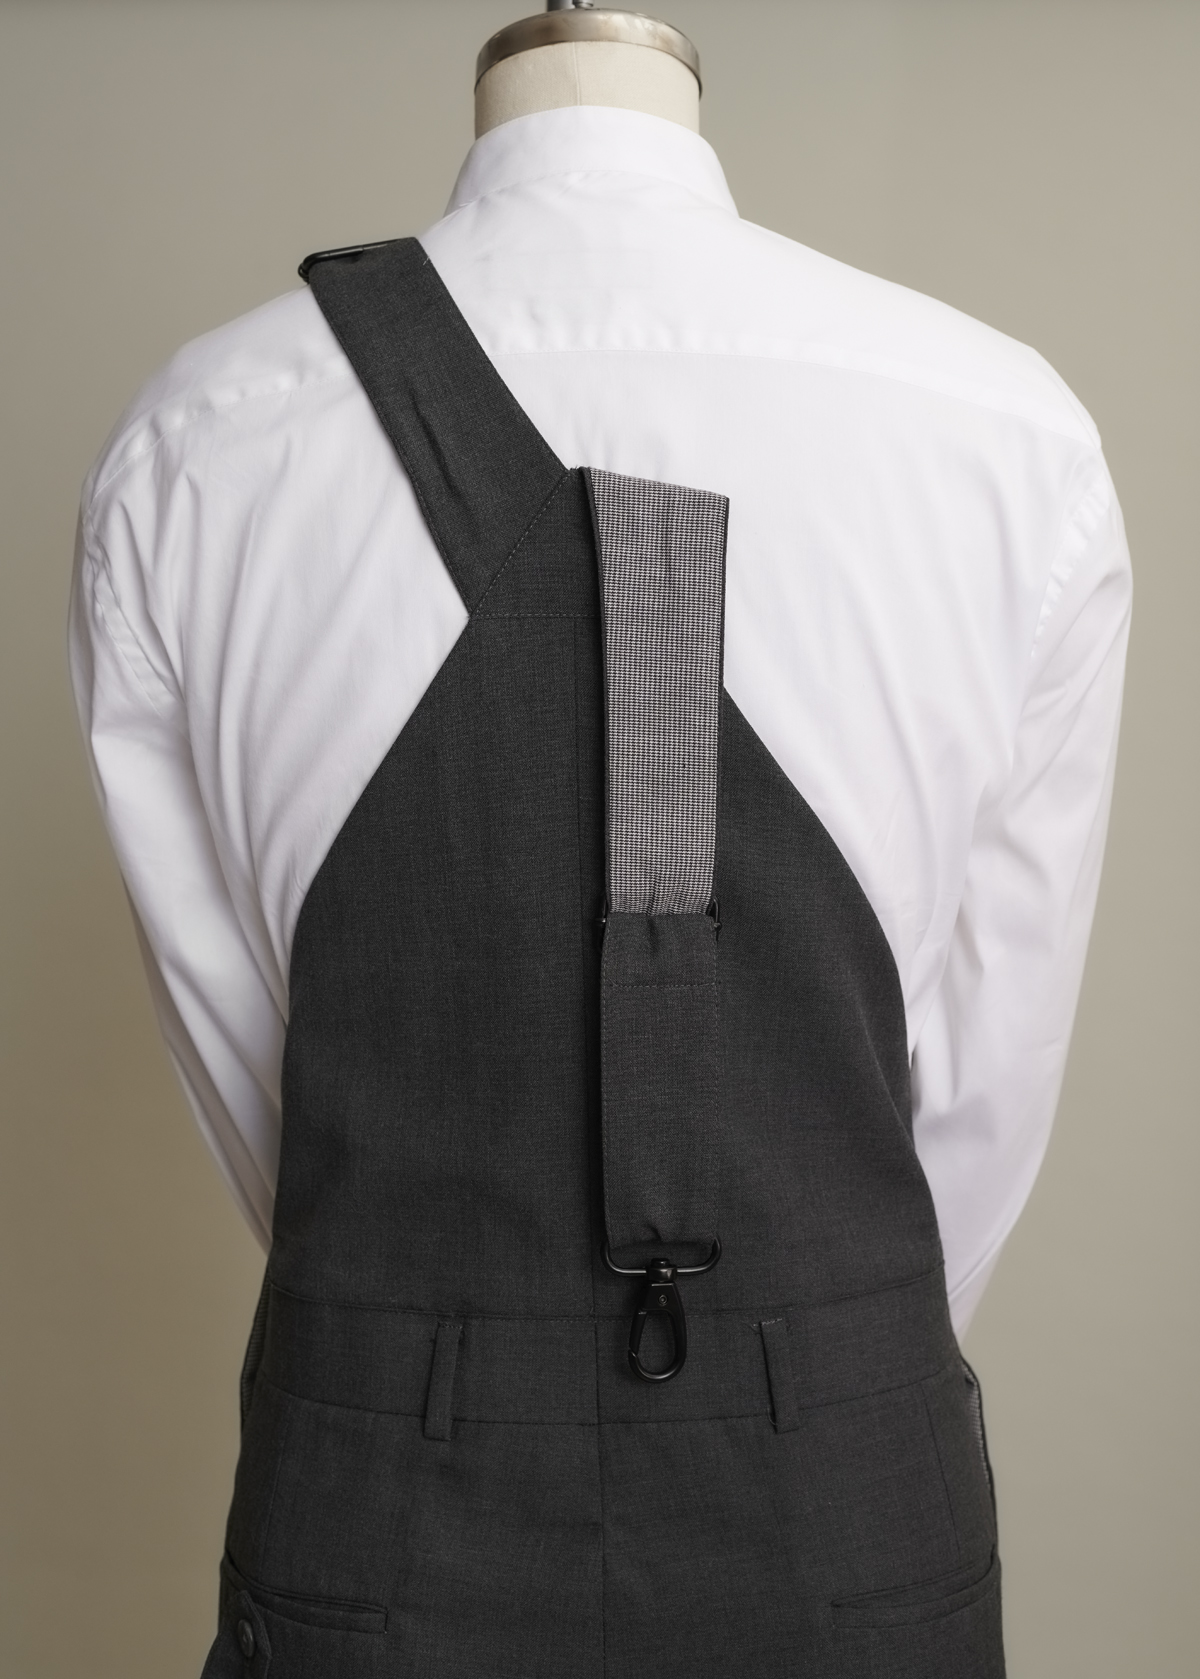
You can’t have a pair of overalls without a hammer loop, so I added one.
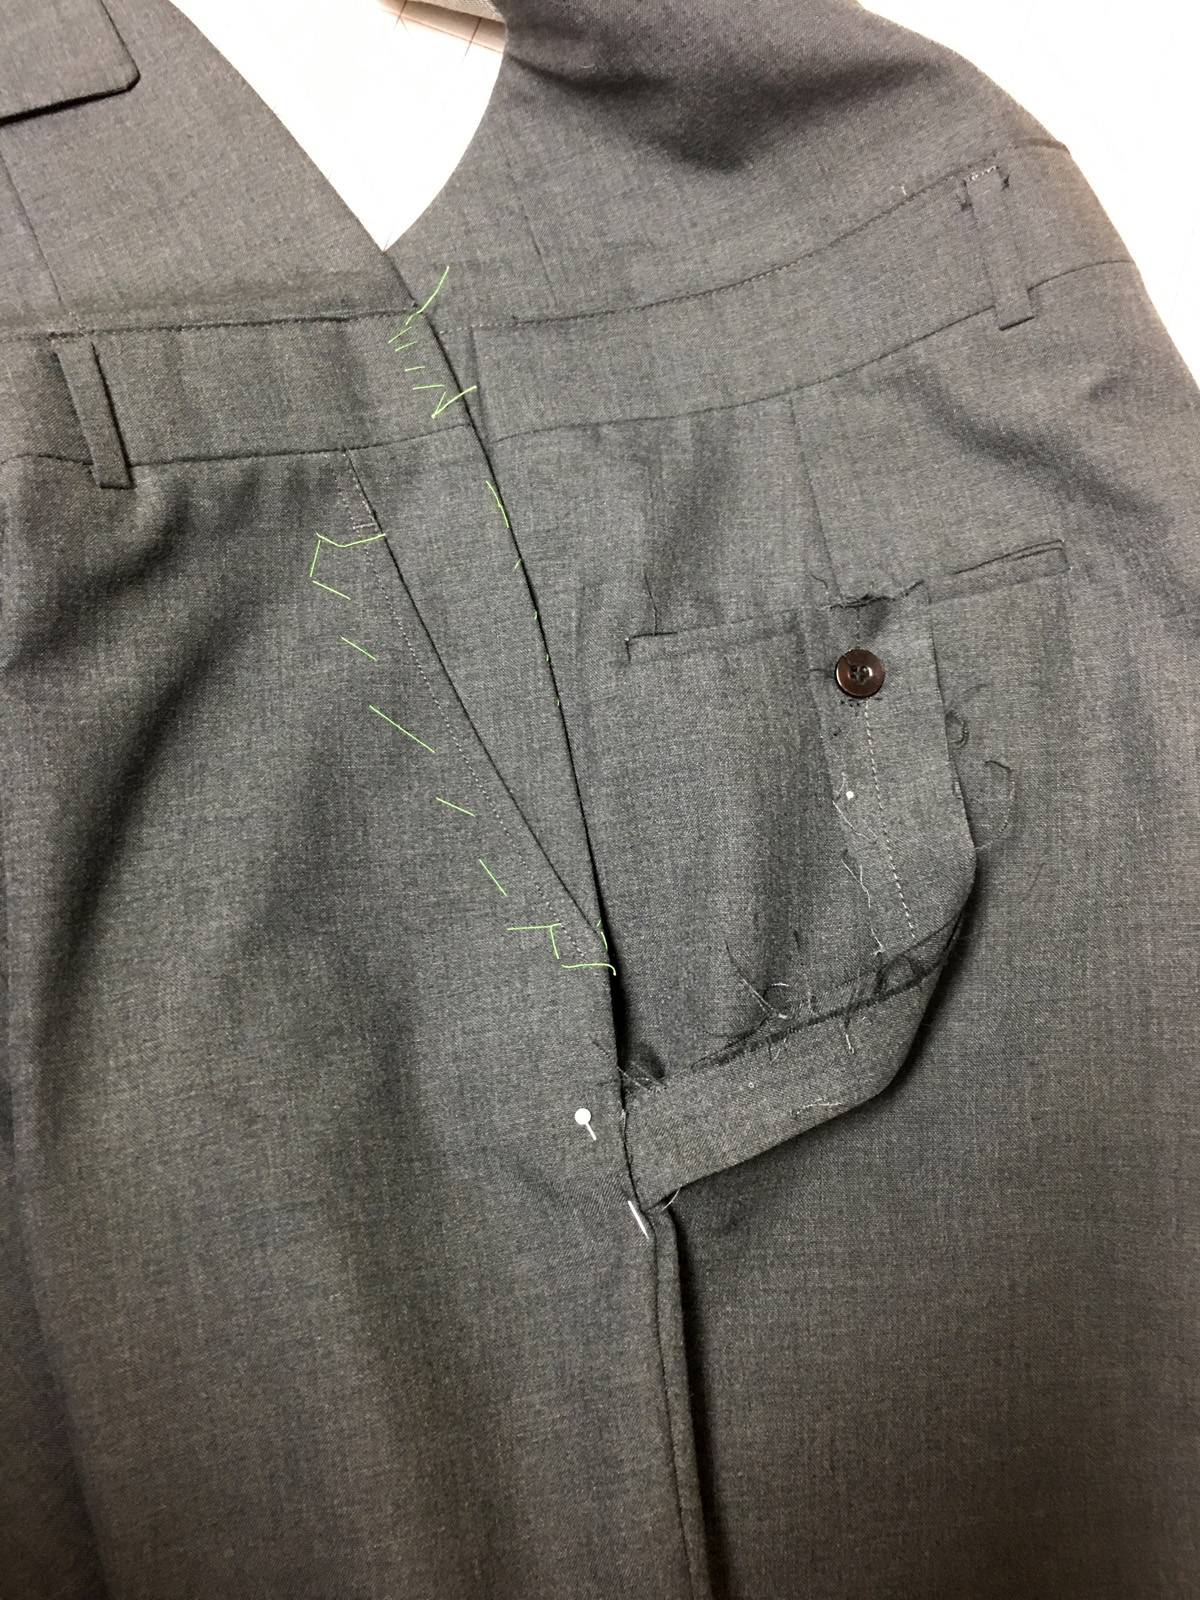


I just love the way the hardware embellishes these black overalls.

Now, what can I do with the rest of that jacket?
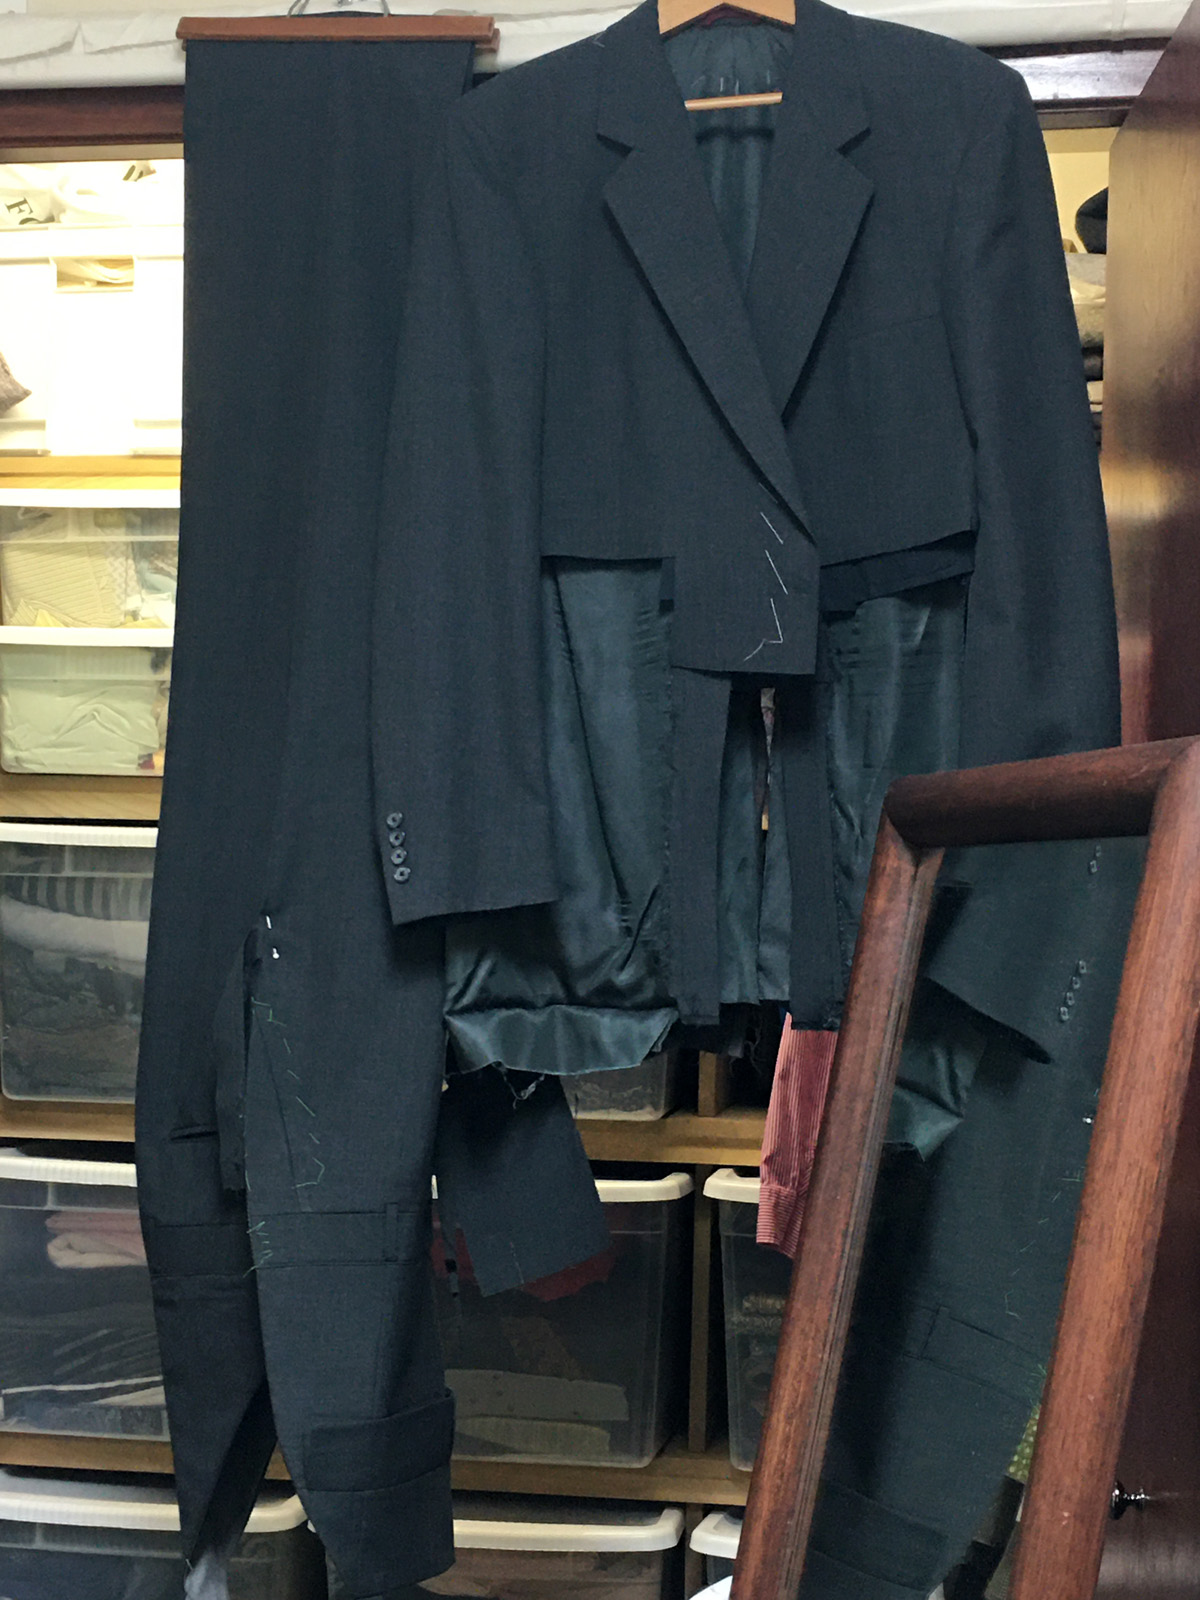
Reusing the lapels
Once I had my overalls together, I realized I still had some usable real estate left in my suit jacket. The lapels, in particular, called to me. This time, my dress form could handle the job.
What I knew was that I wanted to use the lapels, and I wanted a more feminine silhouette. While rummaging through my stash, I found a fabric that reminded me of my grandma’s sofa. What it is or where it came from remains a mystery, but I auditioned the yardage over the suit jacket. The color was perfect, and the texture and floral pattern gave me the feminine vibe I was looking for.
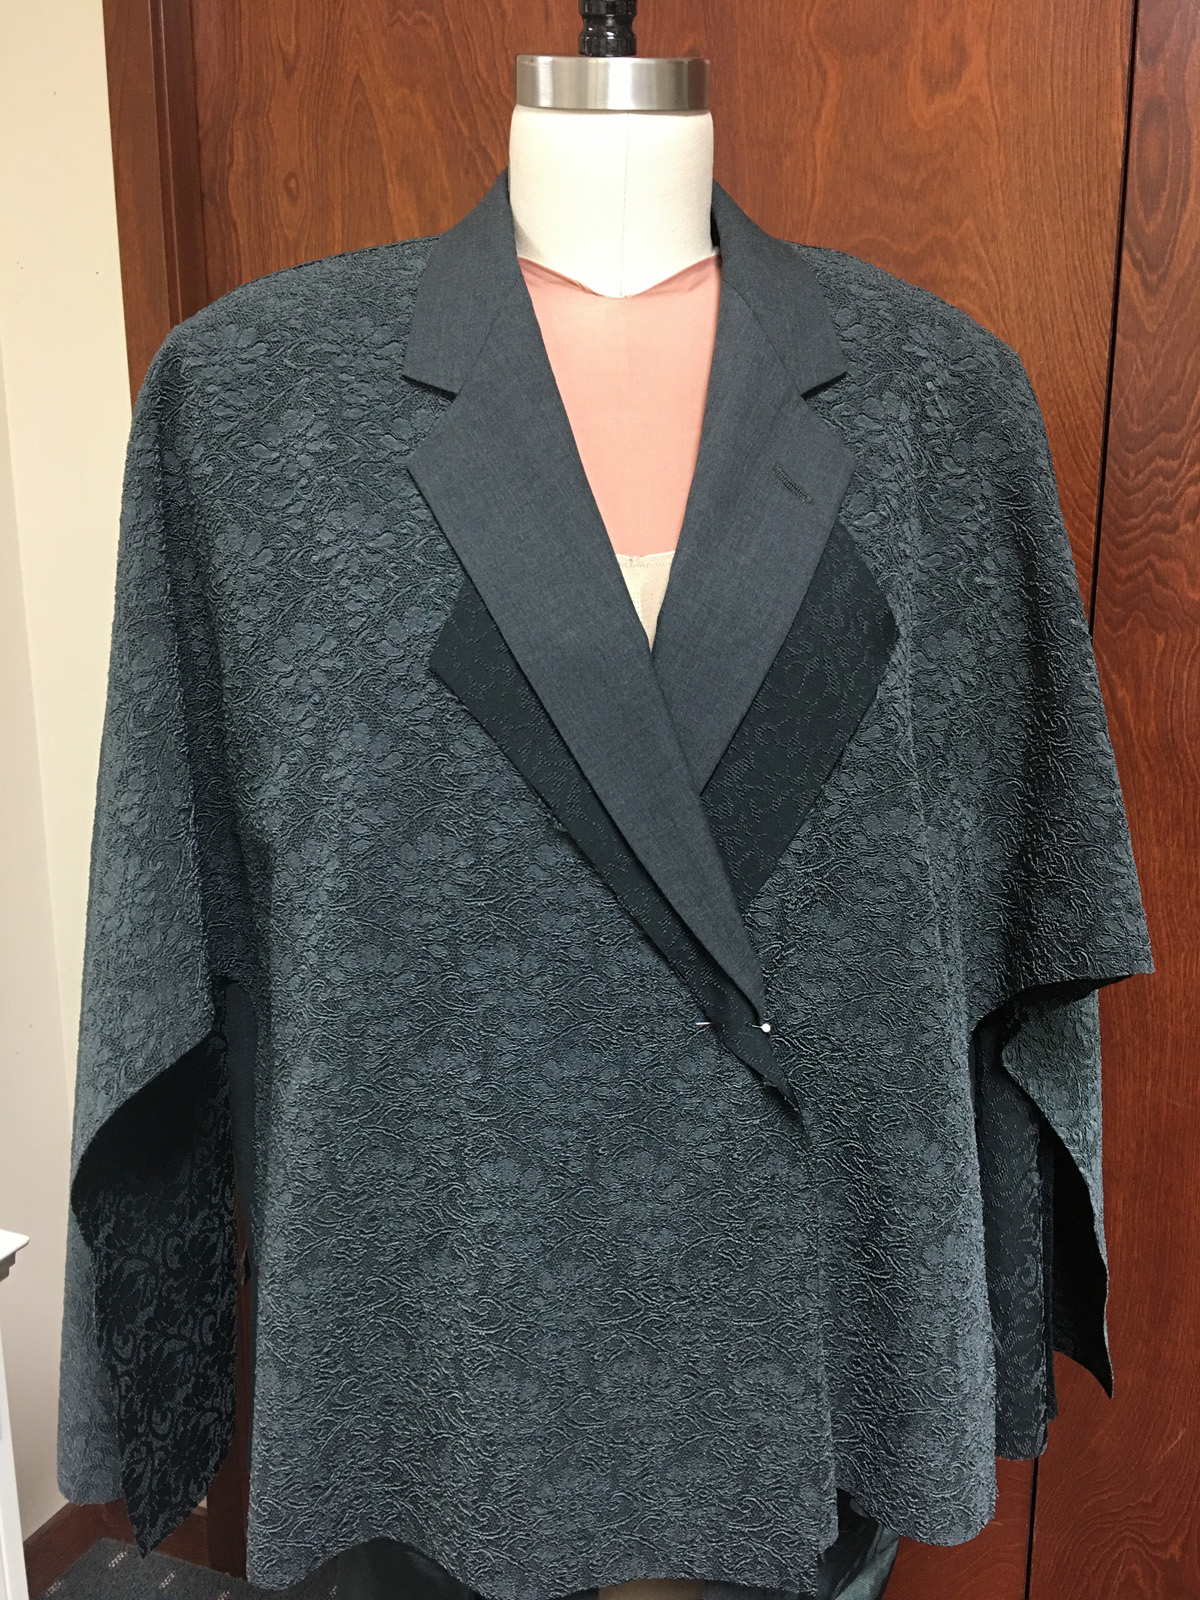
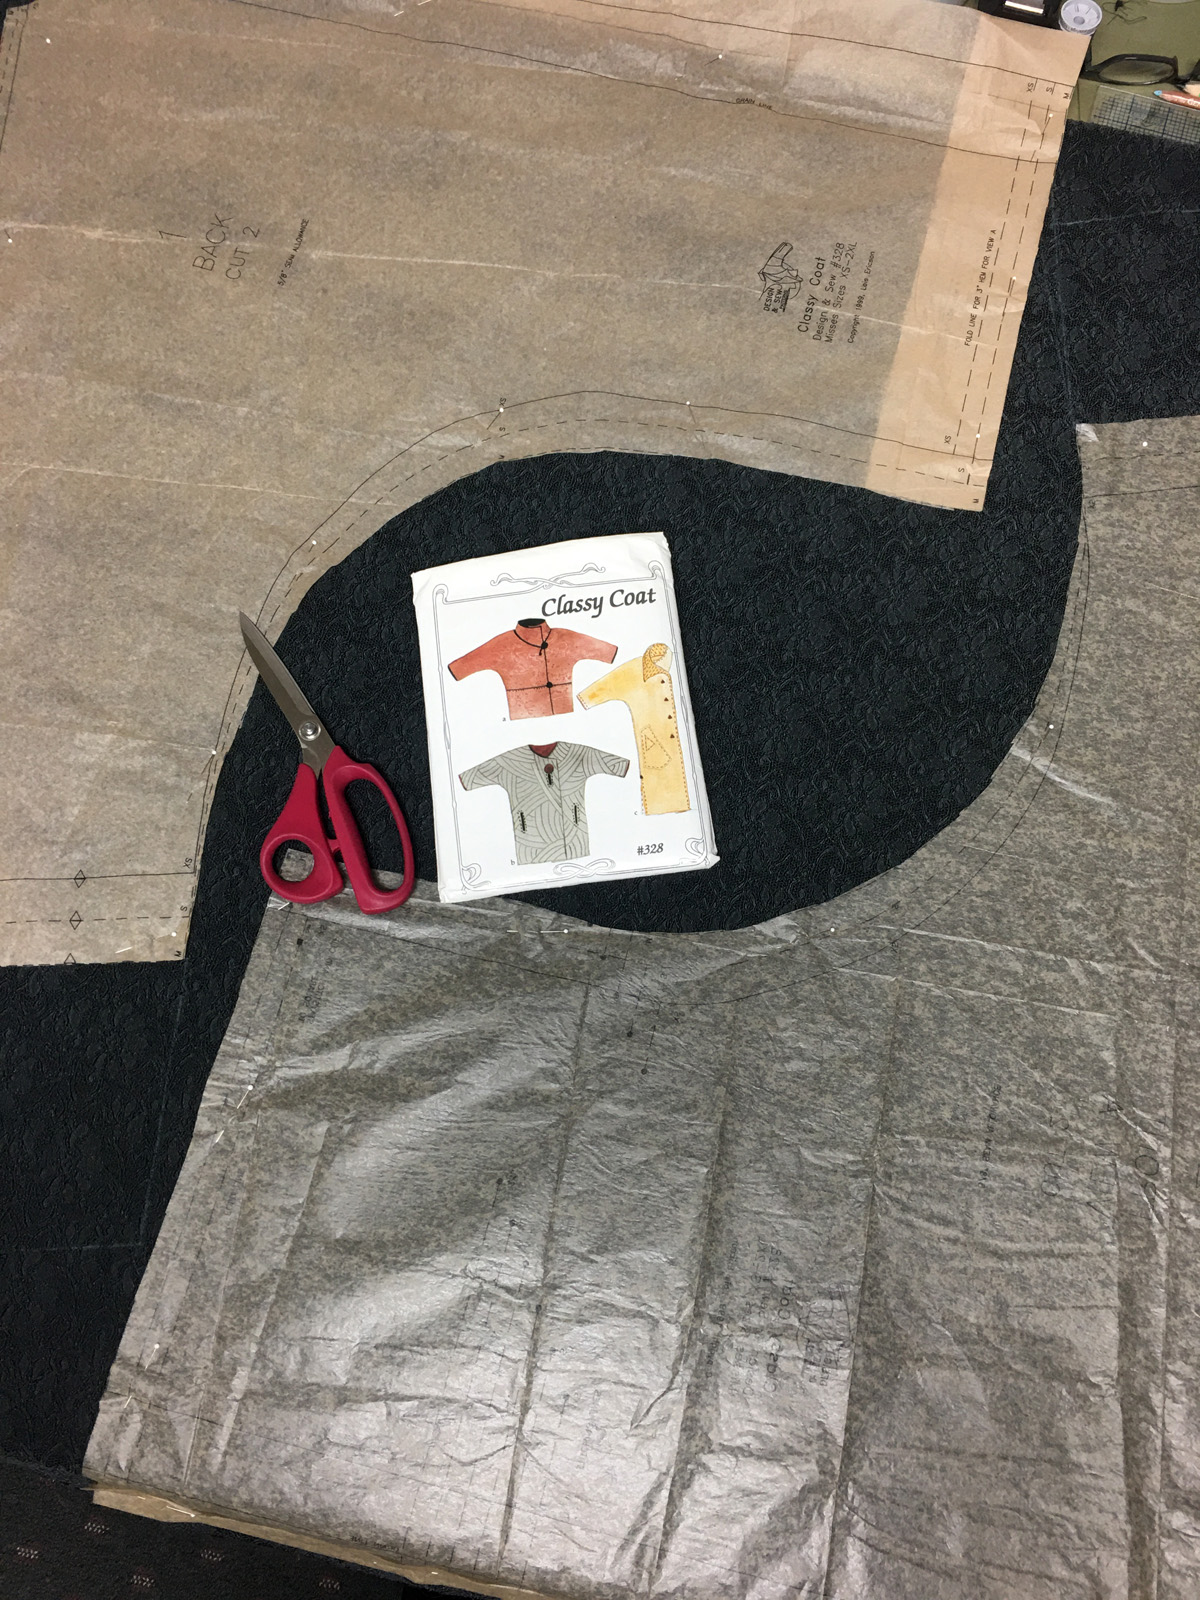
I used a basic dolman shape from the Classy Coat pattern by Lois Ericson (Diane’s mum), which I have had for eons. I made it generous, since I wasn’t sure yet about the lengths or how the lapels would be attached.
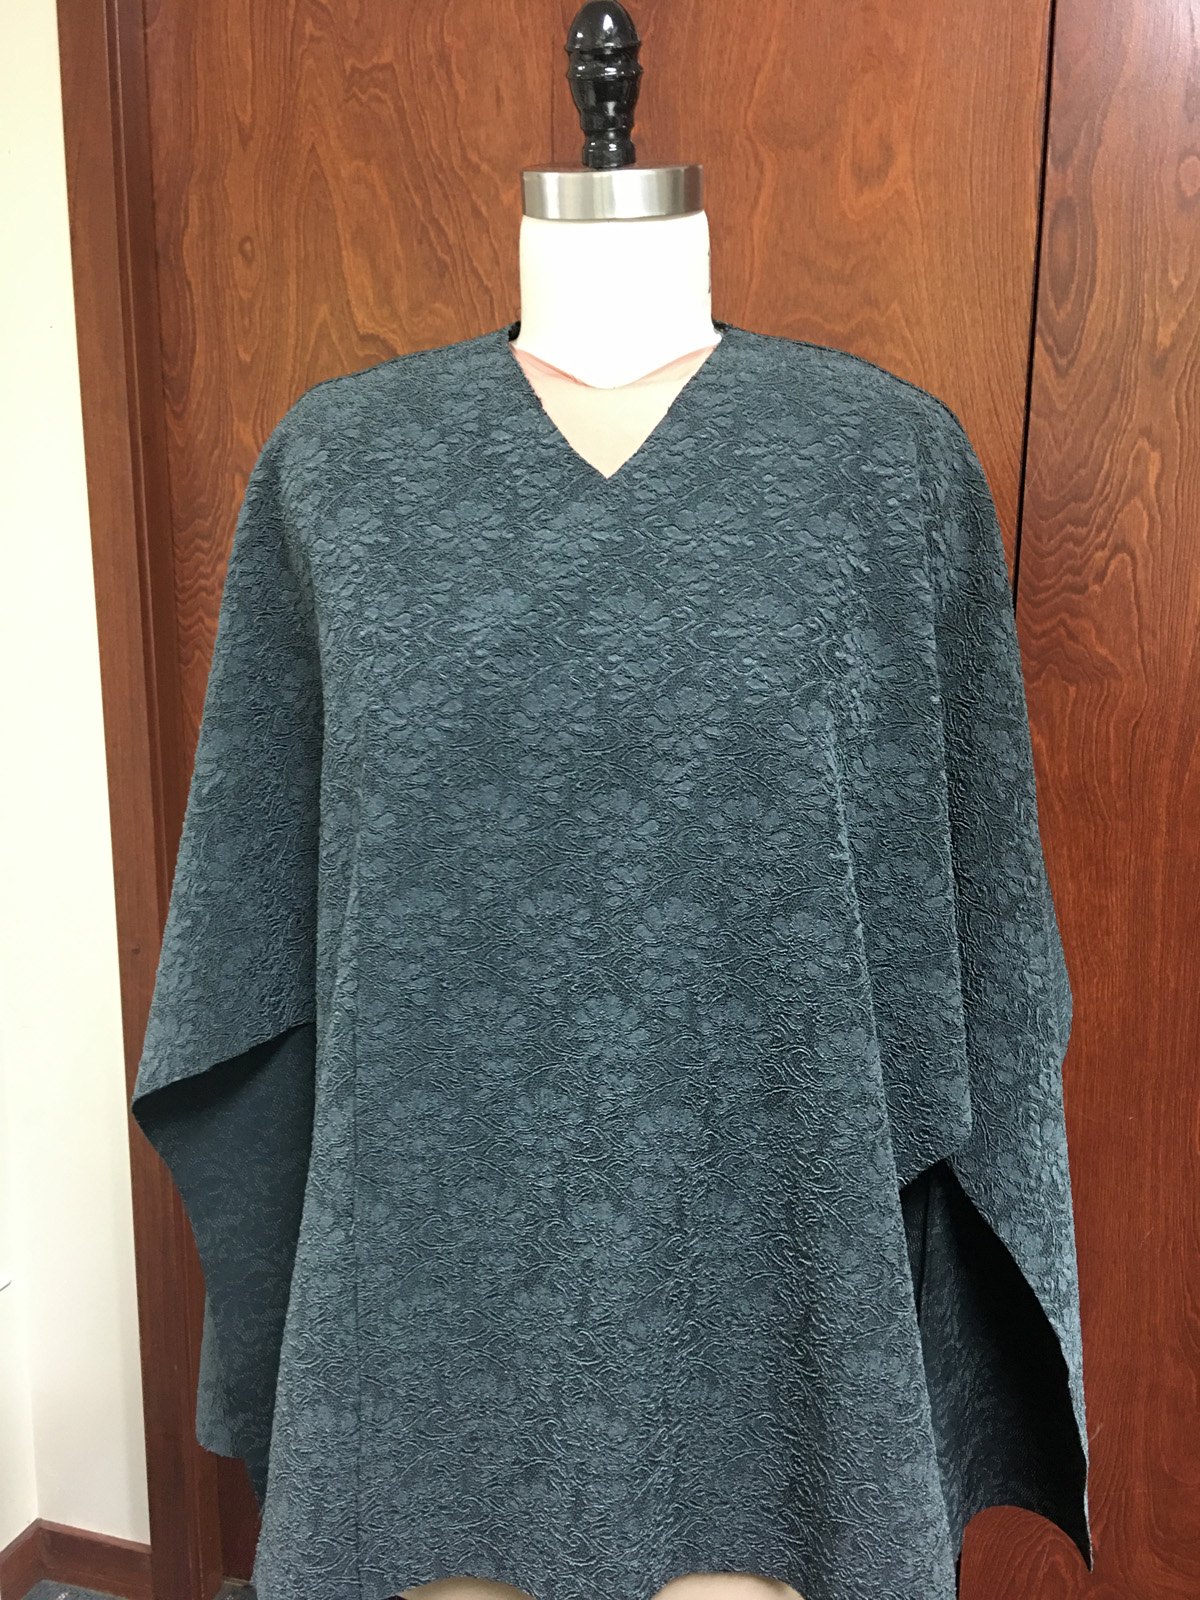
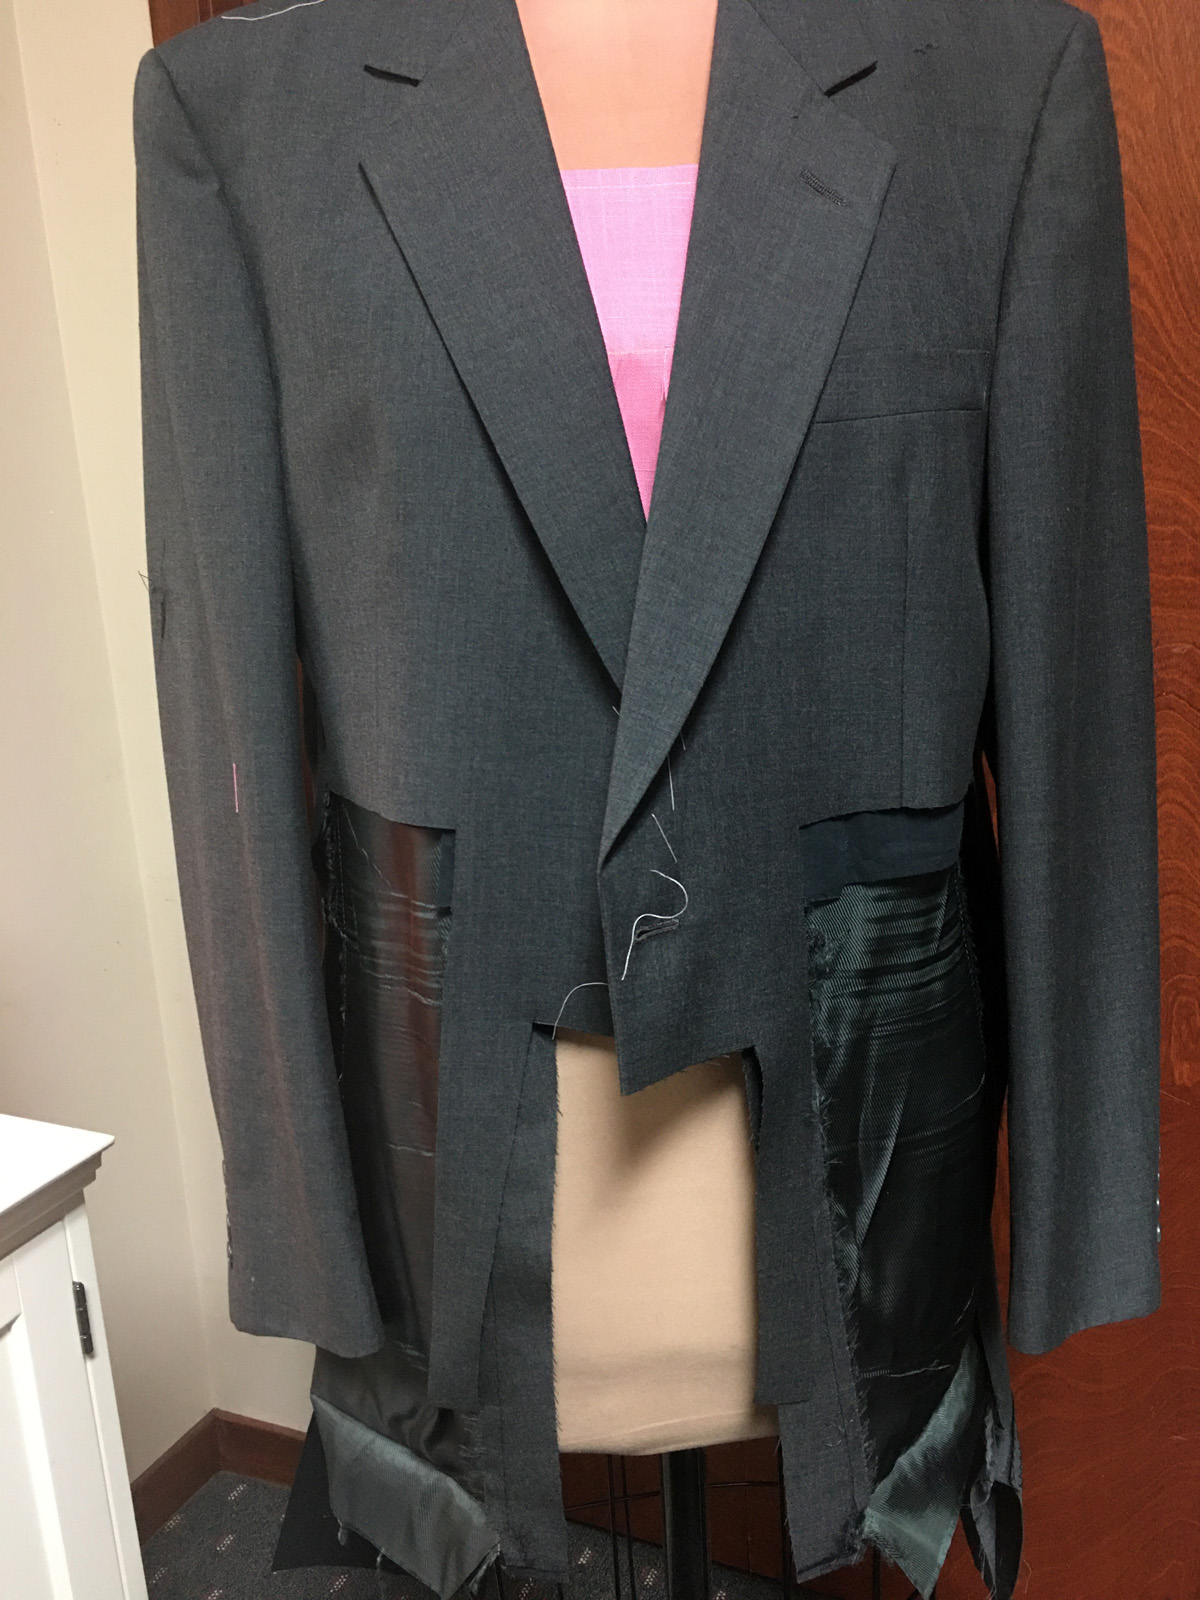
Then I removed the lapels.
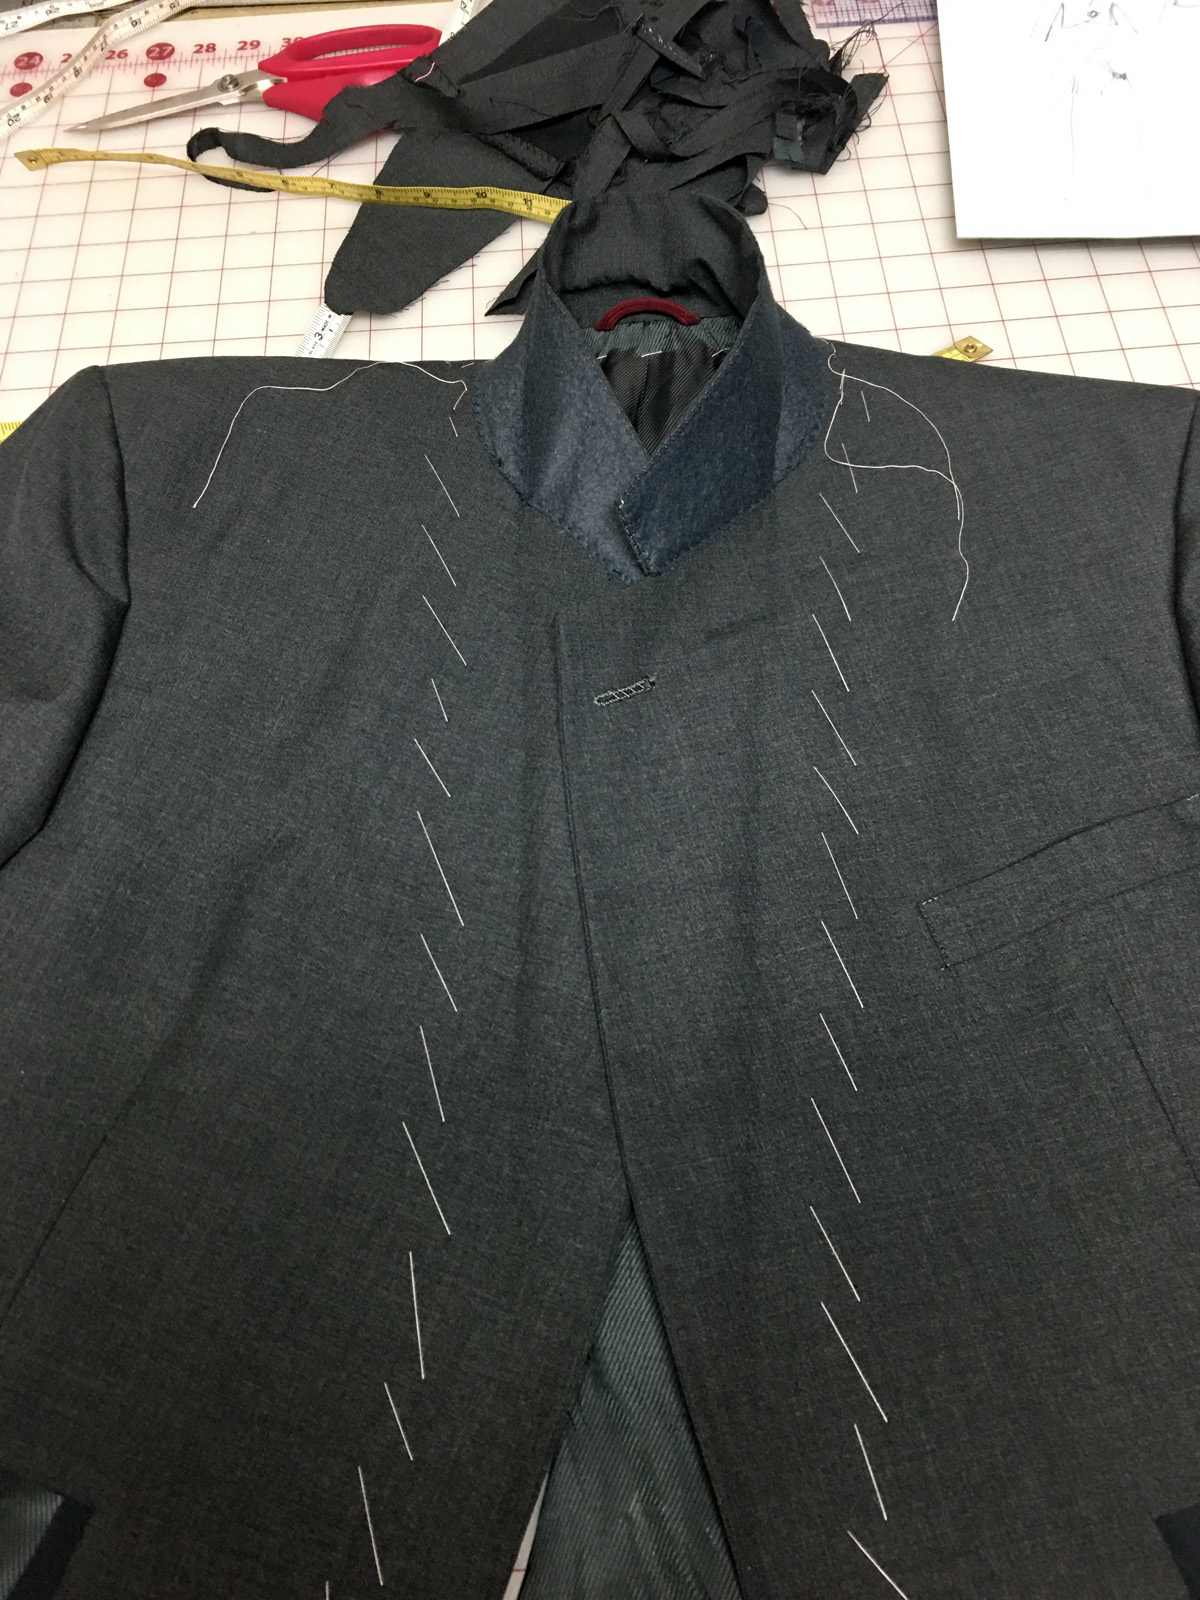
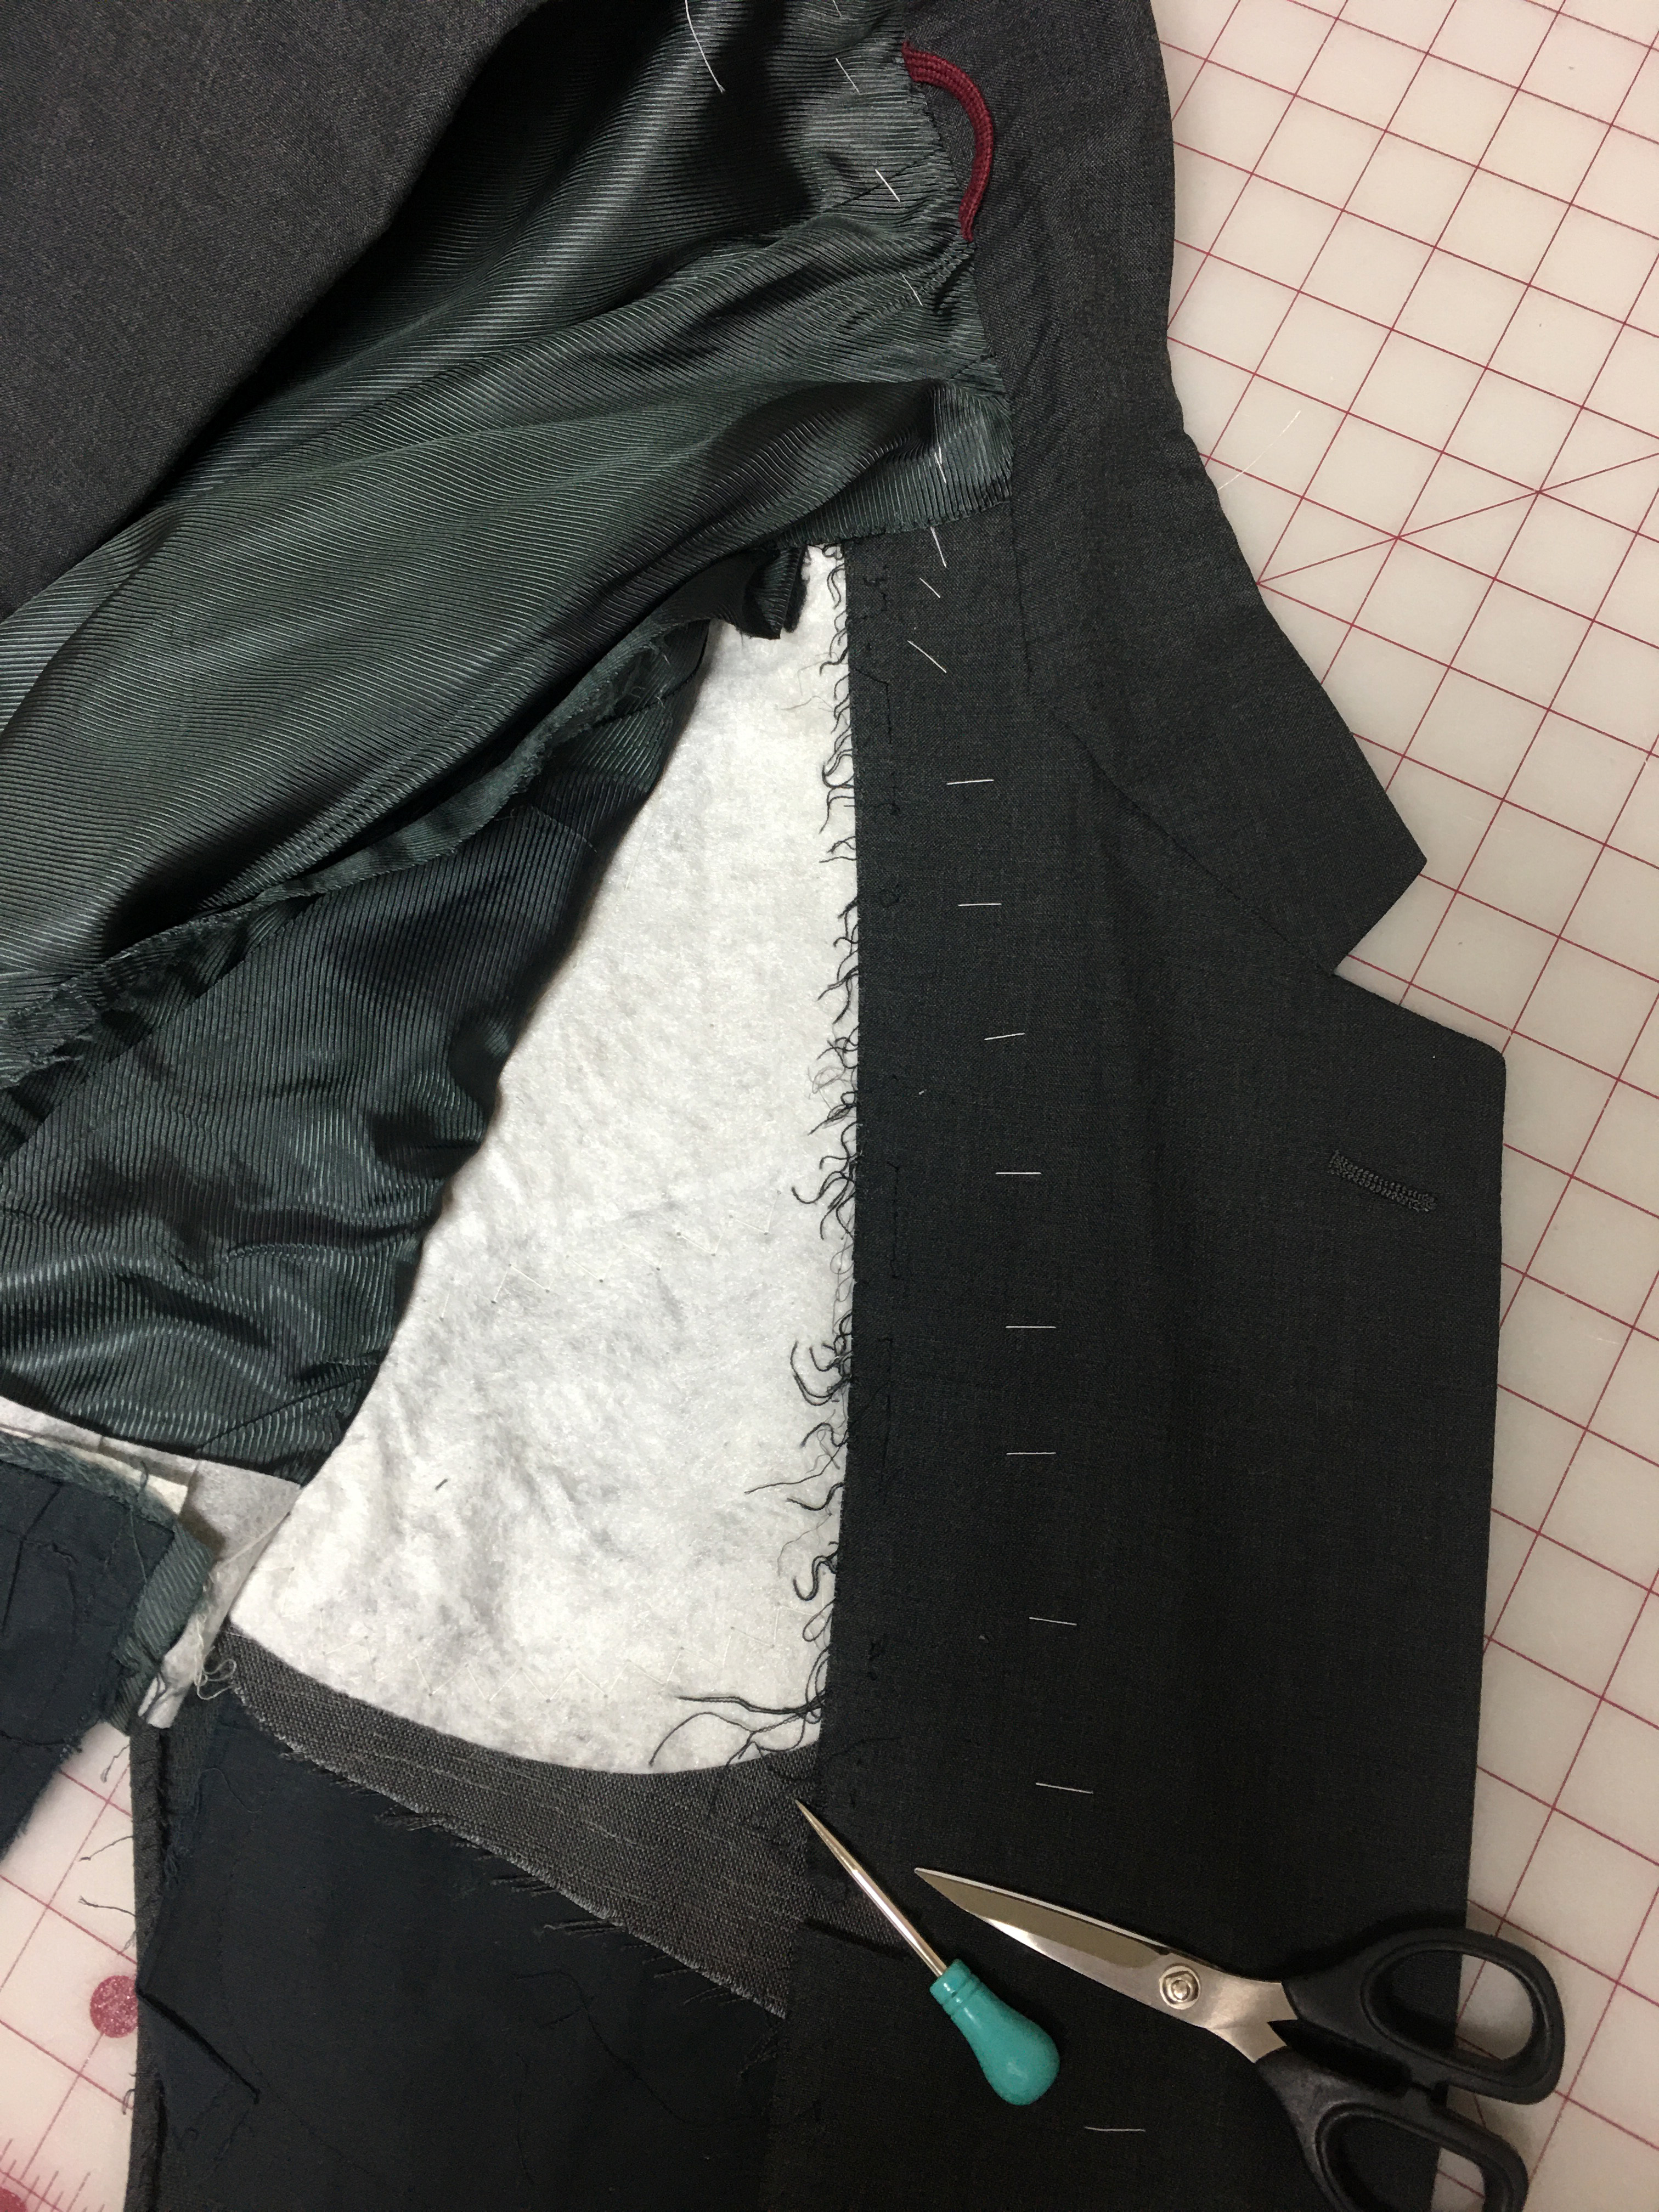
I still wasn’t sure how they would be sewn onto the jacket, but I did know that I wanted to finish the inside with a striped silk. Do the part you know.
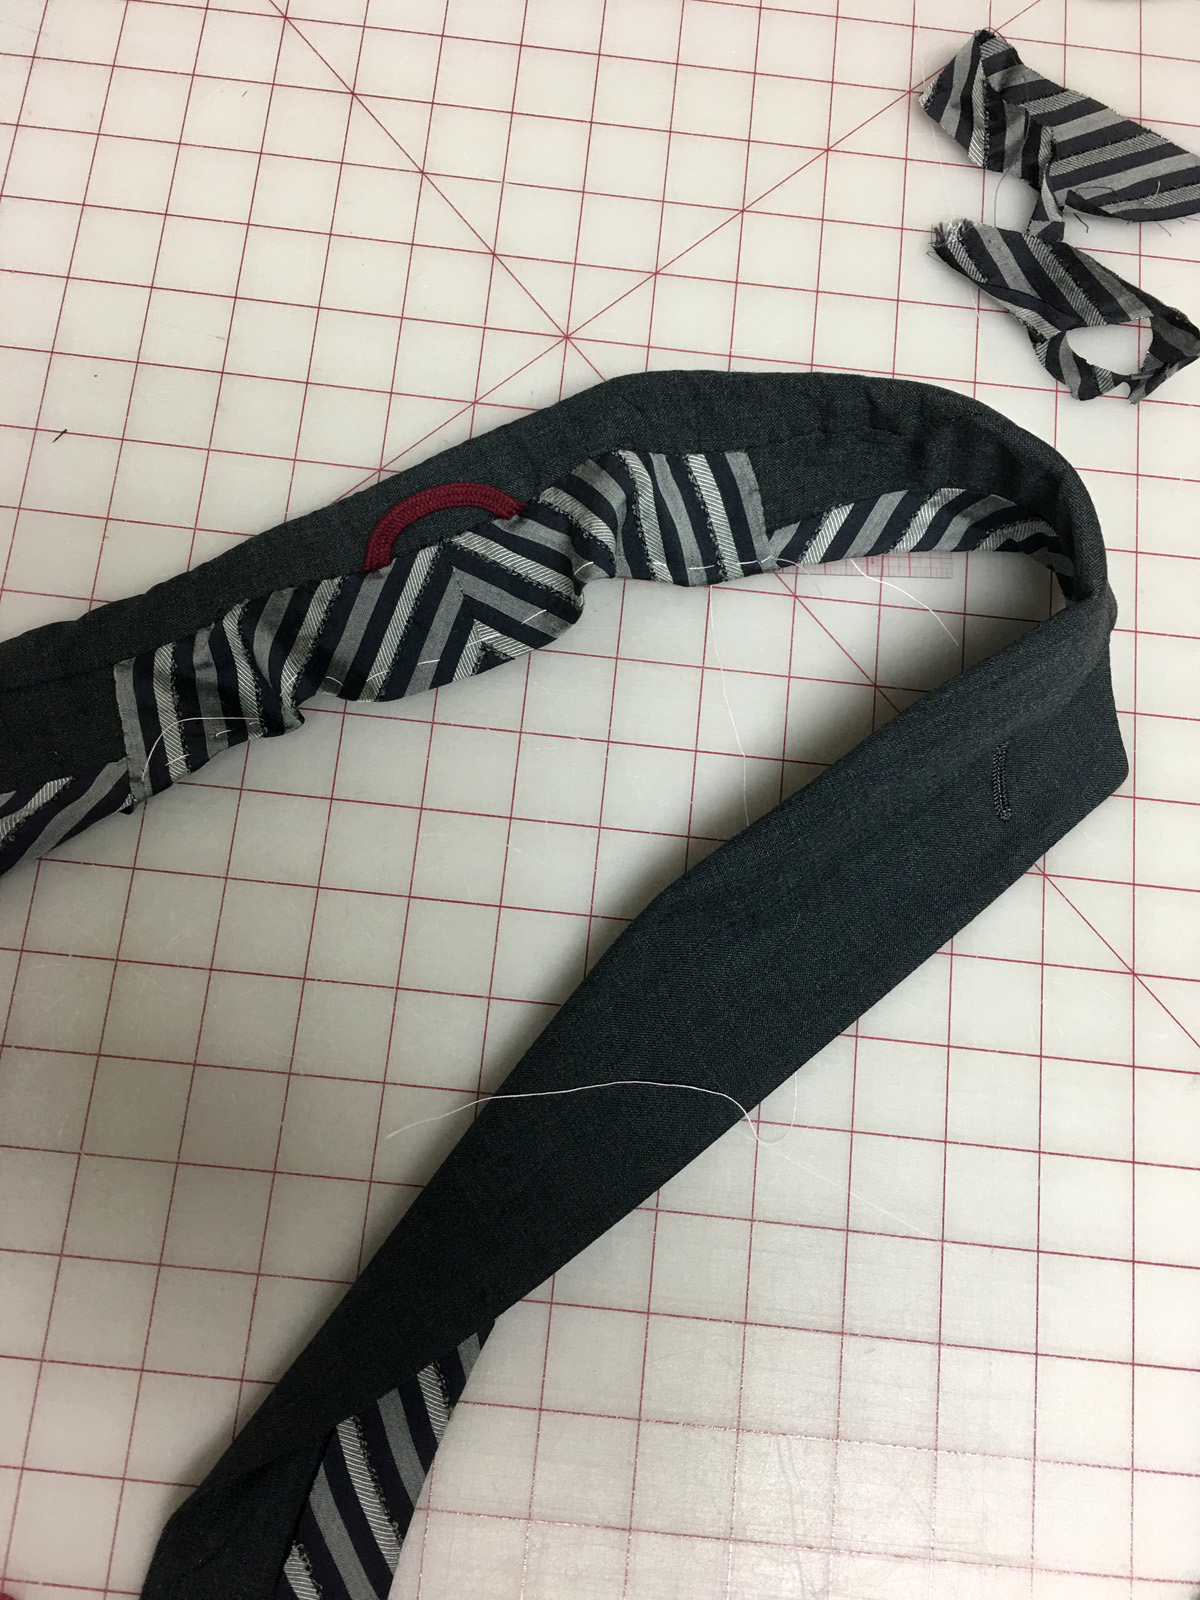
And finally, I knew how to attach the lapels.
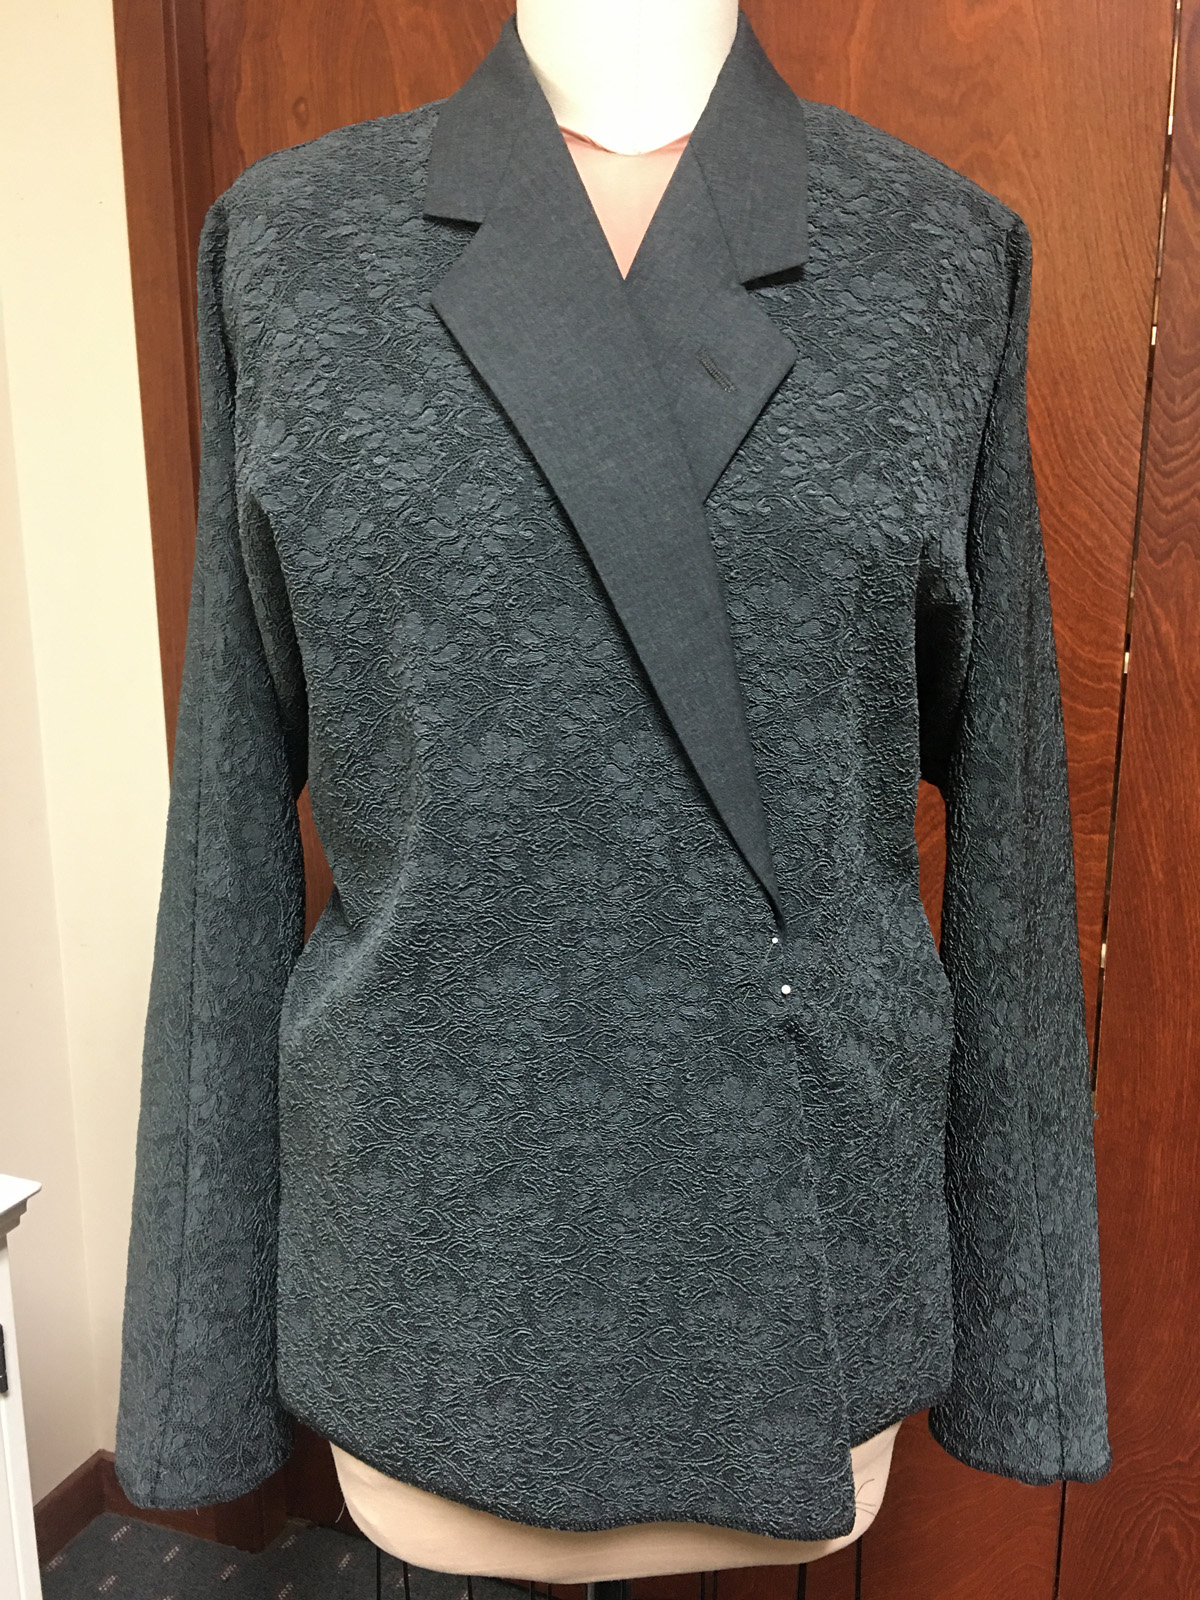
Once they were in place I knew that a shorter length would work better with the overalls and give to the finished outfit a softer look .
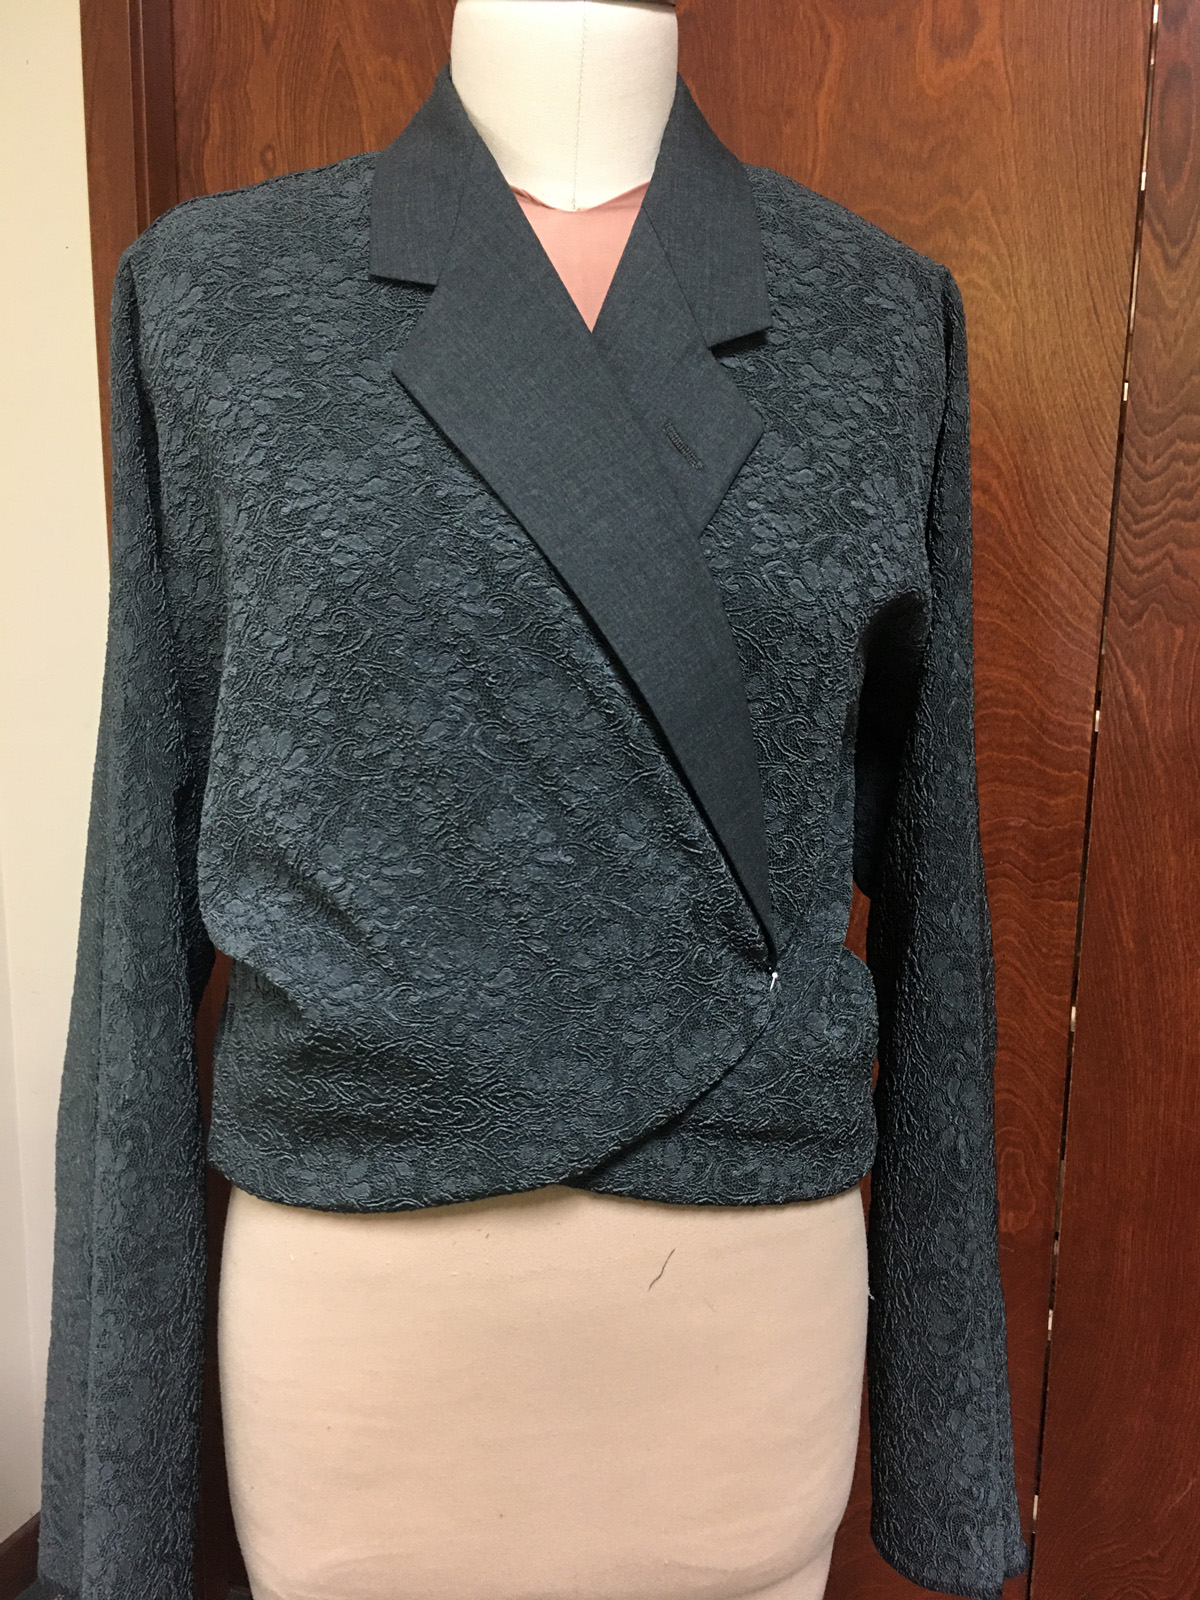
There was one more buckle. Perfect.
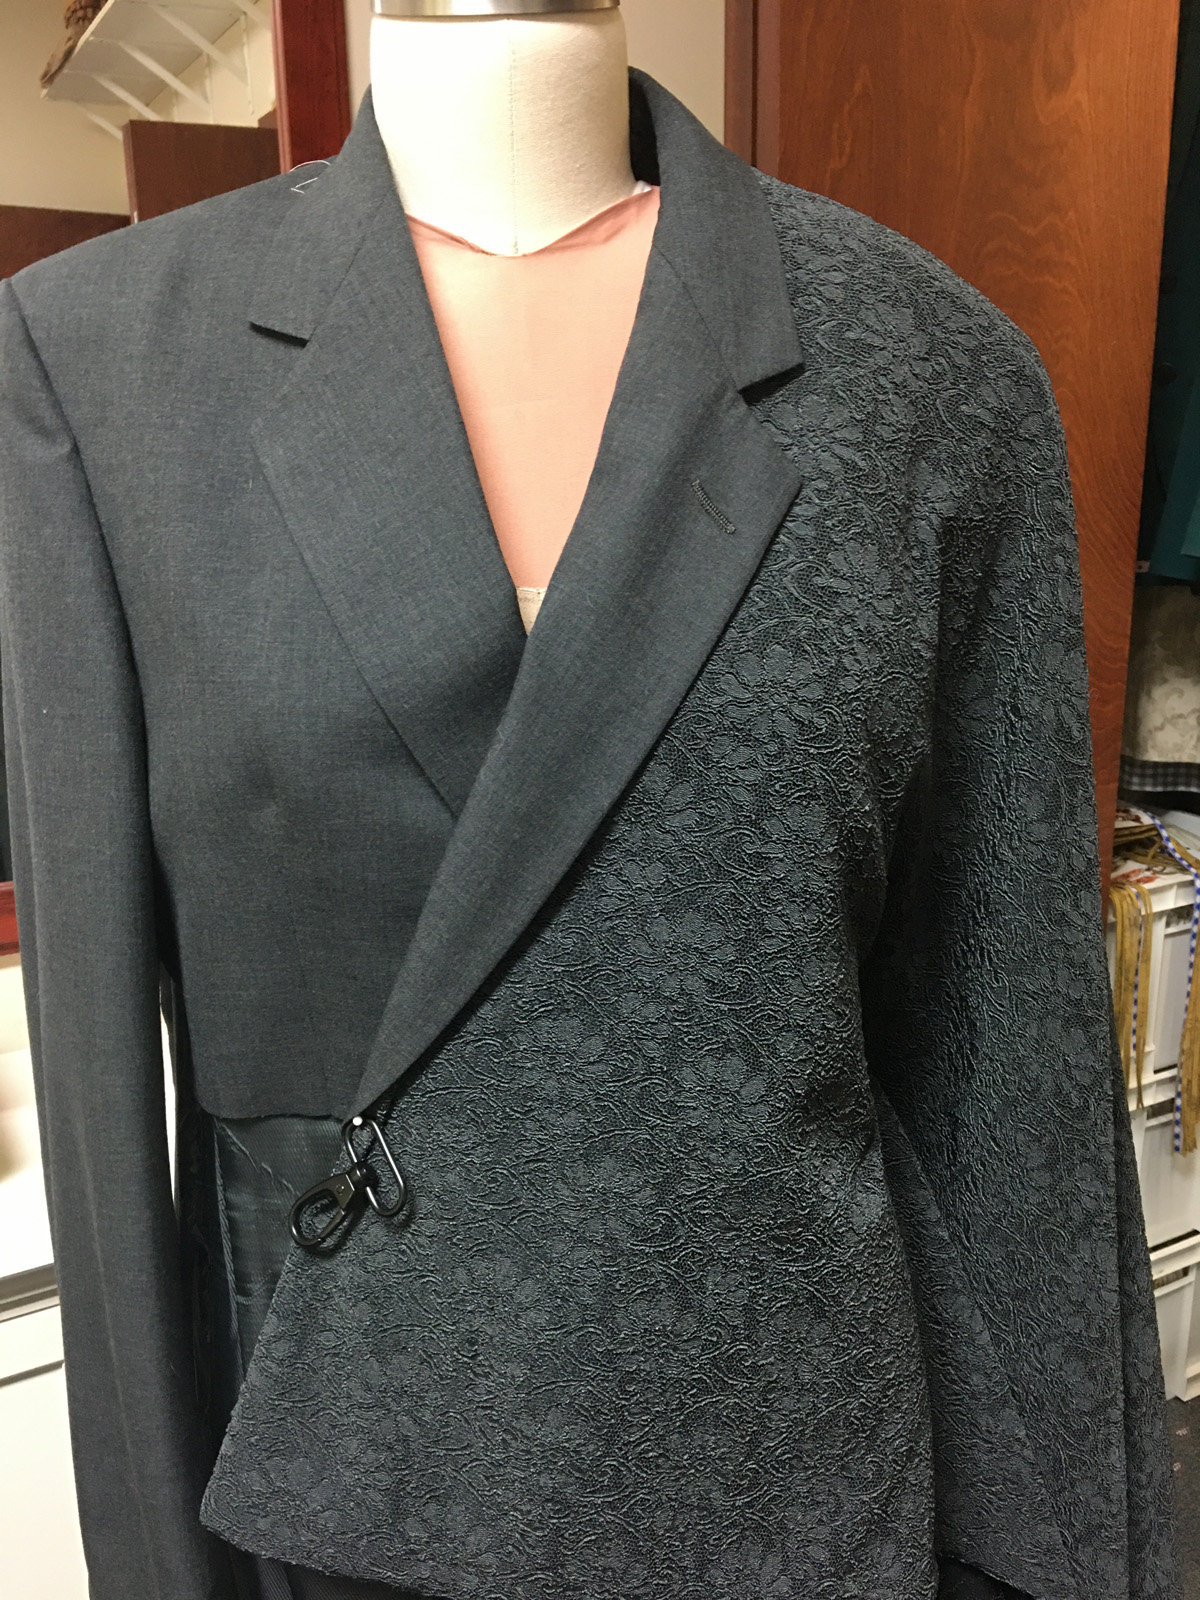

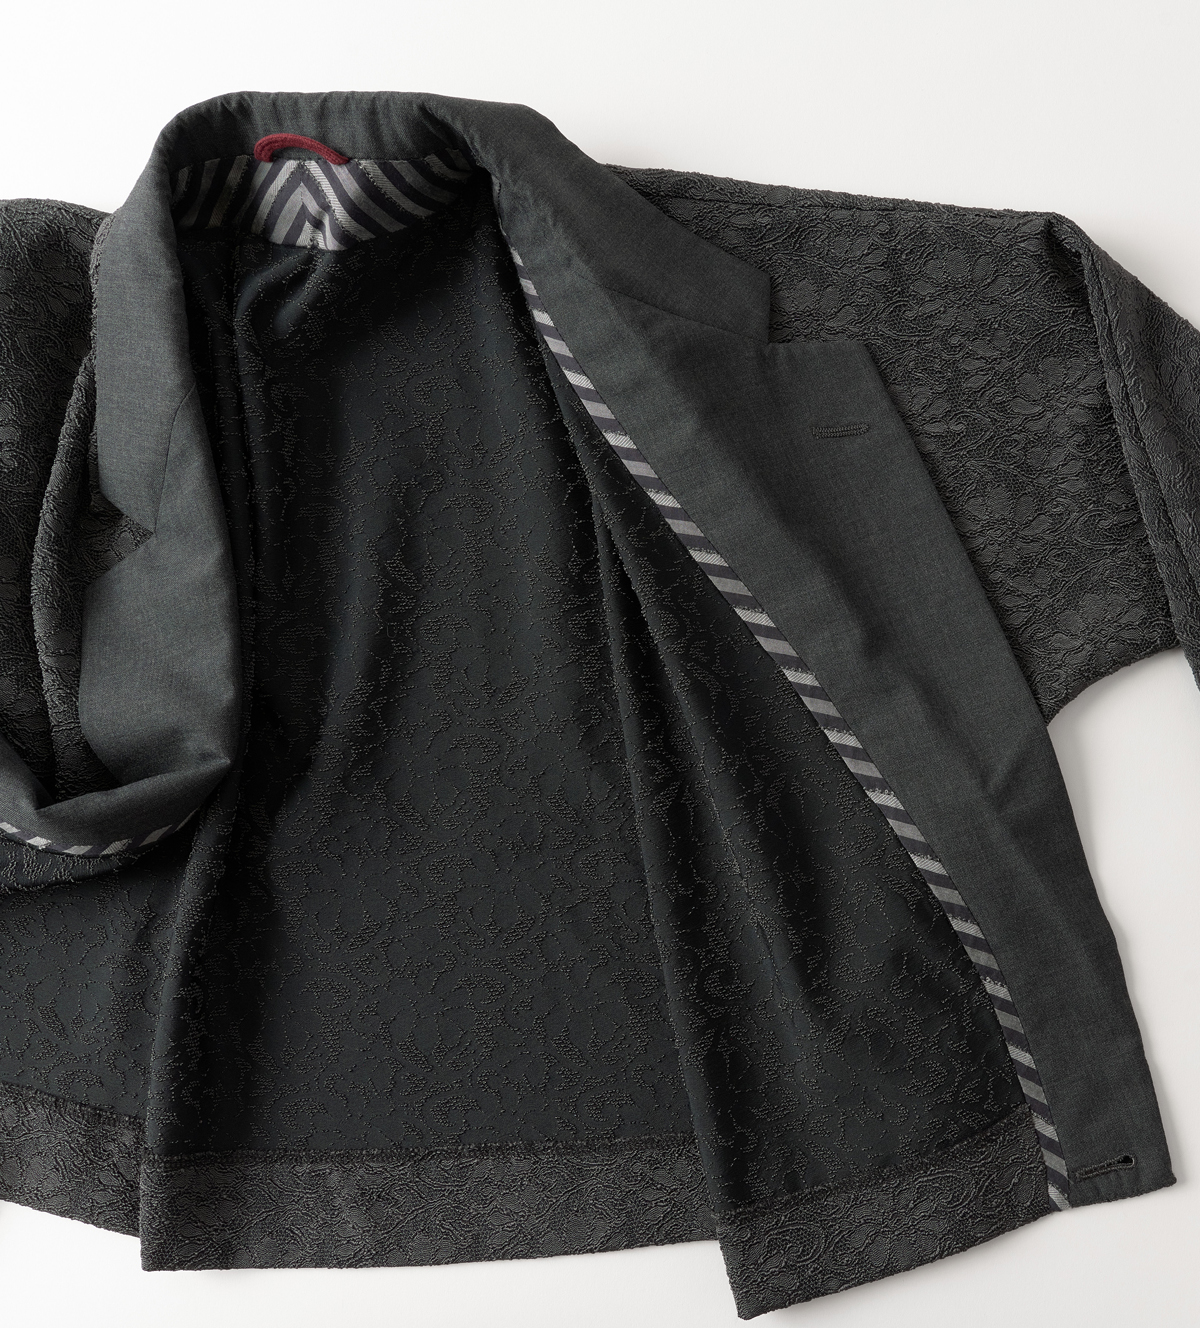

I think I’m done. Part of doing the part you know is realizing when to stop. It can be easy to get carried away. Knowing when to call it good is part of the creative process. You can always go back later if you get another fabulous idea.
Goals accomplished?
When I started this project, I had these goals in mind:
Make something that would be fun to wear. Check. I love the hammer loop.
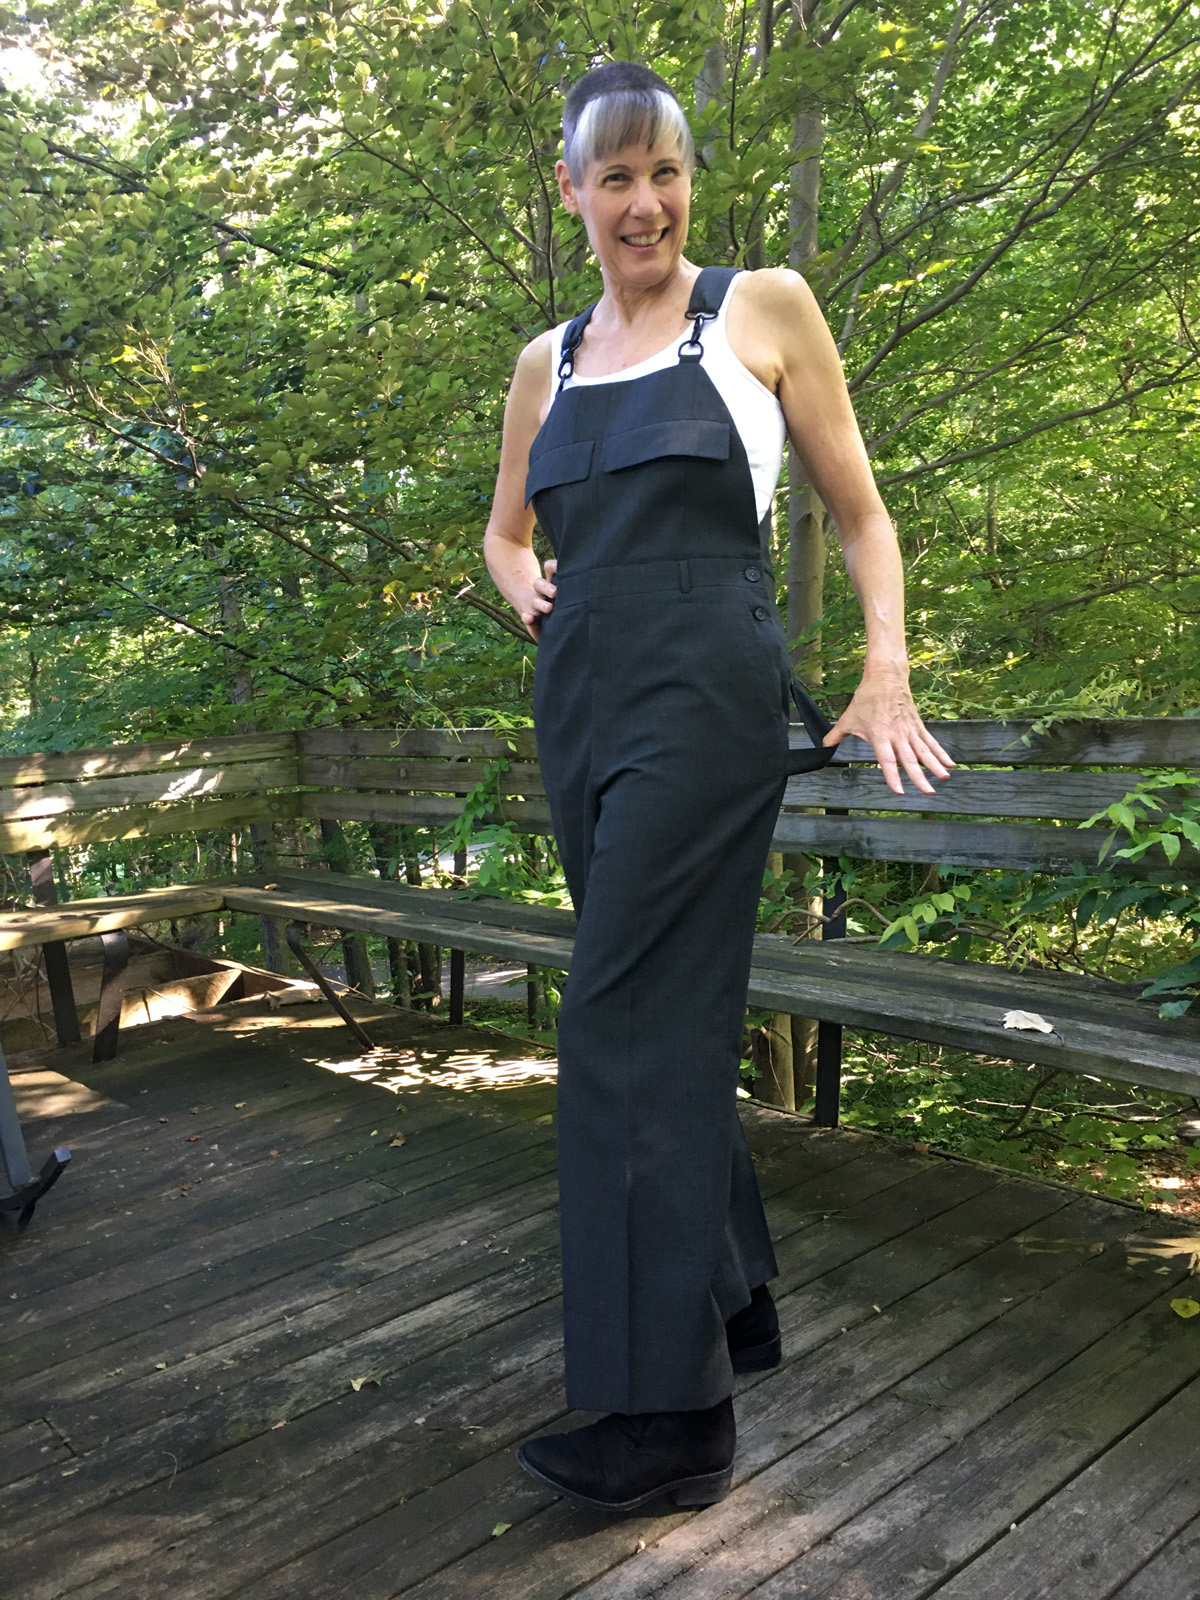
It shouldn’t be a costume. Check.
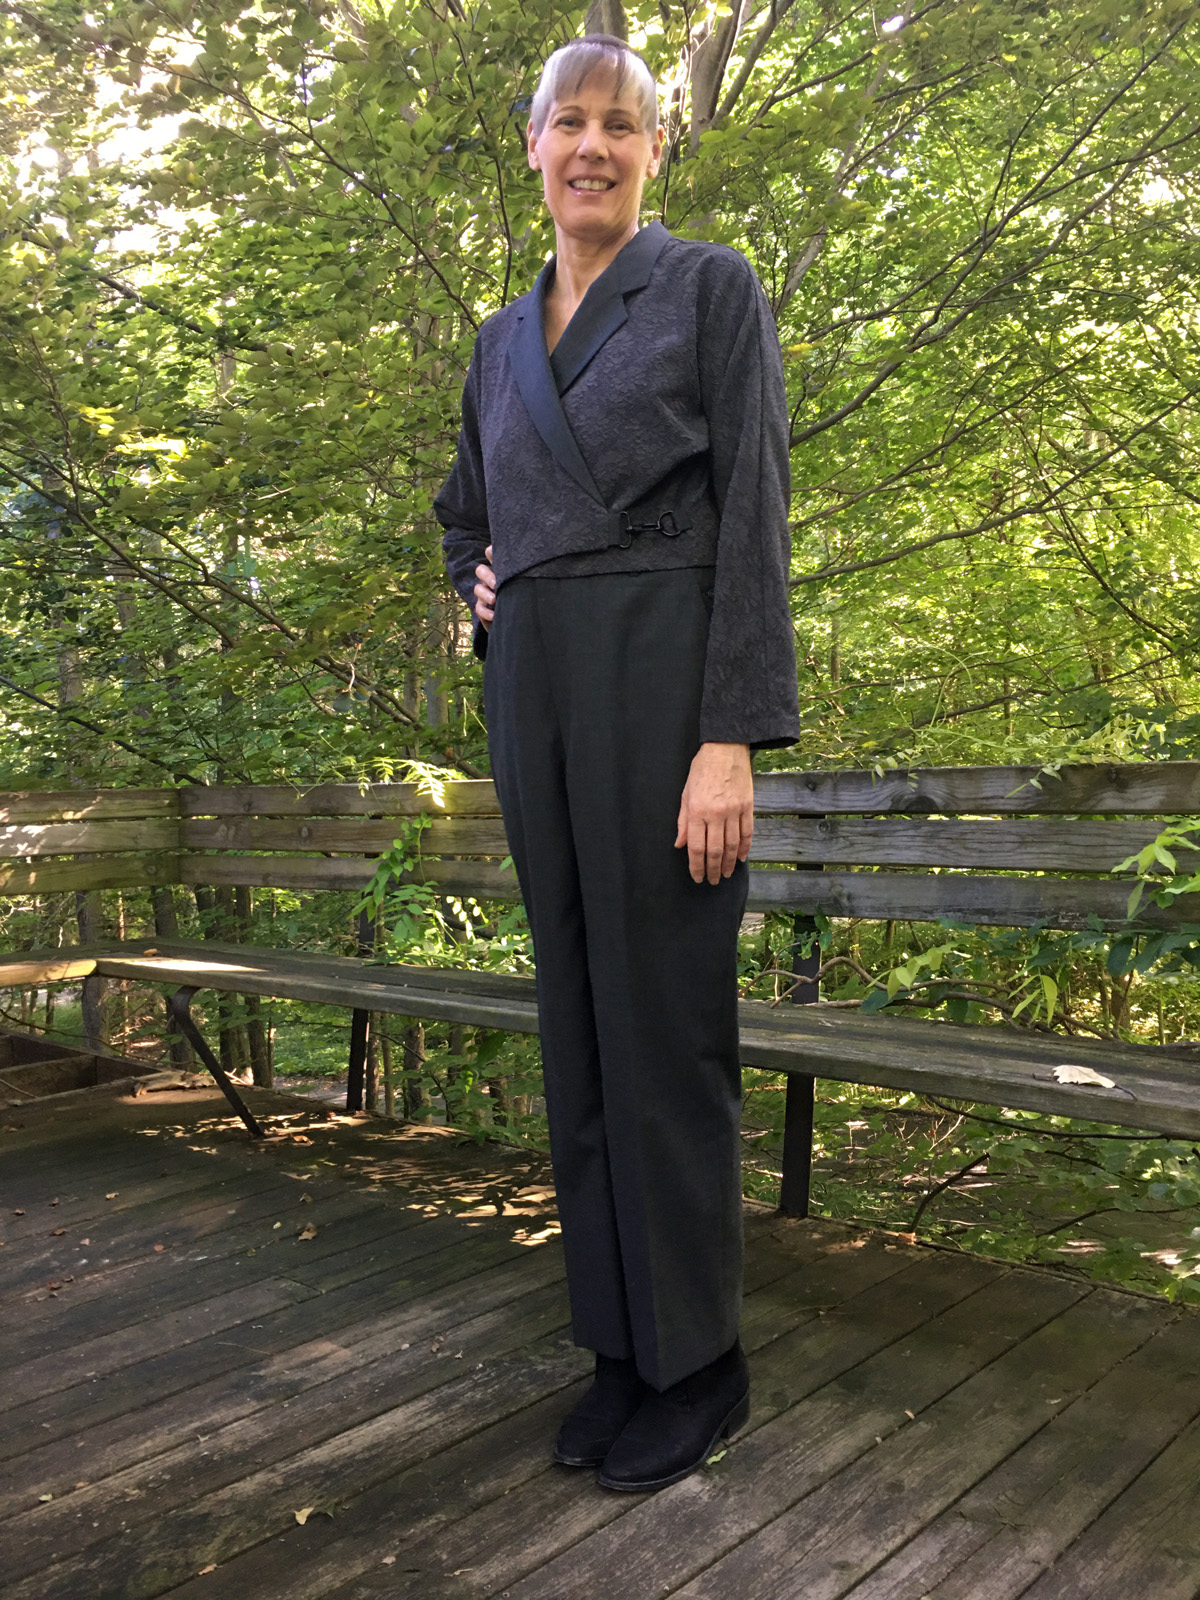
Give it a more feminine than masculine vibe. Check.

Make it wearable for every day. Check. (Well, I might still reach for my denim overalls for gardening.)

Limitations provide opportunities
I enjoyed working through this project in a free-form way. Moving from one idea to another, experimenting and finally committing with scissors and thread. Often, the “too-short cut” or the “not enough fabric” challenges are the very things that motivate my creativity and move me in a new and unexpected direction.
Full disclosure: It doesn’t always work out. But then there are the times that the results are magical. If you haven’t tried a free-form project, give it a whirl. Let the project be your guide—and do the part you know.
See two more men’s suit transformations from Threads digital ambassadors:
Pamela Howard created a complex, multipiece ensemble using a large men’s suit as the basis;
Peter Lappin made an elegant 1940s women’s suit out of a 1990s men striped wool flannel suit.
Which of the three men’s upcycled suits is your favorite?
Editor’s note: Find out more about the artistry of Diane Ericson, Becky’s source of inspiration, from her contributions to Threads:
“Video: Variable-Width facing on a Decorative Edge”
“How to Create Great Garments with Stenciling”
“Use Fabric Scraps to Make Knotted Buttons and Beads”
Photos courtesy of Becky Fulgoni, except where noted.


Hi Becky, I wanted to congratulate you on your Upcycle Challenge garments. I love your process and those overalls!
Best wishes,
Pam Howard
Pam
You are so kind. I am so impressed with the variety of the transformations. Each one is so much about the creator. Bravo!
Hi Becky,
Amazing transformation really, I was wondering about the crotch?!
Happy to find you. Best wishes.
Maha