Four Elastic Application Techniques

Find out which is a sewing pro’s favorite elastic and the best applications for it. Pamela Leggett, owner and designer of Pamela’s Patterns, talks about her go-to elastic and shares techniques to create firm, secure, stretchy, and comfortable waistbands and edge finishes.
Pamela recommends a product called Fantastic Elastic. This elastic comes in a 1 1/2-inch width, and can be cut to any width, down to 1/4 inch. Discover the benefits of this elastic, then follow along to learn four methods for applying it to garments.
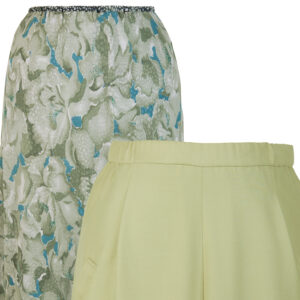
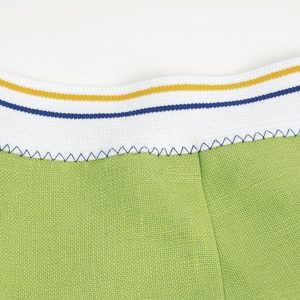
Encased and topstitched elastic waistband
This elastic application creates a wide, comfortable, somewhat sporty waistband, such as those found in pajama bottoms, basketball shorts, and joggers.
Divide the garment’s waistline in quarters. Cut a length of elastic 2 inches to 3 inches smaller than the waist circumference, and join the ends to form a ring. Divide and quarter-mark it, too. Place the elastic on garment’s wrong side, with one edge about 1/8 inch from the fabric’s cut edge. Match the quarter marks.
Serge along the edge to attach the elastic, trimming off the 1/8-inch excess fabric. Pamela shares a trick to get started serging on the ring. Stretch the elastic to match the fabric length as you continue to serge. Overlap the stitches at the end, then pivot and serge off the edge. If desired, you can use a zigzag stitch rather than serging.
Fold the elastic snugly to the garment’s wrong side and pin. At the sewing machine, topstitch along the serged stitches to anchor the elastic to the garment, stretching as you sew. Add as many additional rows of topstitching as desired. Finally, steam-shrink (block) the elastic back to size.
Flat waistband
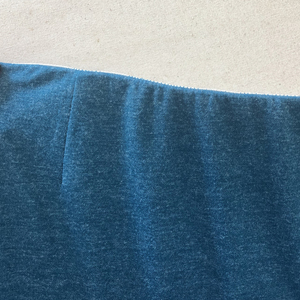
This method is suitable for stretch fabrics, such as knits or wovens with spandex. Be sure the fabric has…


This is one of the best videos that I have seen on the use of elastic and the variety of ways to install the elastic. I have always found this a little tricky but the suggestions in your video will change things. Thank you!
Annette
Excellent video on using elastic. Also, I really appreciated the serger start and stop tips - no more "angling in". Thank you Pamela and Threads.
This was a very useful video. I’ve never been happy with my elastic waistbands, nor which type really suited the project. Pamela’s clear instructions and ideas are keepers in my sewing kit. Love the idea of the elastic she mentions as well, since I’ve often tried to cut ‘regular’ to varying widths with poor results.
Thx!