
Redesigning Sleeves, Part 2: Add Fullness

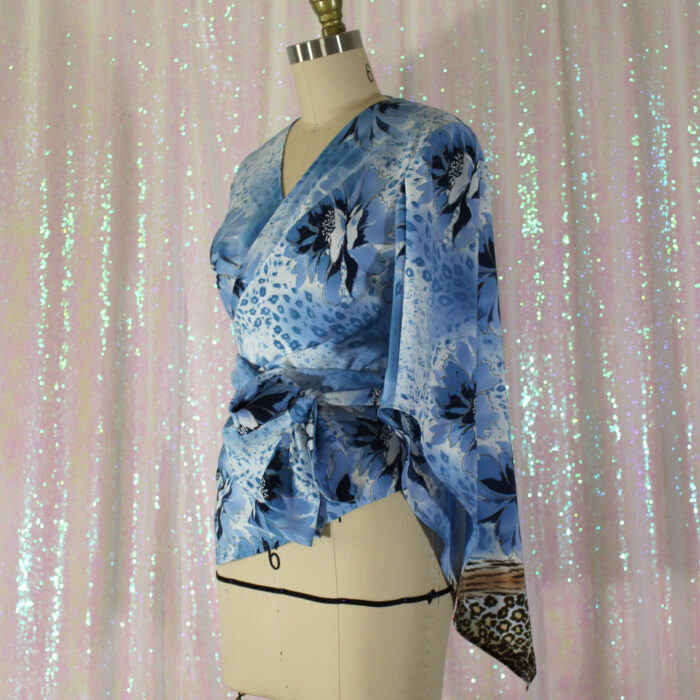
As an introduction to the pattern manipulation in this series, the first sleeve design is relatively simple. It teaches you two basic tenets of patternmaking: seam relocation and added fullness. We’ll convert the sleeve sloper we drafted in Part 1 of this series into a bell shape with a scooped hem. I’ll then show how to use the same concepts to make a simpler sleeve with a forward-facing slit. By learning these two techniques, you’ll be able to add fullness and move seams on almost any pattern piece.
I am demonstrating the drafting in half-scale because it’s easier to photograph, but I’ll give you full-scale measurements in the instructions to minimize confusion.
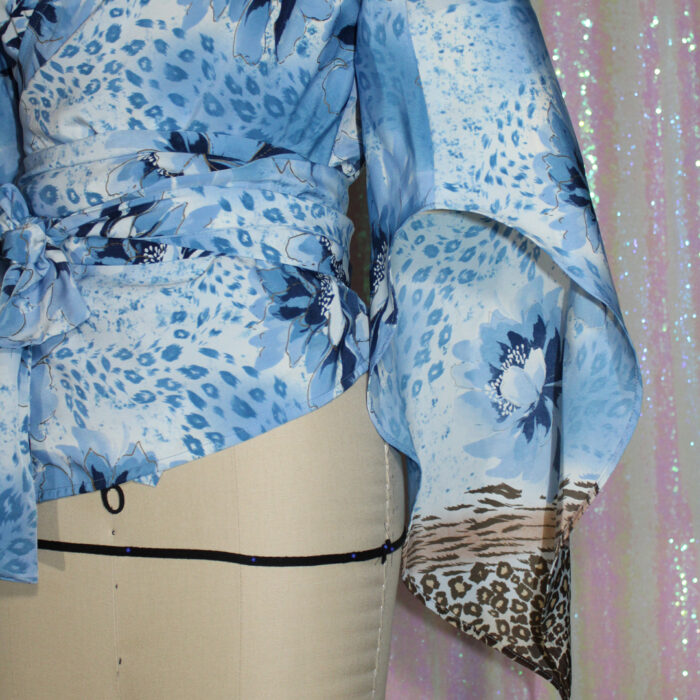
Scooped bell sleeve
Divide the sleeve into quadrants
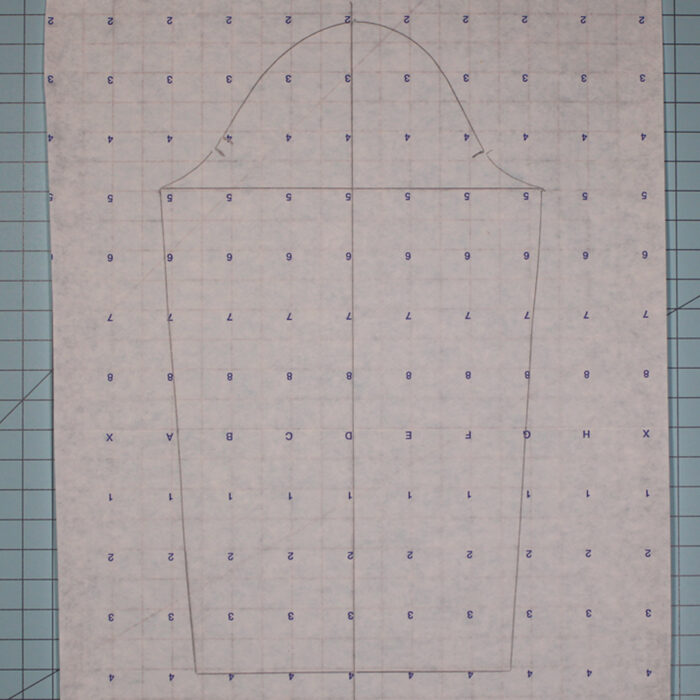
1. Begin by drawing a straight line on your paper, longer than the length of your sloper. I am using patternmaking paper (also called marking paper or dot-to-dot), but you can use any paper for it if you use a ruler.
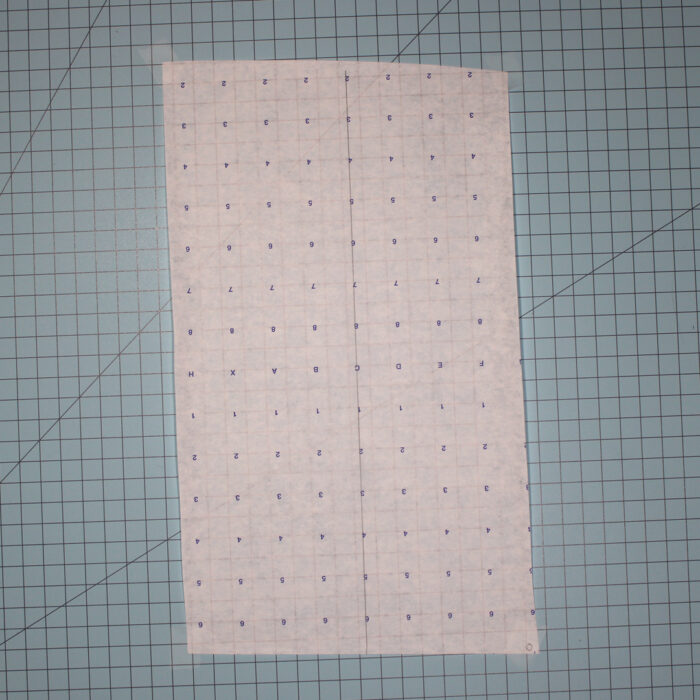
2. Place the sloper on the drawn line, matching the top and bottom notches. Trace around the entire shape—this is why transferring the sloper to a stiffer paper is important. Be sure to transfer all the notches. Draw the biceps line on the paper. The biceps line runs from point to point at the base of the sleeve cap.
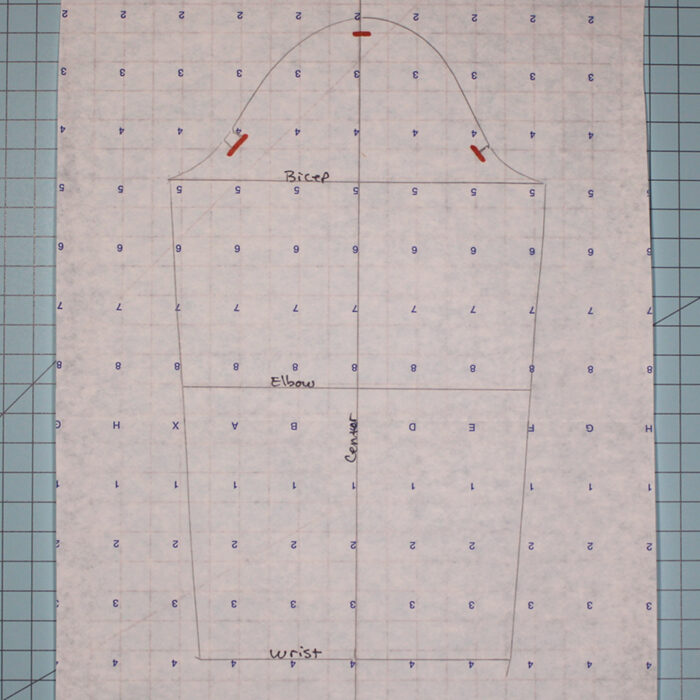
3. Fold the wrist to the biceps line along the center line and crease. From that fold, draw a line 1 inch above. This is the elbow line. The elbow is a floating area that can vary in measurement. Generally, 1 inch above the halfway point is acceptable. Label your draft, as shown.
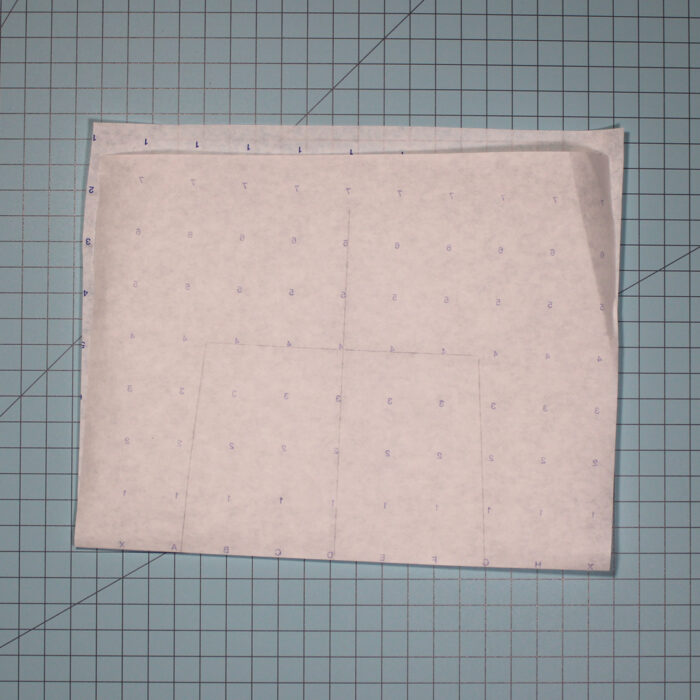
4. Fold the sleeve cap’s end to the center line along the biceps line and crease. On that crease, draw a line parallel to the center line…
Start your 14-day FREE trial to access this story.
Start your FREE trial today and get instant access to this article plus access to all Threads Insider content.
Start Your Free TrialAlready an Insider? Log in


I love these types of detailed instructions and techniques though I became confused on step 6. It appears that the right-most/front quadrant was totally cut off and attached to the left-most/back side of the sleeve but I didn't see an explanation as to why this was done. Can the comments please be expanded to help? Thank you.