Redesigning Sleeves, Part 5: Folding for Fun
For my final sleeve variation, I wanted to introduce folded details to a simple sleeve design. The basic folds I’ve chosen to work with are easily understood for demonstration purposes, but as you experiment with the technique, you can create whatever folds you want for sleeve designs. In fact, this technique will work with any garment pattern piece you want to alter.
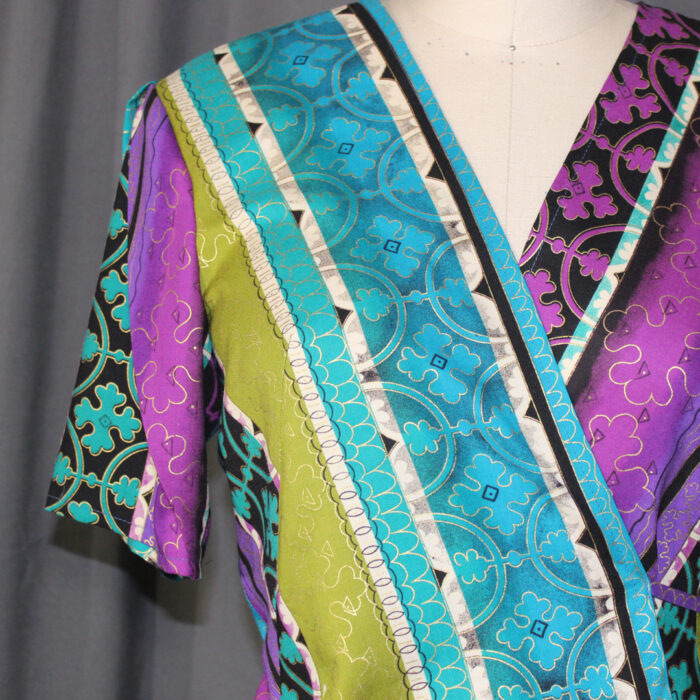
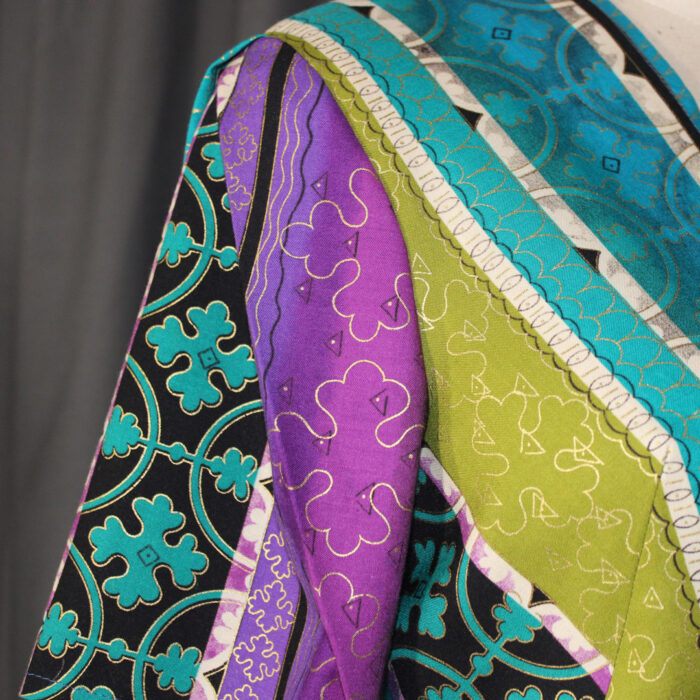
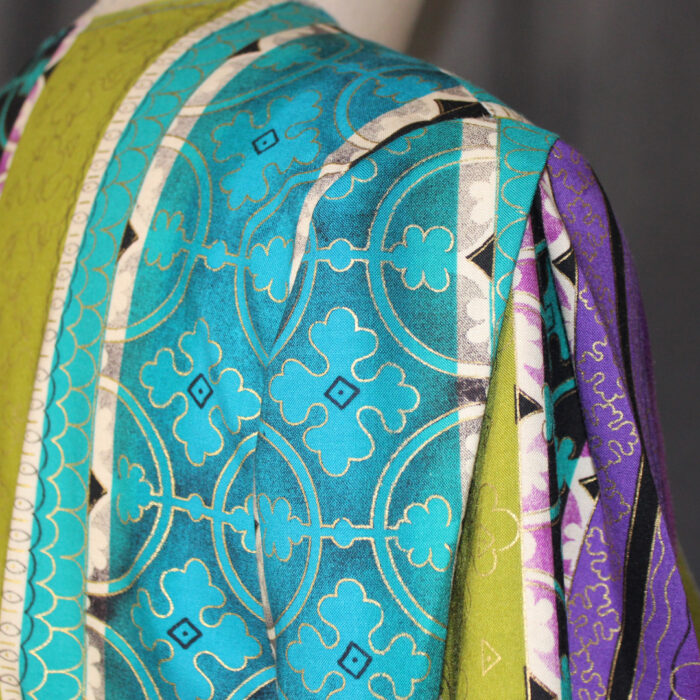
Pleating, or folding, a pattern
You can approach this design element from two directions.
The first direction is to cut your pattern from prefolded or pleated fabric. This technique is fine for one-off projects or asymmetrical designs, as you will typically have pleating on one part of the garment and not the same type of pleating on another part.
The second direction is what I’ll show you—pleating the pattern to achieve the same pleats every time. This enables you to duplicate the pleats exactly whenever you sew a garment. We will add notches to the pattern to make this easier to sew.
Draft your pattern by folding for fun
1. Begin by cutting pattern paper larger than your sleeve sloper. It’s important to cut this paper wider than you think to allow for the folds and pleats. Eyeball the approximate center, or lightly pencil it in. This “center” might change, so I don’t mark it permanently.
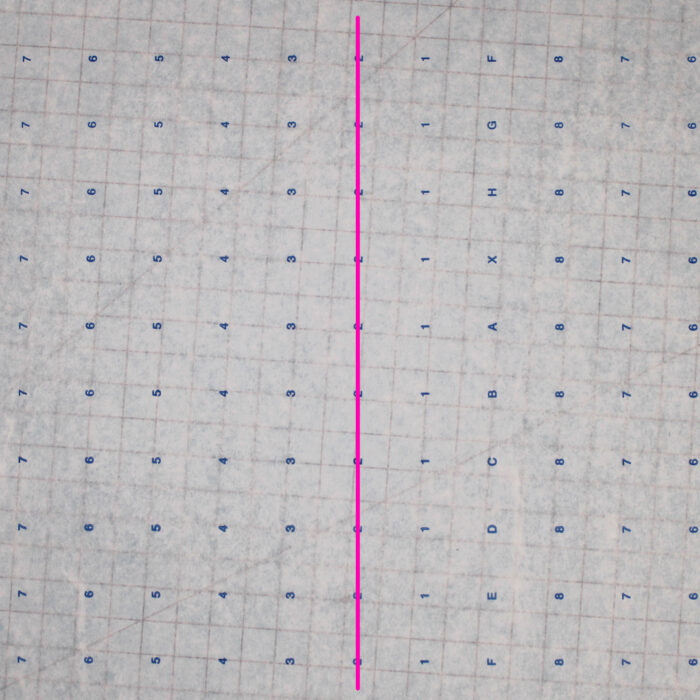
2. Create a pleat in the paper wherever you want. This pleat doesn’t have to follow set guidelines, but try to keep it a straight line. Because this is a demonstration, I am using a simple fold/pleat that is wider on the top than the bottom. Press the pleat down to crease the folds.
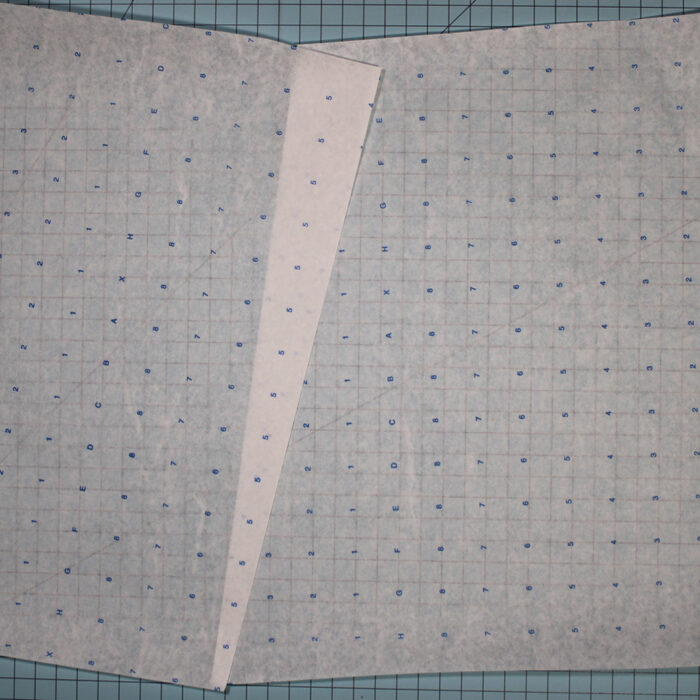
3. Create another pleat as desired. In this case, I have made a relatively close duplicate pleat that folds in the opposite…
Start your 14-day FREE trial to access this story.
Start your FREE trial today and get instant access to this article plus access to all Threads Insider content.
Start Your Free TrialAlready an Insider? Log in


Log in or become a member to post a comment.
Sign up Log in