
How to Turn That Tricky Corner on a Shawl Collar

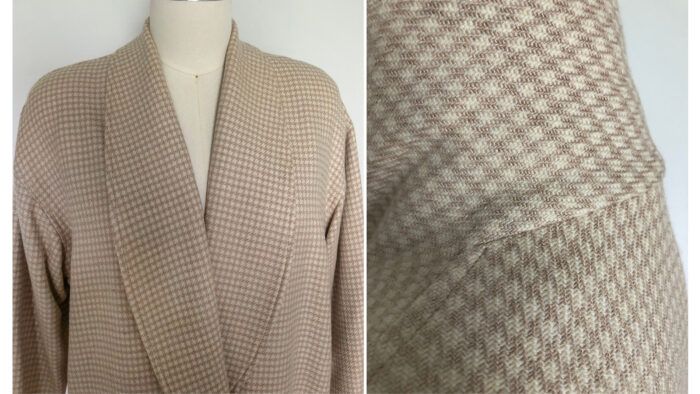
Shawl collars go in and out of style, but I consider them a classic. You’ll find them on garments like jackets, blouses, loungewear, and bathrobes. The one thing I’ve found consistent in the guide sheet instructions of the patterns I’ve sewn is that NONE show how to stabilize the pivot point. If you follow the instructions, you’ll find the fabric can separate and ravel where the collar makes a turn at the base of the neck and shoulder seam.
I have a solution to this problem: The following technique offers a simple way to stabilize the fabric and keep it from raveling.
Identify and mark the pivot points
You can see on the front garment pattern that the shoulder seam is part of the section that is sewn at the center-back neck. There is a dot at the inside corner pivot point, where the shoulder seam turns into the back neck seam.

1. Make a tailor’s tack, or mark in your preferred method, at the pivot point dot on the front pattern piece. Be sure the mark won’t leave a stain on the fabric. Mark or tailor-tack the dot at the intersection of the shoulder and neckline seam on the back pattern piece, too. You’ll match it to the mark on the front pattern piece when you sew the two together.

2. After removing the pattern from the front and back pieces, clip the tailor’s tacks to leave thread in each section.


Stabilize the pivot points
1. Cut two circles from a piece of fusible knit interfacing.

2. Fuse…
Start your 14-day FREE trial to access this story.
Start your FREE trial today and get instant access to this article plus access to all Threads Insider content.
Start Your Free TrialAlready an Insider? Log in


Log in or become a member to post a comment.
Sign up Log in