3 Ways to Make Your Own Fabric Gift Wrap this Holiday Season
Give a holiday present with an extra special touch.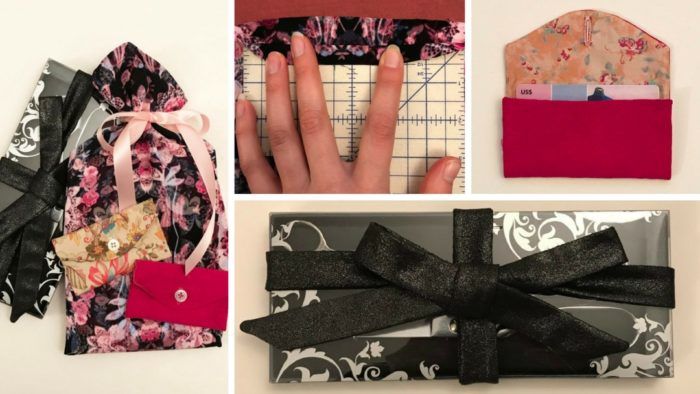
Wrapping gifts typically requires a lot of materials: ribbon, boxes, bags, tissue paper, wrapping paper, and bows. The list goes on and on. These items can be costly, and they often end up in the trash within minutes of opening a gift. 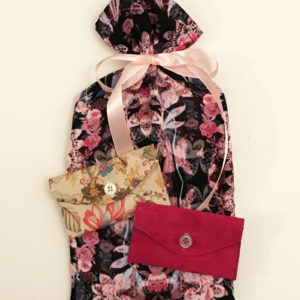 Consider making your own reusable fabric gift wrap this holiday season.
Chances are you already have plenty of fabric stashed away in the house, and creating your own custom packaging is sure to make any gift all the more special.
I’ll demonstrate three ways to wrap gifts in fabric. Each of these projects can be done in less than 30 minutes, and each is best sewn in light- to medium-weight fabric. Pull out your tape measure, and let’s get started.
Sew a gift bag
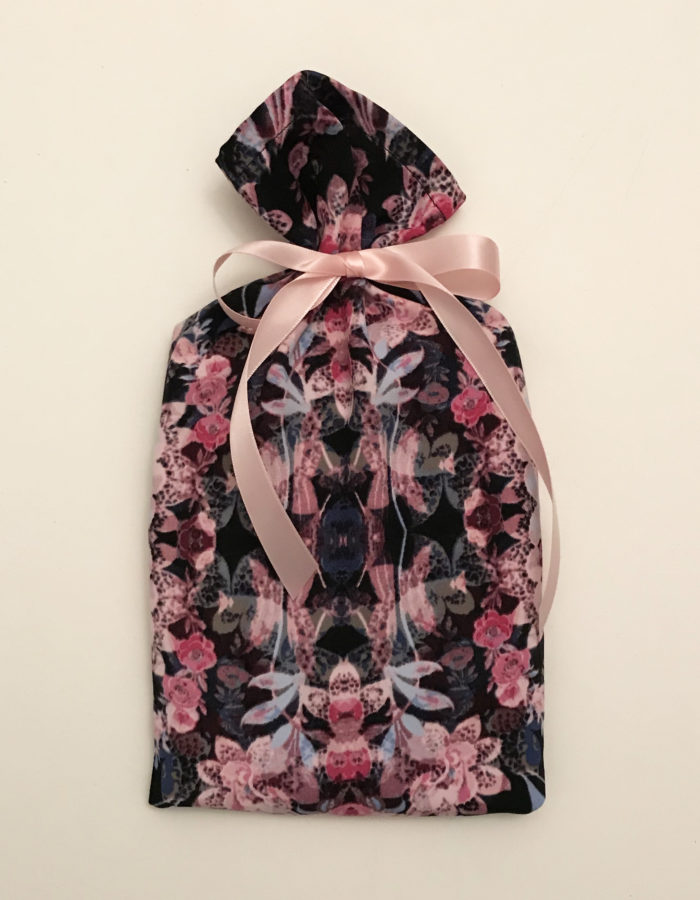
This three-seam bag was sewn in a midweight rayon fabric and is easily secured with a matching ribbon. Simply stitch the side seams and create a double-fold hem to give your gift that extra special touch.
1. Measure the item. Use your gift’s dimensions to calculate the following pattern measurements:
Bag length = (2 x length) + (2 x depth) + desired hem width (in this case 1 inch) + at least 8 inches for top extension
Bag width = width + depth + 1 inch seam allowance + at least 1 inch for ease
2. Make the pattern. Cut a rectangular pattern piece using the dimensions from step 1. With right sides together, fold the piece in half widthwise. Sew along the sides using a 1/2-inch-wide seam allowance. Finish the seams using your method of choice.
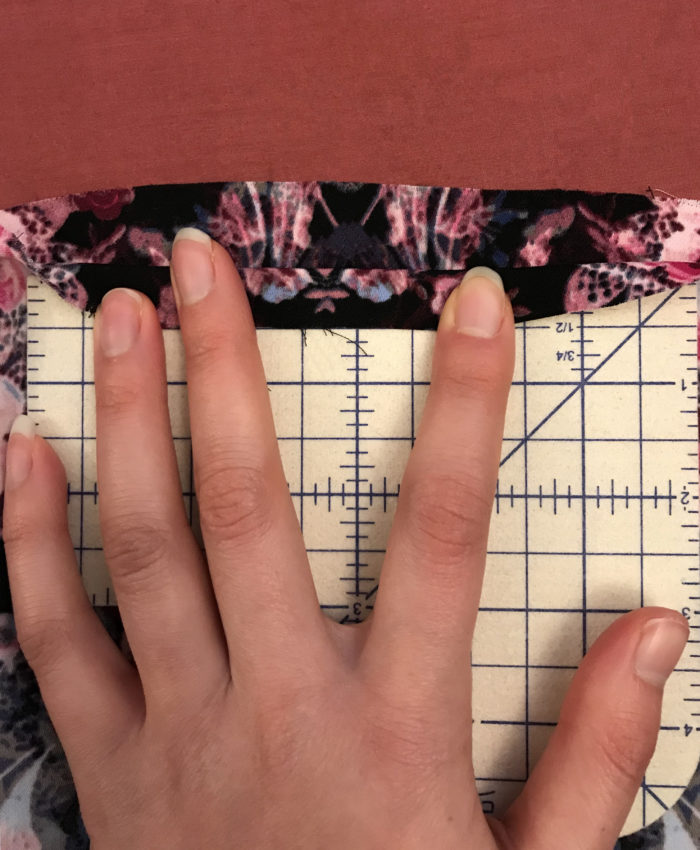
3. Stitch a double-fold hem. Keeping the bag inside out, fold the top edge down 1/2 inch and press. Fold the top edge down again 1/2 inch and press once more. Sew the hem in place close to the inner fold.
4. Wrap the gift. Complete the bag by placing the gift inside and securing the top opening with a ribbon.
Create a gift card envelope
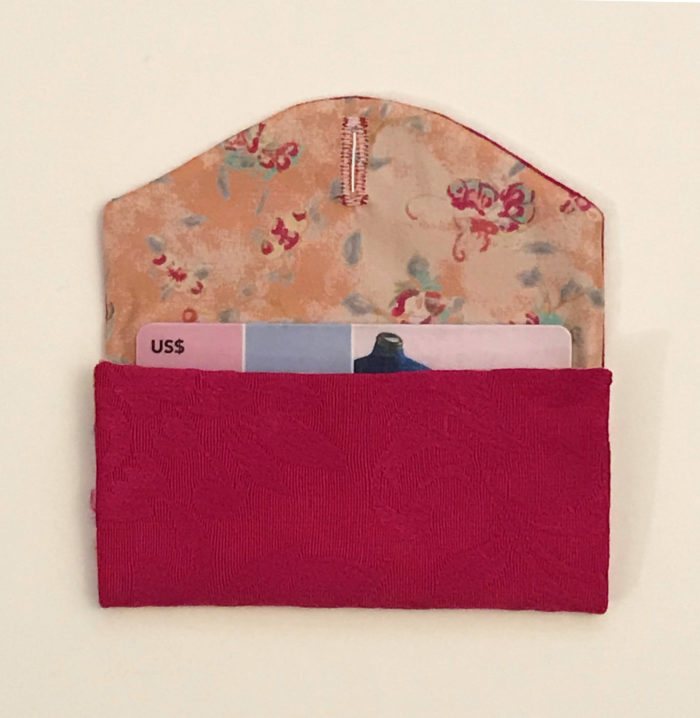
Make your gift card stand out by sewing an easy fabric envelope. All you need is fabric, lining, and a button to construct this one-of-a-kind case.
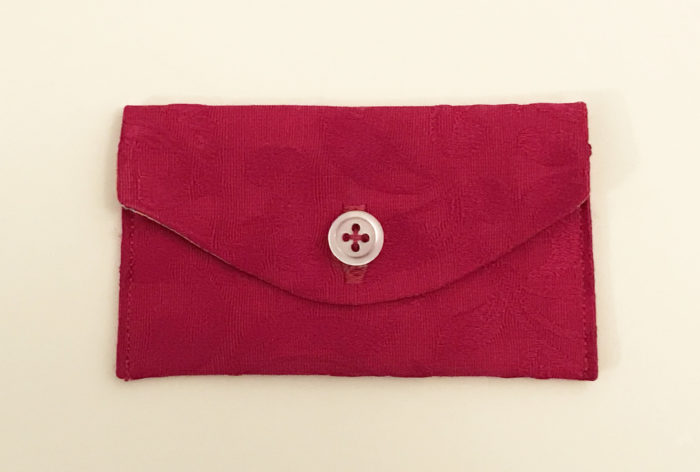
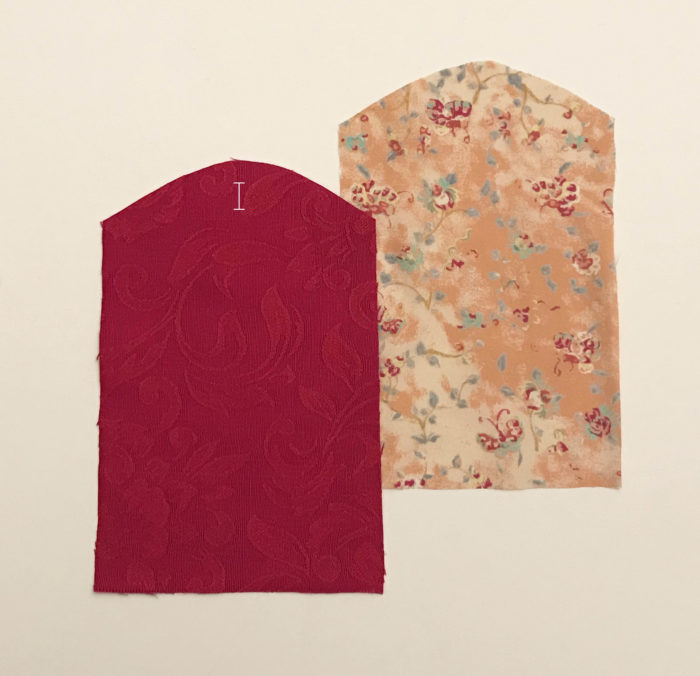
1. Prepare the pieces. Print this PDF pattern without scaling the page. Then cut one pattern piece from fabric and one from lining. Be sure to transfer the buttonhole marking to the right side of the main fabric with chalk.
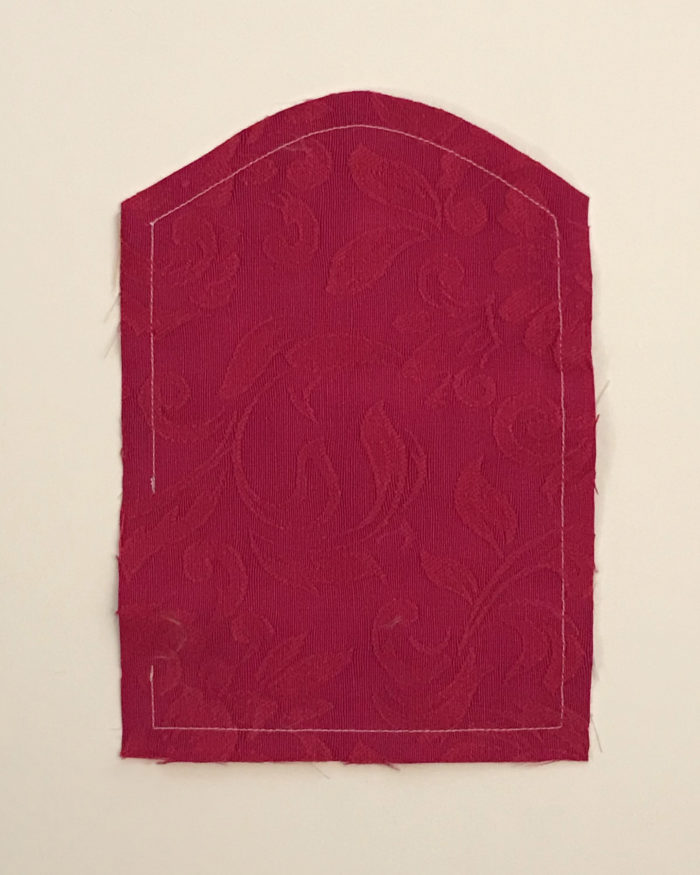
2. Sew the edges. With right sides together, sew around the fabric and lining with a 1/4-inch-wide seam allowance. Leave about a 2-inch opening along one side edge for turning.
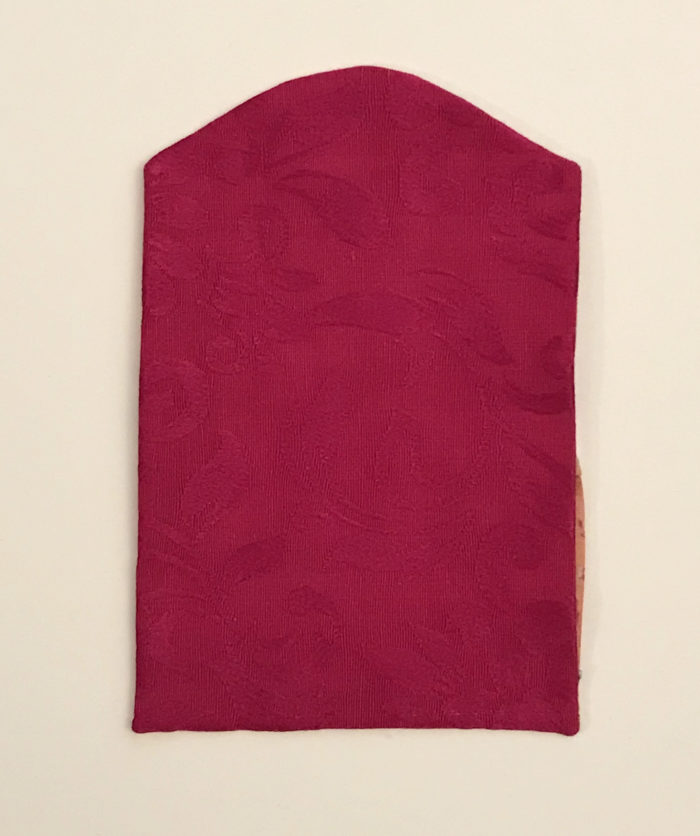
3. Turn right side out. Trim all the edges and corners to reduce bulk. Next, turn the envelope right side out. Press, making sure to turn in the unsewn edges.
4. Apply the buttonhole. Select an appropriately sized button from your stash. (I used a 7/16-inch-wide button.) Use the buttonhole marking as a guide to create a machine buttonhole that fits your button. Carefully cut open with a seam ripper.
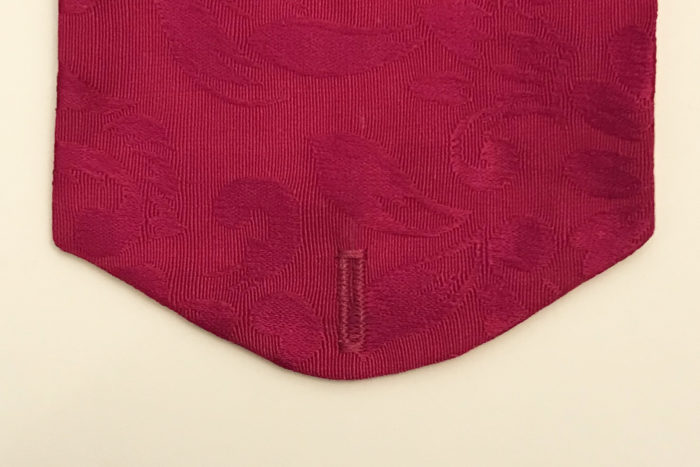
5. Finish the envelope. With the lining right side up, and using a gift card as a guide, fold up the bottom edge. It helps to leave part of the card visible above the edge so it’s easier for the recipient to remove (see below). Next, remove the card, press along the fold, and edgestitch the sides in place. Be sure to catch the unstitched turning opening during this step. Finally, fold the top flap down to determine the button placement beneath the buttonhole. Press the flap down, and sew the button in place.
Construct a ribbon
It is rare that I have enough ribbon on hand to wrap an entire gift. That’s where fabric comes in handy. All you need are narrow strips. And, if length is a problem, you can always sew a few pieces together to get the desired measurement. Below, I’ll show you how to make a 1-inch-wide ribbon in just three steps. Note that the heavier the fabric, the harder it will be to turn the ribbon right side out.
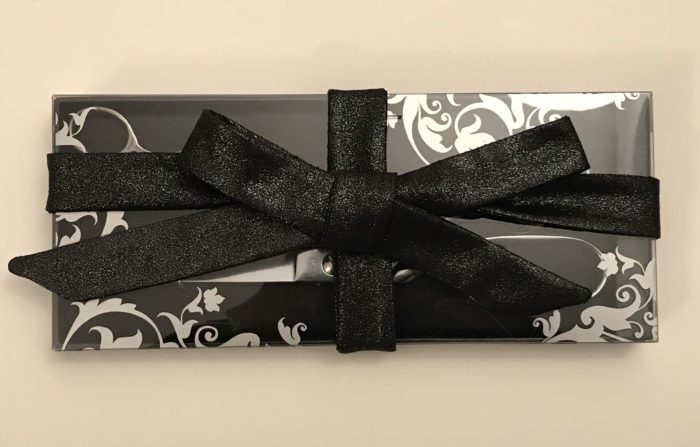
1. Determine the size. Measure the gift’s dimensions:
Ribbon length = (2 x length) + (2 x width) + (4 x depth) + 1/2 inch seam allowance + 2 inch ease + at least 28 inches for bow
Ribbon width = 1 inch + 1/2 inch seam allowance
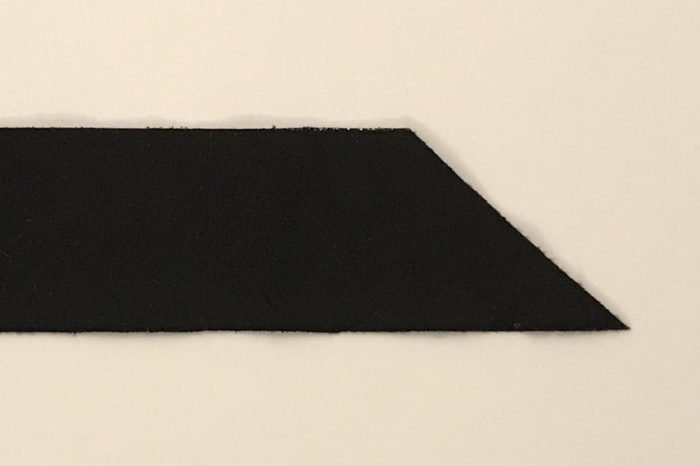
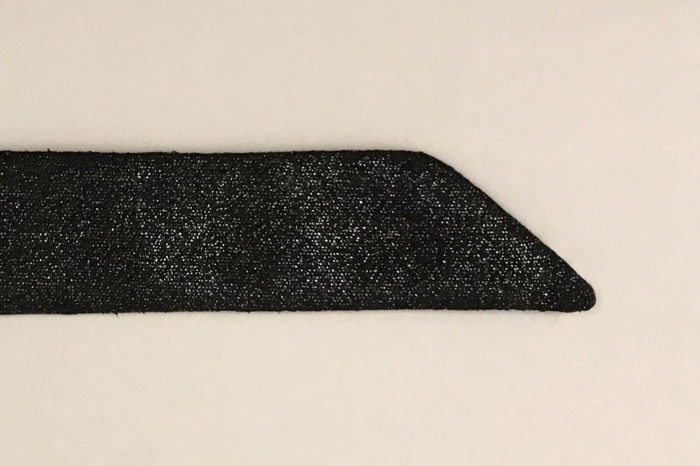
2. Sew the strips. Cut two strips of fabric the size of the measurements determined in step 1. Pin the strips with right sides together. Then cut the ends at an angle, as shown. Sew around the edges using a 1/4-inch-wide seam allowance. Make sure to leave a 6-inch opening for turning the ribbon.
3. Turn and press. Trim the seam allowances to reduce bulk before turning the ribbon right side out. Press. Then hand-sew the opening closed, and tie the ribbon around your wrapped or unwrapped gift into a perfect bow.
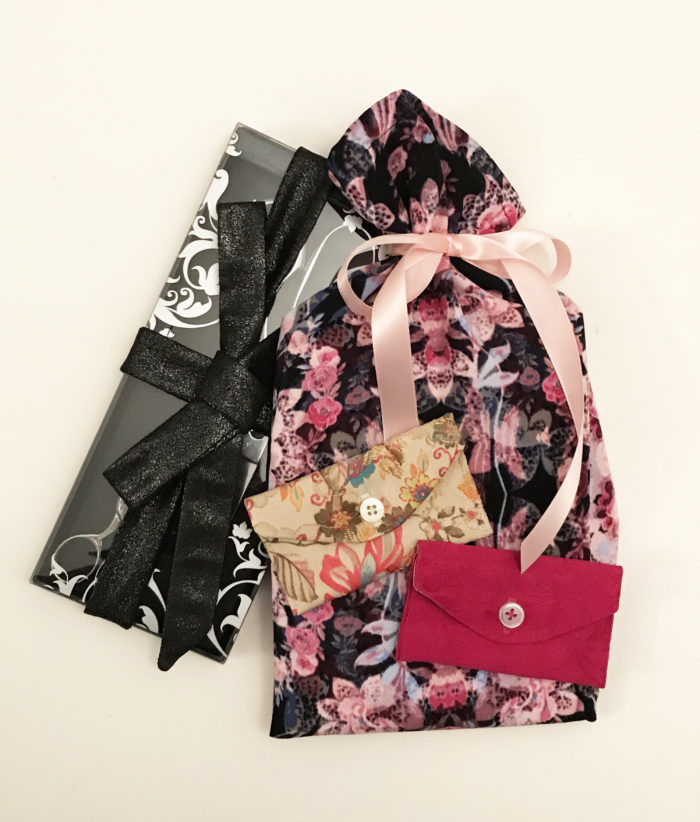
If you’ve got enough fabric—and I suspect you do—make all three fabric gift wrap ideas.
Have you ever used fabric to wrap gifts? Which of the three methods described do you prefer? Do you have any other fabric wrapping suggestions? Please share your comments below.




The envelope is a great idea! I'm making little drawstring bags for gift wrapping this year. It's a great way to use your fabric stash, and the bags can be reused by the recipient.
I have two granddaughters who are learning to sew. I wrapped a gift for each with a yard of Christmas fabric. The fabric is an added gift for them to use on a project.
Several years ago I started with the drawstring bags, but with no structure they looked pretty sad under the tree. Then I upgraded to the buttoned envelop style, which looked great. Two years ago I upgraded once again to zippered bags, which I love. I make them in all sizes, and often put the zipper in the middle and box the corners about 1 1/2 inches so it's easy to slip in shirts, sweaters, etc. I also found a serger drawstring tutorial on Youtube, which I modified so it would more perfectly fit a wine bottle. I've made a lot of those and give them away along with the wine.. My family loves the bags, and the best thing is my trash on Christmas morning fits into one small plastic grocery bag.
One year I wrapped a framed print in a Frida Kahlo print cotton. It was awesome.
These are all such great ideas!