

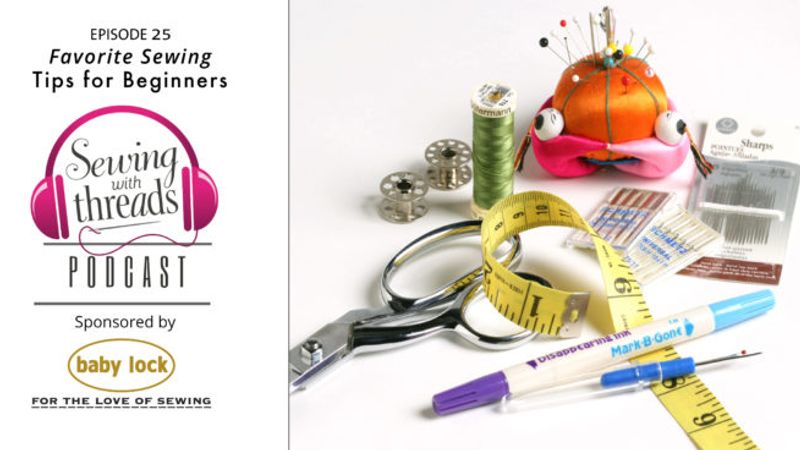
Three editors share their favorite tips for beginners in the Sewing With Threads video podcast, Episode 25. Seasoned sewing enthusiasts also may benefit from these bits of advice, as they include useful information for improving efficiency and making sewing more enjoyable. The tips cover a wide range of topics: There are tricks for threading your machine, using the right pin for each project, applying fusibles, and choosing the lighting that works best for you, among many others.
See a summarized list of the editors’ top 15 sewing tips here. For detailed discussion with more information, view and/or listen to the podcast, and for additional resources, check out the podcast show notes below.
Cutting
The editors suggested using a rotary cutter, cutting mat, and pattern weights when cutting out a garment from a commercial pattern.

For more information about these tools, see:
“Essential Techniques: The spin on rotary cutters,” Threads #197, June/July 2018
“Cutting Tools for Left-handed Sewers”
Pressing
They also underlined the importance of learning to use an iron. For more information about irons and pressing, go to:
“Iron Options”, Threads # 201, Feb./March 2019
“Better Pressing,” Threads #183, Feb./March 2016.
Pinning
The proper pins are another key tool that can make sewing easier and more enjoyable. The Threads article, “A Pin for Every Purpose” is a guide to pin types and which to choose for most sewing projects.
Stabilizing
Senior Technical Editor Carol J. Fresia suggests the fusible tape Steam-A-Seam to secure fabric layers. She also recommends fusible interfacings for many situations that call for stabilization. There are many fusible and sew-in interfacings on the market. Consider this list.
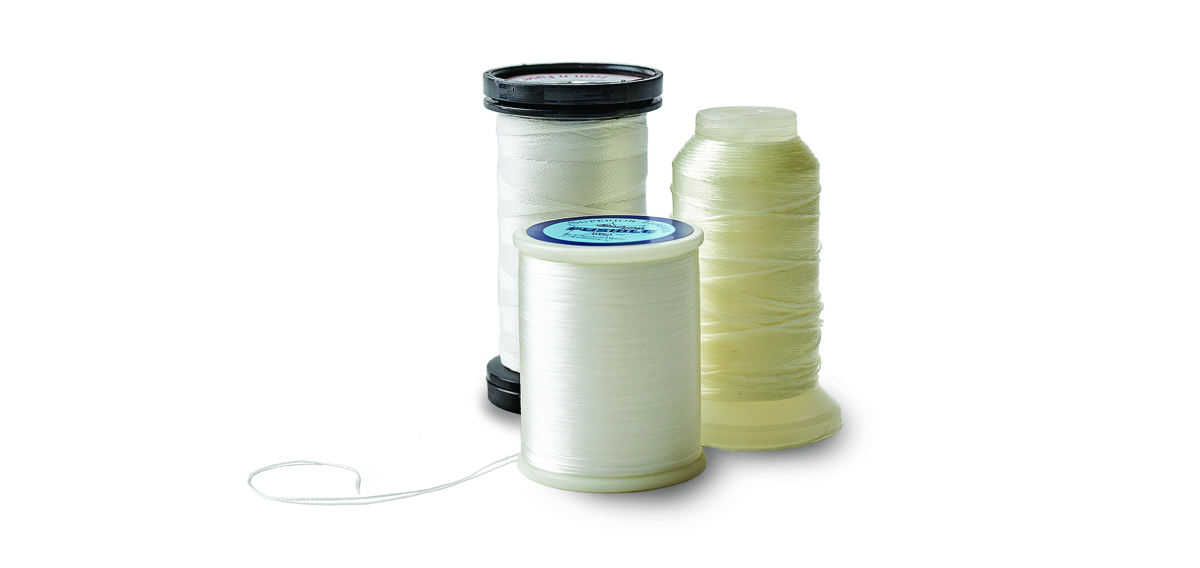
Fusible thread is a newer addition. Threads contributor Katrina Walker takes a close look at it in Threads #207, Feb./March 2020.
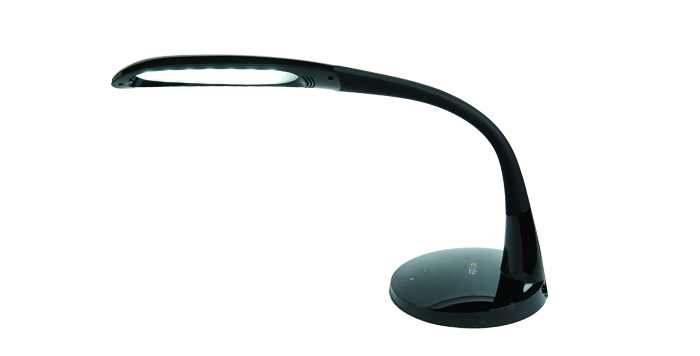
Lighting
Carol also recommends specialty lighting, specifically with the daylight spectrum. Several sources offer multiple lighting options:
Magnification
For more accurate sewing with less eye-strain, Carol suggests making use of magnification devices, such as the CloseLook Lighted Magnifier.
Watch and listen to the podcast by clicking the image at the top of this post, or simply listen by clicking below.
This episode is sponsored by Baby Lock.
February is National Embroidery Month and they want you to join the celebration.
Now through February 29, 2020, you can enter to win one of Baby Lock’s latest releases—the Pathfinder Embroidery machine.
It comes ready to lead you through new creative opportunities with features that are perfect for new and experienced embroiders, including IQ Technology, which works with the brains of the machine to make embroidery easier.
For more information and to enter, visit BabyLock.com.
![]()
We have created a podcast survey to help guide our content. Please take a moment to answer a few questions.


A recent discovery I think is important to know, always call the customer call center before you look to sending your machine to a warranty center for service. Also, when looking for a warranty if you did not get one with the purchase (in the box or on the receipt at store), make sure you are looking at the right one online. Some are electric, some are mechanical, and it is not clear cut on the warranty which one you are reading. They suggest you really look for this information so if you mess up and think something is covered, it is ON YOU. Also, sometimes the cost of labor and parts is the same or more than the cost of a new machine so you might just have to decide if it is worth the headache of going through the grief of this process or just go buy a new machine and sell your machine "as is" to someone. A lot of repair shops will pay a few bucks for them to turn a profit. That is what I personally just learned as a beginner myself. I will also be making sure I have a warranty on hand when I leave a store, to avoid having the wrong one which was my case. Happy sewing ya'll!
My advice for someone looking for a sewing machine is to decide what they want to do with their sewing and find a vintage one that matches. Old Singers can be found almost anywhere, garage sales, thrift stores, or by word of mouth. There is a bunch of information on the internet on how to restore them to perfect sewing condition. I have several older machines, I will admit to six, I bet I don't have $200. including parts in them. I would put their stitching and reliability against any new sewing machine for the home sewer.
One thing I do as a matter of course is to trace off the pattern size(s) I need onto artists' tracing paper. The paper comes in rolls and is available at not only art supply stores, but in the art supply section at JoAnn Fabrics. (this is not a plug for JA's :-)) . Not only does it save the master pattern pieces from being cut up, but I find that I can do some types of alterations such as length adjustments or increasing the depth of the hem allowance, for example, while I'm tracing the pattern. Of course, using two or more sizes on one pattern is easier to do if the transfer from one size to another is done on the new tracing. Then, if I happen to want to use the pattern again but in a different size, it's intact and I don't have to purchase another. Really handy when using OOP (out-of-print) patterns that aren't readily available anymore.
I started tracing my patterns the first time I cut an expensive pattern in the wrong place. By tracing I get to know the pattern better. Instead of trying to put the pattern back in the envelope I hang the original pattern pieces with trouser hangers, the clamping kind, out of harms way until I've finished the project.
Brunettes who wear glasses and talk about sewing,
More tips, please! Don't wait, share your untold nuggets.
Lots of good information but I find it difficult to visualize especially the pressing items and something you called "flossing". I have no idea what this means. Videos are the best for me and now it seems we are returning to the "olden days" with podcasts which is the same as listening to the radio. One person did show items she was discussing but the others were not as helpful. Please consider returning to videos or at least show what you are discussing. Thanks
I purchased a medical needle container to drop my bent and dull pins and needles in. This way they don't go in the trash potentially harming sanitation workers.
Altho' I've been sewing for decades, I often break this cardinal rule: When I make a stupid mistake, I'm either hungry or tired and it's time to stop sewing, then eat or sleep. When I am centered, my sewing flows. When I'm not centered, sewing can sometimes bring me there. When it doesn't, I find another way to center before I start to sew.
Thank you so much for the machine threading tip. I have been threading with the presser foot up to avoid birds ness. This has been fine for my Janome, Pfaff and Husqvarna Viking machines. However, I’ve recently been sewing on a 1990’s or maybe 80’s Elna Diva and she has been quite diva-ish. I’ve had a loop forming before the first thread guide and couldn’t figure out why. I heard your podcast and decided to try the flossing method of getting the thread seated between the tension discs and it worked! A thousand thanks for saving me a trip to the repair shop!